2025 UPDATE: My Celtic patterns can now be found in my online shop.
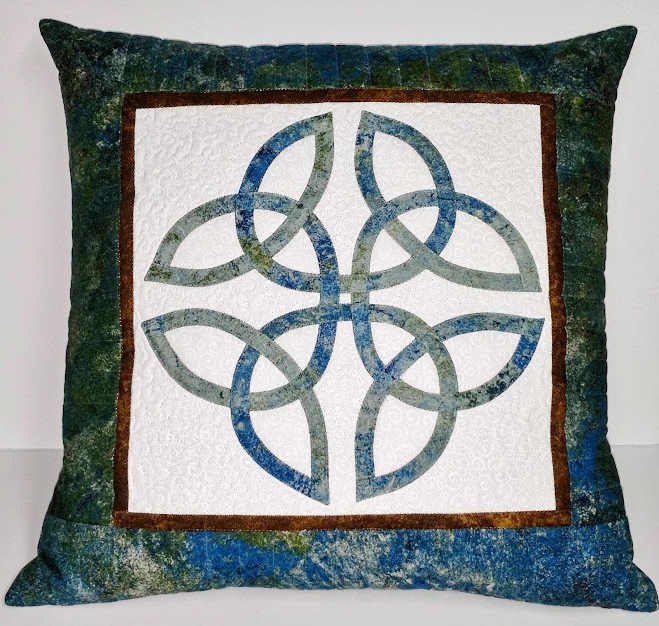
The Celtic True Lovers’ Knot has been appliquéd, quilted, and trimmed, and is now ready for the binding.
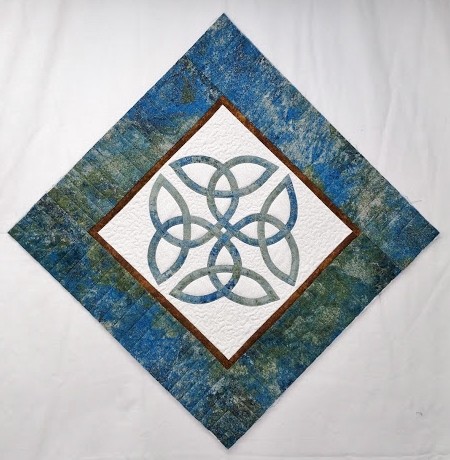
This would allow you to use the completed piece as a wallhanging. I did consider a wallhanging – I especially liked how it looked when I hung it on point – but I already have several of this design, so I thought it would be fun to turn it into a pillow, instead.
This method works not only with this Celtic project, but with any orphan quilt block or cool fabric that you might have on hand. If you use fabric that hasn’t been quilted, I recommend fusing a layer of Pellon 987F to the back of the fabric before proceeding. I like the extra shape and softness it gives the pillow.
How to Turn a Quilted Block into a Decorator Pillow:
Note: This is actually a pillow cover, as it is easy to remove for laundering – an important factor with kids and pets!
- Measure your quilted block and sliver-trim, if necessary, to make sure it is perfectly square and all sides are equal in length.
- If you do a google search, you’ll find lots of different recommendations for how much of an overlap you should have on the back of a lapped-back or envelope-style pillow cover. I like a generous overlap; I find that while it may be a little more challenging to squeeze the pillow form into the finished cover, the back usually looks smoother and more polished. For this project, my quilted block has been trimmed to 16 1/4″, so I’m cutting my 2 pieces of backing fabric 16 1/4″ x 12 1/4″.
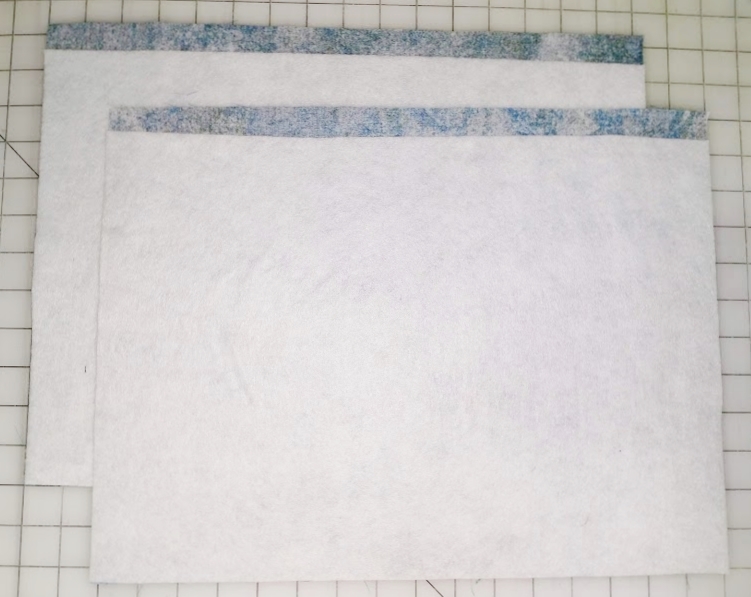
- I like a nice full pillow, so I’m adding a layer of Pellon 987F Fusible Fleece to each of the back pieces. I’m cutting 2 pieces of fusible fleece, each 16 1/4″ x 11 1/4″.

2 pieces of backing fabric and 2 pieces of Pellon 987F fusible fleece - Line up each piece of backing fabric with a piece of fleece. They should line up perfectly on 3 sides, with the fabric extending past the fleece on the fourth side. Fuse the adhesive side (bumpy side) of the fleece to the backside of the fabric with a hot, dry iron. I recommend pressing on the fabric side, not the fleece side, as it is possible to melt the fleece and make a mess on your iron. Ask me how I know this….
The backing fabric should extend past the fusible fleece on one side only. - Fold and press the extra fabric sticking up past the fleece in half lengthwise to create a folded edge.

Fold and press the backing fabric that extends past the fusible fleece in half lengthwise. - Wrap the folded edge over the edge of the fusible fleece to create a hemmed edge that encloses the cut edge of the fleece. Sew. I find Clover Wonder Clips especially handy for tasks like this, but you can use pins, if you prefer.
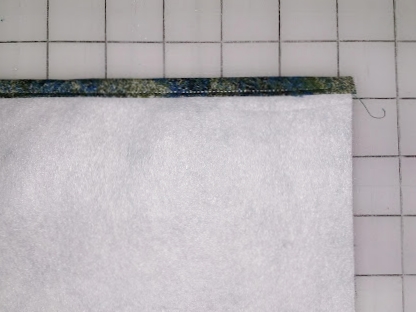
The edge of the fusible fleece should be enclosed in this seam. - Make a stack as follows, lining up all the outer edges carefully: (1) quilt block, facing up (2) upper backing piece, facing down, (3) lower backing piece, facing down.

Place the upper backing piece face down onto the pillow front, which is face up. 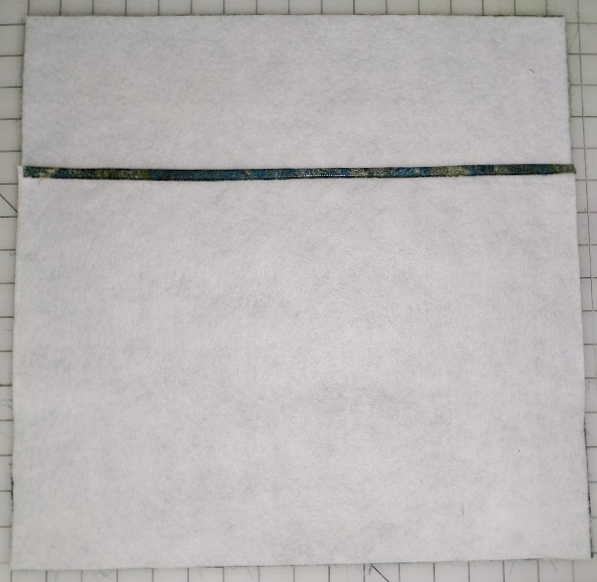
Place the lower backing piece on top of the stack, face down. - Pin through all the layers (as shown) or use Wonder Clips around the outer edges to keep the layers from slipping.
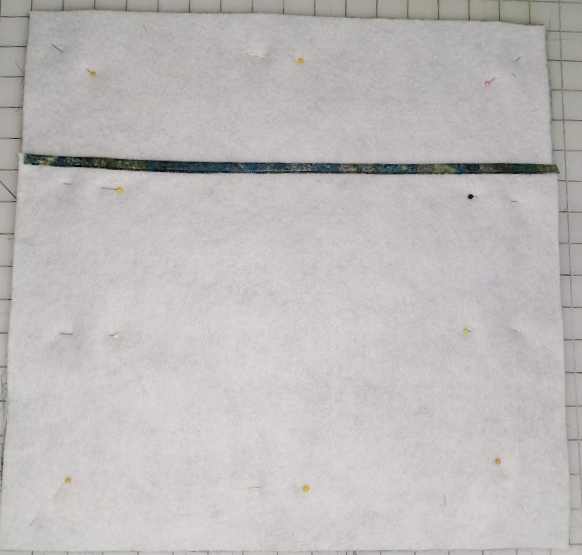
Here I used pins to keep the layers from slipping.
To finish on a sewing machine:
- Sew all the way around the outer edges, backstitching at the beginning and end.
- Clip the corners to reduce bulk. Stay inside the seam allowance!
- Optional, but recommended: zigzag or overlock stitch around the outer edges – staying inside the seam allowances. This will add durability.
To finish on a serger:
Note: my serger is a Baby Lock Imagine, which I LOVE, LOVE, LOVE. If you’ve never tried a serger, check out your local Baby Lock dealer. If you live in West Michigan, come visit Lakeshore Sewing. No-fuss threading and auto-tensions make these sergers incredibly easy to use!
- Set your serger for a 4-thread overlock stitch. I’m using the M setting (about 6.0) and a stitch length of 2.0.
- I’m leaving the knife up, but I’m not using it to trim the fabric – just to trim off any stray threads.
- I’m also wrapping the corners. Wrapping the corners helps create nice sharp corners when you turn the pillow cover right side out. (On a sewing machine, we clip the corners to remove bulk, but you can’t clip the corners on a serger seam – you would cut right through the stitching!)
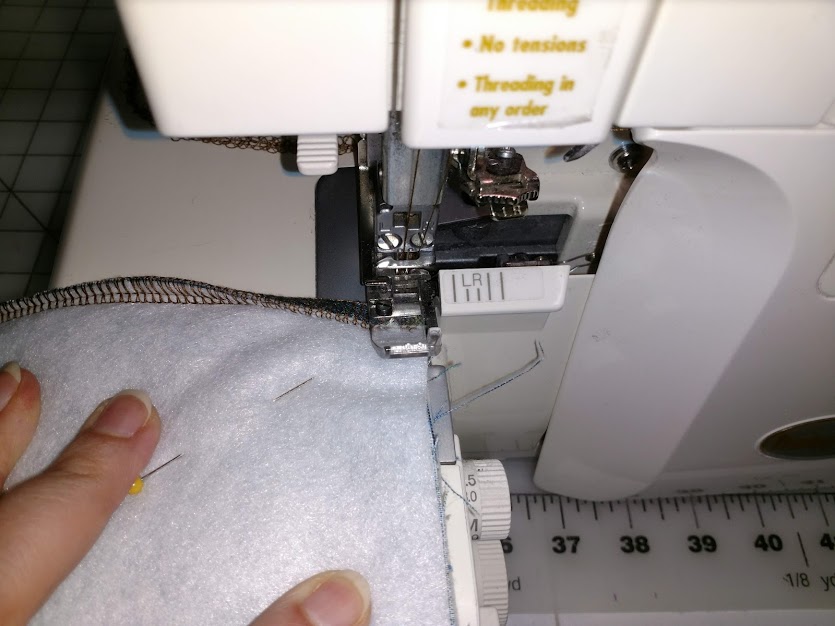
Serging with a 4 thread overlock stitch. Notice the previous seam allowance folded over or “wrapped” at the beginning of the current seam. - Instead of turning at each corner, for a project like this I usually stitch each side separately. This leaves me with a thread tail at each end when I am done stitching.
- I use a double-eyed needle to pull each thread tail through several inches of stitches.


Using a double-eyed needle to pull the thread tail through the stitches on one side of the corner (shown in progress – I haven’t pulled the needle all the way through yet).

- For extra security, I finish each corner with a dab of Fray Block.
- This is what the corners look like when you turn the pillow cover right side out. The wrapped corner has done its job!
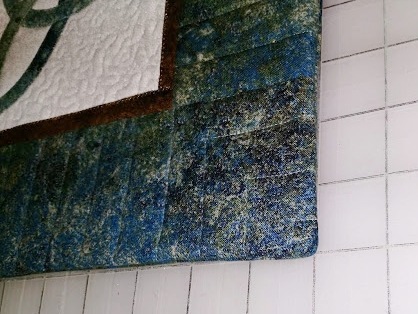
A corner of the pillow cover once it has been turned right side out - The finished pillow cover with a 16″ pillow form inside – view from the back:
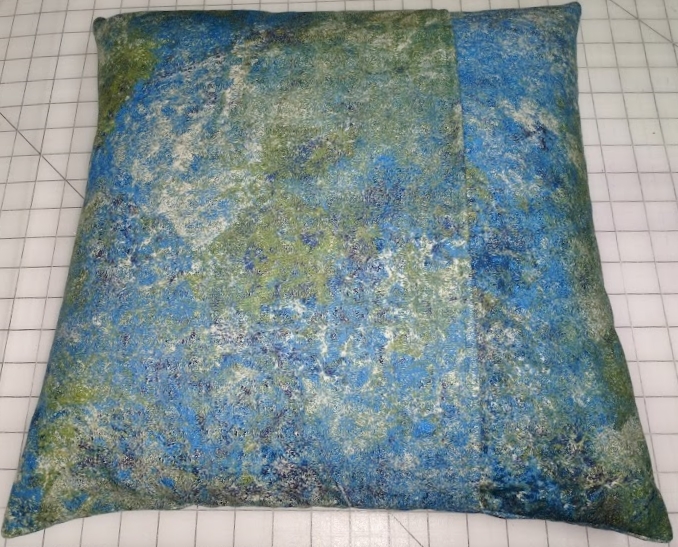
View from the back with the pillow form inside (side view) - And from the front:
Ta-da! The Celtic True Lovers’ Knot from Celtic Quilts: A New Look for Ancient Designs made into a pillow.
It’s ready to go!
Are you interested in Celtic and Celtic-style quilting?
If so, you may enjoy the following additional posts:
- Making a Celtic Quilt – Selecting Fabrics (first in the Making a Celtic Quilt series)
- Celtic Quilts – My Journey
- Journal Quilts with Celtic Knotwork