Back in June, I shared a step-by-step tutorial for Continuous Curve Machine Quilting with a Walking Foot. This quilting pattern has been a favorite of mine since I first learned it almost 30 years ago. The version I shared was (and is) a fantastic beginner-friendly starting point, but I thought you might be ready for a quick update – and more photos!
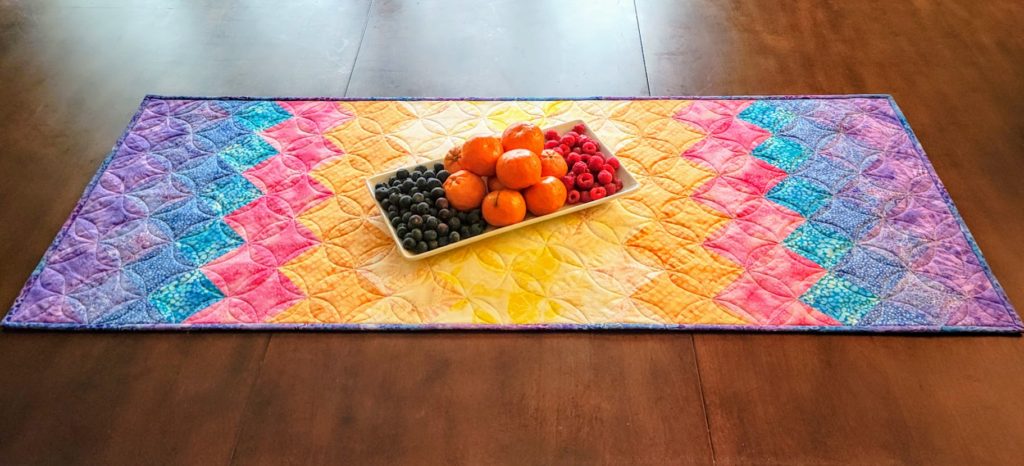
Here’s the table runner I shared in my previous post:
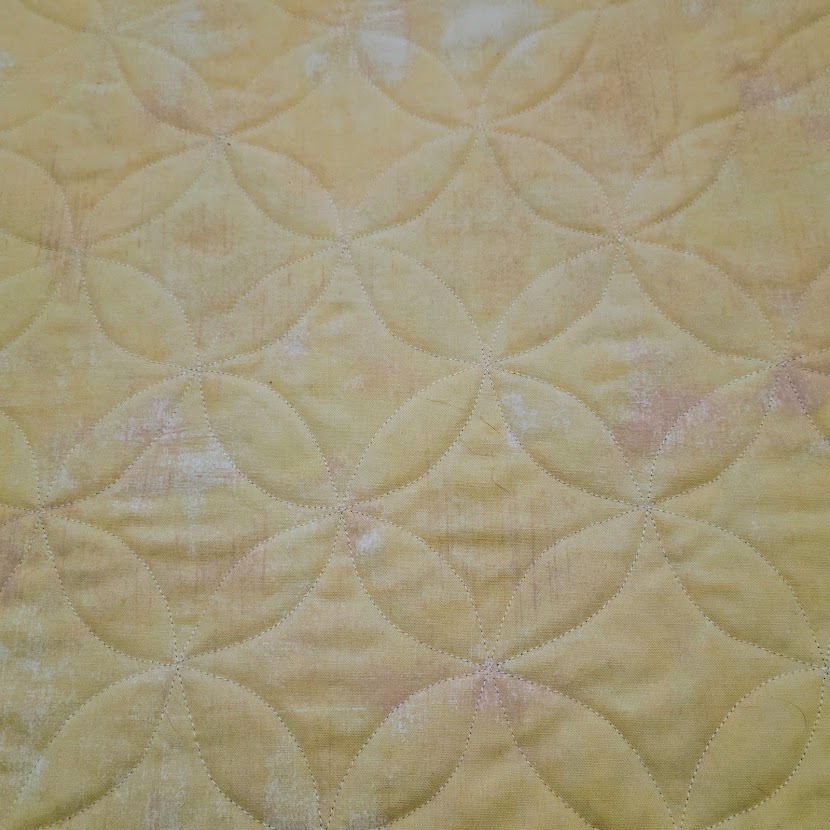
And the view from the back:
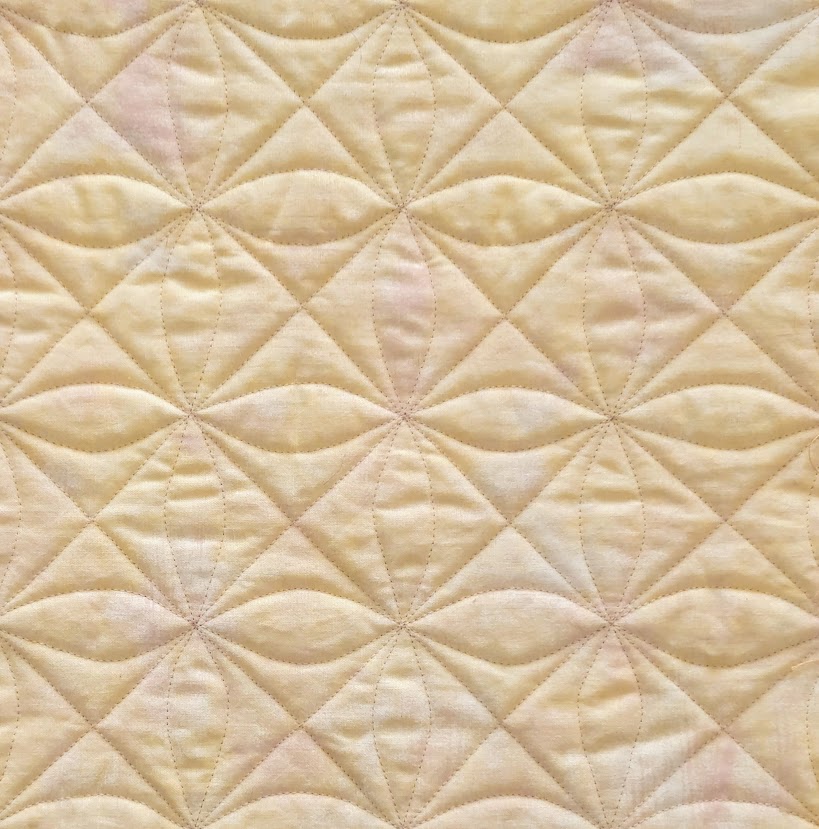
I included numerous diagrams to show the stitching path in my previous post, so I won’t repeat them here. But I thought you might like to see some examples of Continuous Curve variation with diagonal stitching added.
Here’s a close-up of a single block:
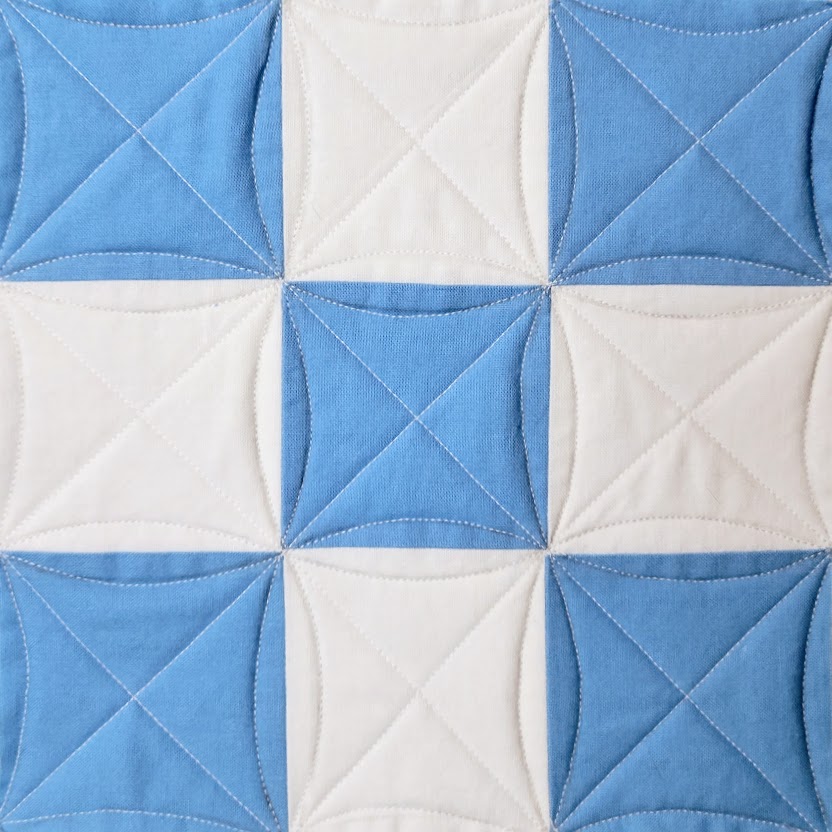
And here it is action:
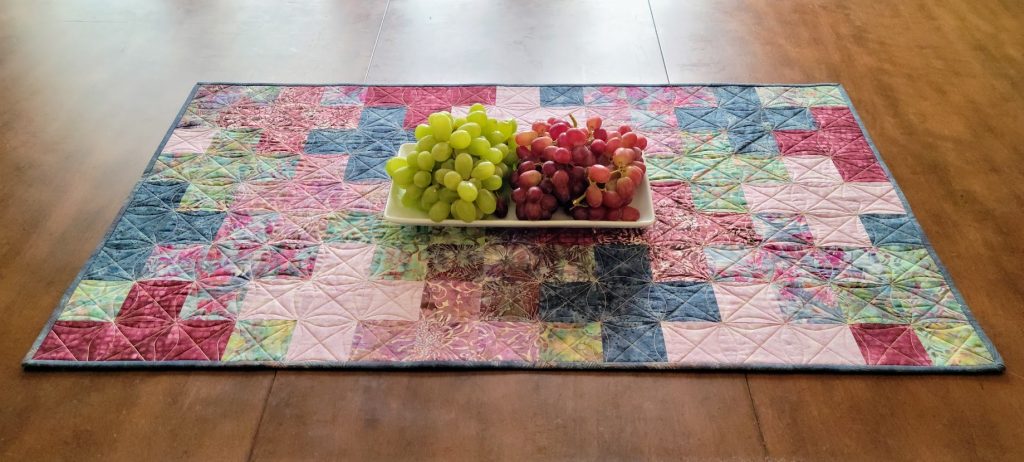
A closer look from the back:

Doesn’t it add even more pizzazz to an already interesting design?
You can mark both the curves and the diagonal stitching, but I generally find it a lot easier (and faster!) to just eyeball both. I don’t worry about minor imperfections. You may notice little wobbles when they are 6 inches from your nose; but, they will disappear into the overall graphic nature of the design once the quilt has been washed a time or two.
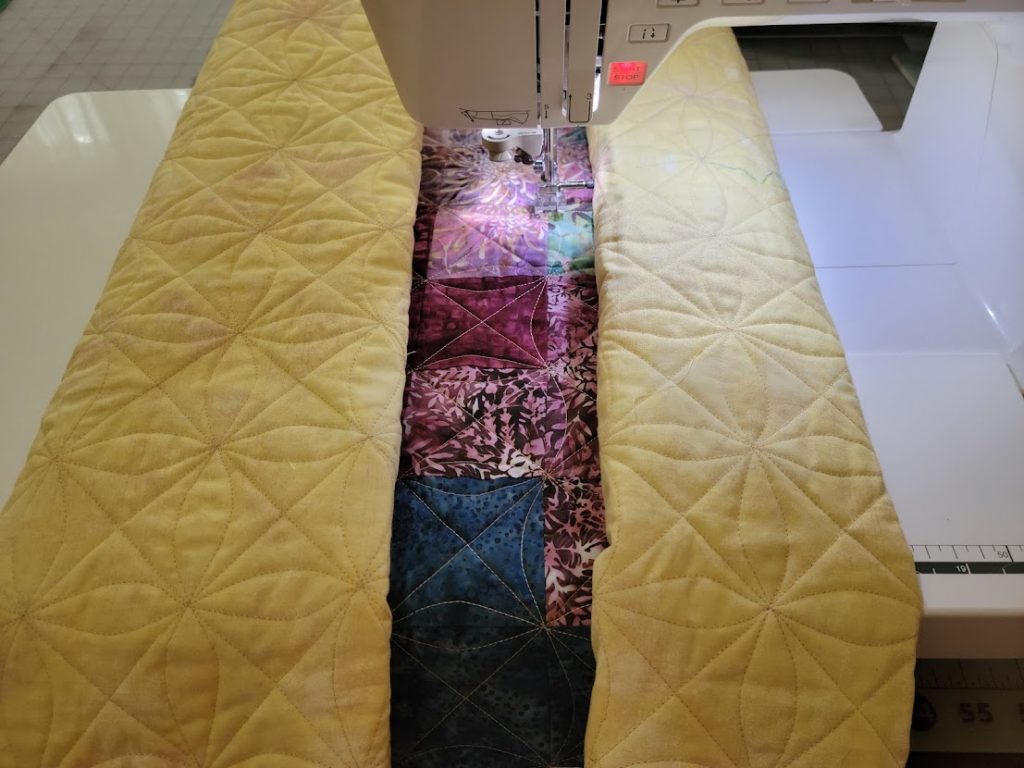
Here’s what it looks like when I’ve isolated a row for stitching:
Folding the sides of the quilt to create a long tube (which is then accordion-pleated on my lap) makes the quilt a lot easier to manage!
There’s lots more to explore with Continuous Curve stitching – other shapes & combinations, as well as free-motion techniques. But I think this is a good place to leave it for today. 🙂
Happy Quilting!
