
I haven’t been posting much this summer, but I’ve certainly been sewing up a storm! I’m finding it good therapy. 🙂
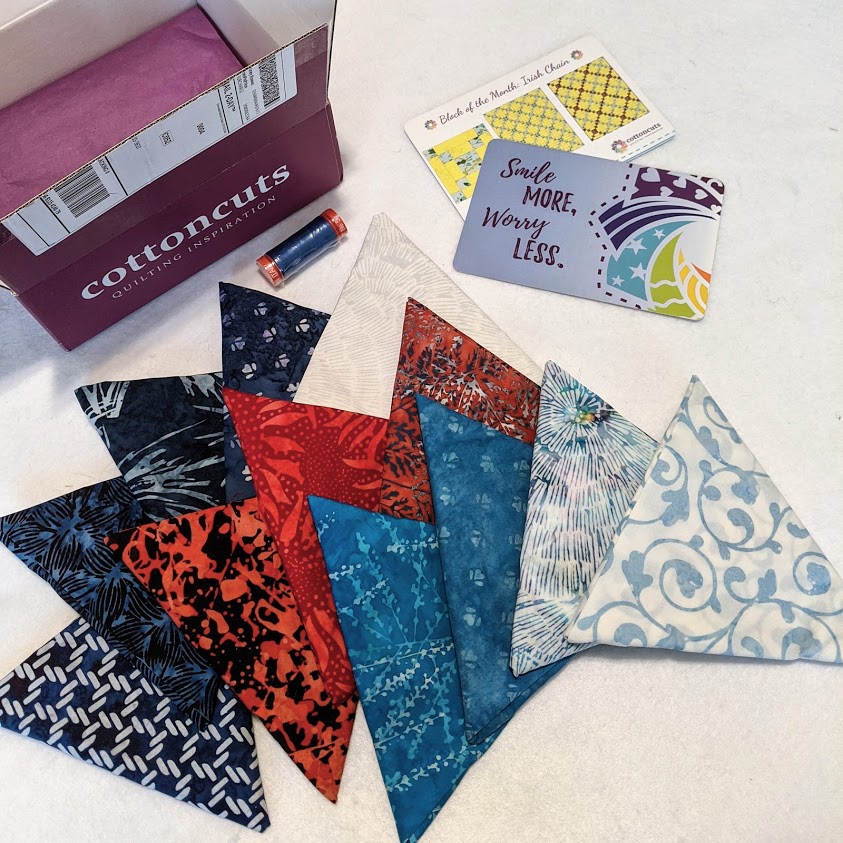
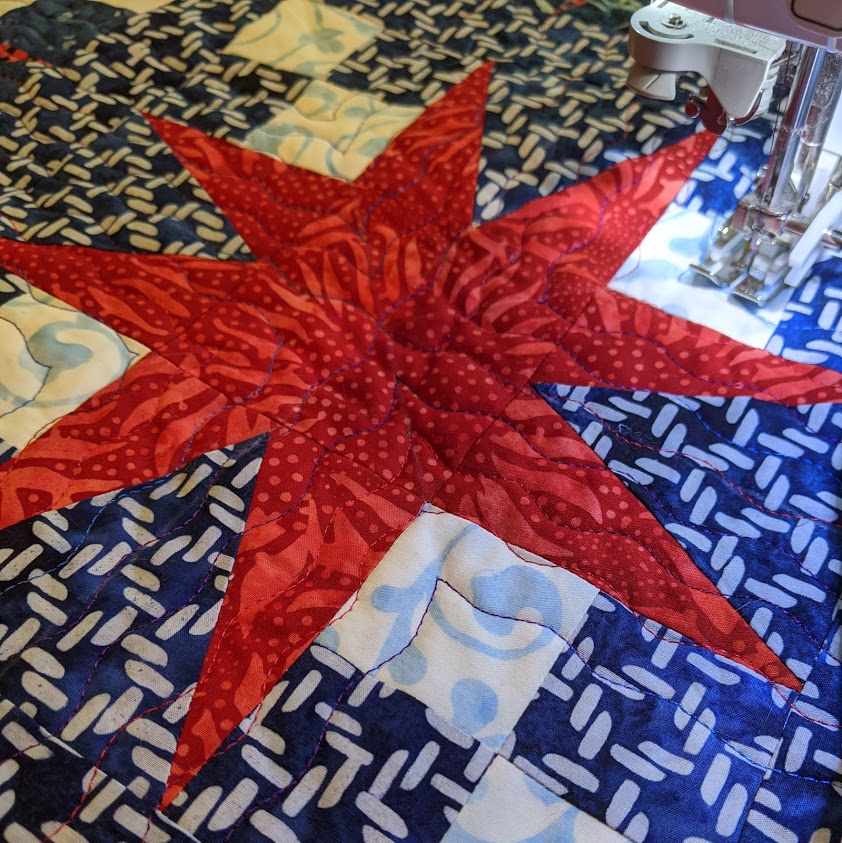
Due to the pandemic, we weren’t able to enjoy our usual fireworks display downtown this year, but I was inspired by the July Java batiks box from Cotton Cuts to create some fireworks of my own (metaphorically speaking, of course). 😉
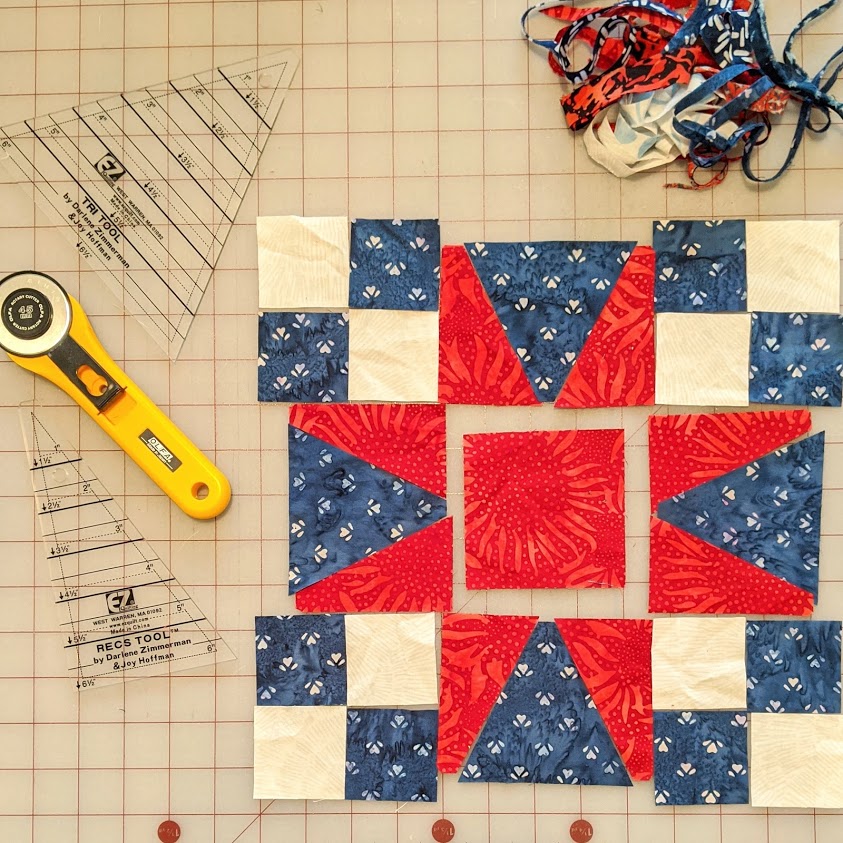
I started by cutting out shapes with my Tri-Recs rulers, and created little four-patches for the corner of each block. (This was a design-as-I-go project – I didn’t have a pattern.)
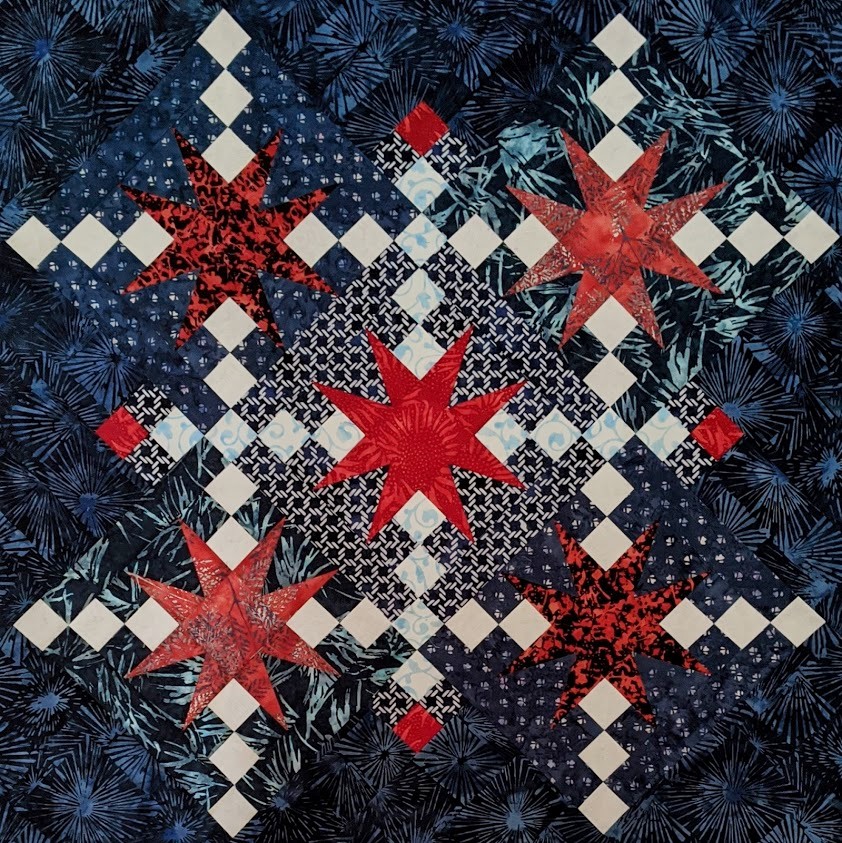
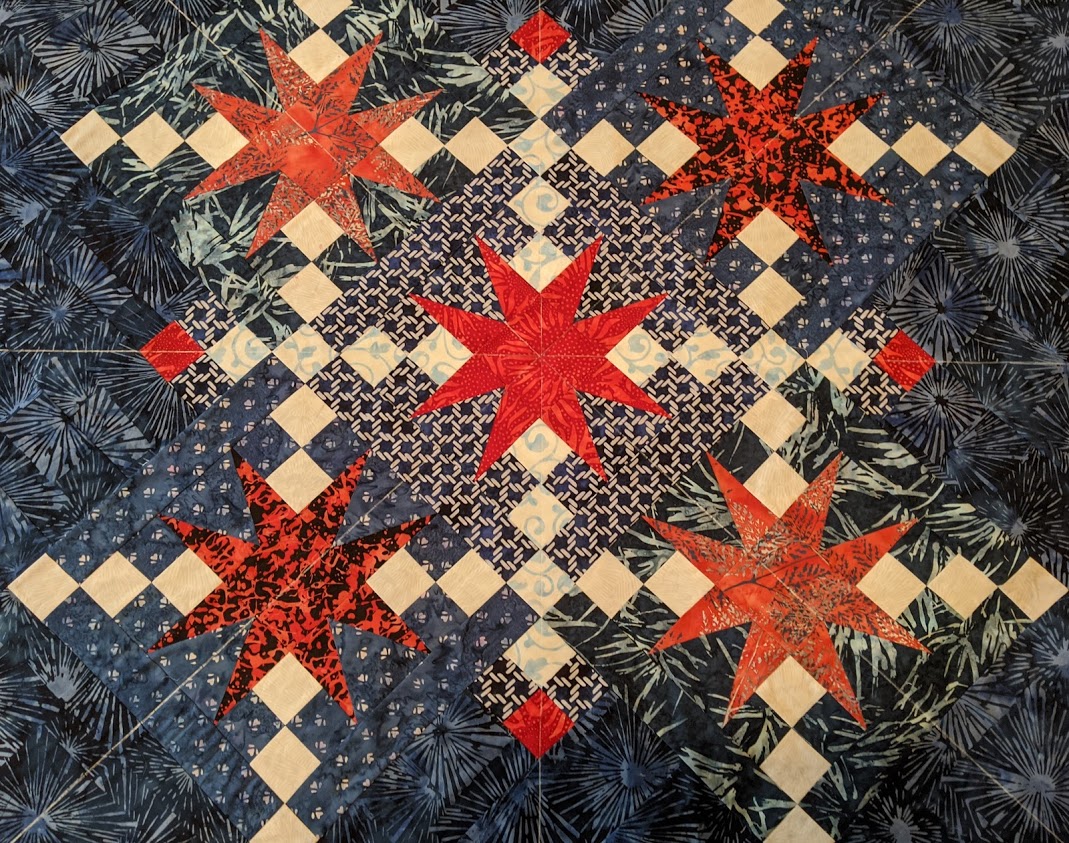
I turned my blocks on point, and added more four-patches to the setting triangles.

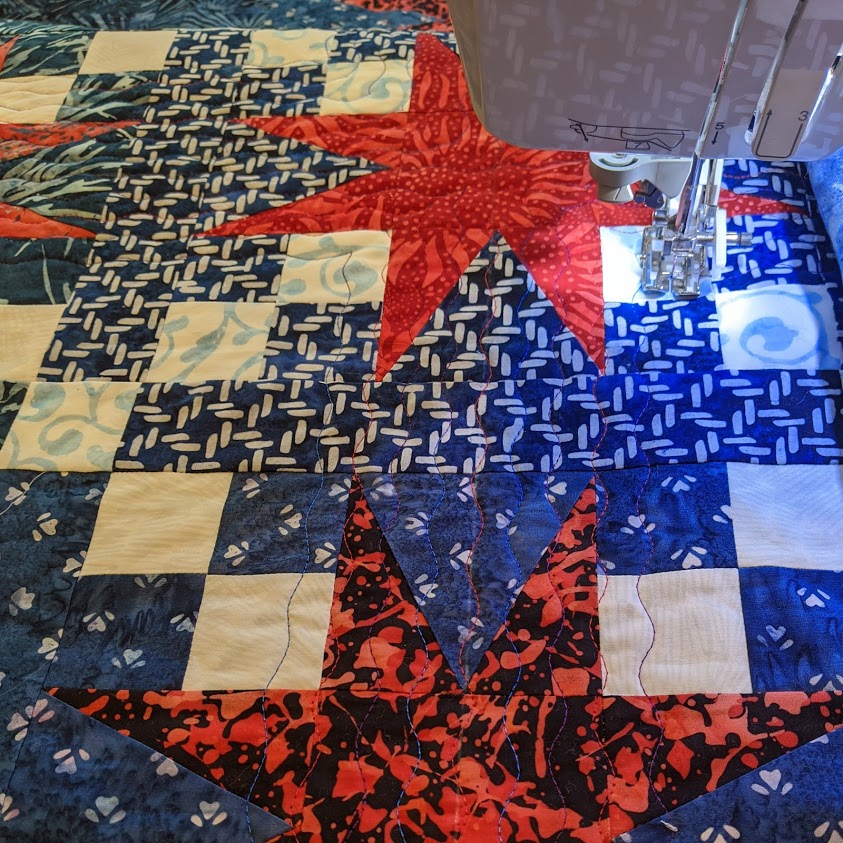
For the quilting that holds the quilt top, batting and backing together, I thought it would be fun to try something a little different.
I marked corner-to-corner and midpoint-to-midpoint with white chalk. The corner-to-corner lines would be the first lines I stitched, while the midpoint-to-midpoint lines would serve as my guides for when I needed to change direction as I echoed the initial quilting lines. This would create a set of nesting angles in each quadrant of the quilt. (The only time any of the quilting lines would cross each other was right in the center of the quilt.)
I set my sewing machine up for an elongated serpentine stitch. I stitched corner-to-corner first with my walking foot, and then created a network of nesting angles in each quadrant of the quilt. Variegated thread added a bit of extra “pop”.
When it came time to bind the quilt, I didn’t want to create a hard edge cutting off the design. So instead, I tried a flange binding a little bit wider than I normally use. (This time, I cut the accent or flange fabric 1 3/4″ wide and the main binding fabric 1 1/2″ wide.)
I like the way the matching fabric causes the outer binding to “disappear” into the quilt while the flange still provides a subtle “pop” accenting the design.
And so does Ronan!