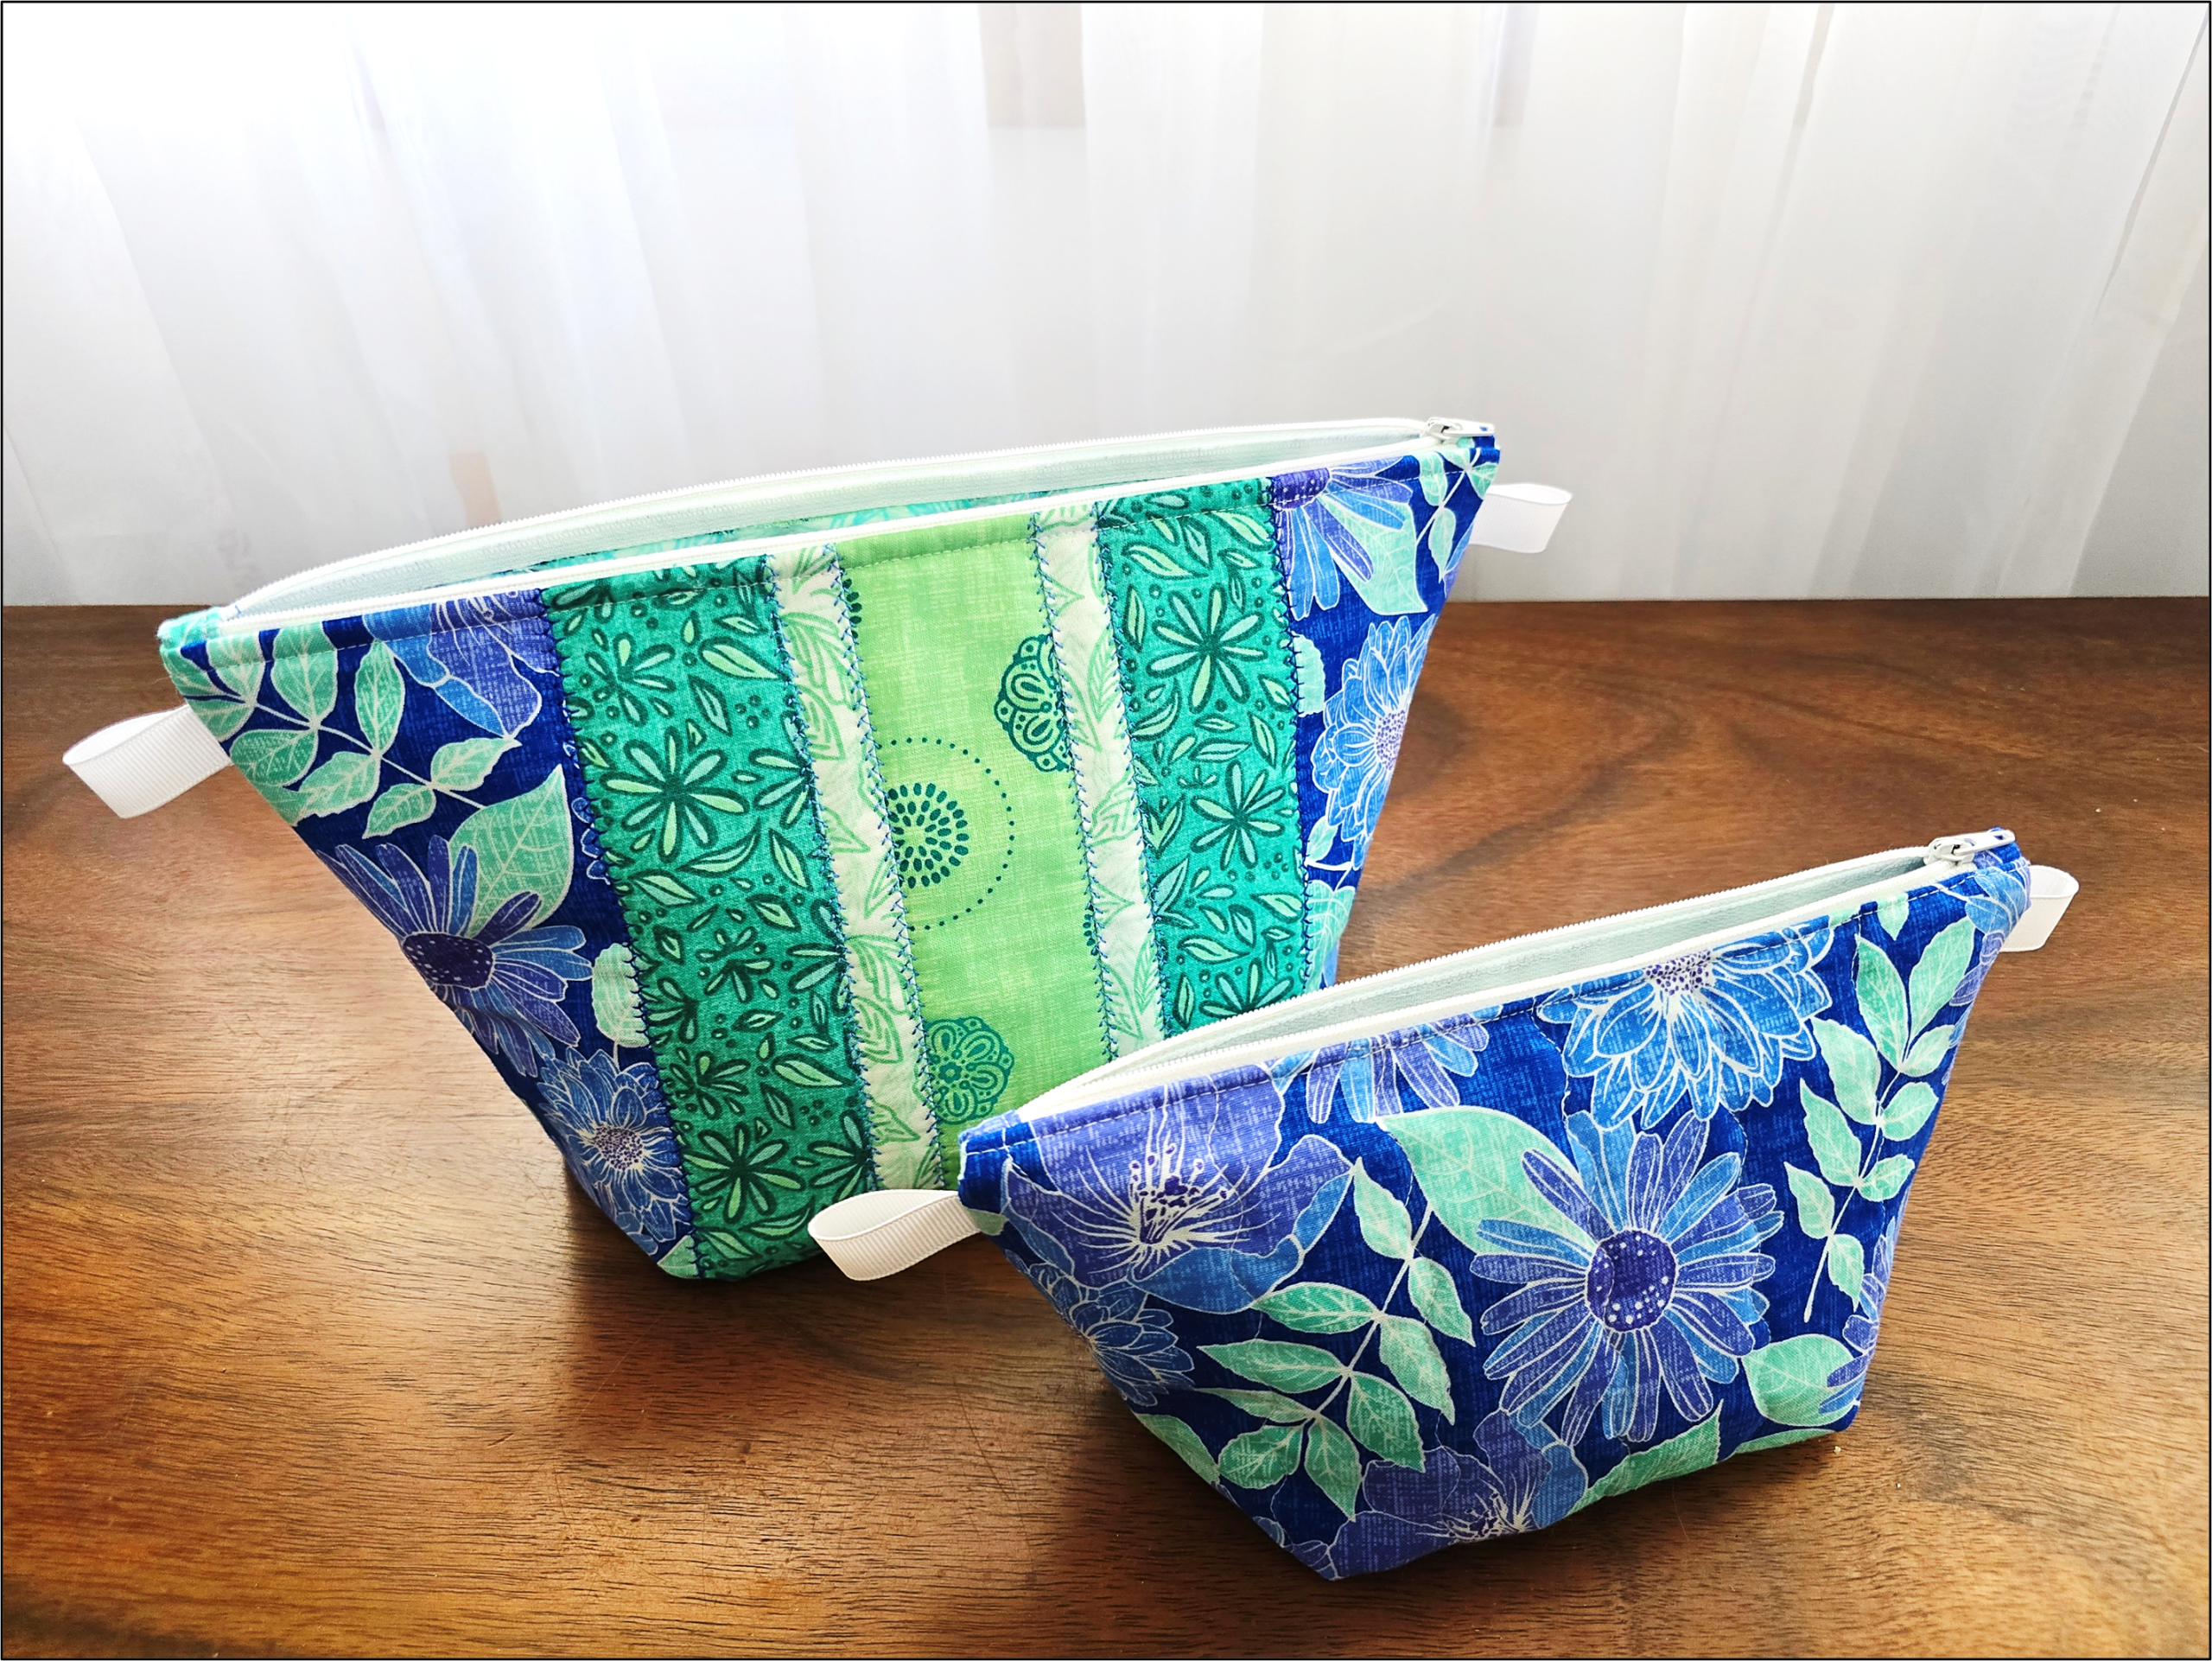
If you’re looking for a practical way to use up leftover fabric and off-cuts of batting while enjoying the decorative stitches on your sewing machine, this project is a wonderful place to start.
And if you’ve never tried Nancy Zieman’s easy zipper installation technique – I’ll show you how it works! I think it’s the easiest way to eliminate the bulk of the zipper in the side seams, making it easer to get a nice finish.
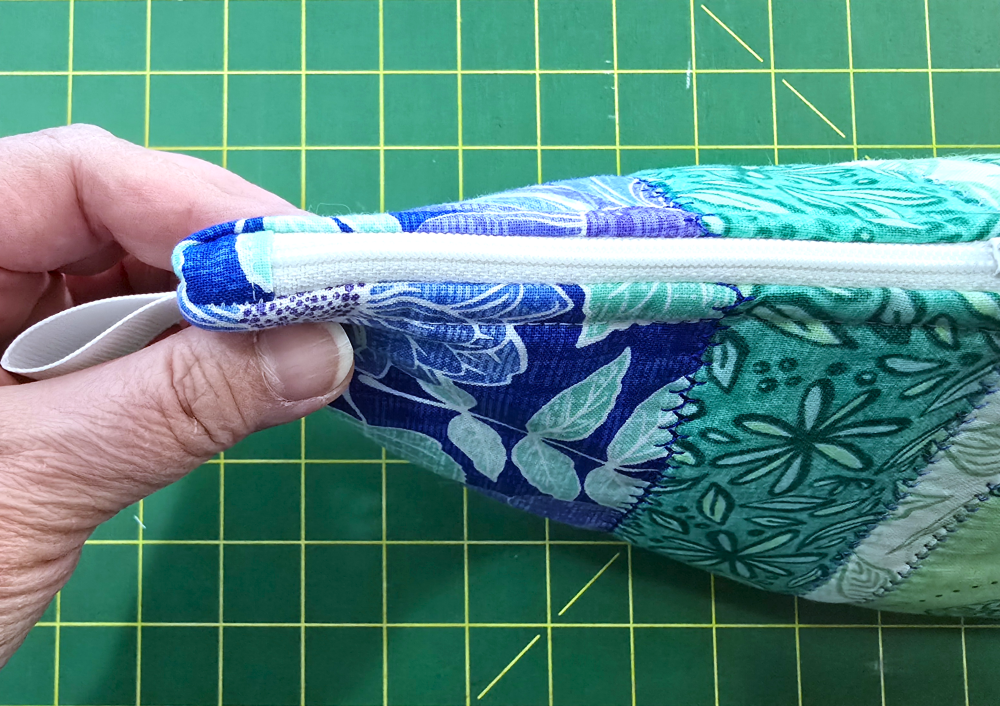
In this tutorial, I’ll share how to create quilted expandable stand-up zipper pouches in two sizes. They’re quick to make, easy to customize, and perfect for organizing quilting supplies, travel essentials, sewing notions, and so much more.
One of my favorite parts of this project is that the quilting happens before the bag construction, making it easy to add beautiful decorative stitching while the fabric is still flat.
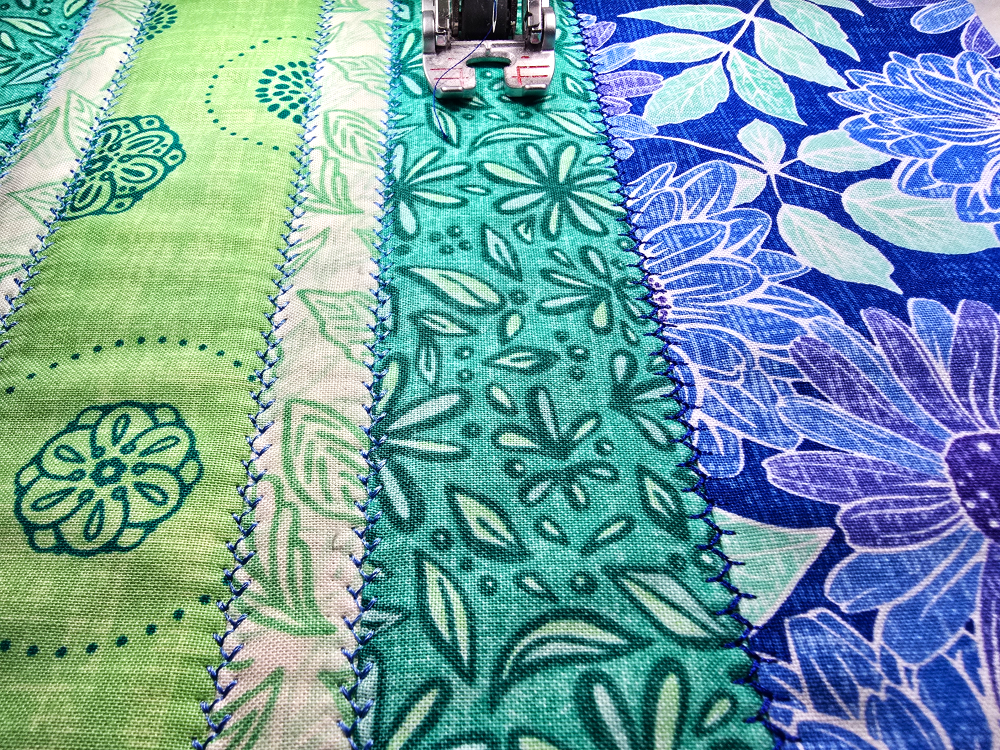
Whether you choose a simple one-fabric version or a scrappy patchwork design, you’ll end up with a sturdy pouch that stands beautifully on its own and showcases your creativity!
In this video, you’ll learn:
- how to quilt the fabric before constructing the pouch
- how to use decorative stitches for easy (and fun!) embellishment
- two different pouch sizes (or choose your own size!)
- easy zipper installation
- how to create a gusset that will allow the pouch to expand AND stand upright
- tips for customizing your pouches – find your own style!
Watch the video:
Happy Quilting!
✨ Quilting Friends members will also receive a printable resource to accompany this video as a personal “thank you” from me – it will be available for download later this week. ✨
Click here to learn more about the Quilting Friends membership. It’s costs less than a monthly cup of fancy coffee to join!