Ready to add some extra “pizzazz” to your quilting? This week’s video shares essential techniques for decorative quilt binding by machine, helping you avoid common issues like broken threads, thread jams and messy corners.
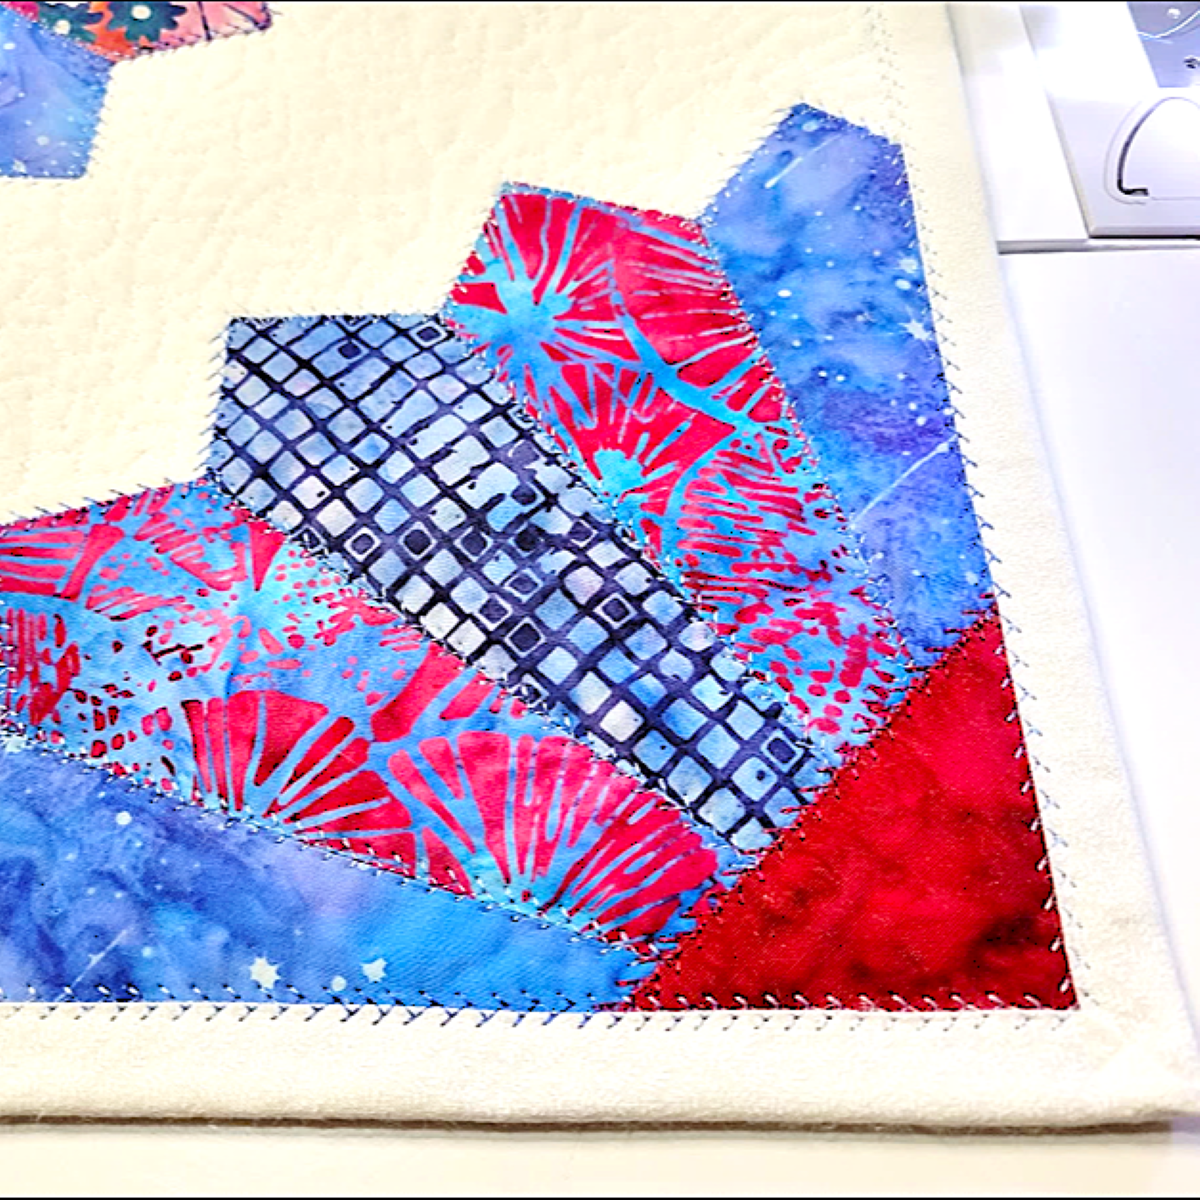
Learn how to turn your binding into a fun design feature with these sewing tips and quilting techniques. This quilt binding tutorial focuses on achieving polished, reliable, and beautiful results with machine binding.
Whether you’re looking for a high-end finish or a creative way save your hands from hand-sewing, this tutorial covers the exact system I use for polished, stress-free results – that are a lot of fun, too!
We’ll cover:
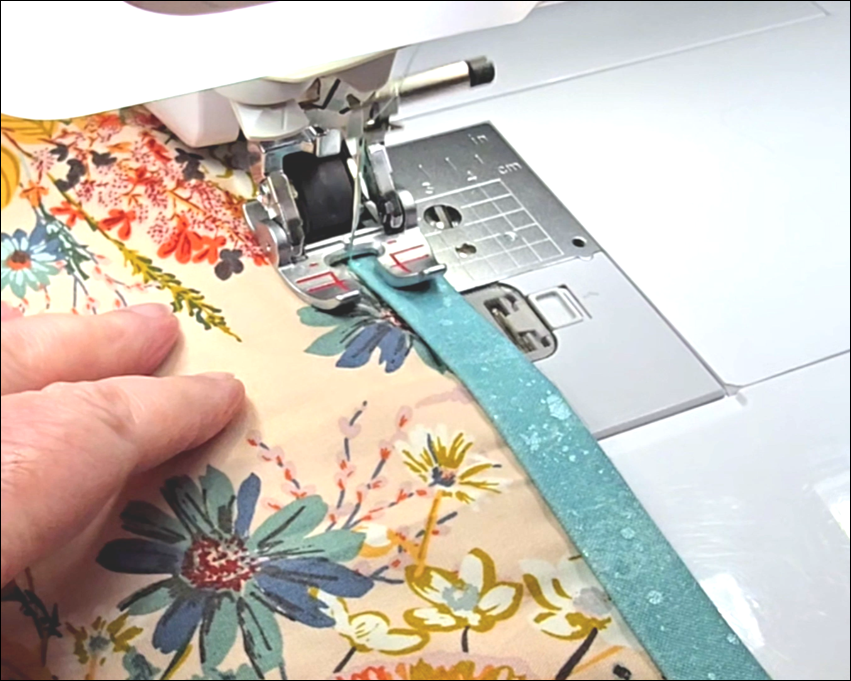
- Essential prep – including strip width, off-setting the binding, and mitering corners
- Why “priming” and glue-basting are game-changers for hand comfort
- Choosing your “Vibe” – shiny trilobal poly vs. matte 100% cotton & the right needle for the job
- Presser foot options
- Which stitches to skip and how to choose stitches that will work well
- “What to Avoid” troubleshooting tips to keep your machine (and you!) happy
- My favorite quilting tips for tidy corners every time.
Watch the video:
If you’re looking for other machine-sewn binding techniques, you may enjoy my other quilt binding videos:
For the basics from the ground-up – including the easy “tuck-in” method for joining the beginning and end of the binding:
For rounded corners without bias strips:
And for fun 2-color or flanged binding:
If you’d like to keep up with all my latest news, tips, and tutorials, please join my weekly email list.
Happy Quilting!