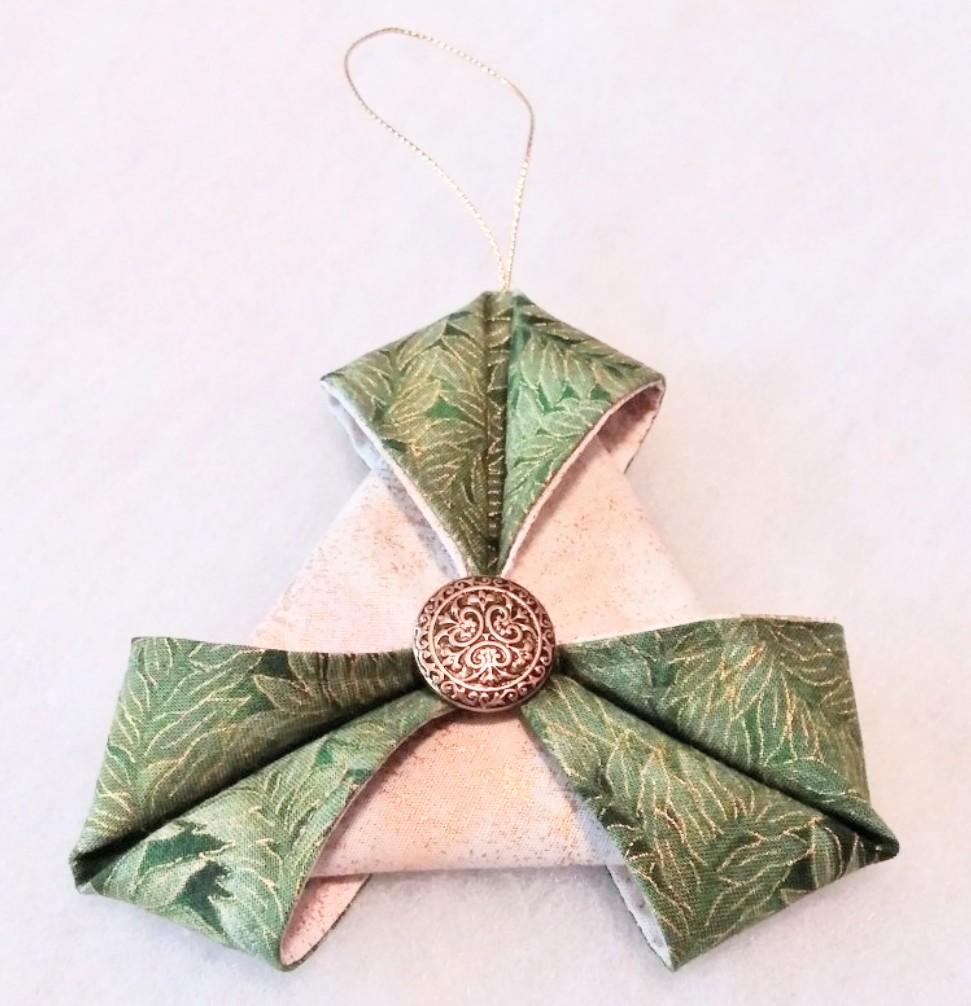
Folded Fabric Ornaments made by Connor and Beth Ann Williams
Christmas in July! It’s not just an excuse for a sale – it’s when many of us start (if we haven’t already) sewing holiday gifts for our friends and family members.
I first stumbled across these lovely and unusual fabric ornaments on a post by Katrina, a sewist in New Zealand, at katrinastutorials.blogspot.com. The links below will take you to her original posts.
After a Google search, I also found this youtube video by Crouton Crackerjacks.
I’ve since found these ornaments in a few other places, but I think the links above are the best.
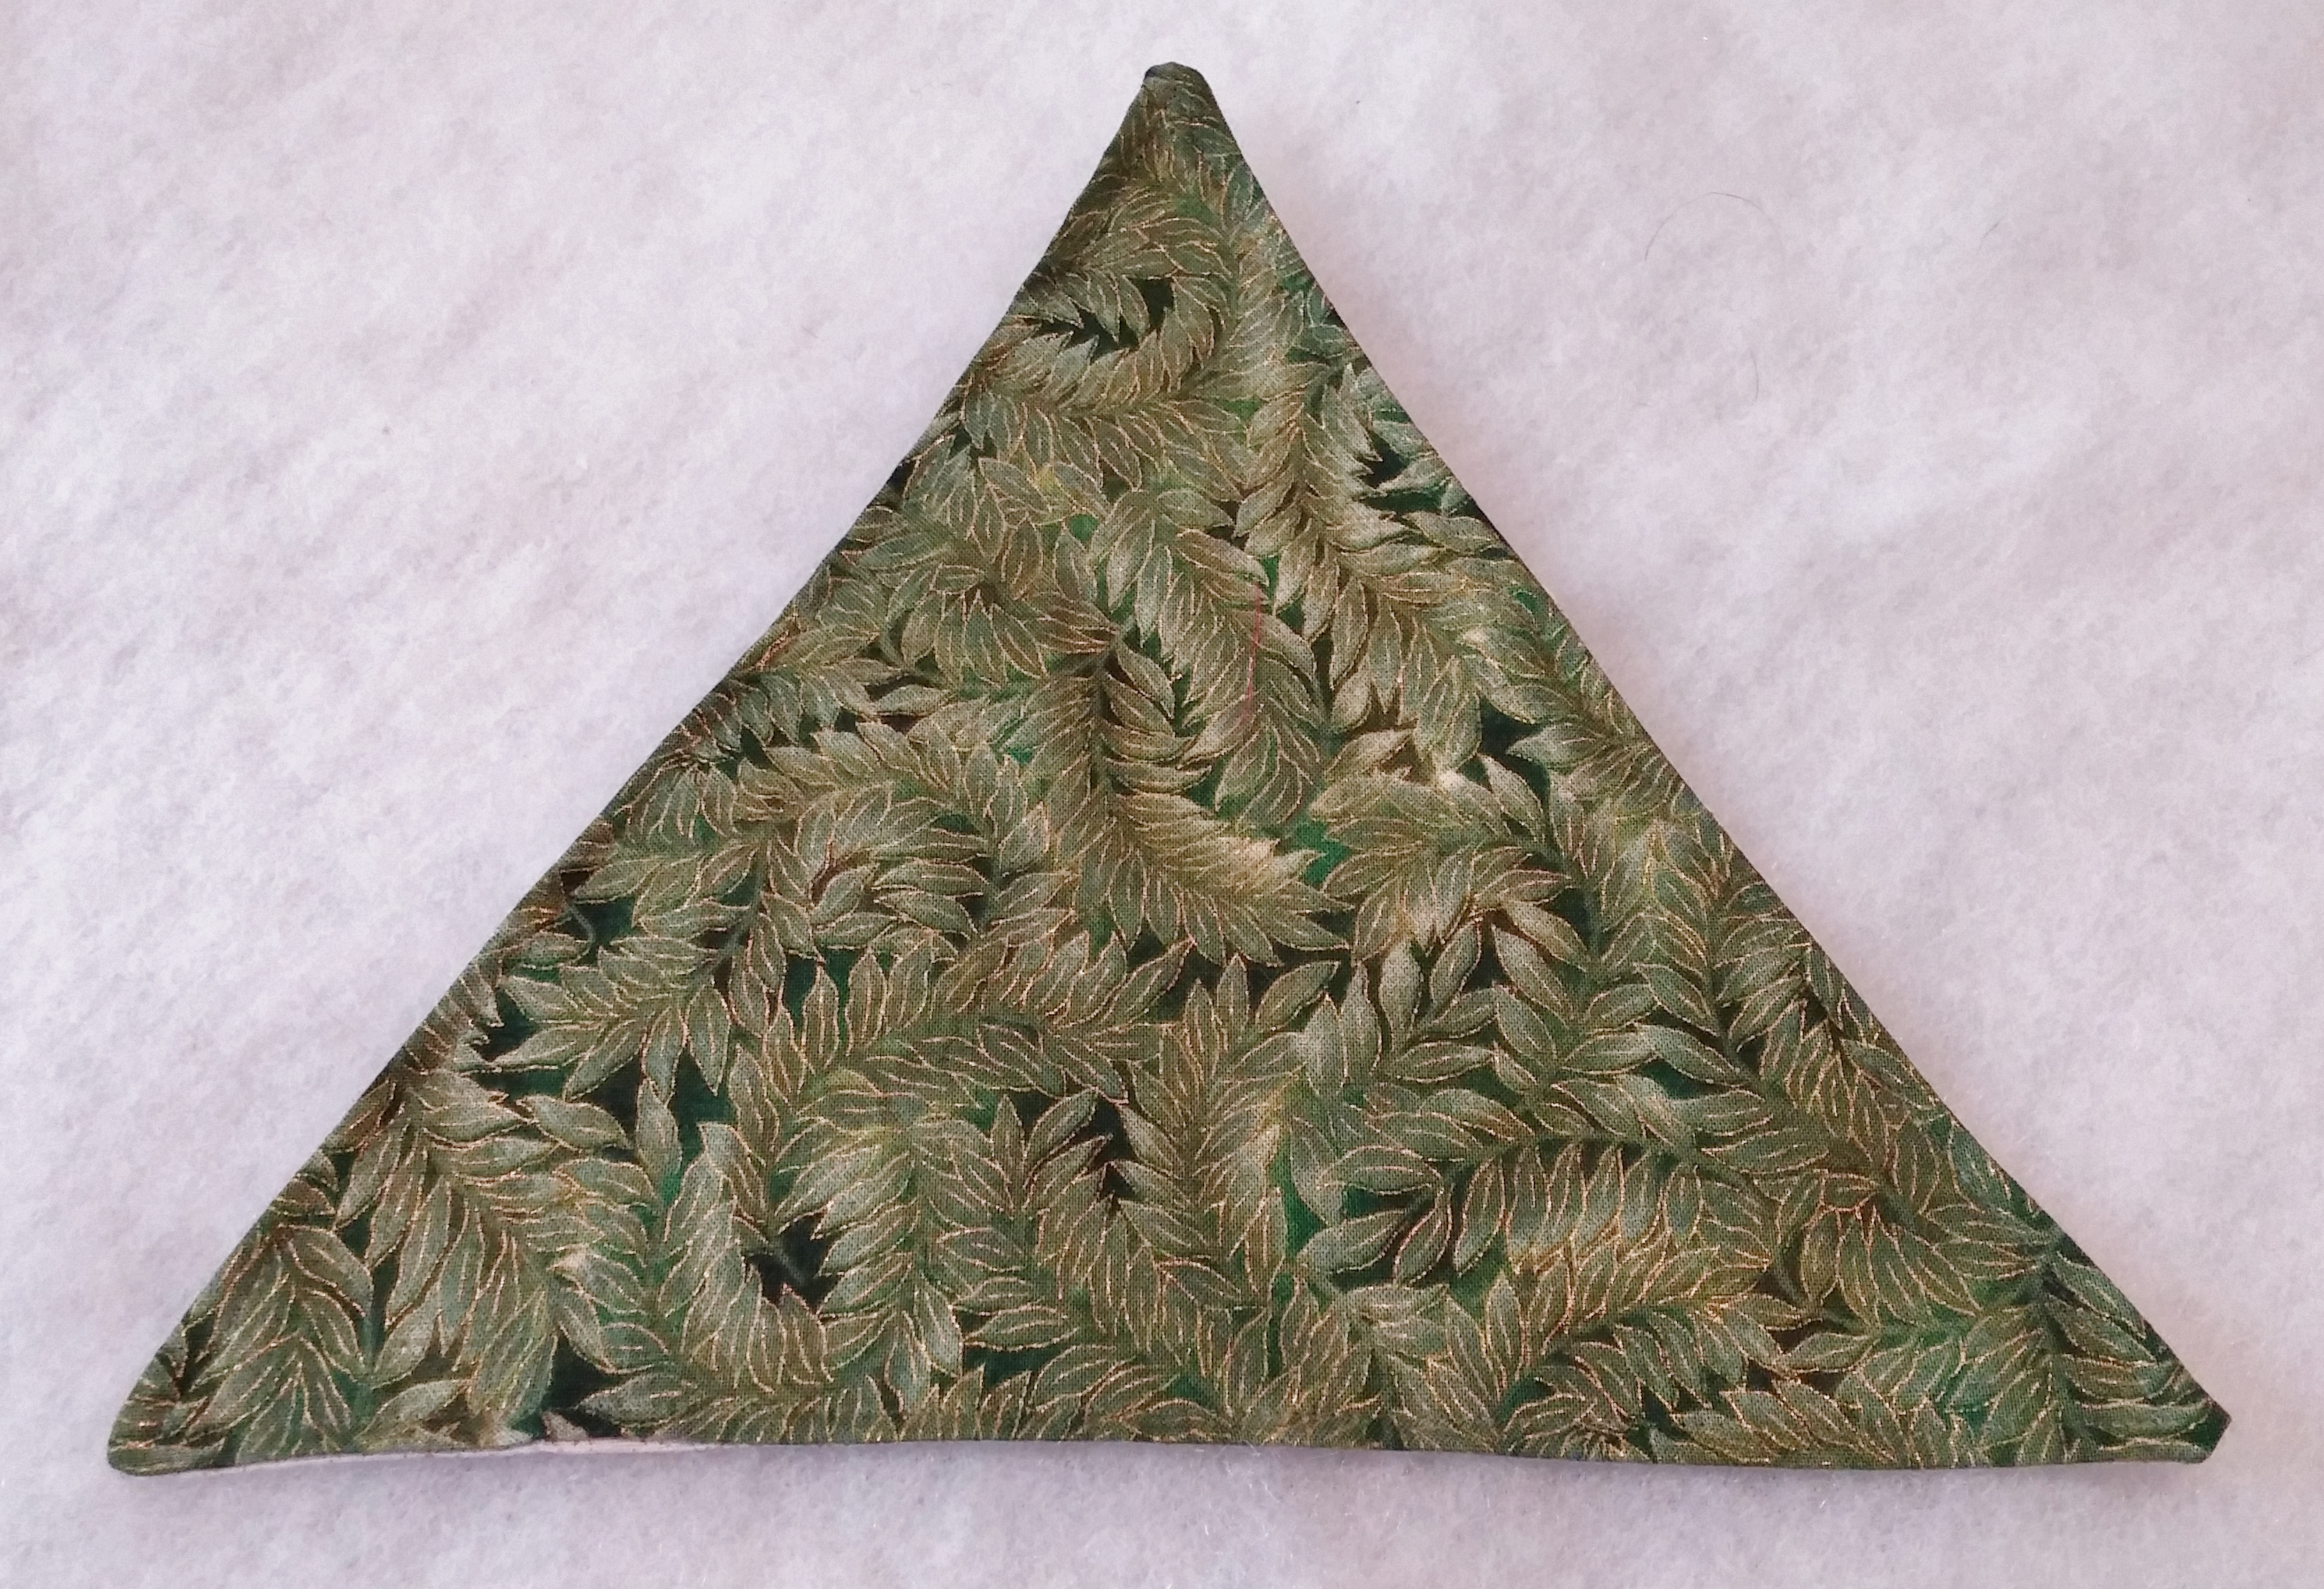
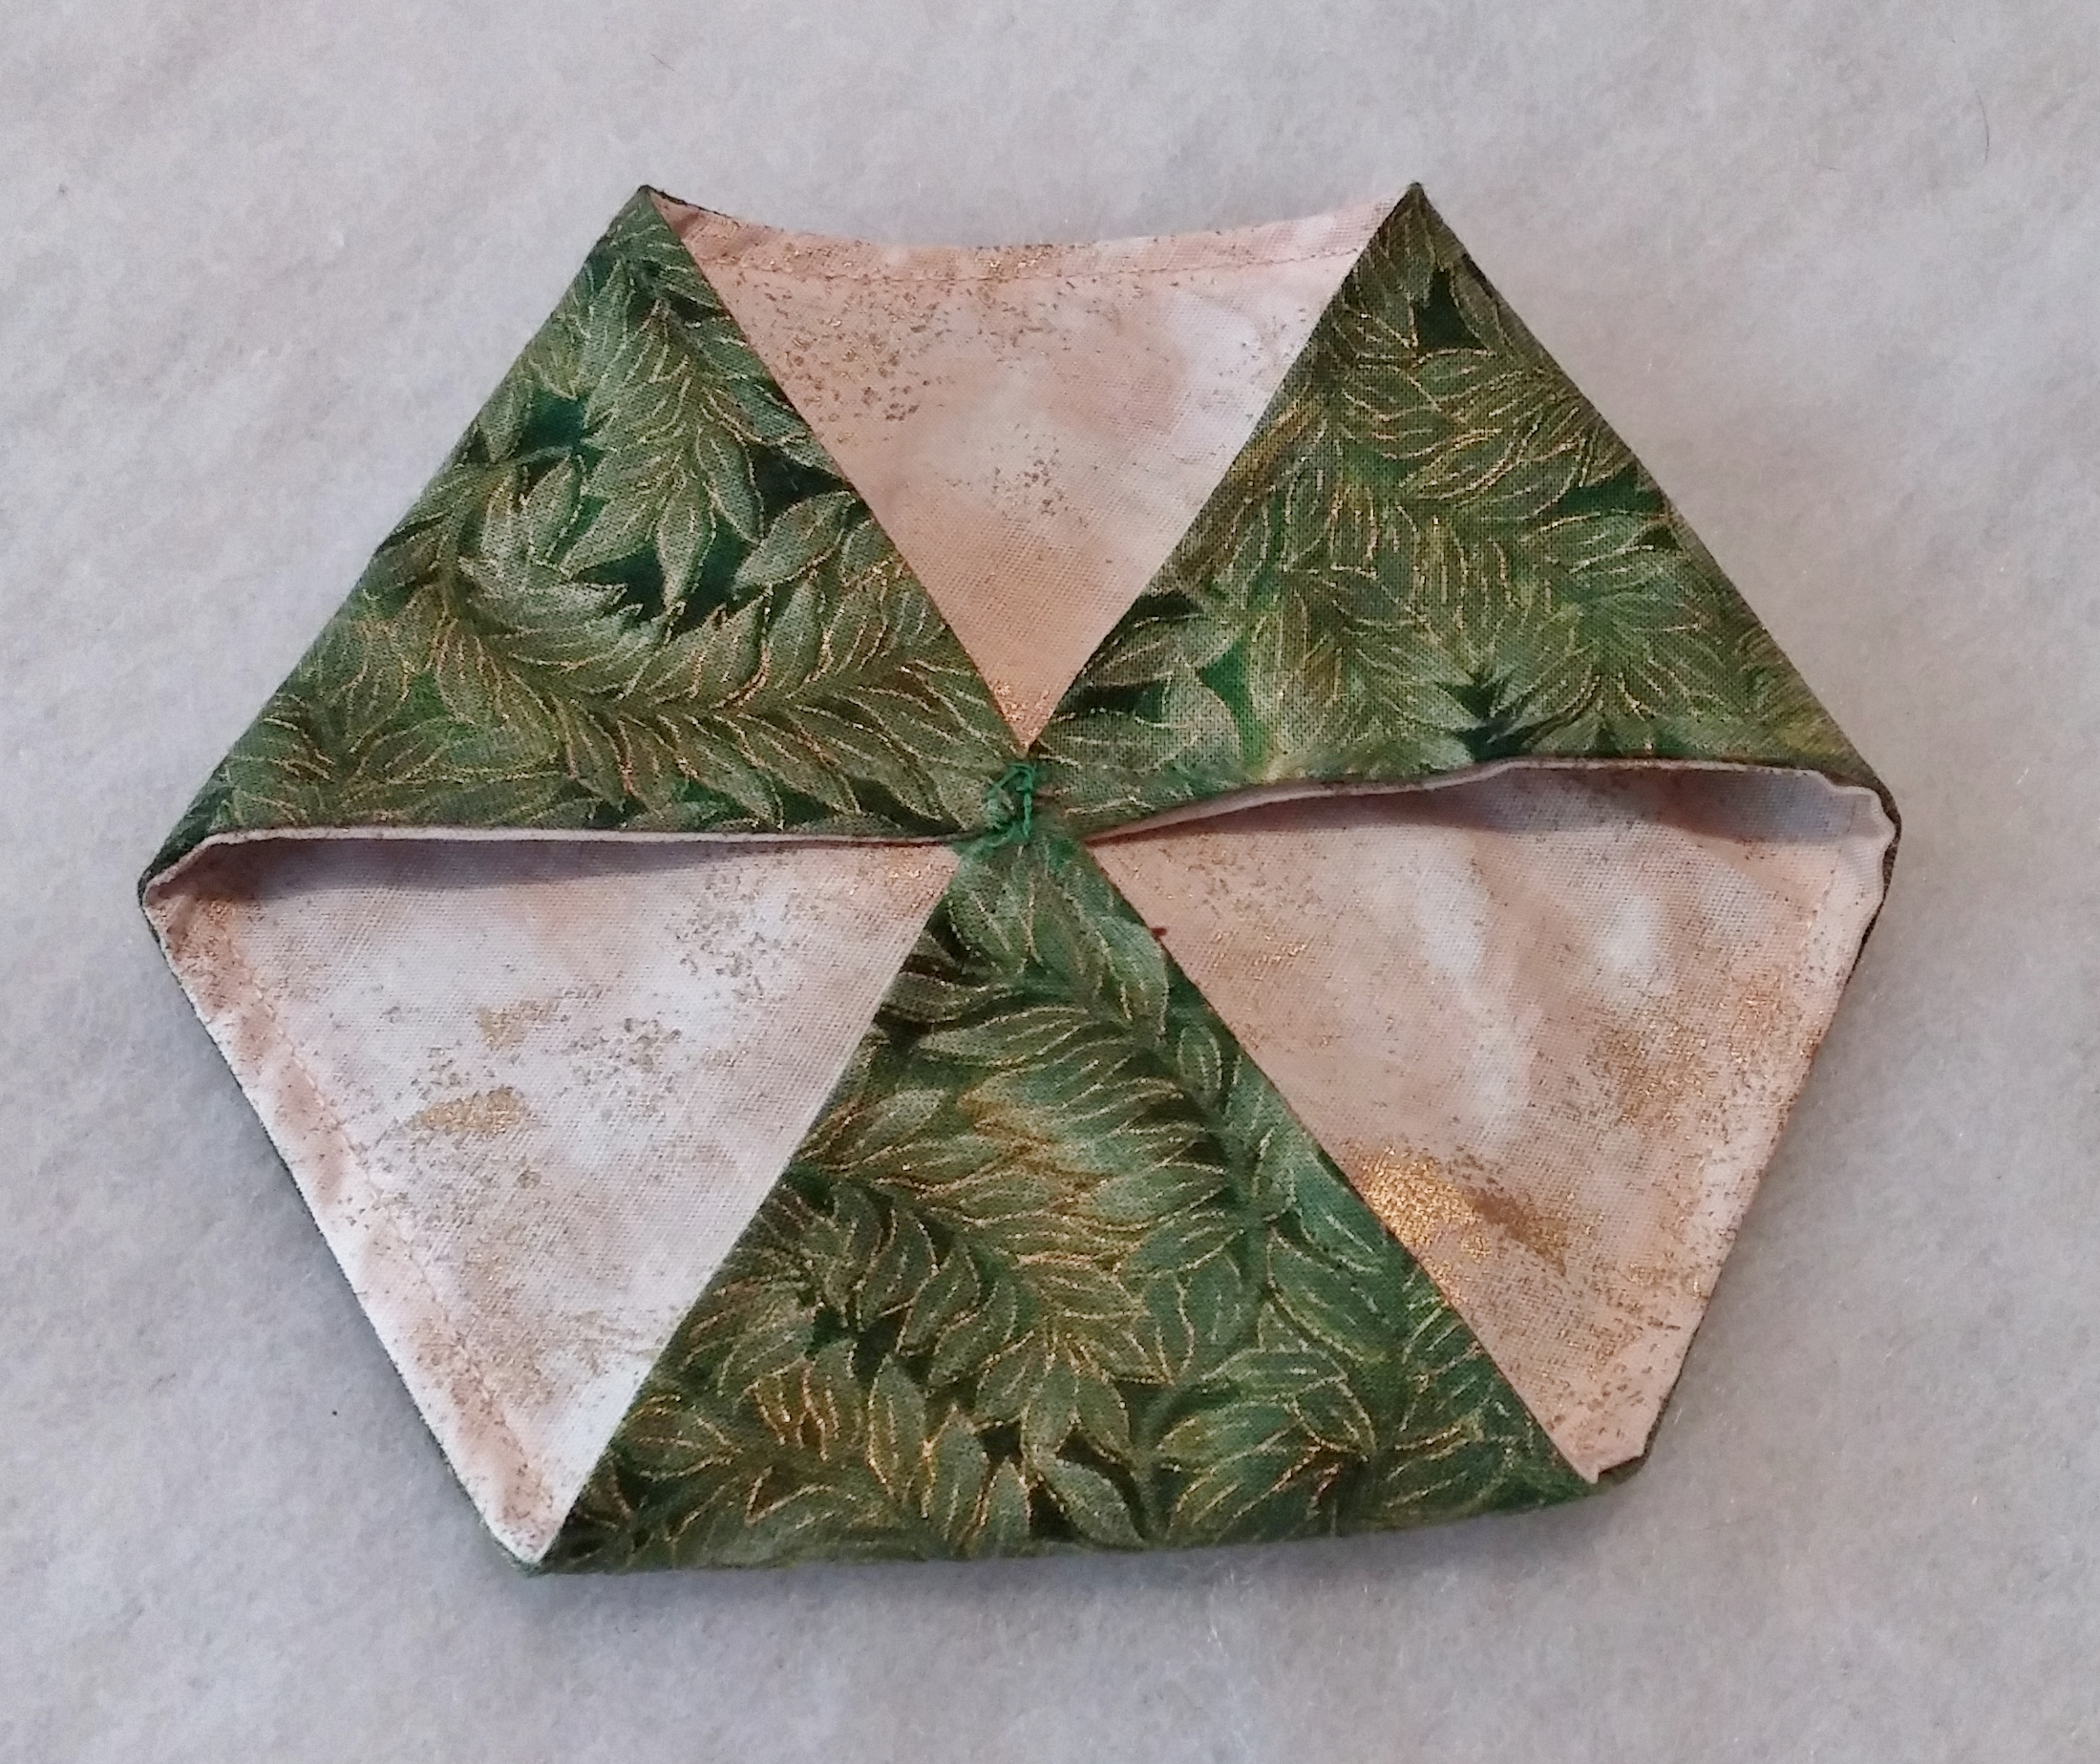
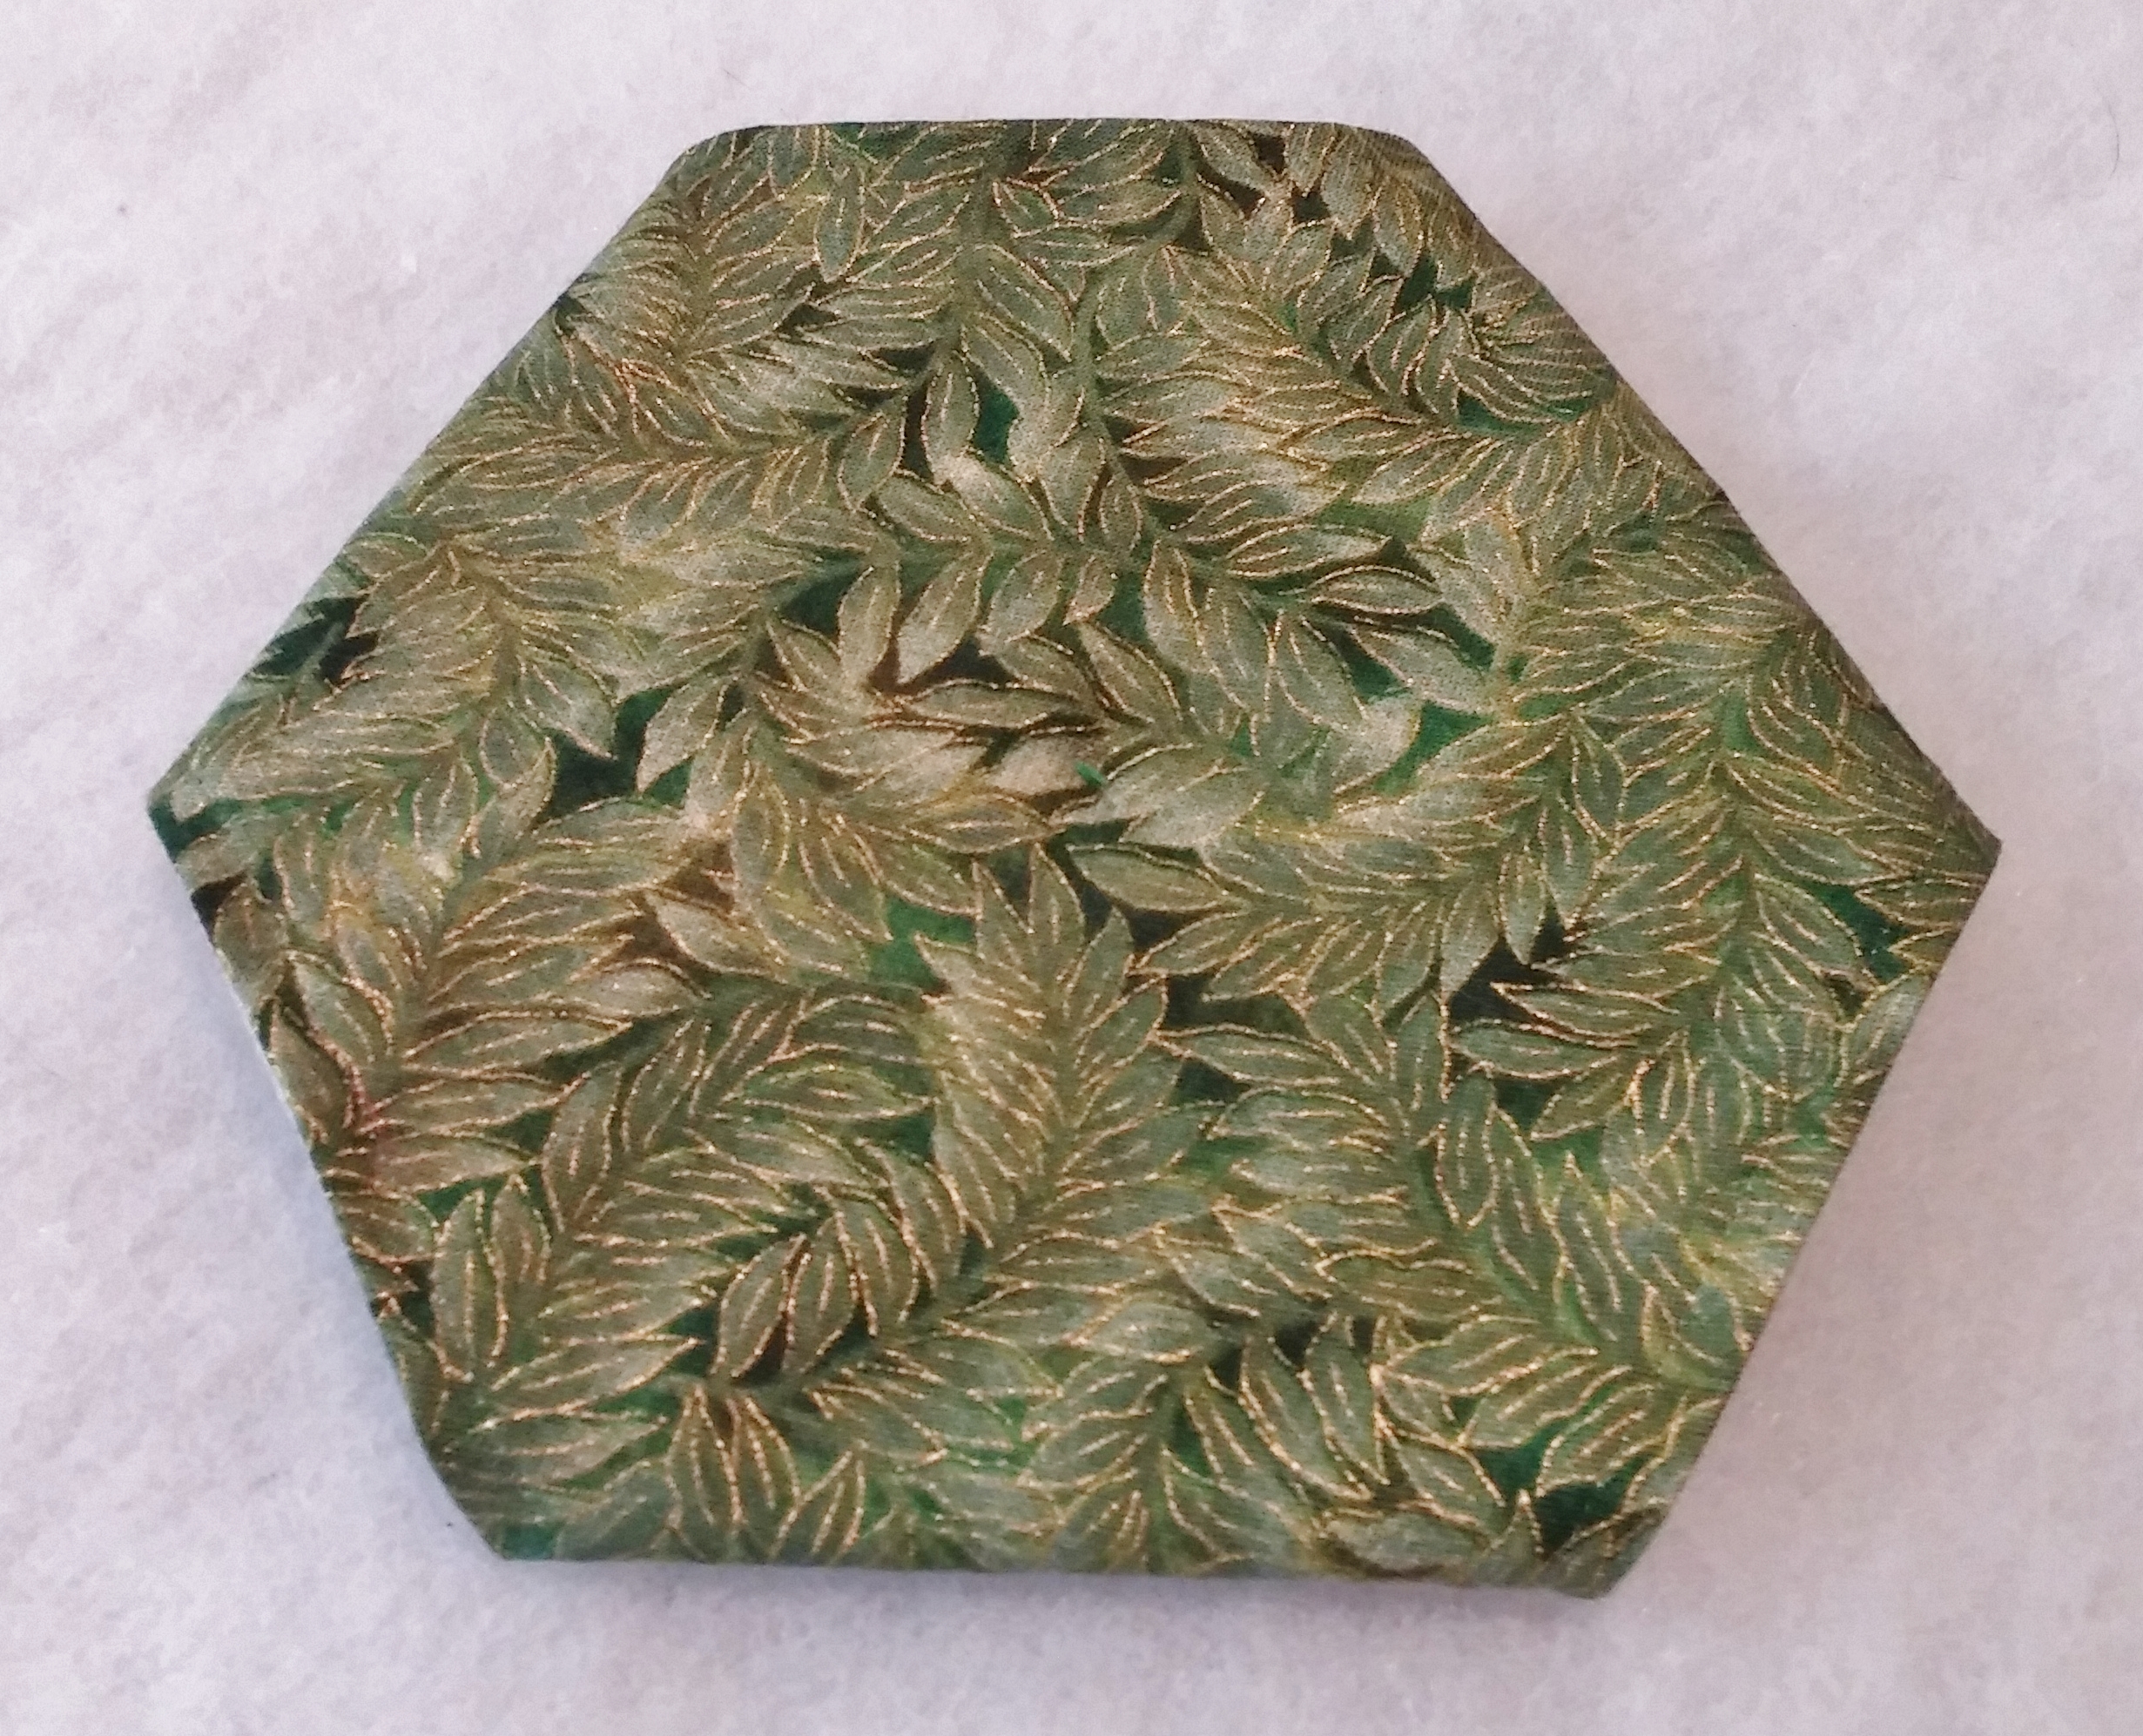
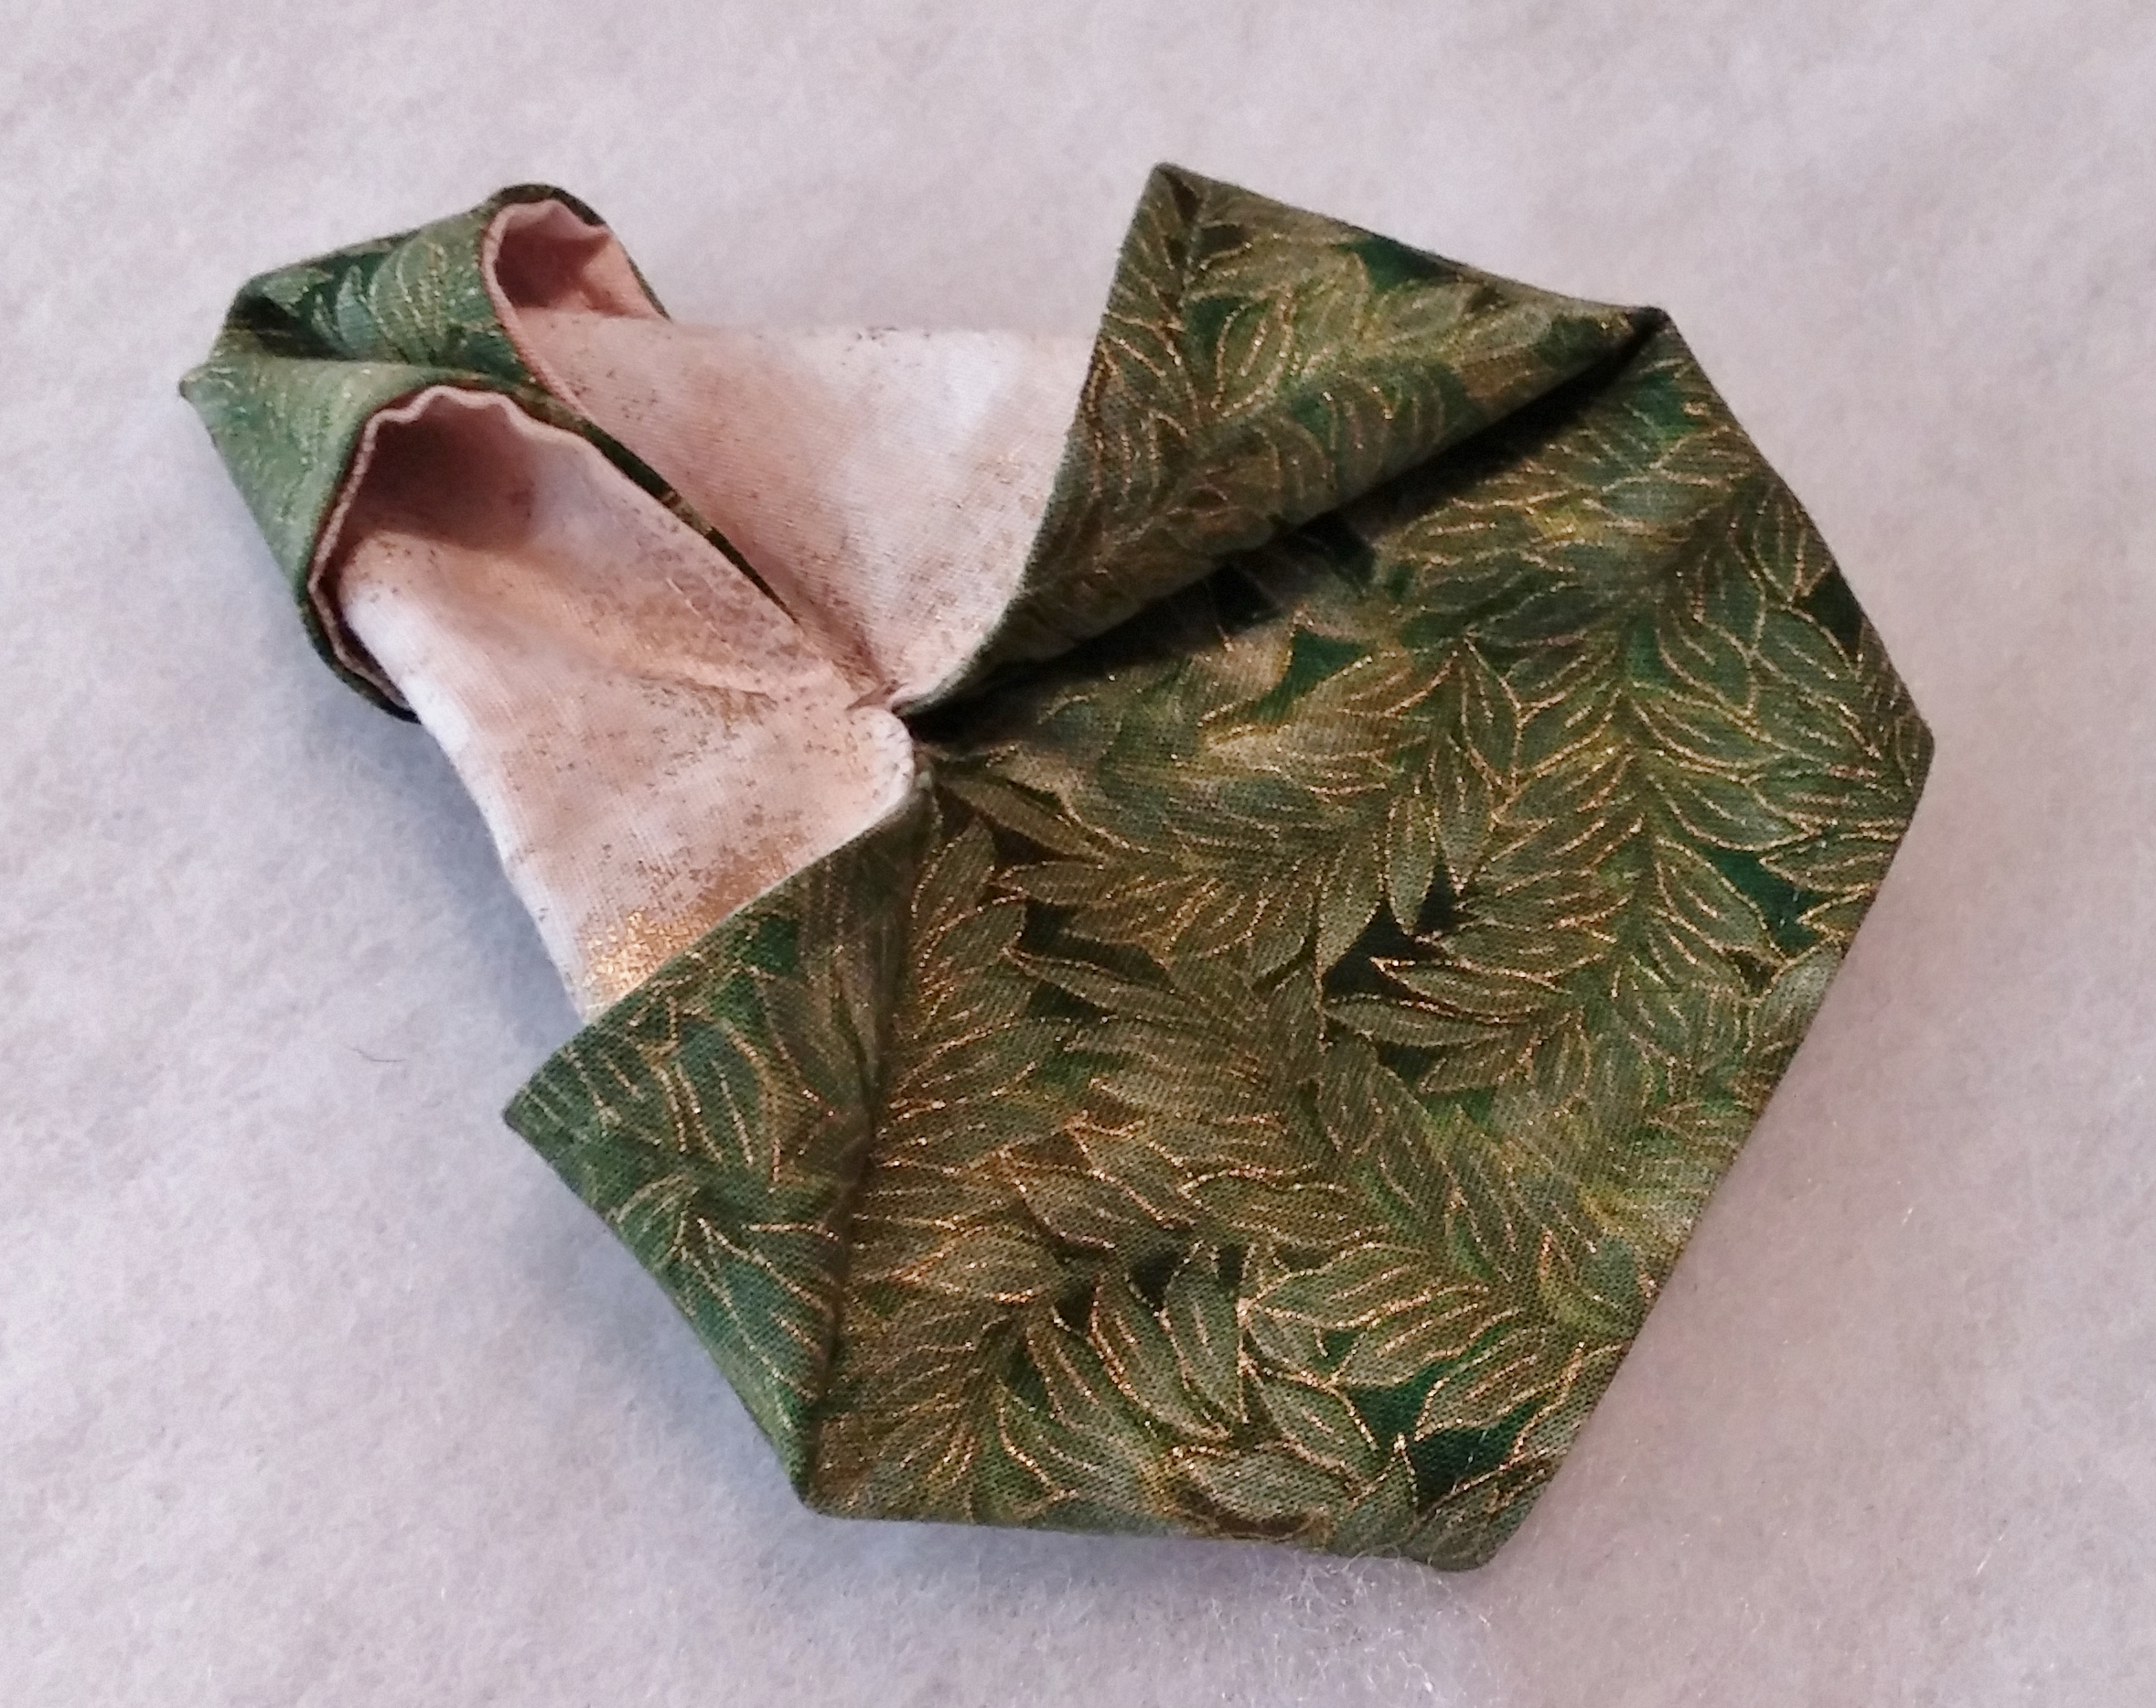
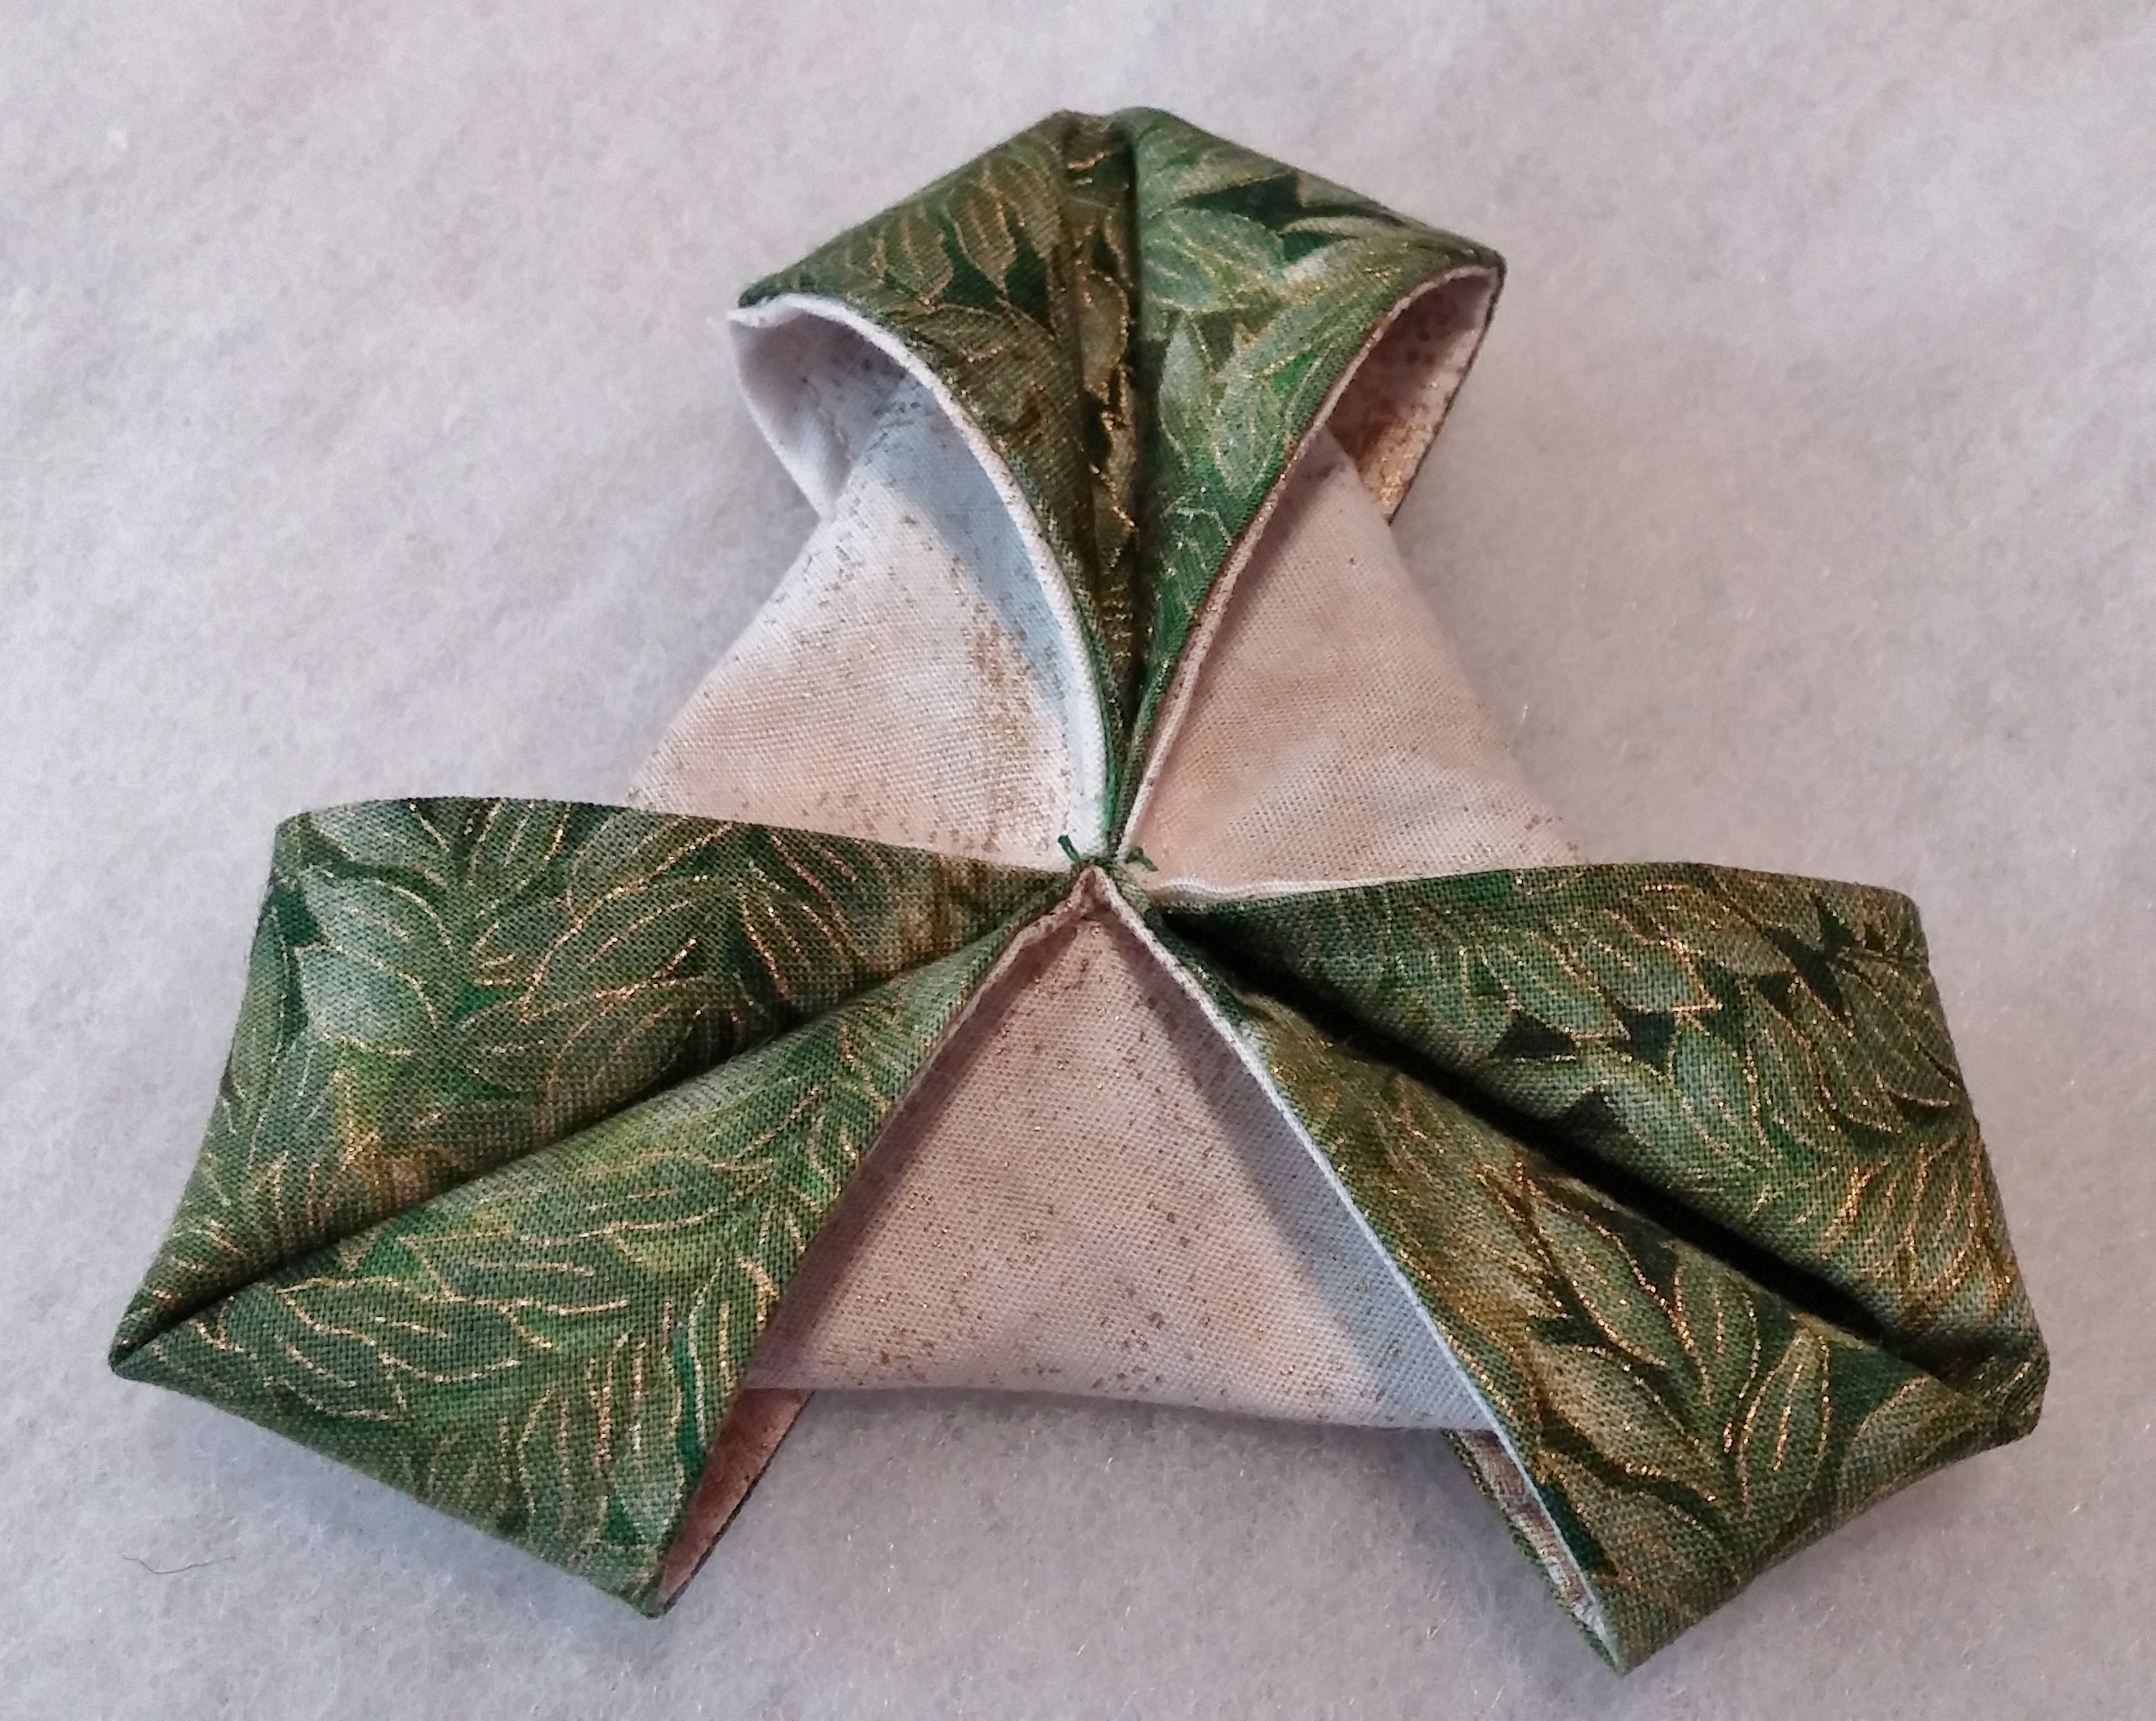
Let’s look at the process for the triangular ornament step by step:
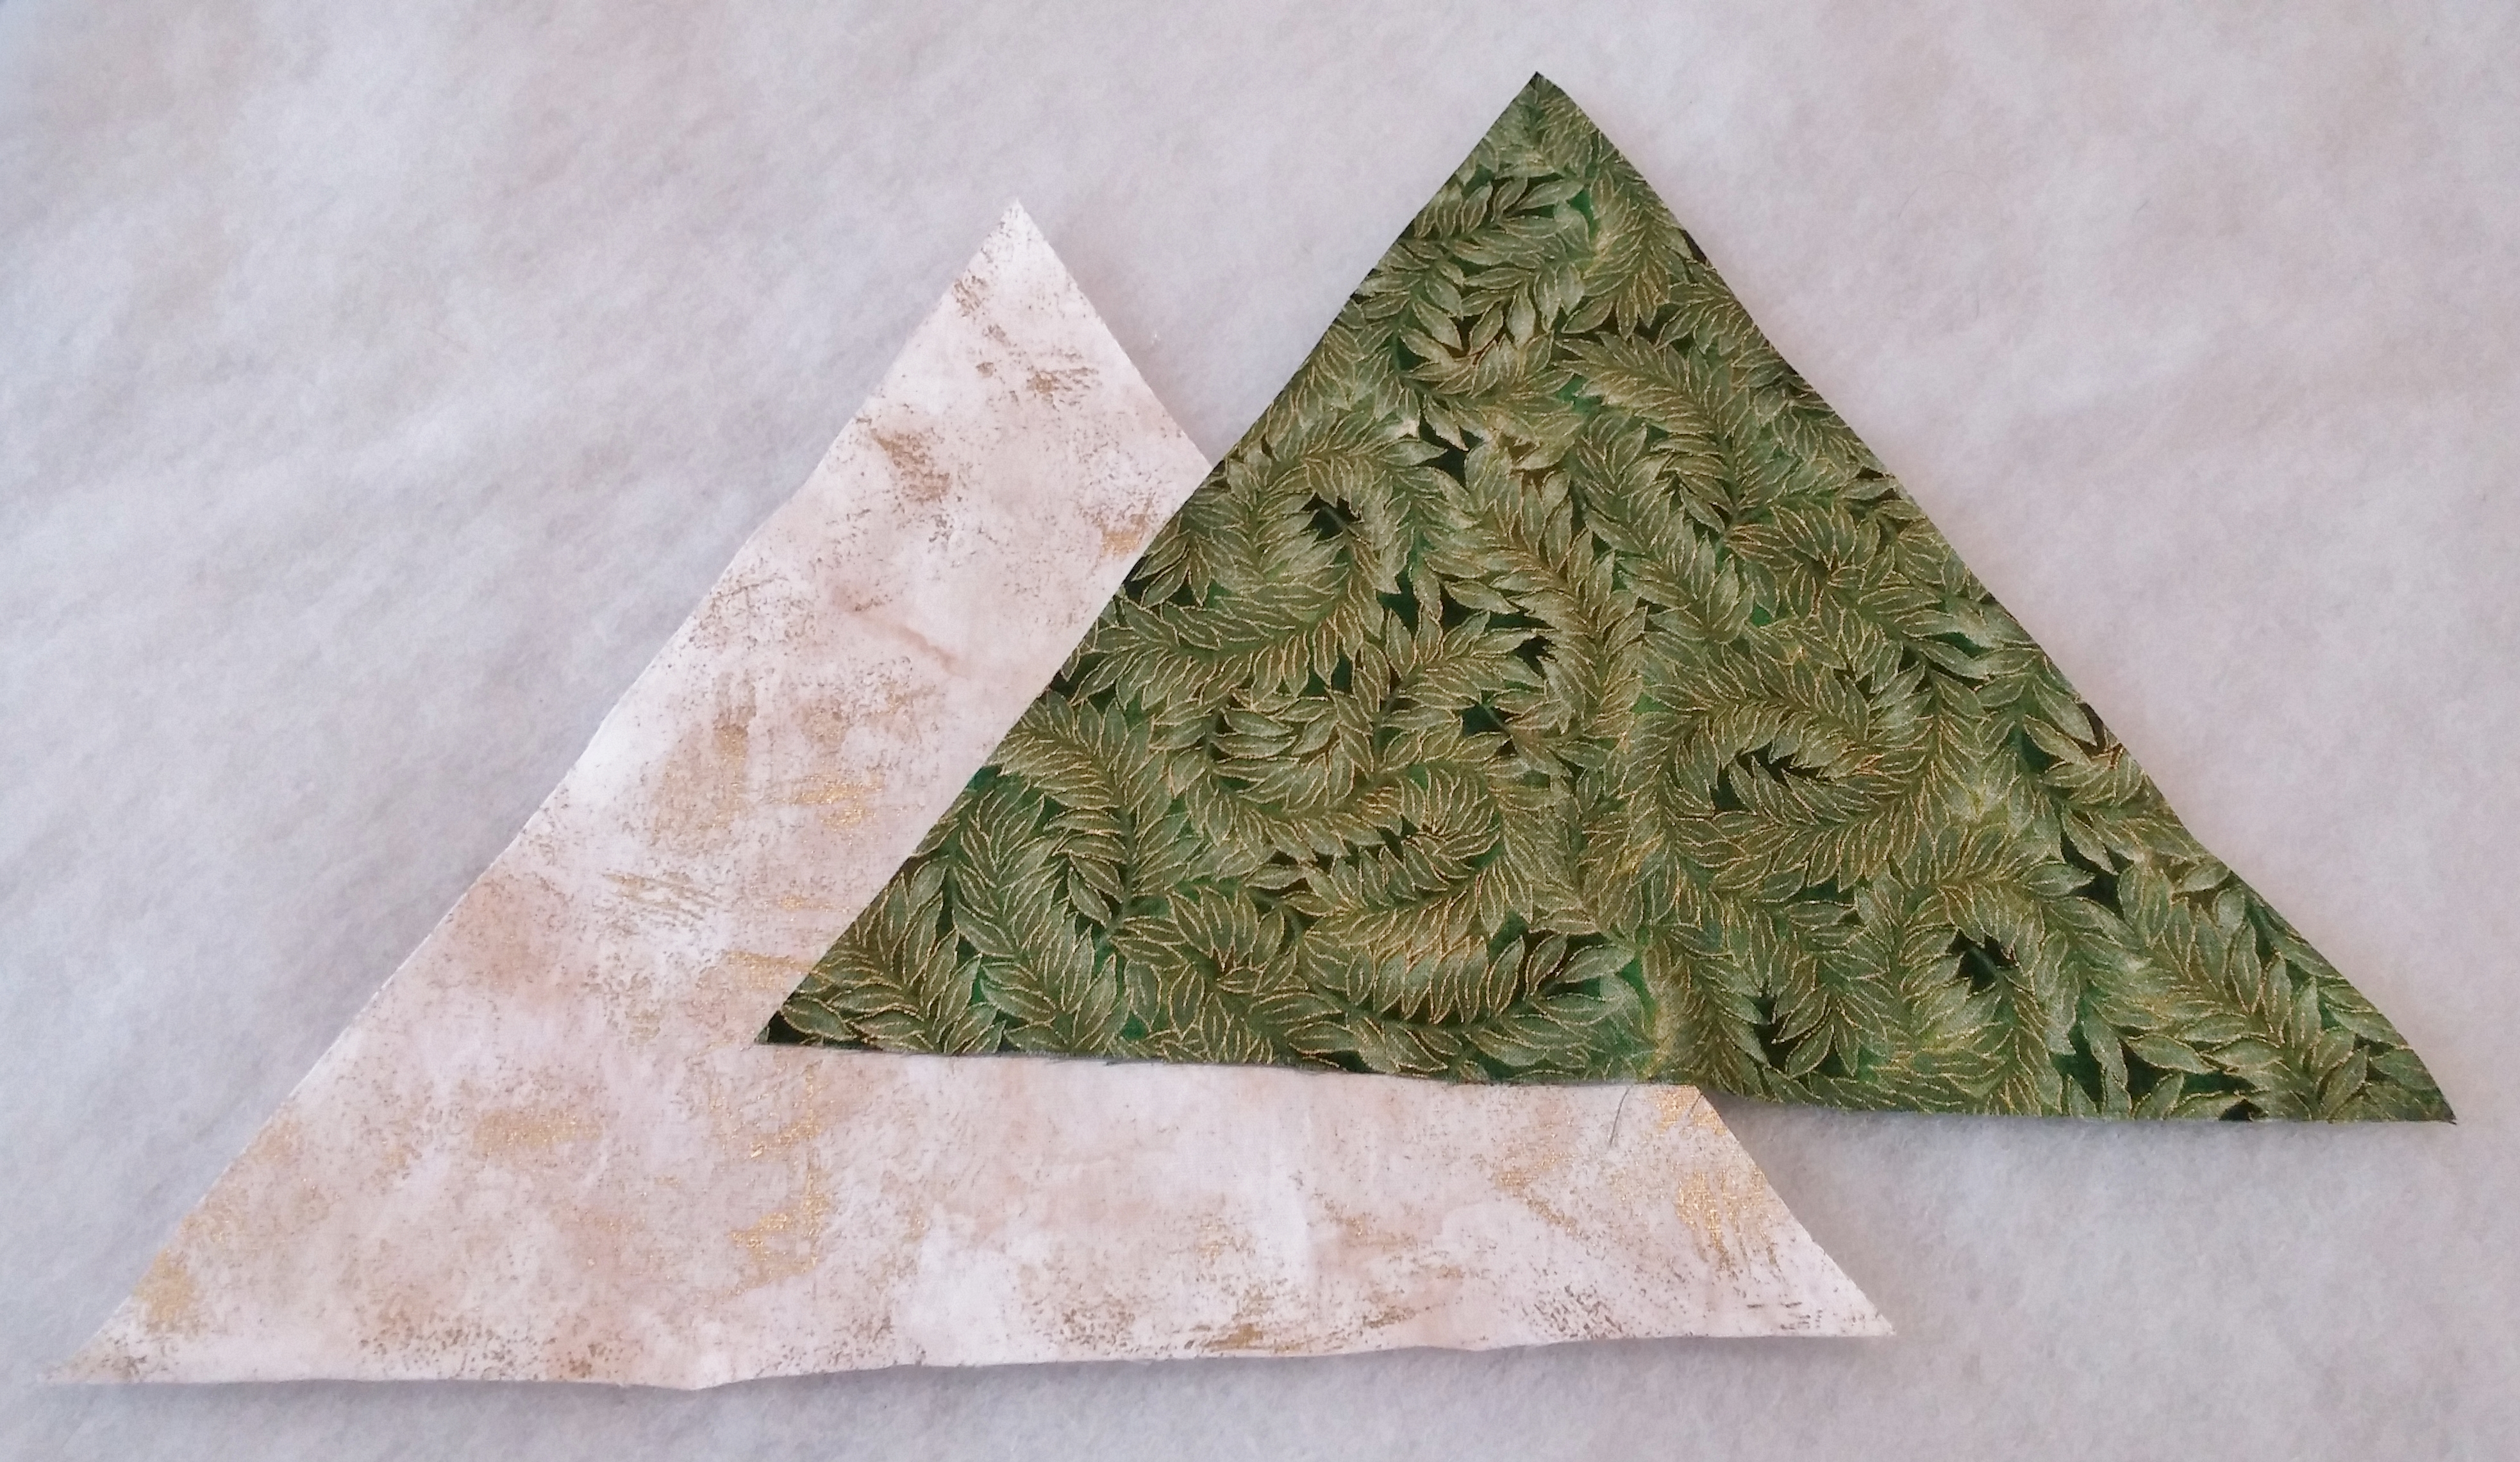
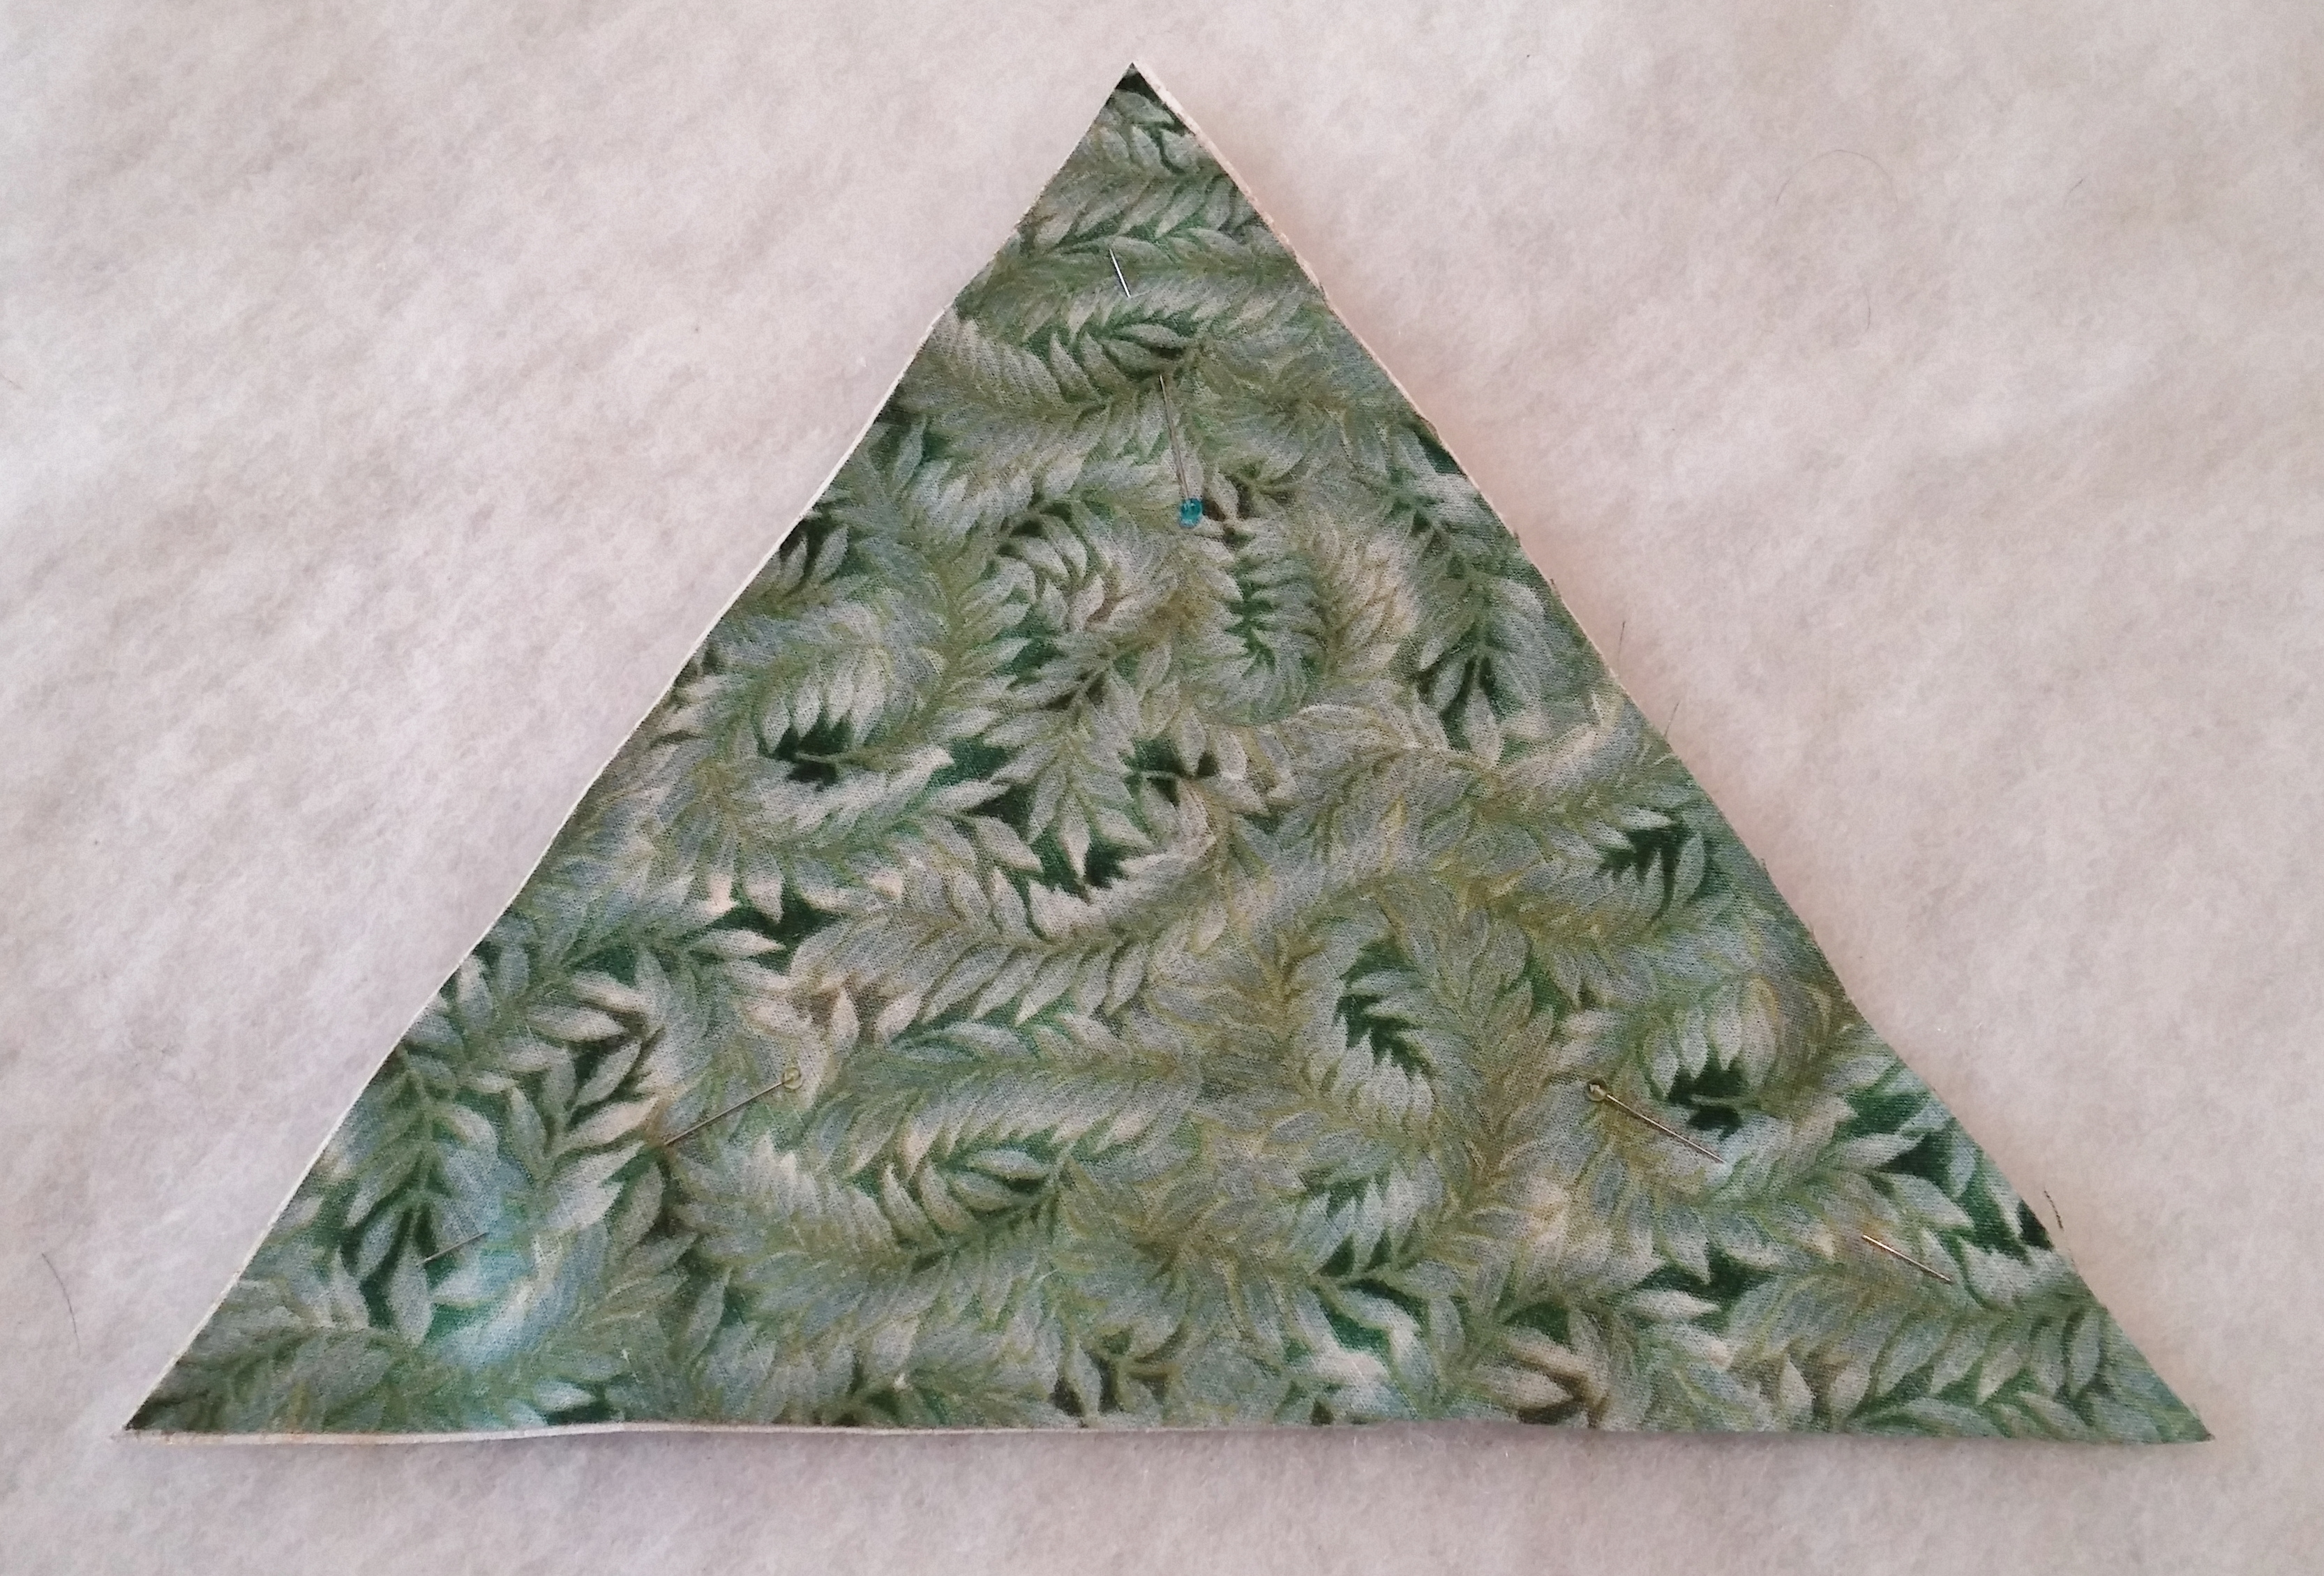
Start with two triangles, approx. 9″ on each side. We used the 60 degree lines on our quilting ruler to cut equilateral triangles from an 8″ strip of fabric.Place the two triangles right sides together and sew with a 1/4″ seam, leaving an approx. 1″ opening for turning.Turn the fabrics right side out and neaten the fabrics at the opening. Topstitch all the way around 1/8″ from the edge of the fabric. This will close the opening. We used cream thread in the bobbin and monofilament in the top so that this stitching wouldn’t show in the finished ornament.Bring the points of the triangle together and tack together with a few hand stitches. We recommend keeping the thread continous from here on out, but we knotted and cut the thread for the step-outs used in the photos.Turn the fabric over.Bring the thread through the center point of the hexagon and then catch the midpoint of one side edge of the hexagon, skip one side, and catch the midpoint of the next side edge.Continue until the center points of 3 alternating sides are all brought together in the middle. This will form a triangle.With the same thread, sew a button or charm to the center of the triangle. Knot and cut off the thread. Add a loop of thin ribbon or metallic cord at the top for hanging.
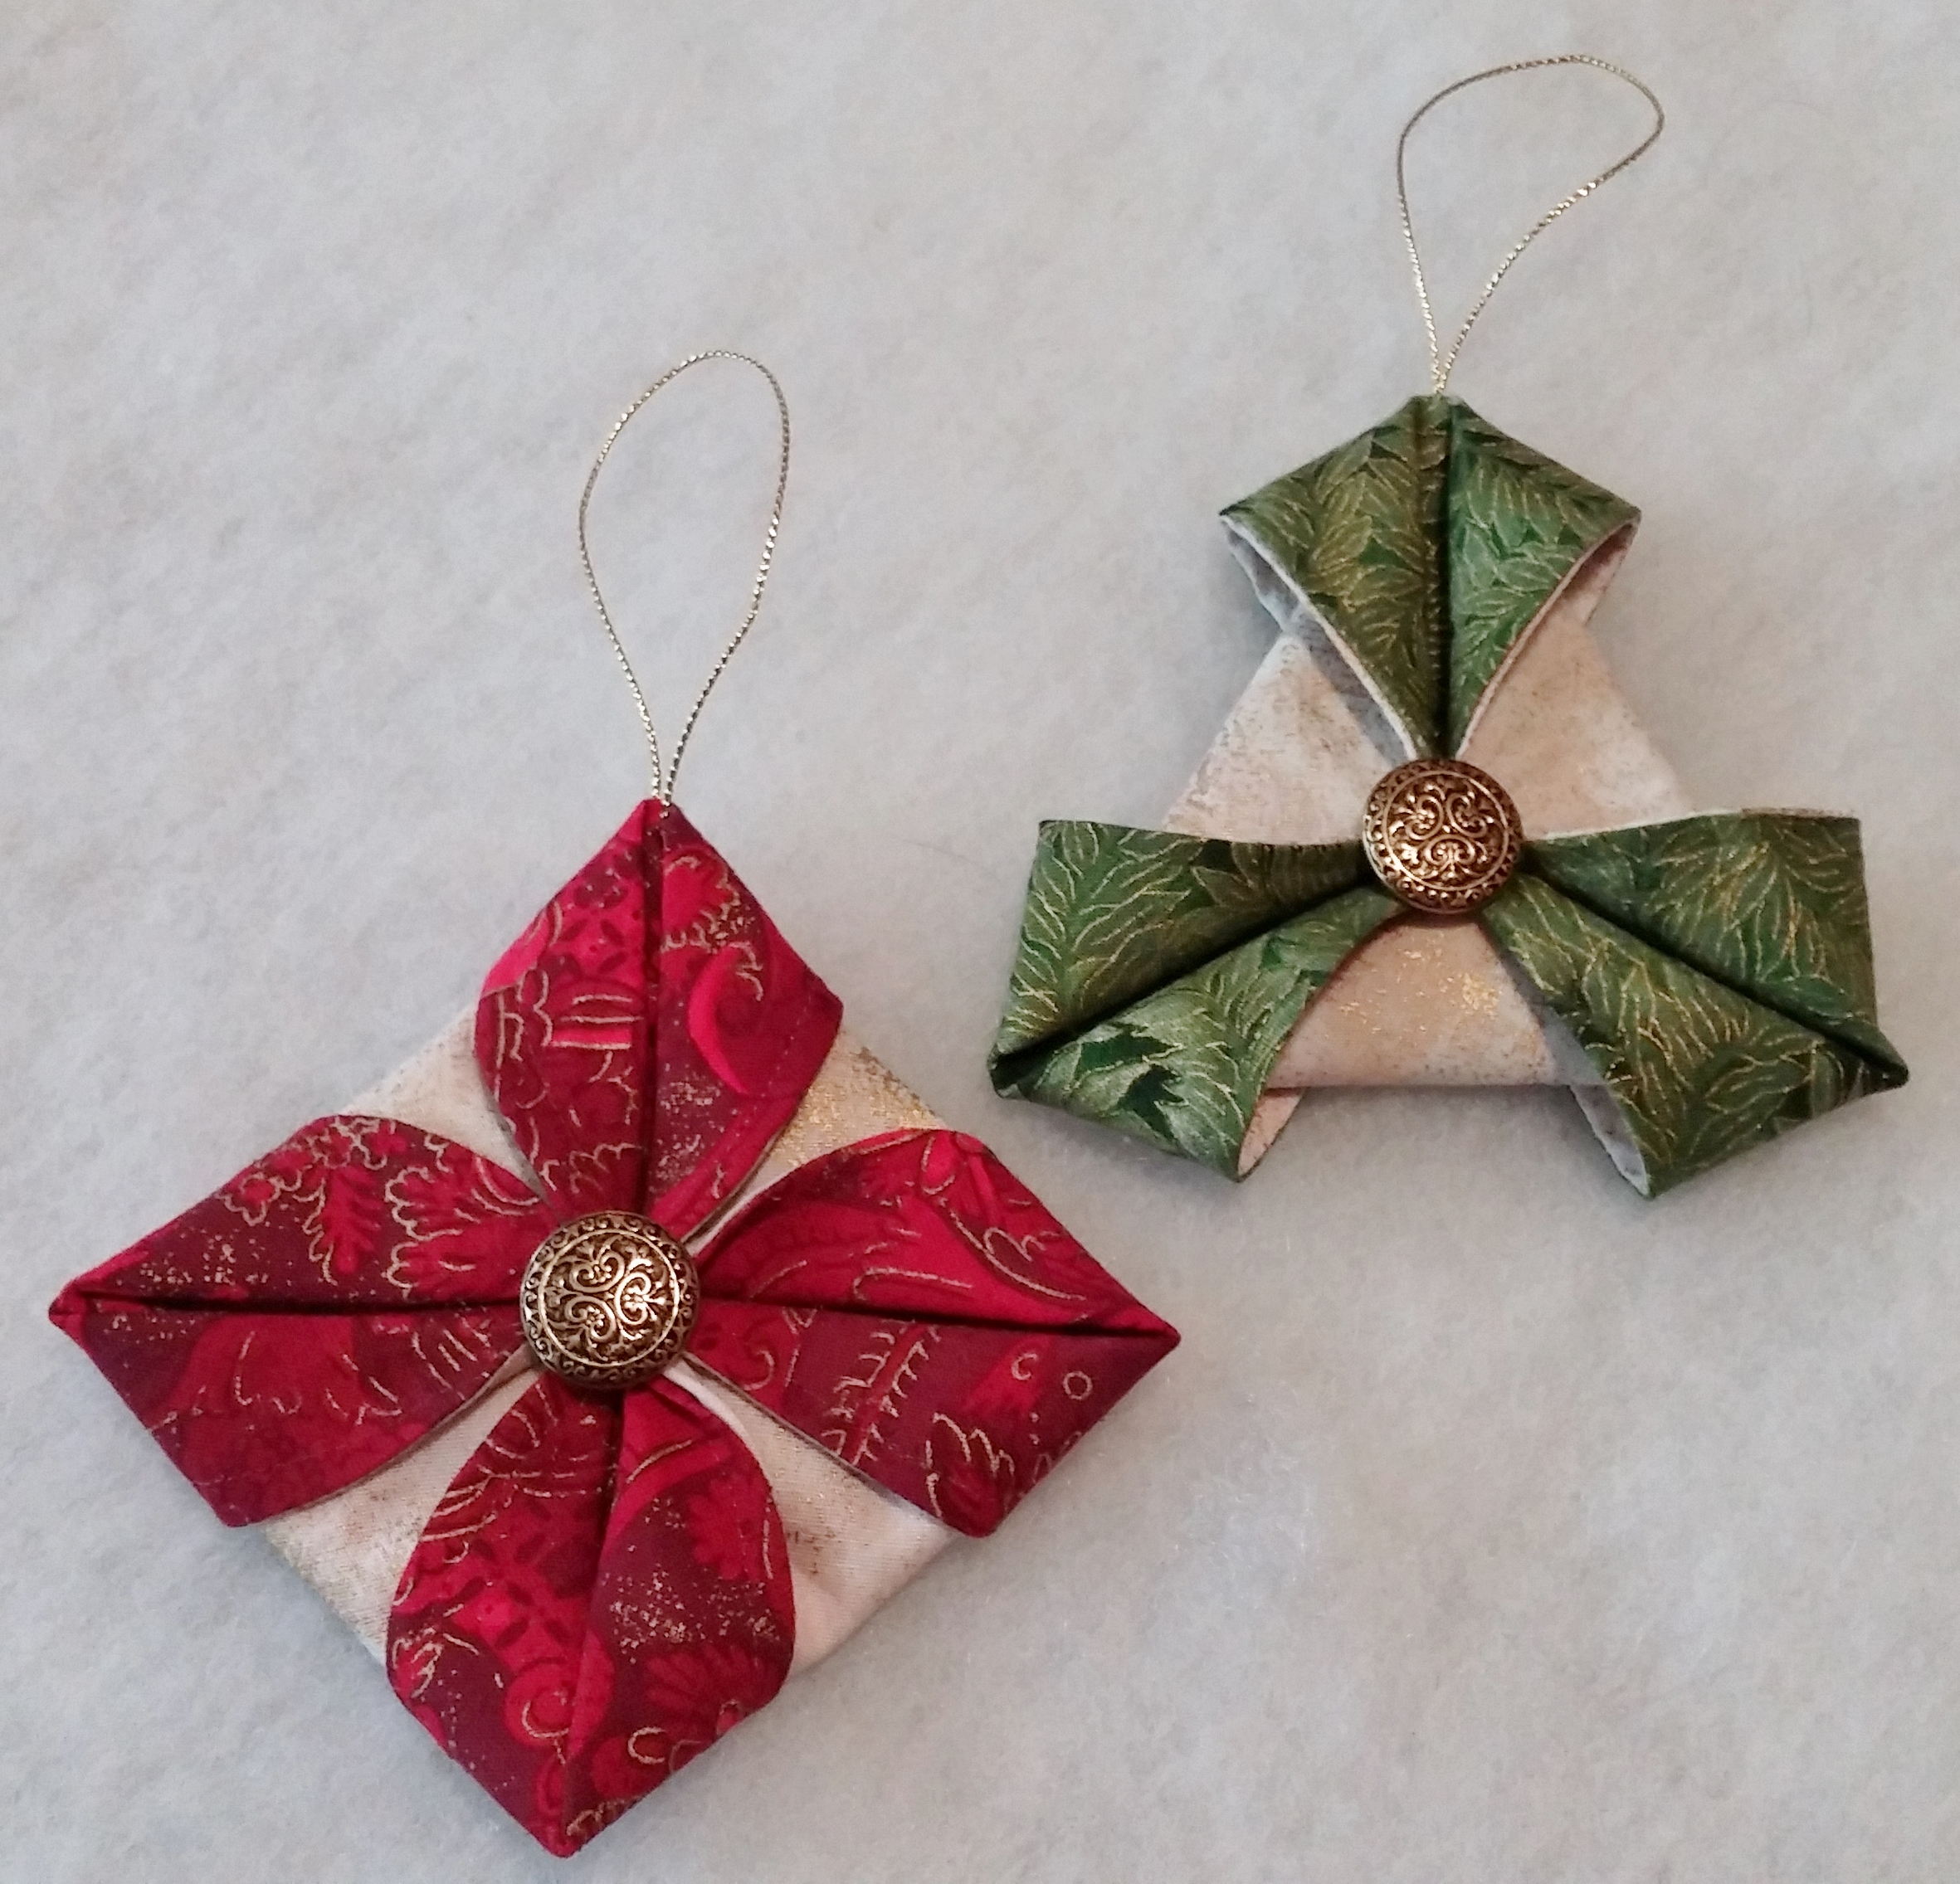
We used metallic fabrics for these samples, but these ornaments also look great in other fabrics. Get a more old-fashioned look with nostalgic or “country” looking prints, or go for graphic whimsy with fun little polka dots or other trendy textures.
When health challenges made hand-sewing (and hand appliqué and hand-quilting) no longer physically viable for her, Beth Ann’s first instinct was dismay and discouragement. But Grandma Baldwin gave her a loving (but stern!) “No pity parties – just figure out a different way.” So Beth Ann turned to her trusty sewing machine and began devising ways to achieve the fine quality appliqué look she craved faster and easier than she ever thought possible. And a career was born!
Now Beth Ann enjoys sharing her accessible “invisible” machine appliqué and creative machine quilting techniques with other quilters and fiber artists around the world.
One thought on “Folded Fabric Ornaments to Sew – Tutorial, Part 1”

One thought on “Folded Fabric Ornaments to Sew – Tutorial, Part 1”