Getting started:
It’s important to think about how you expect to use your fabric. If you intend to create “art cloth” to mat and frame like a painting, or to serve as the main focal point of a quilt or wall hanging, your needs may be quite different than they would be if you intend to create yardage to be used in more supporting or background roles.
In some cases, you may wish to use your paints toward the end of the construction process, rather than at the beginning. Fabric can be painted, stamped, or otherwise embellished after it has been appliquéd onto, or sewn into, a quilt, quilt top, wall hanging, garment, accessory or other fabric project.
My preferred fabric paints are unique in that they do not require the addition of textile medium, and they generally cause little to no change in the hand of the fabric.
Some of my favorite things to do with fabric paints & inks:
- create custom fabric or custom motifs for special projects
- embellish/add more detail, color, and/or visual texture to existing fabrics, garments, accessories or fiber art
- maximize luminosity, shading, and/or contouring of appliquéd or pieced motifs
- soften contrast/blend from one fabric to another in watercolor-style quilts
- personalize signatures and labels
- rescue a “wonder” fabric (as in “I wonder why I bought that fabric” or “I wonder why I bought so much of it”)
General Tips:
- The texture(s) of the fabric used will affect the finished look of any stamping, stenciling or painting. Smooth, evenly woven fabric works best for many applications, although even relatively coarse canvas can give great results.
- PFD fabric (Prepared For Dye, which generally means no permanent press, optical brighteners, or other resin finishes that interfere with dyeing) may be helpful, but is not required. However, some finishes will impede absorption of ink or paint.
- If using commercial fabrics, I strongly recommend to wash them first to remove any finishes, excess dye, etc.
- I recommend a “sprinkle test” before proceeding, especially with unwashed fabrics. Sprinkle some paint onto the fabric you are considering and watch what happens. Does the paint absorb easily into the fabric? Or does it tend to bead up on the surface of the fabric? I try to avoid working with fabrics that are resistant.
- A slightly padded surface (I use several layers of newspaper) is sometimes very helpful for techniques such as stamping.
- Foam core covered with contact paper or clear vinyl makes a nice pinnable and movable painting surface.
- Freezer paper can be a great stabilizer when writing, stamping, stenciling or painting on fabric. Not only does it help keep the fabric flat and smooth, but it usually reduces bleeding from the ink or paint.
- Parchment paper also makes a very convenient painting surface.
- Commercial stamps are widely available, ranging from hard rubber to soft foam; however, you may prefer to make your own stamps using materials such as rubber, art-gum erasers, cork, foam or sponge mounted onto wood or plexiglass. Found items such as metal washers, string or rubber bands wrapped around a brayer can also make very interesting patterns. Remember stamping with potatoes in grade school? That method still works, too!
Key to stamping: a thin coat of paint or ink and a firm, even pressure.
- For added interest, try multiple colors on a single stamp, color progression, overstamping, changing the orientation of the stamp(s), or varying the scale of the motifs.
- Commercial stencils made from plastic also abound; adhesive backed stencils are newer and even easier to use, but it’s still fun to make your own. Freezer paper makes great temporary stencils (or even resists); the fact that you can iron it into position is an added bonus. (The freezer paper usually removes cleanly when you are done, leaving no residue – just don’t oversaturate it with paint.)
- For more durable custom stencils, cut your design out of stiff card and coat with spray varnish on both sides, twice, allowing each side to dry completely before turning the stencil over.
Key to stenciling: apply ink or paint with a sponge, dauber or stencil brush.
Use an an up-and-down motion (so you don’t force paint under the stencil).
Apply as many thin coats as necessary.
- Wetting the fabric before and/or after applying the ink or paint can lead to wonderfully lush abstract effects.
- Applying the paint to dry fabric helps retain color and stroke definition.
Some of My Favorite Products and Techniques:


| Product |
|
Technique | Tips (or What Works for Me) |
| Pebeo Setacolor
Transparent or Opaque |
diluted |
adding color to base fabrics with brushing, sponging, drizzling, wiping, spraying, etc. |
Let fabric cure 2-3 days, then heat set by tumbling in a hot dryer for 30-60 minutes. |
| diluted |
Adding visual texture to base fabrics by salting, pleating, scrunching, etc. while paint is still wet. |
Compare results from table salt, coarse salt, and rock salt. | |
| diluted or
undiluted |
monoprinting |
Cardboard, styrofoam, glass or plexiglass all give interesting results. |
|
| diluted or
undiluted |
stamping, sponging, etc. onto base layer | ||
| diluted | using freezer paper and/or painter’s tape as a resist and spraying/sponging paint over it | ||
|
Setacolor Transparent |
diluted |
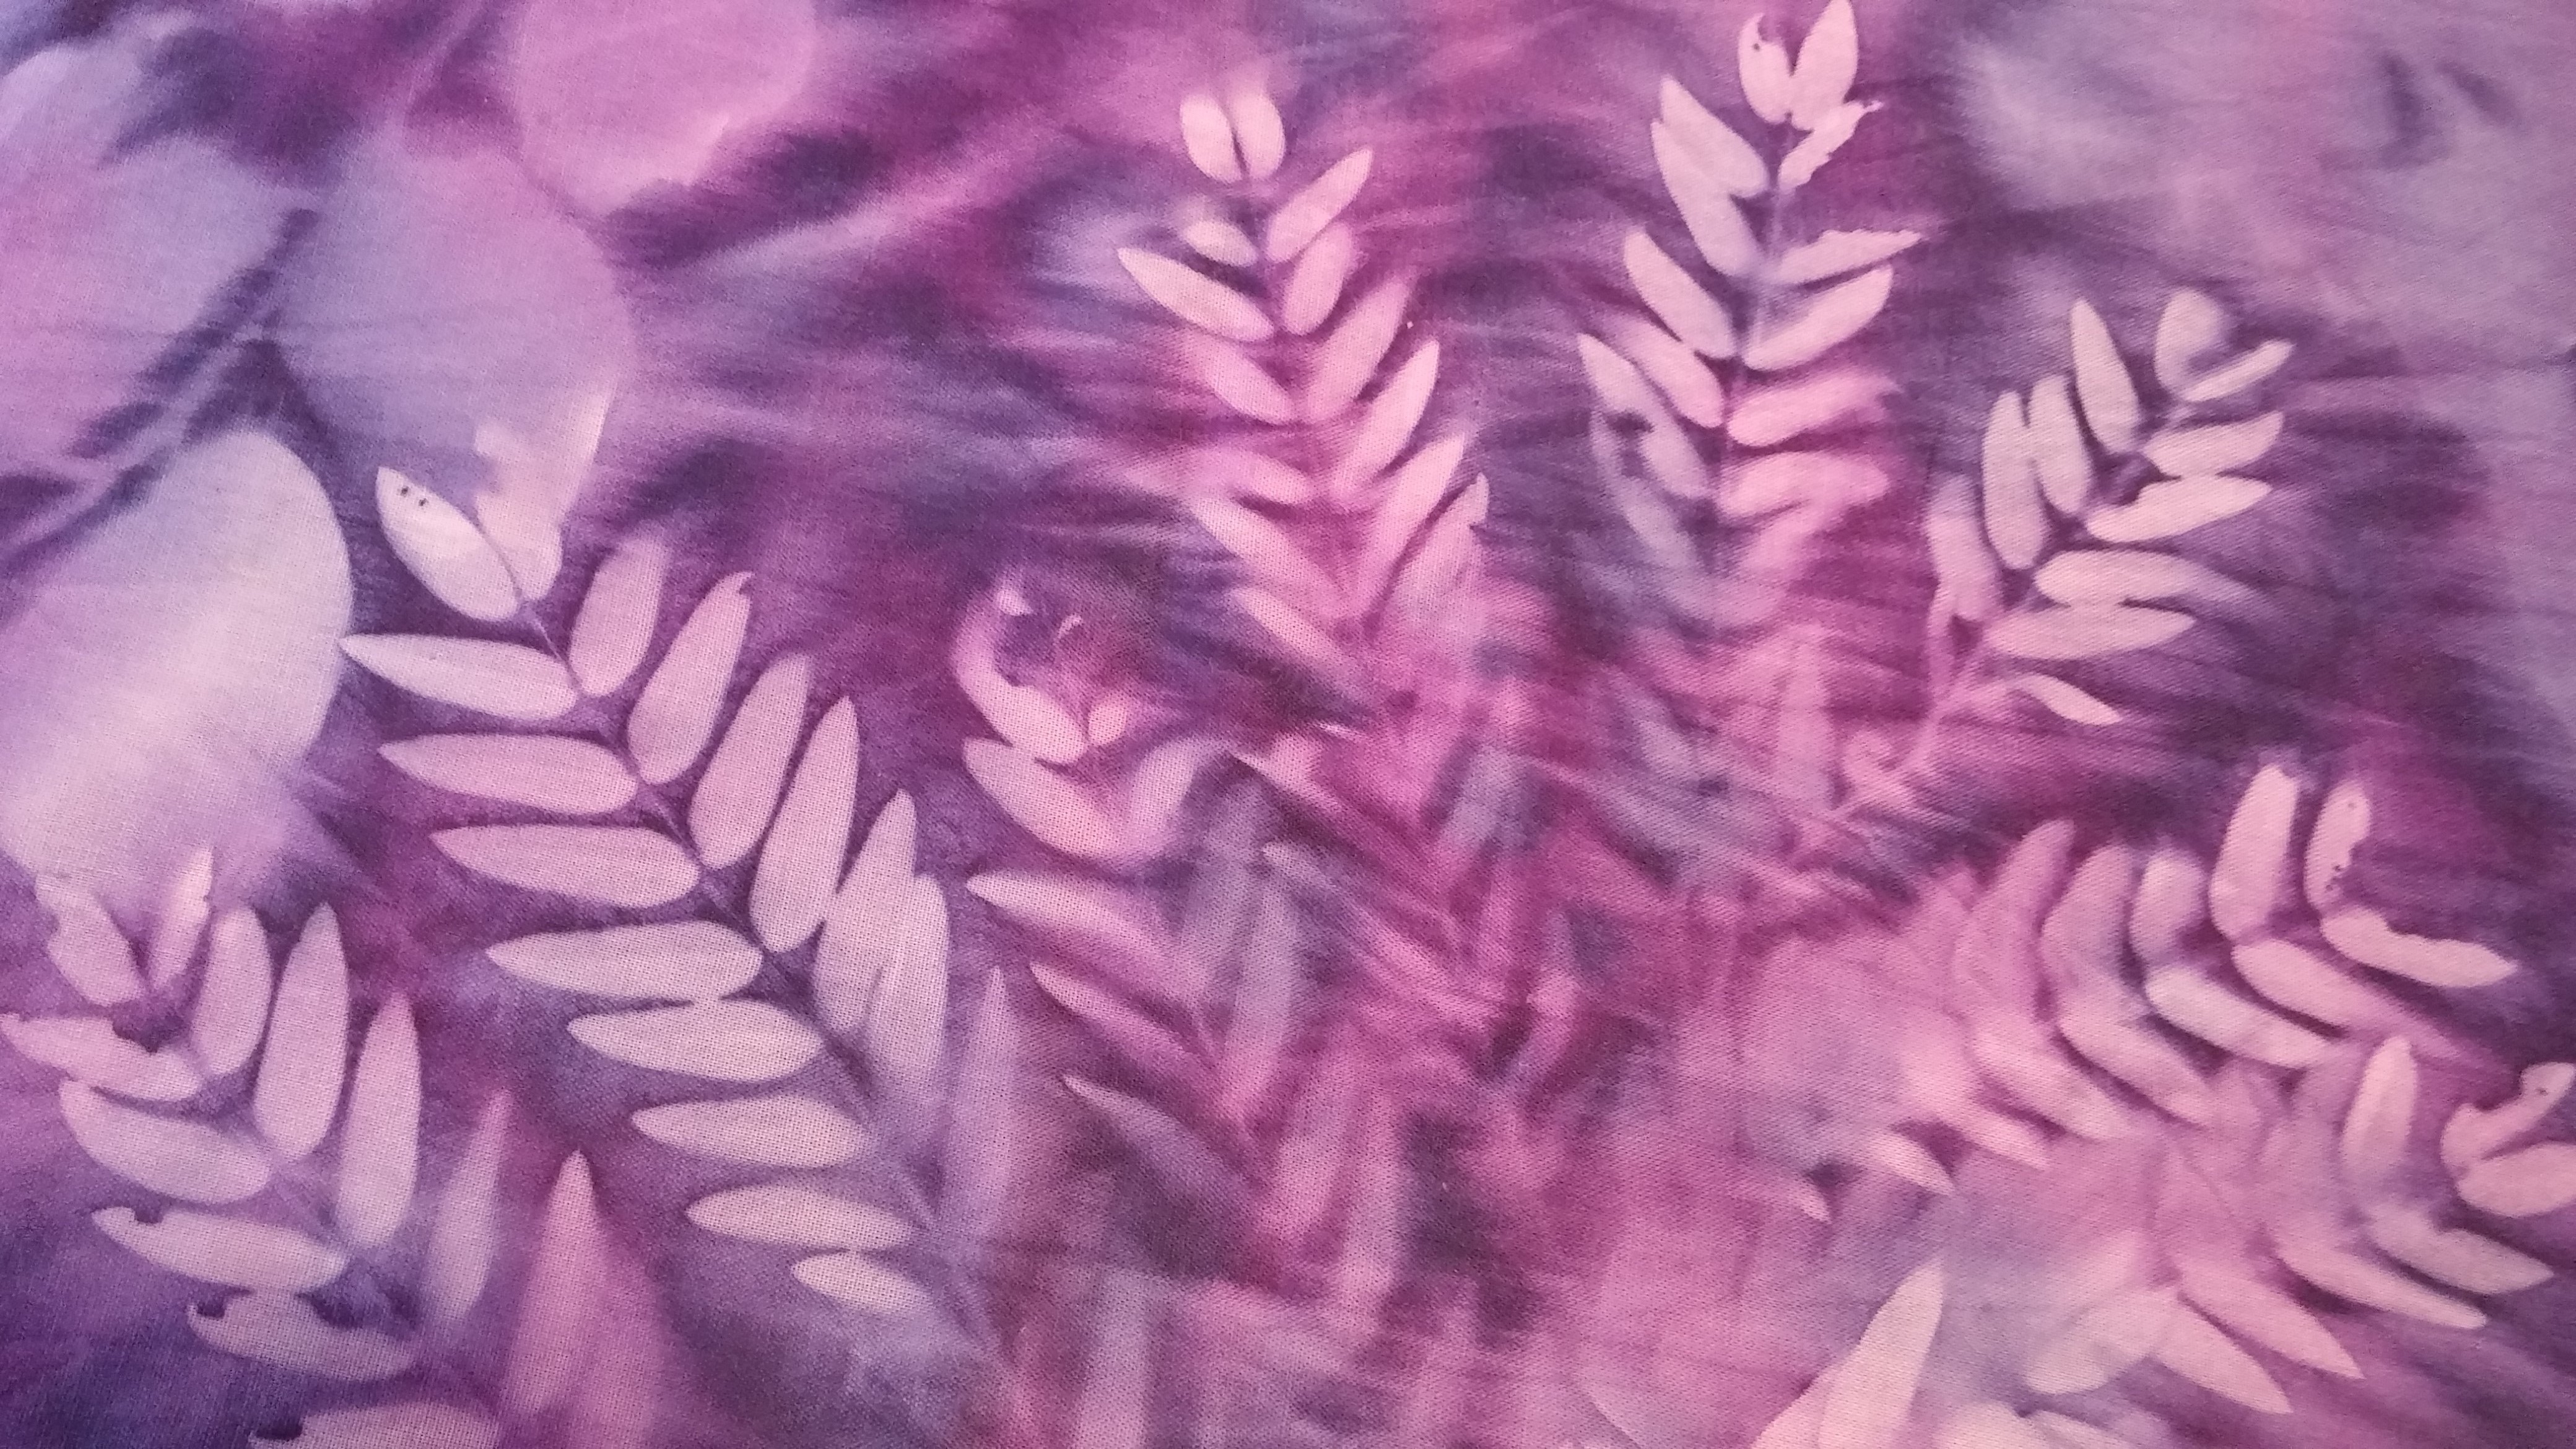
sunprinting |
In a pinch, an OTT-Lite will do! |
|
diluted |
overpainting fabric that has been stamped or stenciled with Lumiere paints or with Shiva Paintstiks | Lumiere needs to dry before overpainting it; paintstiks can be overpainted immediately | |
| Setacolor Opaque Shimmer Pearl | highly diluted | blending with other paints to create an iridescent sheen | |
| diluted or
undiluted |
drybrushing to add highlights | ||
| Jacquard
Dye-na-Flow |
diluted or
undiluted |
applying vivid color directly to fabric | Let fabric cure 2-3 days, then heat set by tumbling in a hot dryer for 30-60 minutes. |
| diluted or
undiluted |
adding visual texture to base fabrics by salting, pleating, scrunching, etc. while paint is still wet. | ||
| diluted or
undiluted |
sponging onto a base layer; overpainting | ||
| Jacquard
Lumiere |
diluted or
undiluted |
applying rich, opaque color directly to fabric | Let fabric cure 2-3 days, then heat set by tumbling in a hot dryer for 30-60 minutes. |
| diluted or
undiluted |
sponging | ||
| diluted or
undiluted |
scraping | Try old credit cards or plastic knives. | |
| diluted or
undiluted |
stamping, monoprinting | Templates cut from foam plates are great fun! | |
| very highly diluted | spraying (metallic colors add a sheer layer of color and sparkle; pearls remain opaque.) | Clean the nozzle frequently; metallic paint clogs easily. | |
Happy Painting!
Thank you for the feedback! 🙂