-
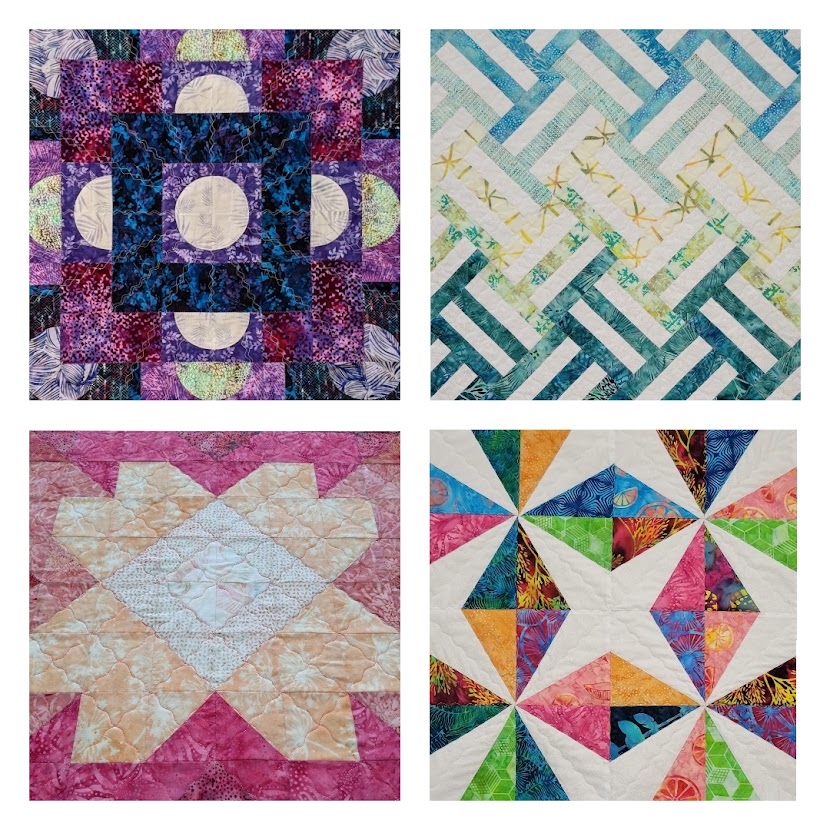
How to Choose Quilt Fabrics That Happily Work Together (Beginner-Friendly Fabric Pull Guide)
Choosing quilt fabrics can feel overwhelming — especially when you’re staring at a fabric pull full of beautiful options and wondering why they don’t quite work together. If you’ve ever searched for: You’re not alone! The good news? Fabric selection doesn’t have to feel mysterious or stressful. In this guide, I’ll walk you through a…
-
Using Monofilament (“Invisible”) Thread for Machine Appliqué and Quilting
Monofilament – often called “invisible thread”– is one of those quilting topics that can bring up a lot of questions. Some of that hesitation comes from early versions of the thread that really did behave more like fishing line. But modern monofilament threads are very different – and when they work well, they can be…
-
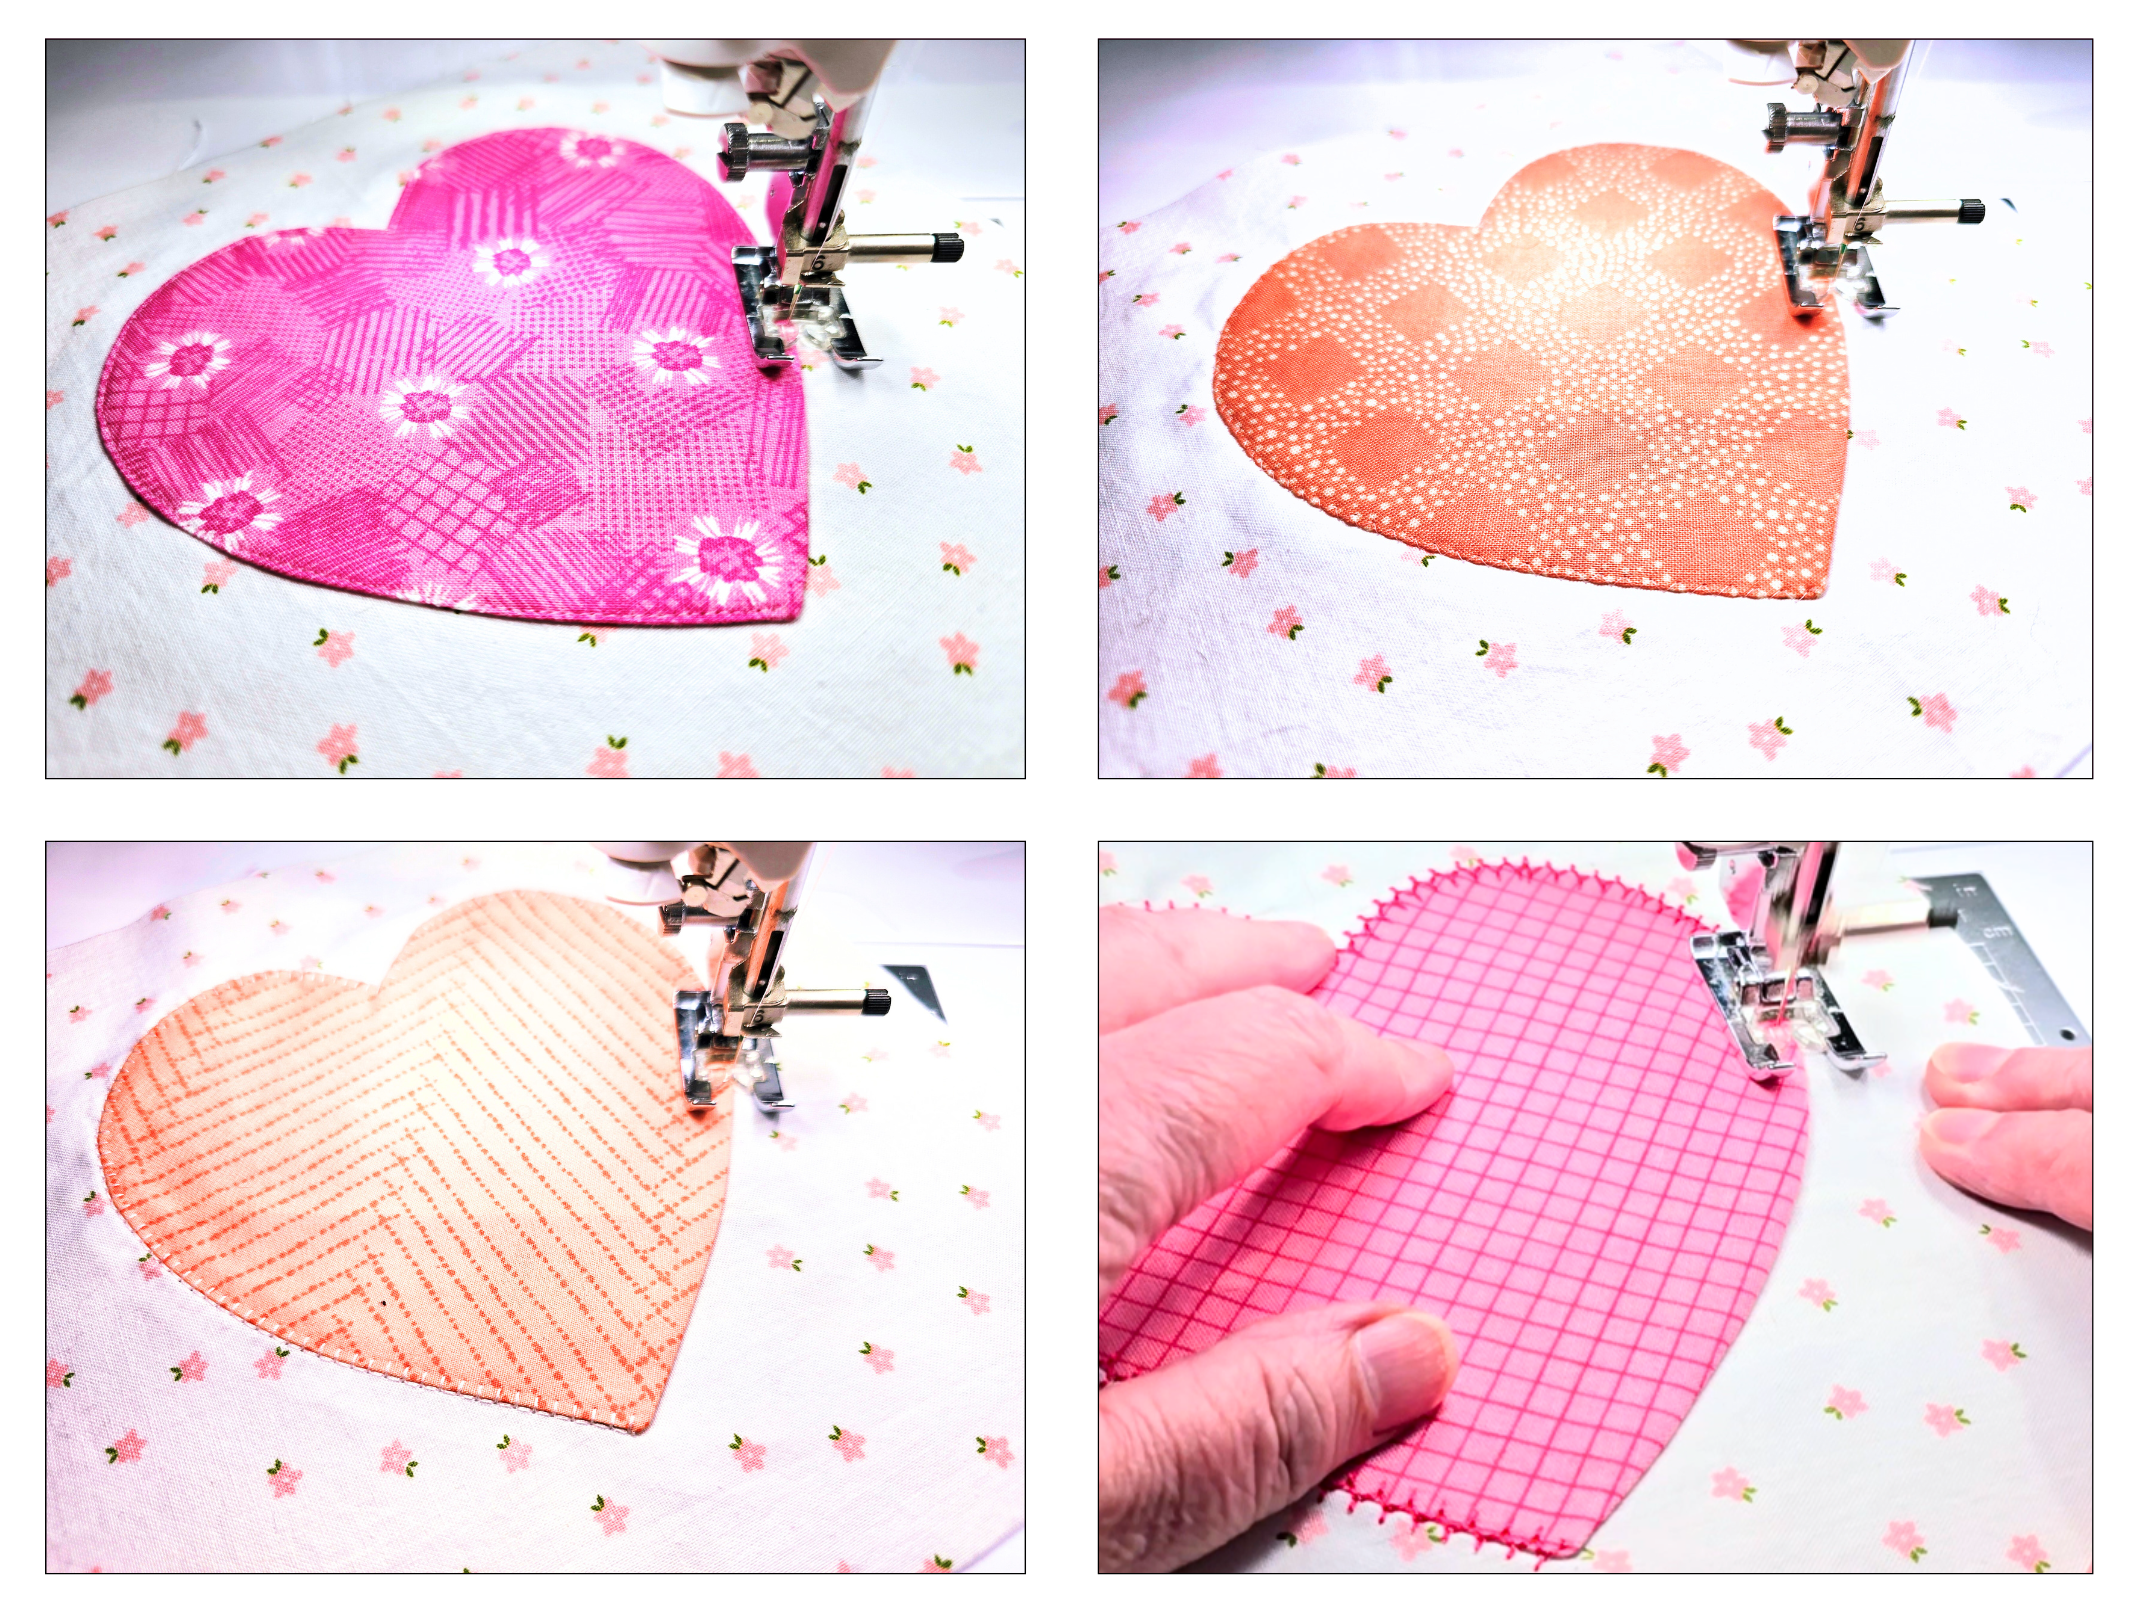
5 Machine Stitches for Beautiful Turned-Edge Appliqué (Heart Block Demo)
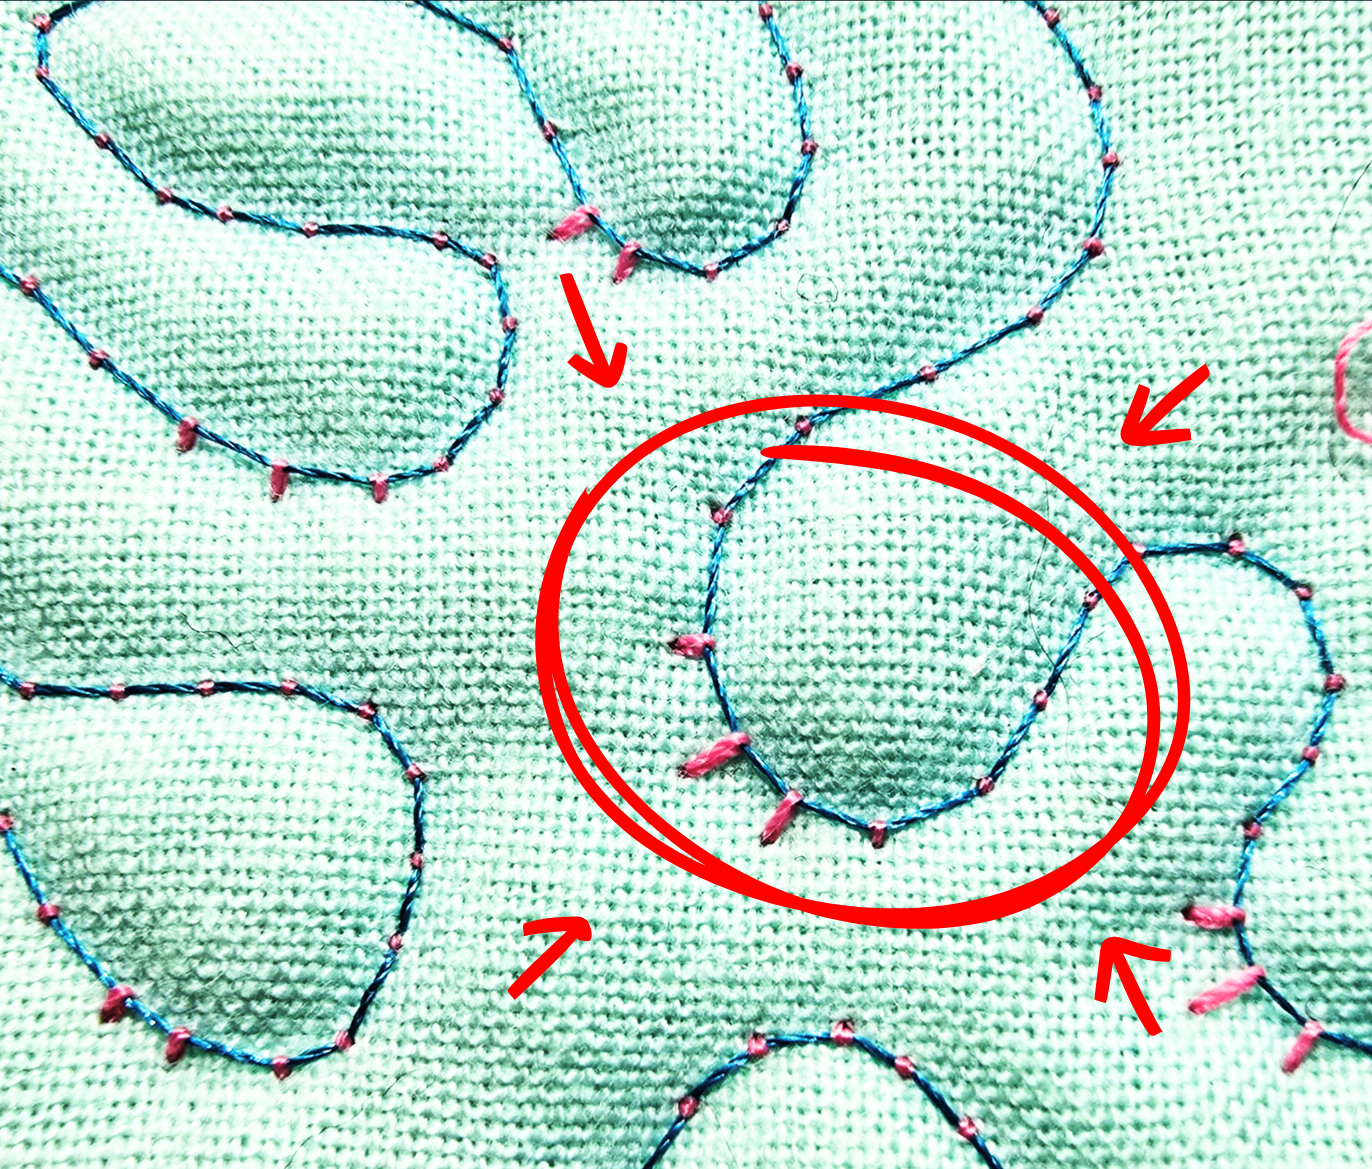
If you love the classic look and durability of turned-edge appliqué, but hand sewing doesn’t always fit your schedule – or your hands – my latest quilting tutorial is for you. I’ll share some of my favorite quilting tips and show you how to appliqué by machine, creating soft, durable turned-edge appliqué using the interfacing…
-
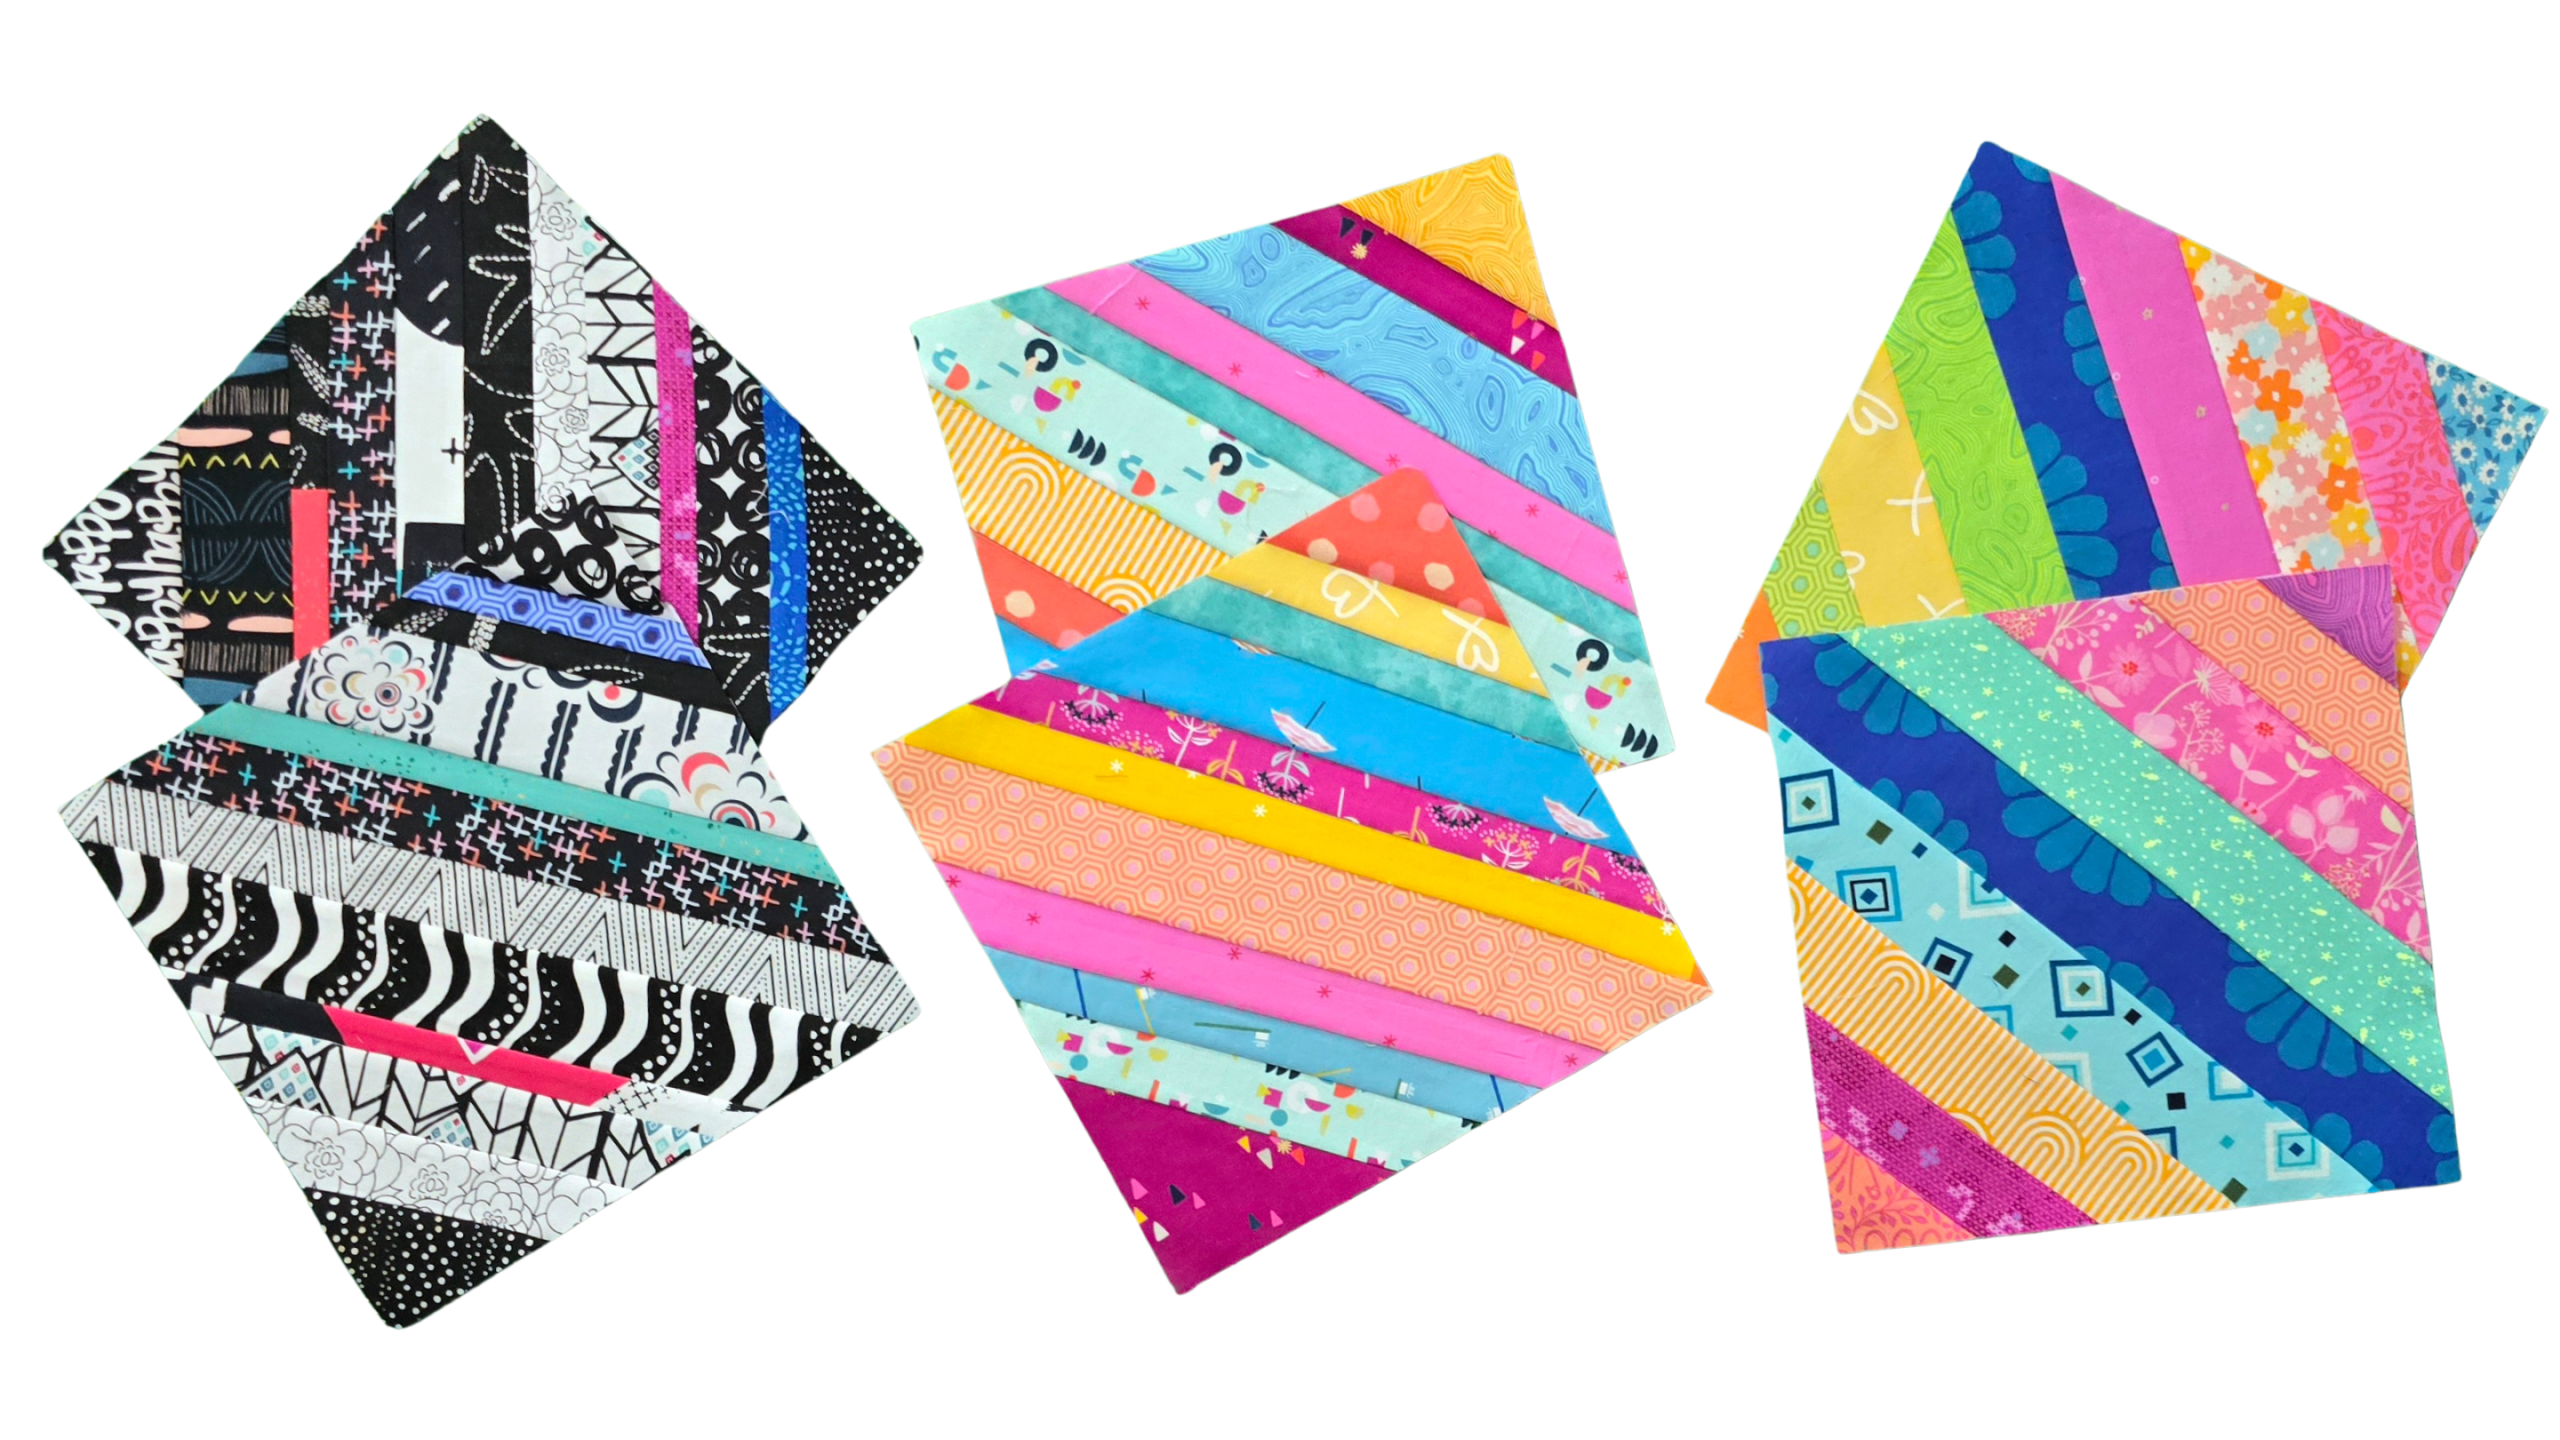
The Versatility of String Quilts: Three Looks, One Technique
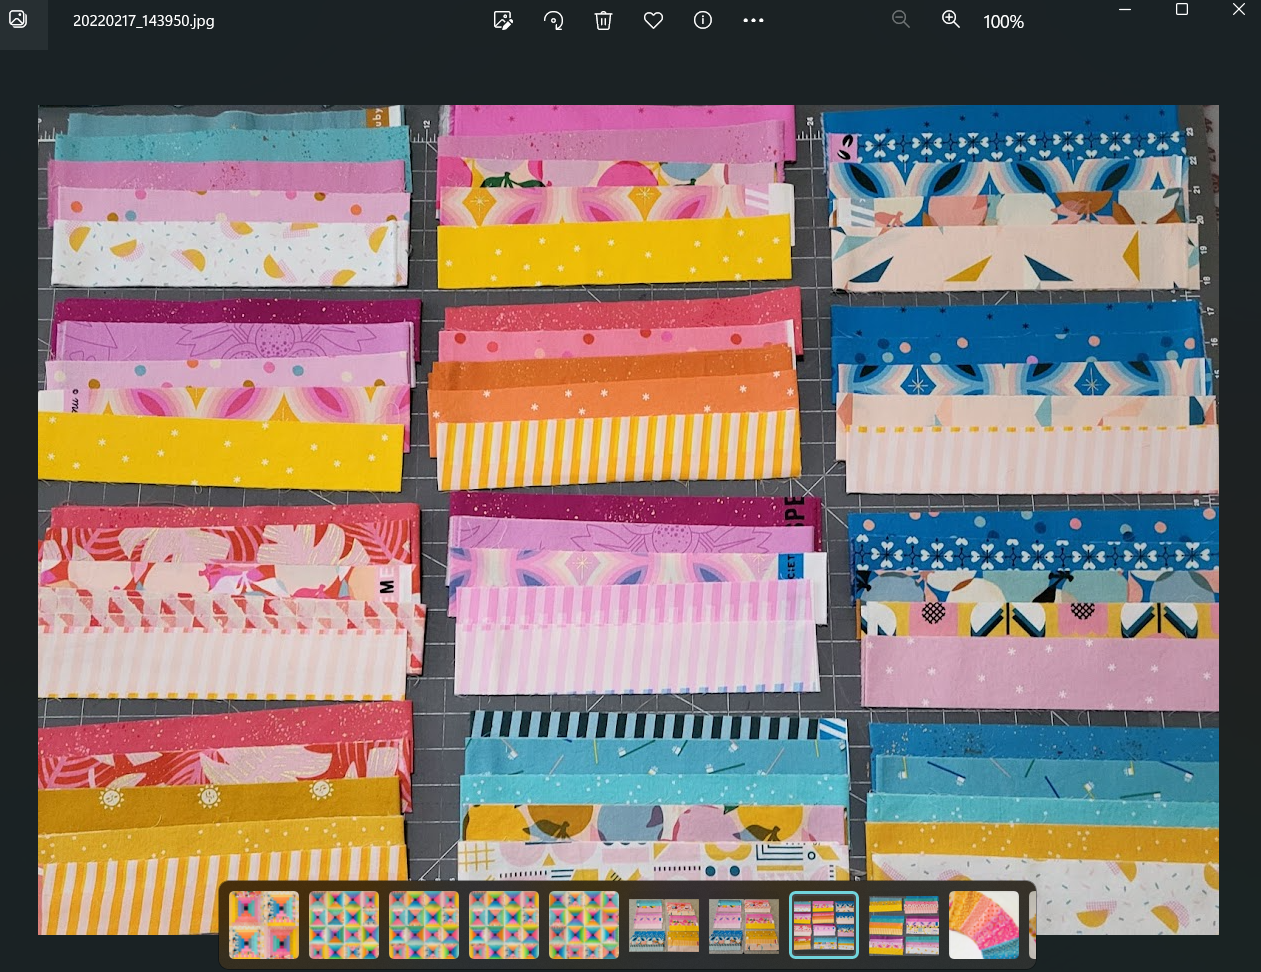
String quilts are one of my favorite ways to use up fabric strips and scraps – and they’re also a wonderful place to experiment with design in a low-pressure way. There’s no 1 right way to create string blocks, and NO RULES – just IDEAS. In this new video, I’ll share: This is a flexible,…
-
Avoiding Wonky Quilt Blocks & Wavy Borders – The Secret to Flatter Quilt Tops
If your quilt blocks sometimes come out a little crooked…If your borders won’t always lie flat…Or if your quilt top looks “off,” even though your seam allowances were accurate and consistent… You are definitely in good company. These are some of the most common questions I hear from both newer and experienced quilters, and they…
-
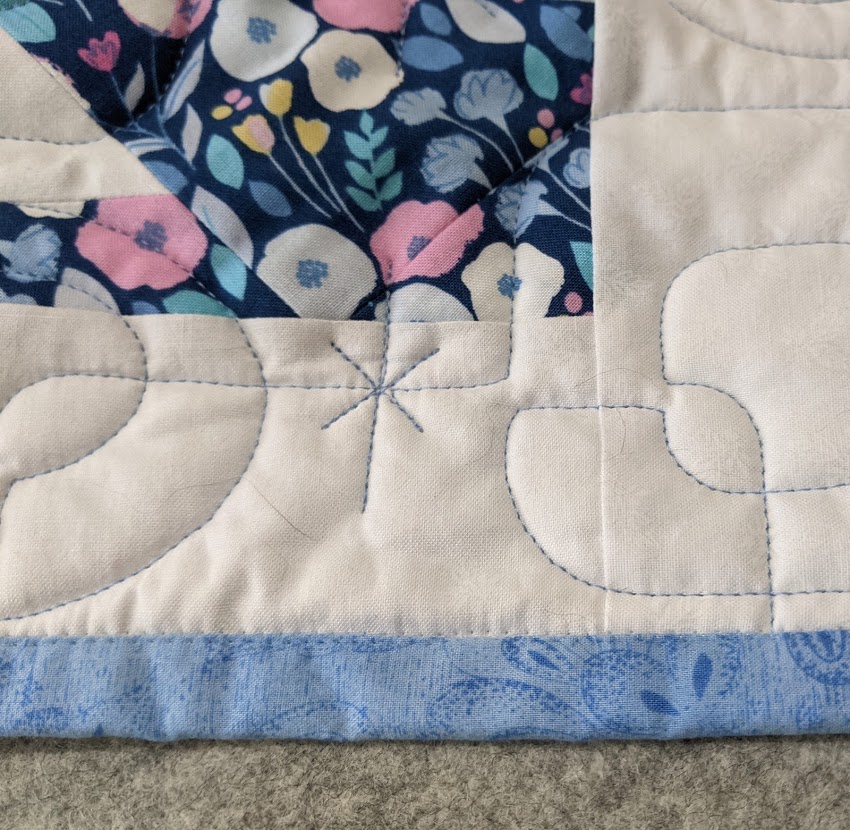
Flange Binding – An Easy Two-Color, Machine-Sewn Quilt Binding Option!
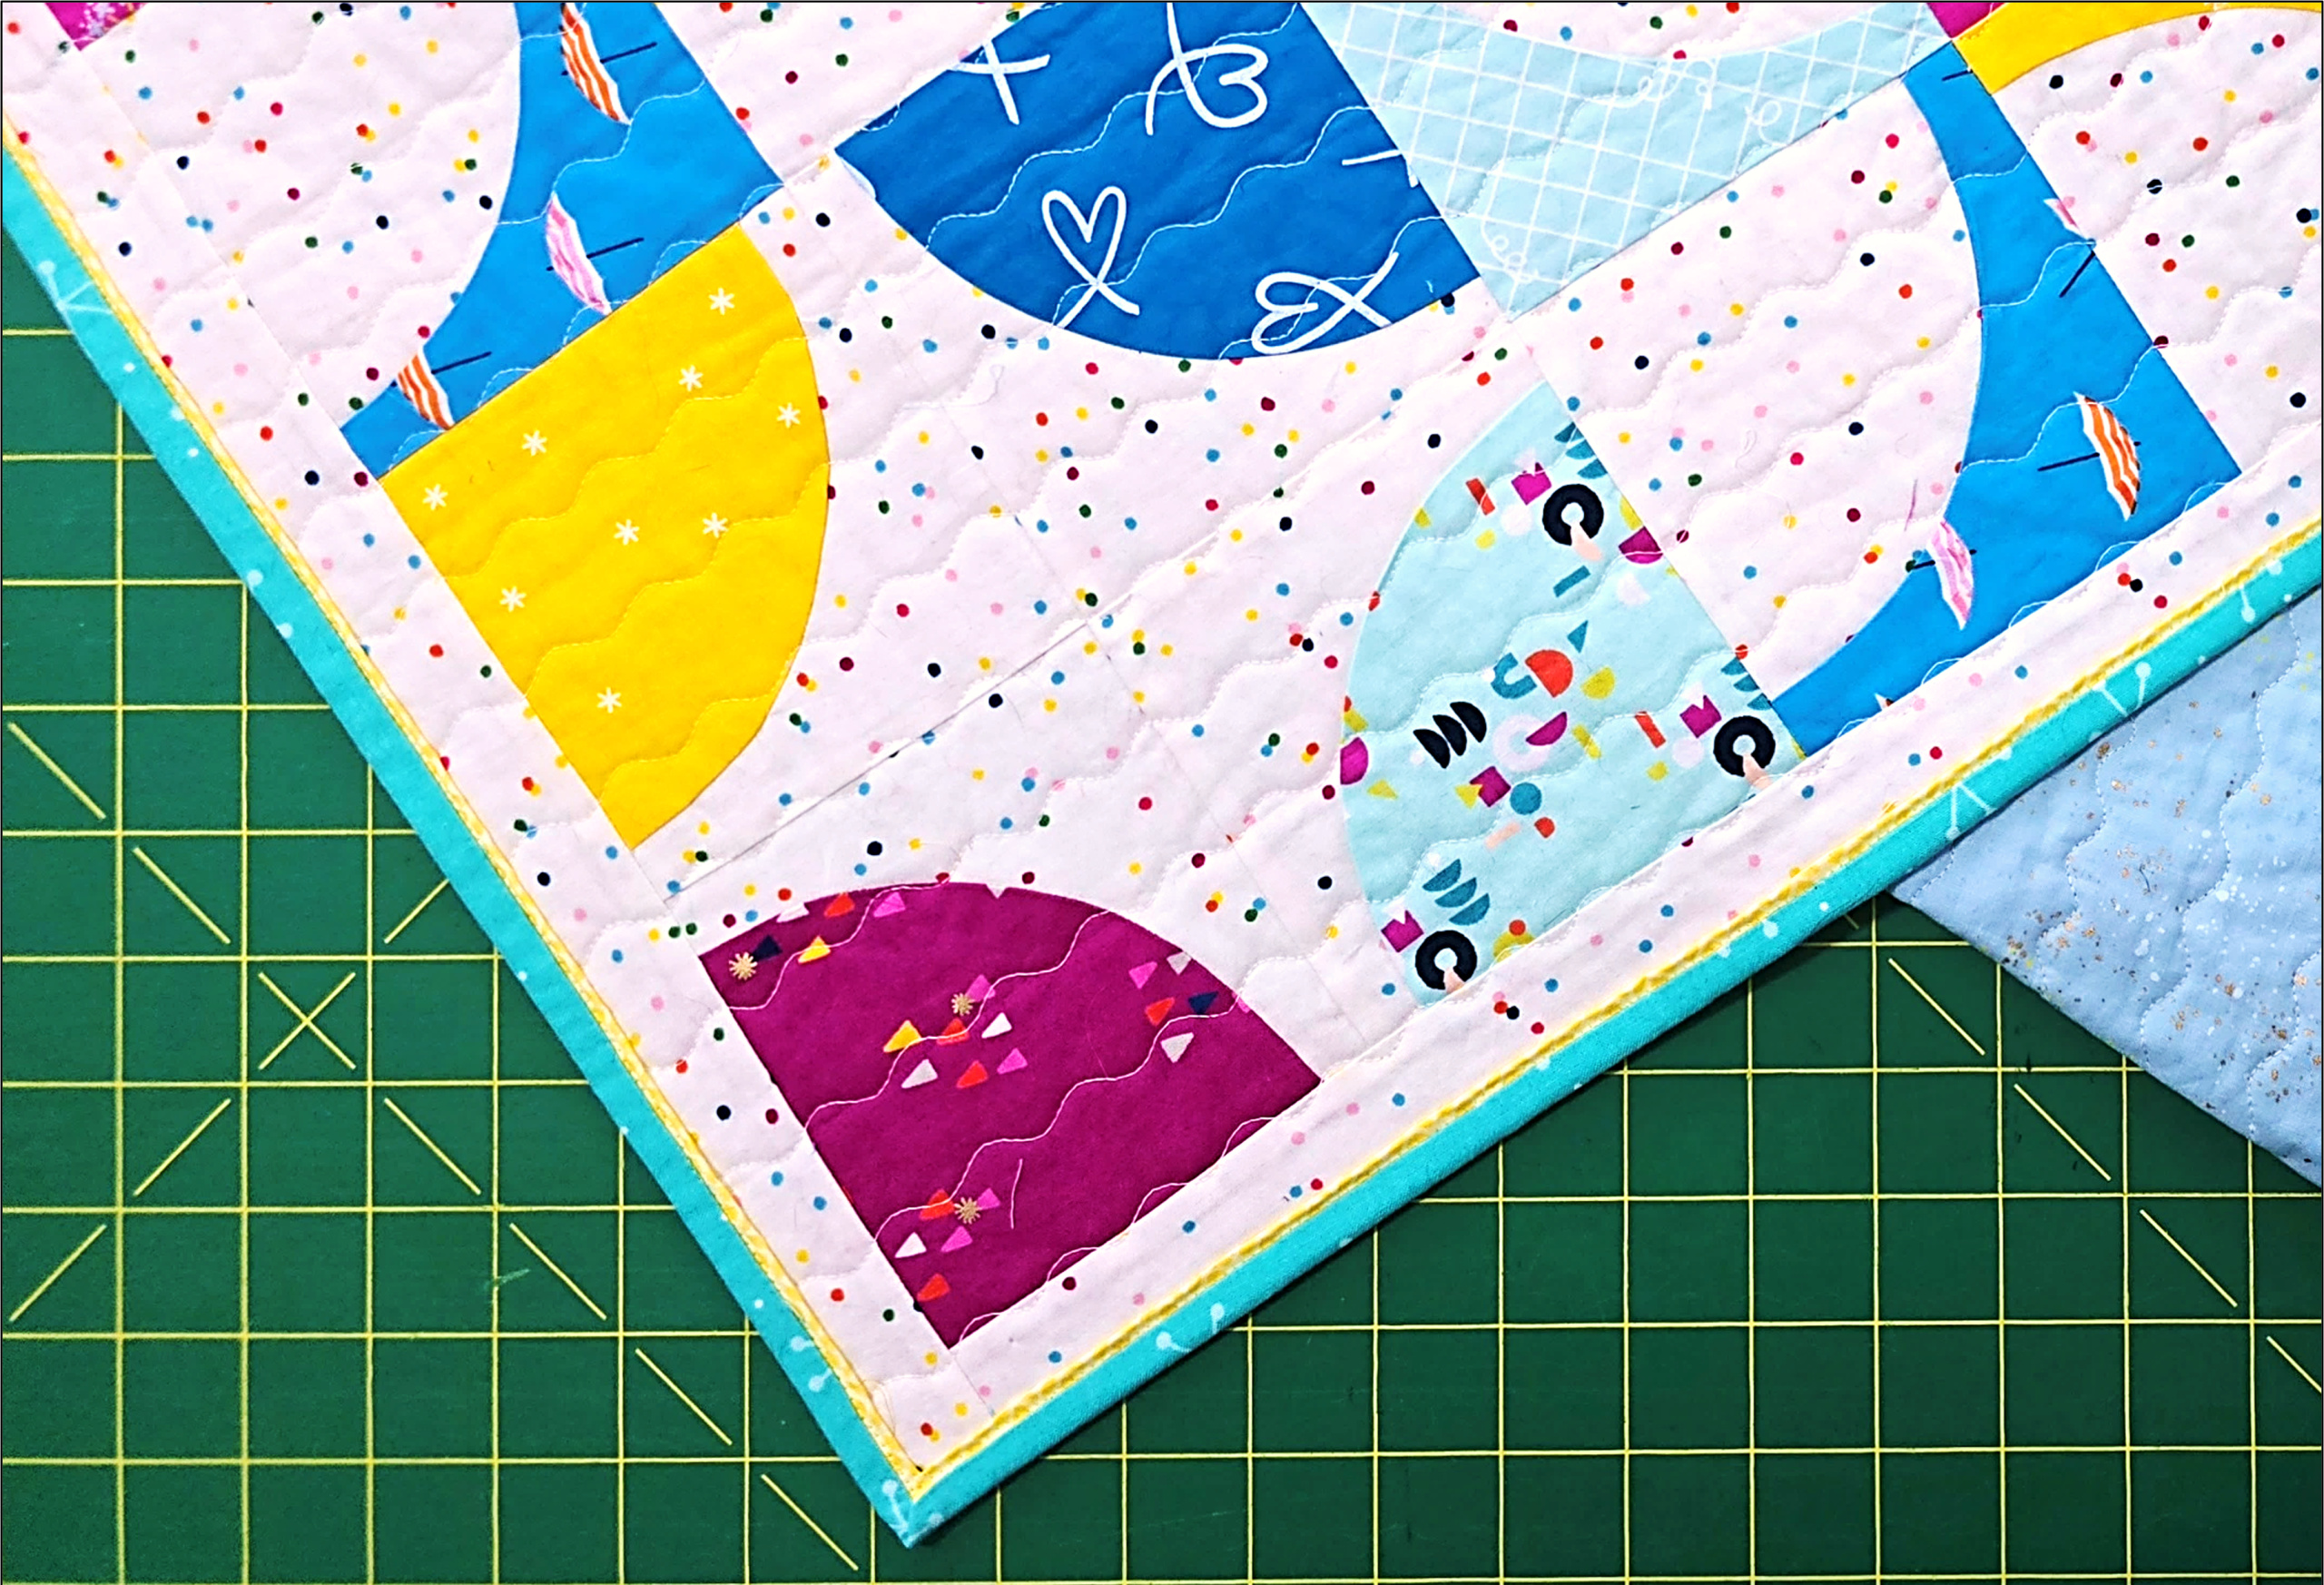
If you’ve been looking for a beautiful way to add color and interest to the edge of your quilt – without hand-sewing! – a flange binding is a fantastic option. This two-color binding creates a crisp accent line around the quilt that mimics the look of piping, but with far less work. Watch the video:…
-
You Asked — I Listened! DIY Pressing Boards + Big Board for Quilting
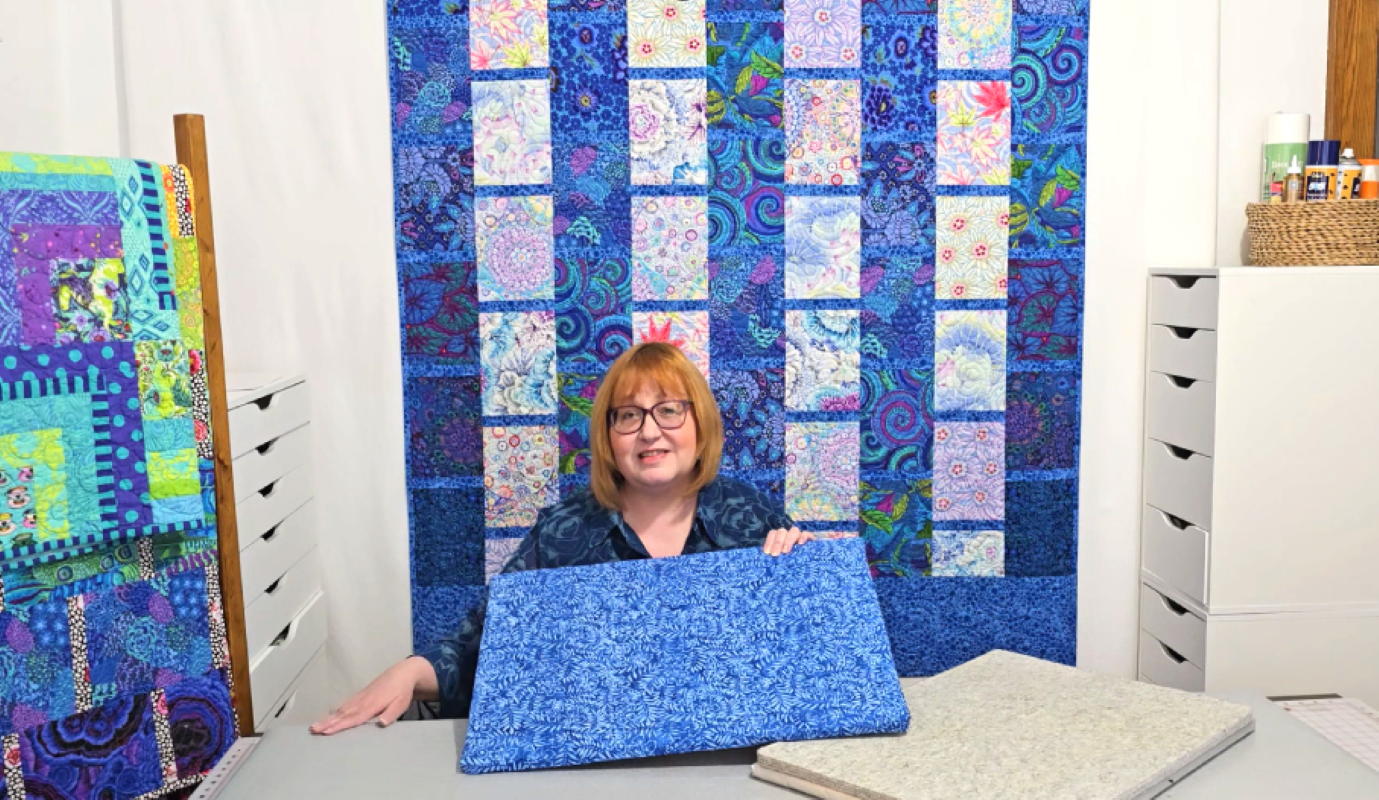
After my “Make Machine Quilting Easier” video, many of you asked how I made the big ironing board that I use to support large quilts while quilting on my domestic machine. So, in this video, I show you how to make your own pressing boards — both the portable versions (handy for class, travel, or…
-
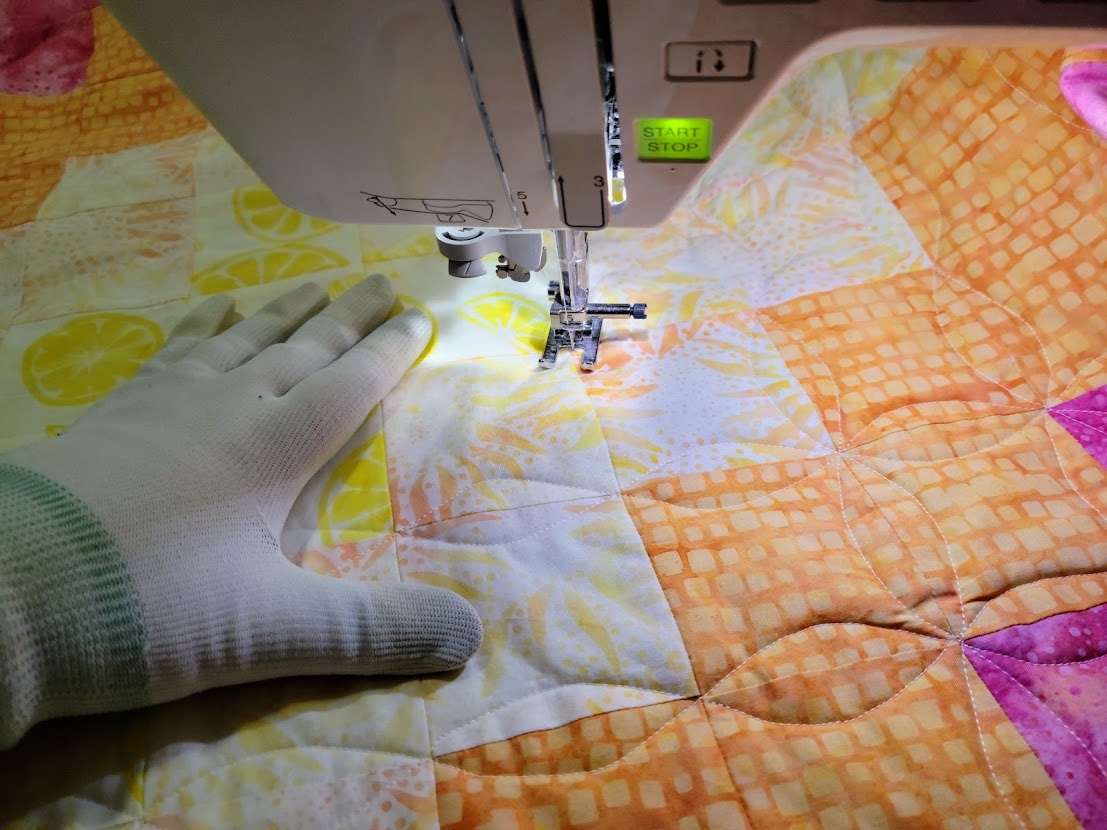
Walking Foot Quilting Made Easy: 3 Versatile Techniques (plus variations!)
Ready to quilt with a walking foot? In this beginner-friendly quilting tutorial, I’m sharing 3 easy walking foot quilting techniques that every machine quilter should know. These simple, foundational quilting tips and techniques can help you quilt smoothly, avoid puckers, and build real confidence — even on your very first project! We’ll cover: You’ll also…
-
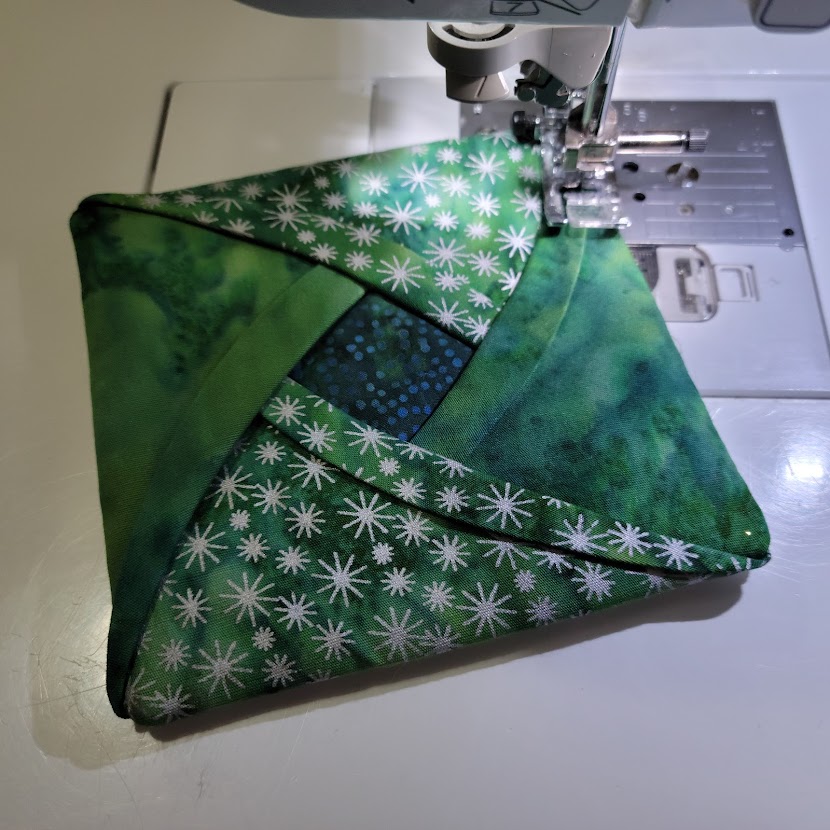
Make Quilted Ornaments, Coasters & Hot Pads – Fast, Easy & Giftable!
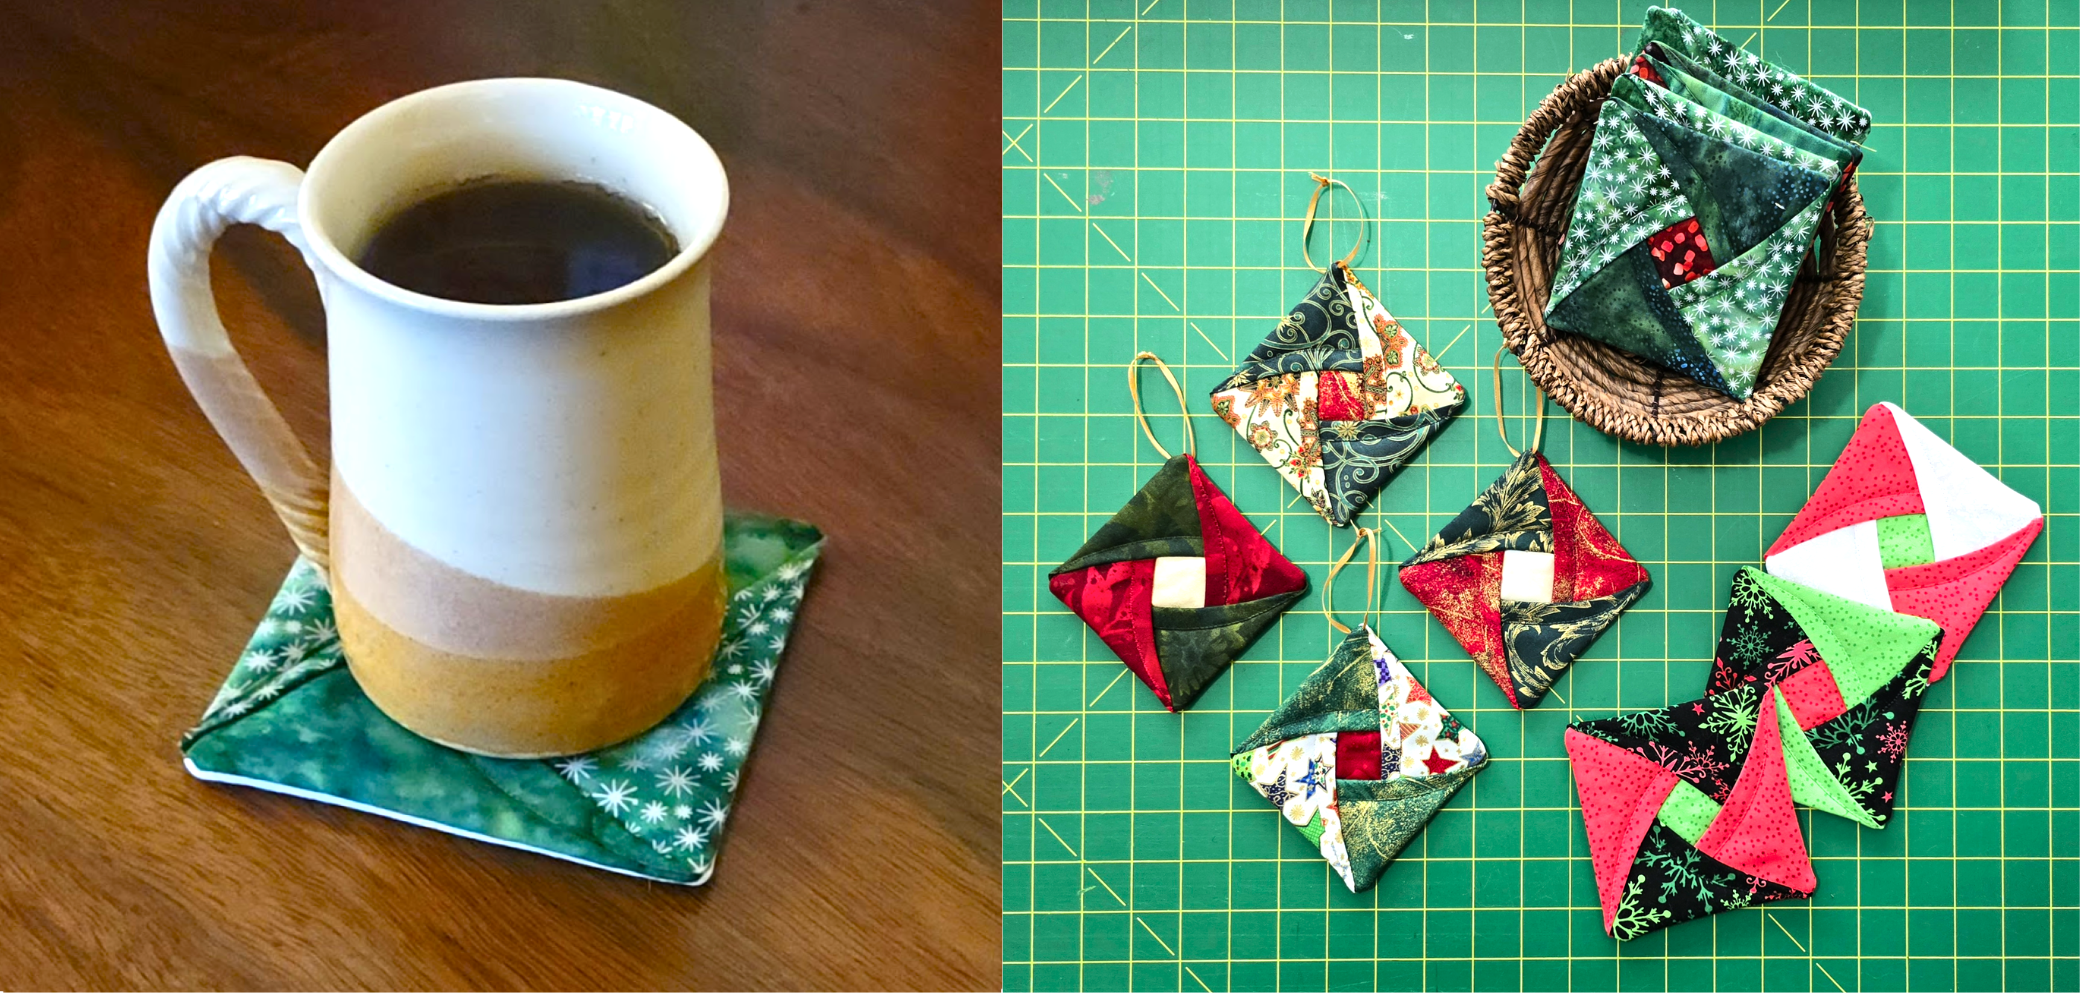
Learn how to make one of my favorite fast & fun quilted Christmas ornaments in this easy sewing tutorial! These precut-friendly, beginner-friendly ornaments are perfect for holiday decorating AND gift-giving – plus, you can use the same simple technique to create custom coasters, mug rugs, and hot pads, too. Whether you’re using charm packs, layer…
-
Easy Fixes for Thread “Nests”
Tired of messy thread nests or “bird’s nests” on the back sides of your quilts? In this quilting tutorial, I’ll share simple ways to prevent messy starts when you’re machine quilting – no fancy tools required! These easy but effective tips apply to both straight stitching and free-motion stitching. In this quilting tutorial, I share:…
-
Thread Tension Fixes Every Quilter Should Know
Struggling with loopy, loose, or irregular stitches or other common sewing machine tension issues? Learn how to balance bobbin tension and upper thread tension on your domestic (home) sewing machine for both straight stitching and free-motion quilting, and how to troubleshoot common machine stitching issues – no screwdriver or expensive repairs needed! In this quilting…
-
Turn Fabric Scraps into Quilted Christmas Ornaments (No Hand Sewing!)
Create beautiful handmade keepsakes and gifts in an afternoon! Learn how to transform fabric scraps into delightful mini patchwork quilt ornaments perfect for Christmas tree decorations, gift tags, or fabric coasters. Follow step-by-step instructions to cut, sew, and press fabric squares, add faux bindings, and insert hanging loops effortlessly – all without hand sewing! These…
-
Make a Fall Table Runner with Me!
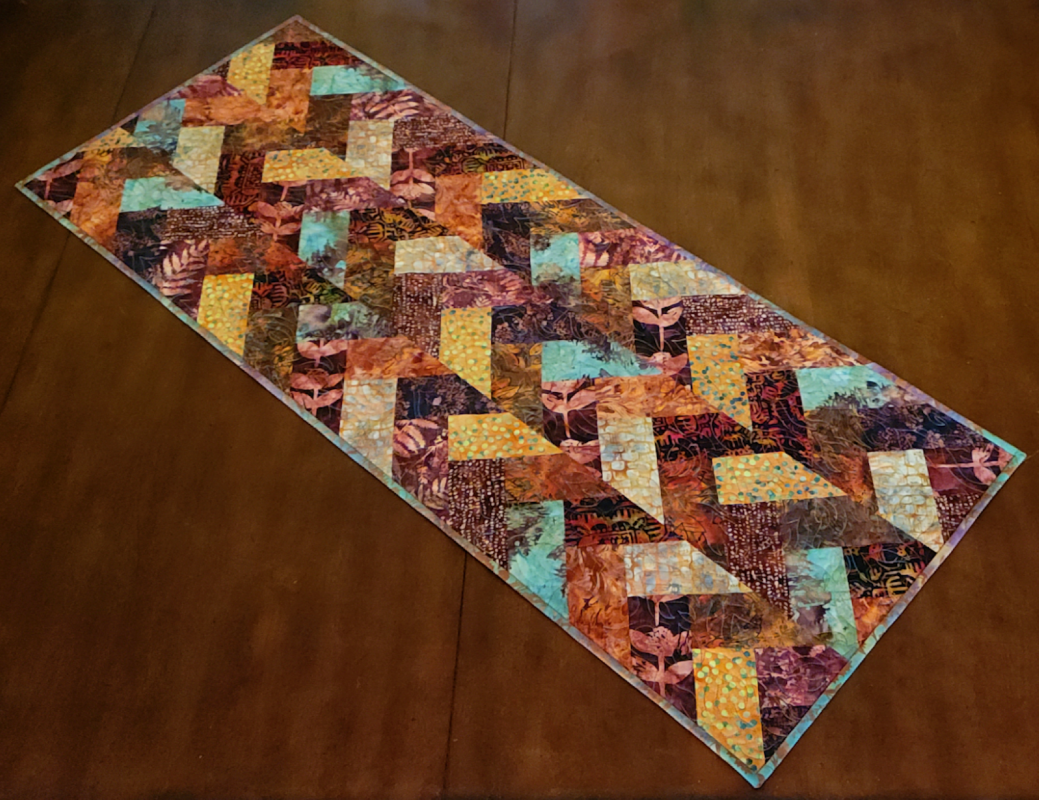
This autumn French Braid Table Runner may look complicated, but it’s one of those projects that’s pure quilting magic – fast, fun, and so satisfying to make! In my latest video, I’ll show you how to create the French braid design using jelly rolls, 2.5” wide strips you cut yourself from yardage, OR pieces cut…
-
No More Wrestling with Your Quilts! Easier Machine Quilting
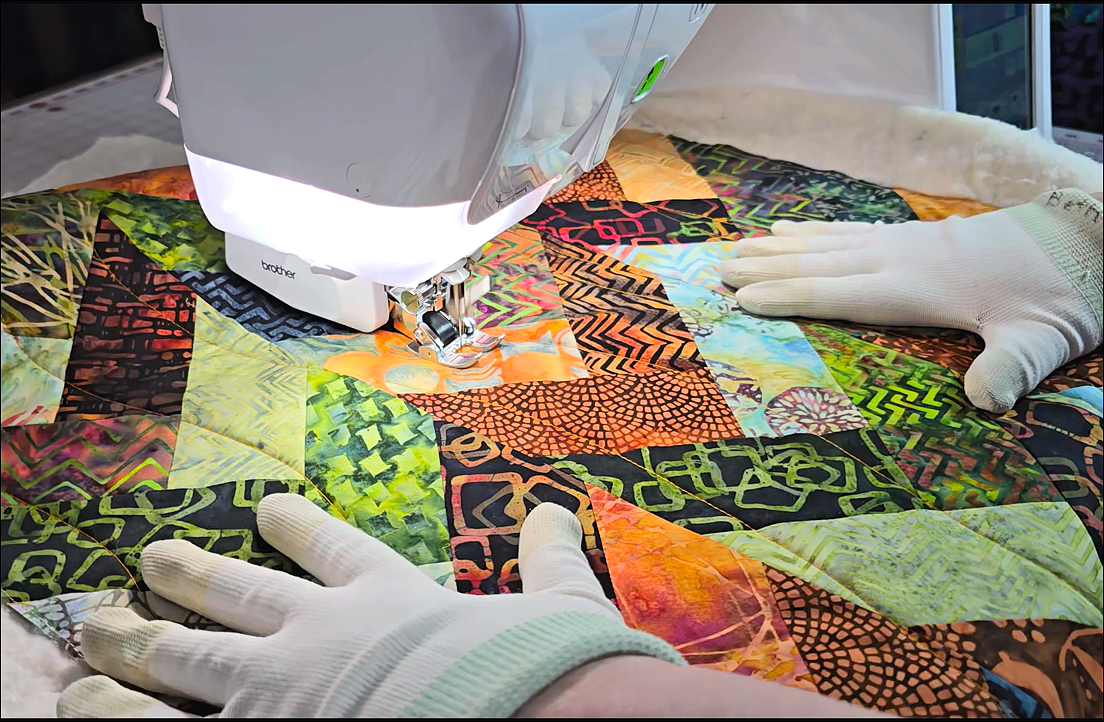
Managing the bulk of a quilt in your domestic machine sure can feel like a workout! My newest video shares my favorite ways to make machine quilting easier – from setup and (optional) stabilizing lines to simple ergonomic tricks. No matter what size sewing machine you have, I hope these tips will help you quilt…
-
I Got Monetized! 🎉 What It Means for FREE Quilting Tutorials
The end of September marked an incredible milestone – my channel was officially approved for YouTube monetization! I still remember being a young mom with two kids and a husband in grad school, learning new quilting techniques from PBS shows and stacks of library books. Never in my wildest dreams did I imagine I’d someday…
-
Free-Motion Quilting on a Home Sewing Machine – Setting Up for Success
Are you curious about free-motion quilting but not sure where to start? This beginner-friendly video breaks down the basics you need to know before stitching your first design. In the video, you’ll learn:✅ The best free-motion feet for domestic machines✅ How and why to drop your feed dogs✅ How quilting gloves help you control the…
-
Scrappy, Happy Improvisational Christmas Trees – Part 2: From Blocks to Quilt Top 🎄
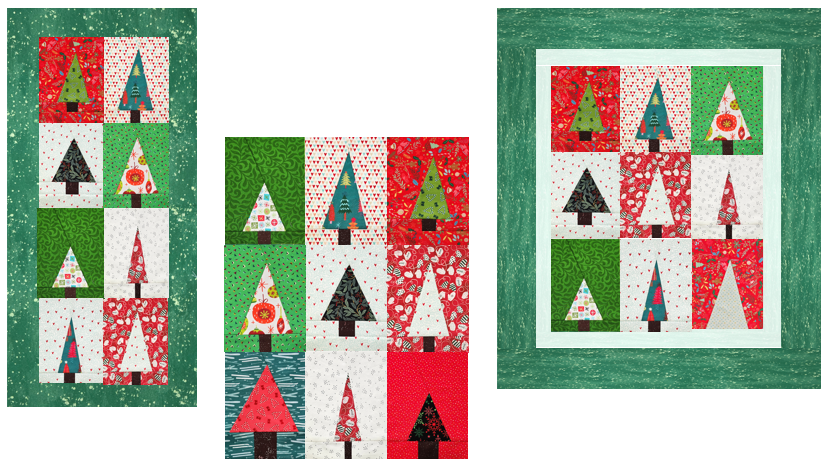
In Part 1 of the Happy Little (Christmas) Trees series, I shared how to create playful improvisational Christmas tree blocks using a low-pressure, mix-and-match technique. Now it’s time to explore the many ways to lay them out and turn those blocks into a finished quilt top! In Part 2, I’ll guide you through helpful design…
-
How to Make Scrappy Christmas Tree Quilt Blocks – Easy Improvisational Quilting
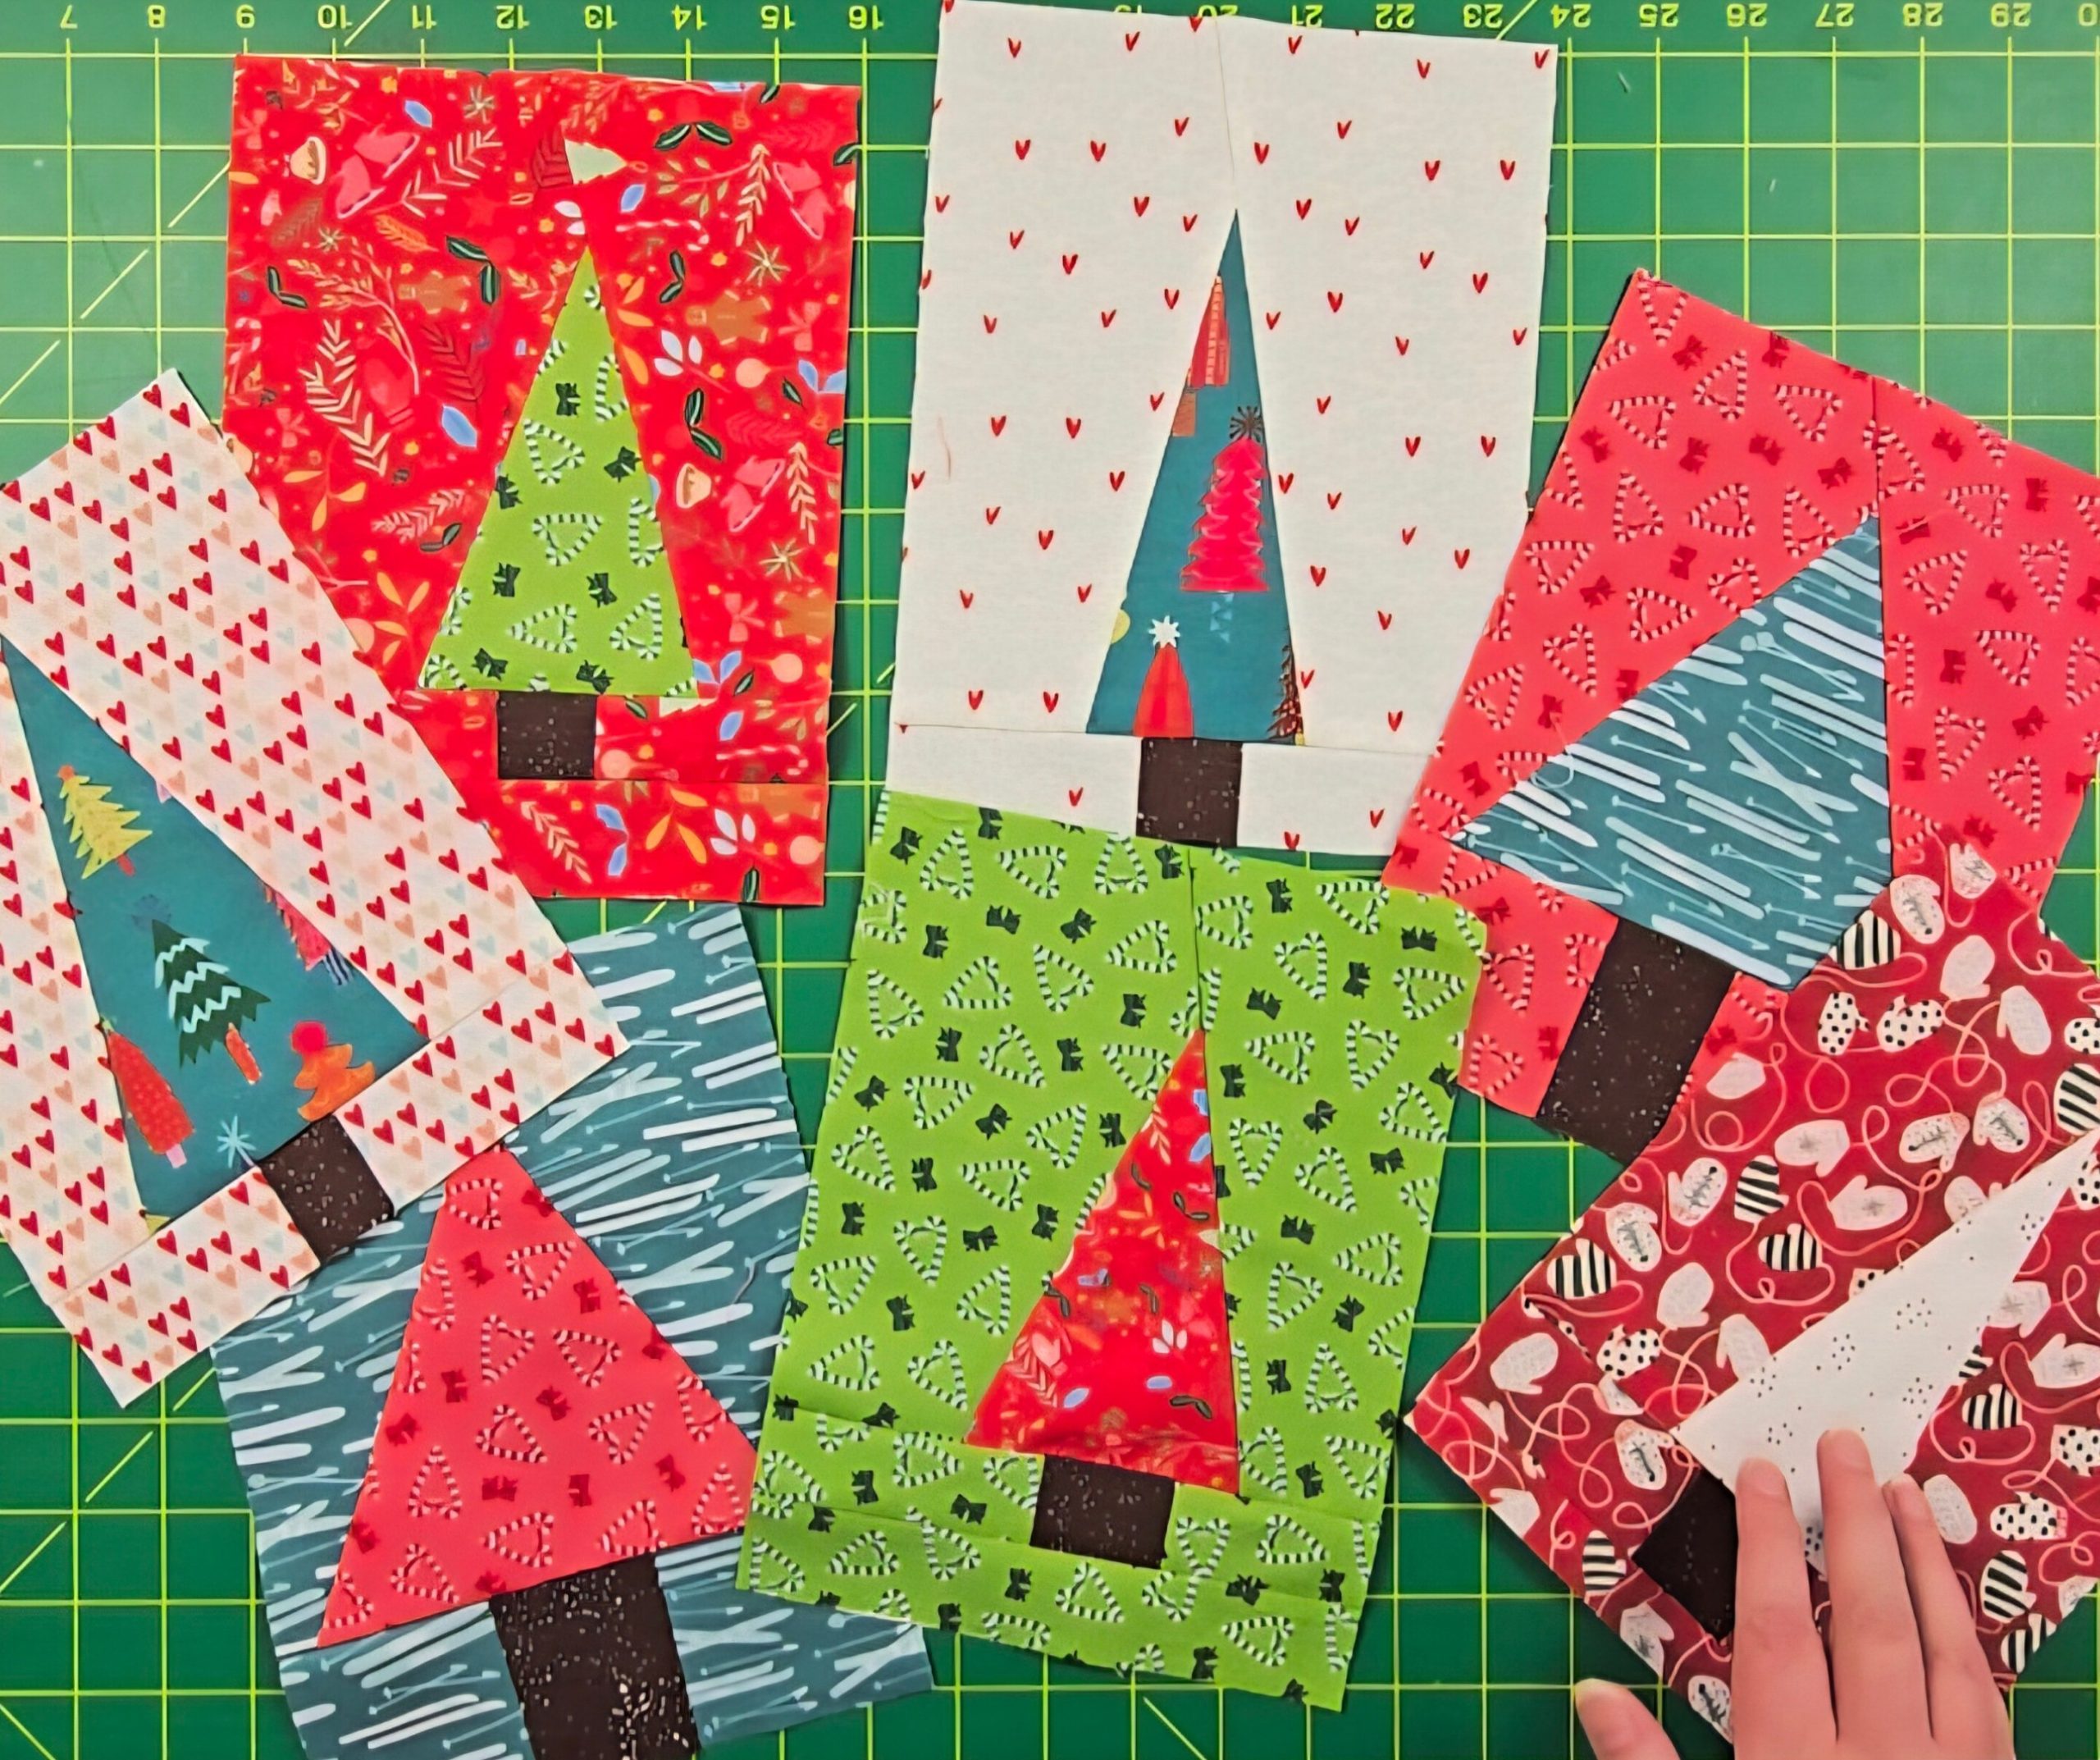
Ready to make some happy little trees? In this step-by-step Bob Ross-inspired video tutorial (below), I’ll show you how to create scrappy Christmas tree quilt blocks using an easy improvisational technique – no pattern required. Whether you’re making a wall hanging, pillow, table runner, or snuggle quilt, this project is beginner-friendly, fat quarter-friendly, and full…
-
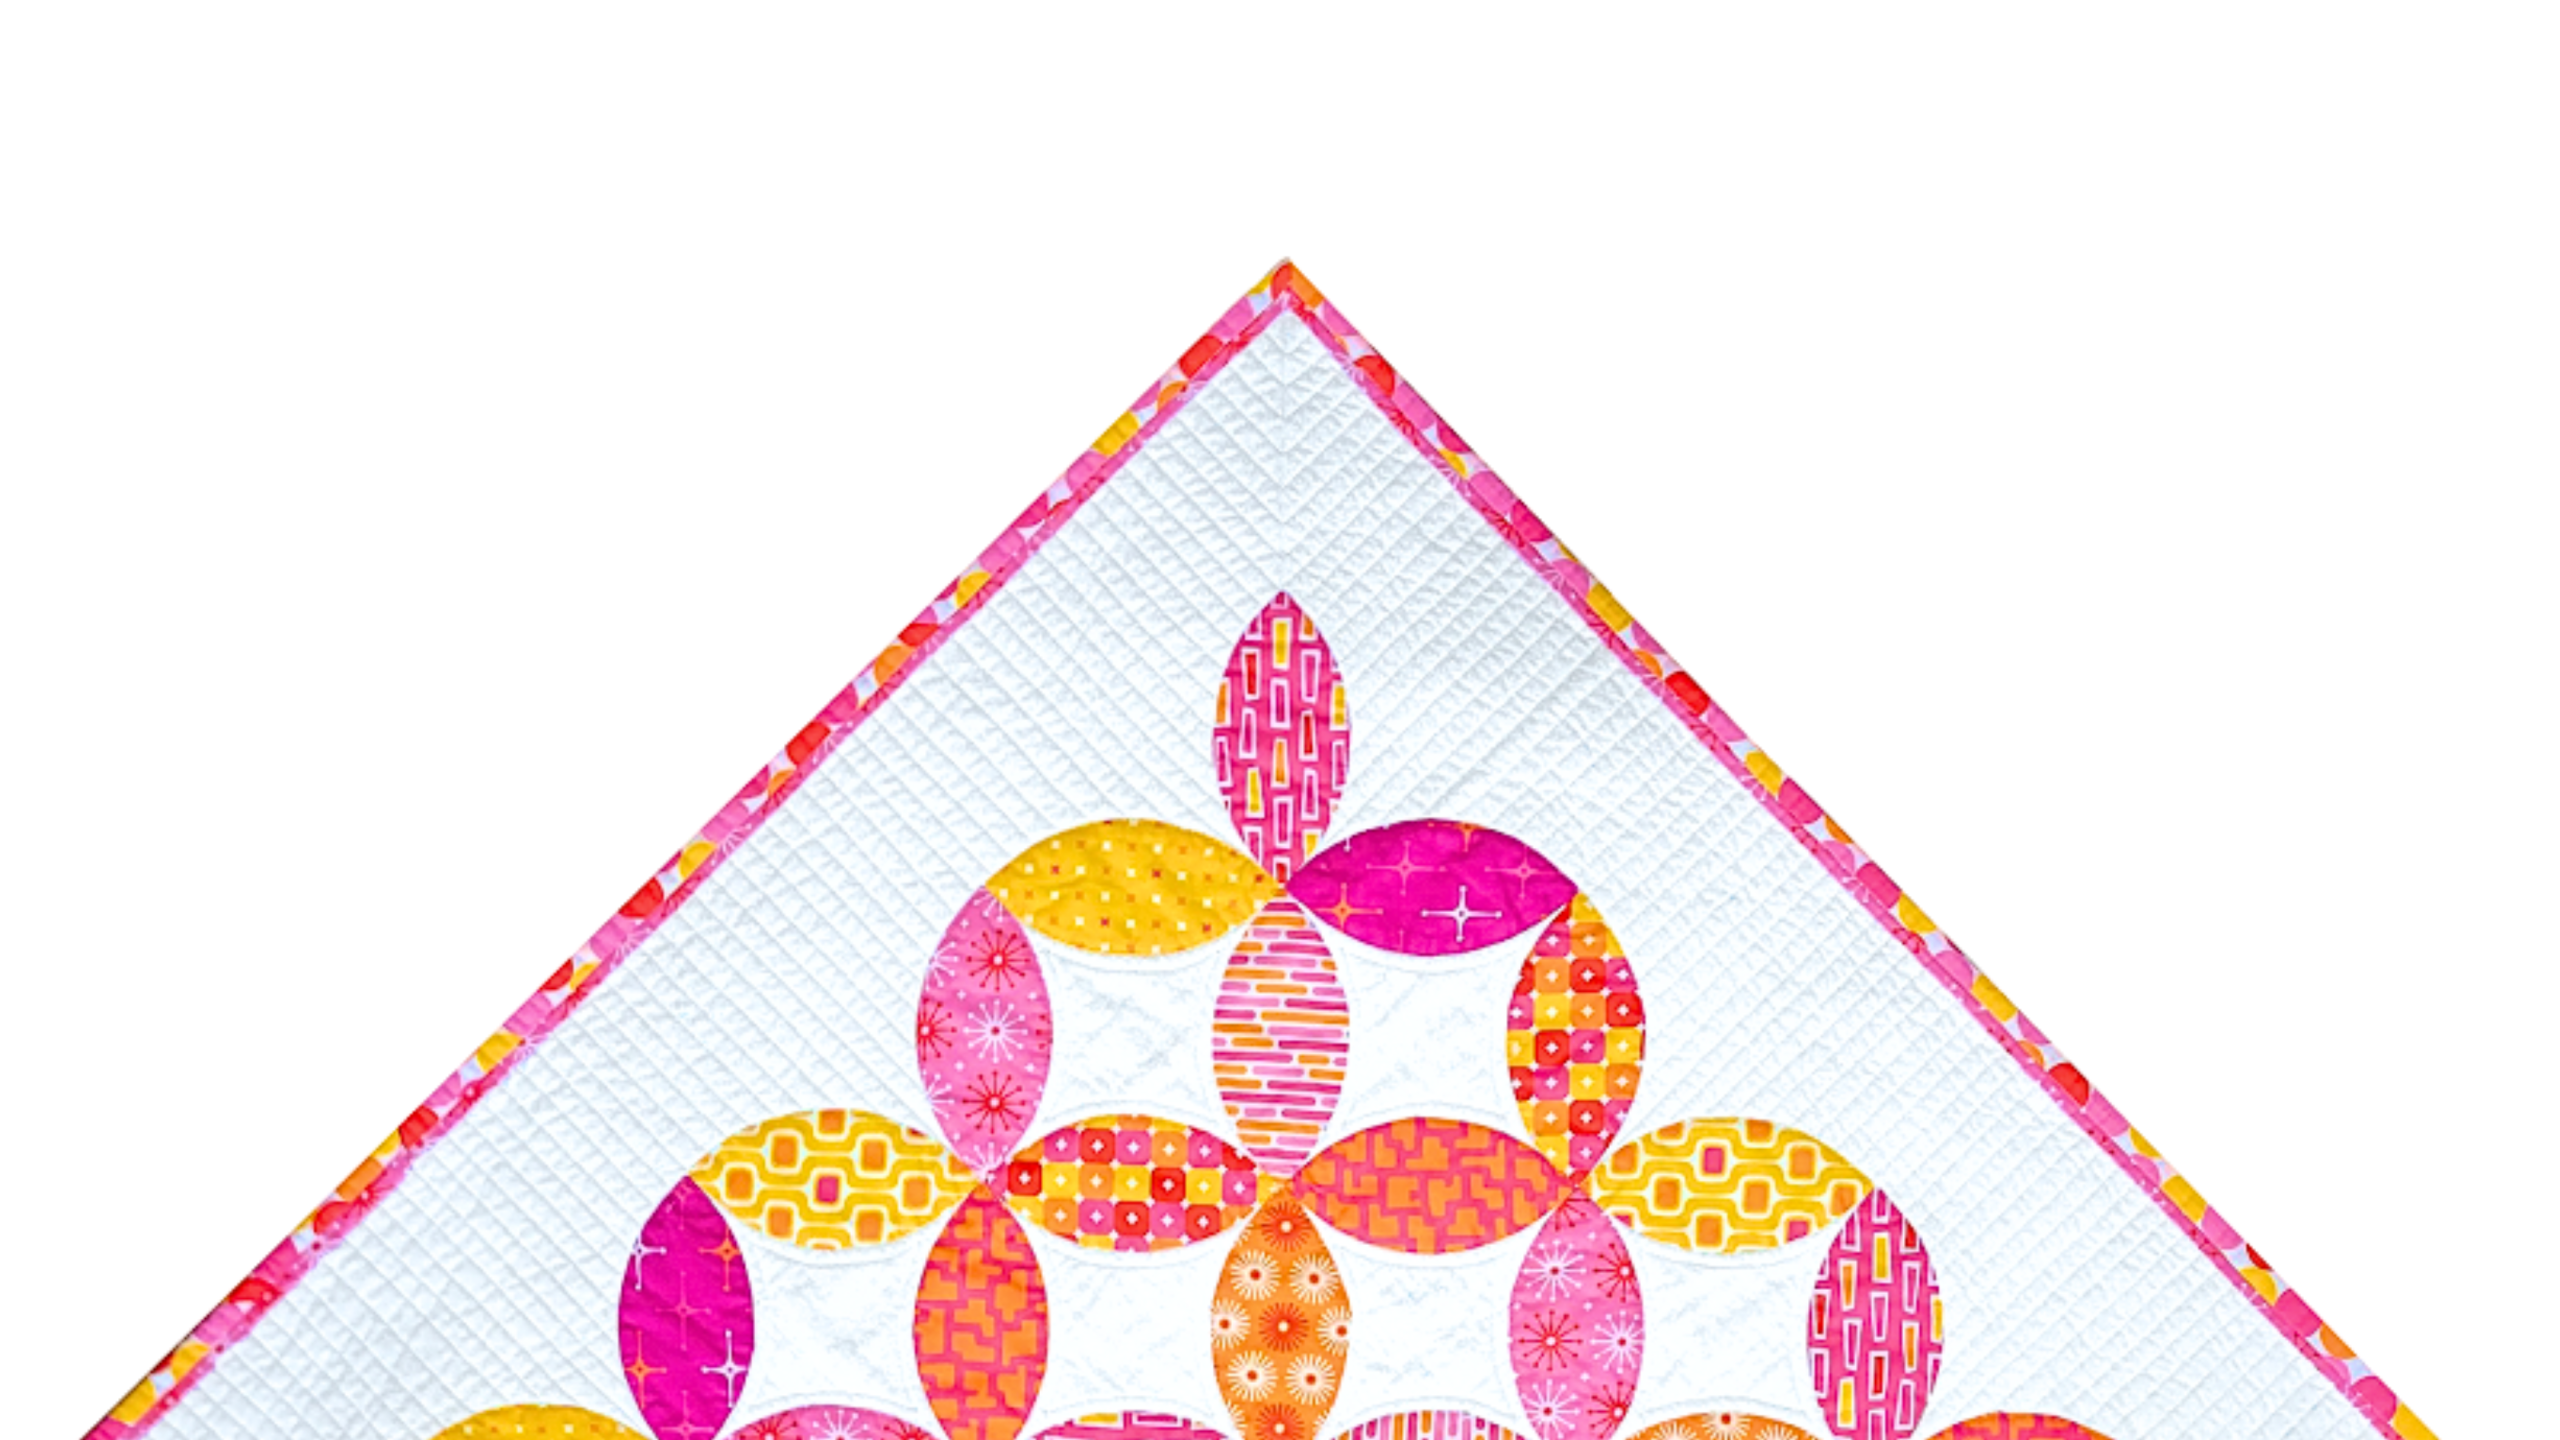
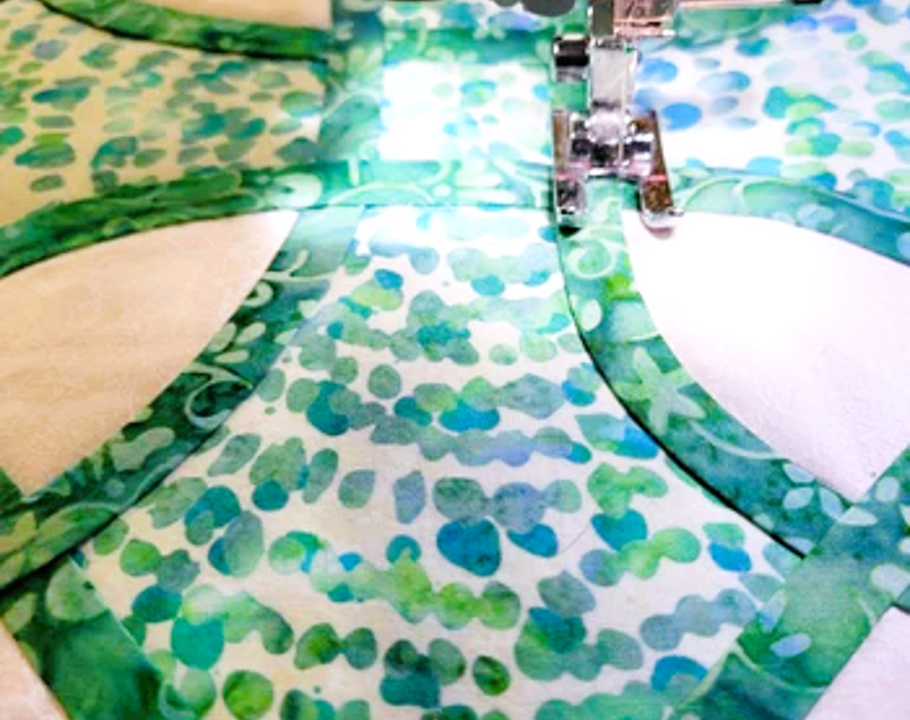
Beautiful Celtic Appliqué by Machine – Appliqué and Quilt in One Step
If you’ve ever been captivated by the intricate beauty of Celtic knotwork but wondered how to bring that into your quilting – this one’s for you. In this video, I’m sharing my favorite method for machine-stitched Celtic appliqué, including: To demonstrate each step, I’ll walk you through the process I use when creating the Celtic…
-
Tour de Fabric 2025 – It’s not too late to join in!
If you’re not already enjoying the fun, it’s not to late to join the Tour de Fabric 2025! It’s a free online quilting event running through the entire month of July, featuring a hand-picked lineup of over 20 talented teachers. Each of us is sharing a workshop and/or a month-long quiltalong to help you explore, play,…
-
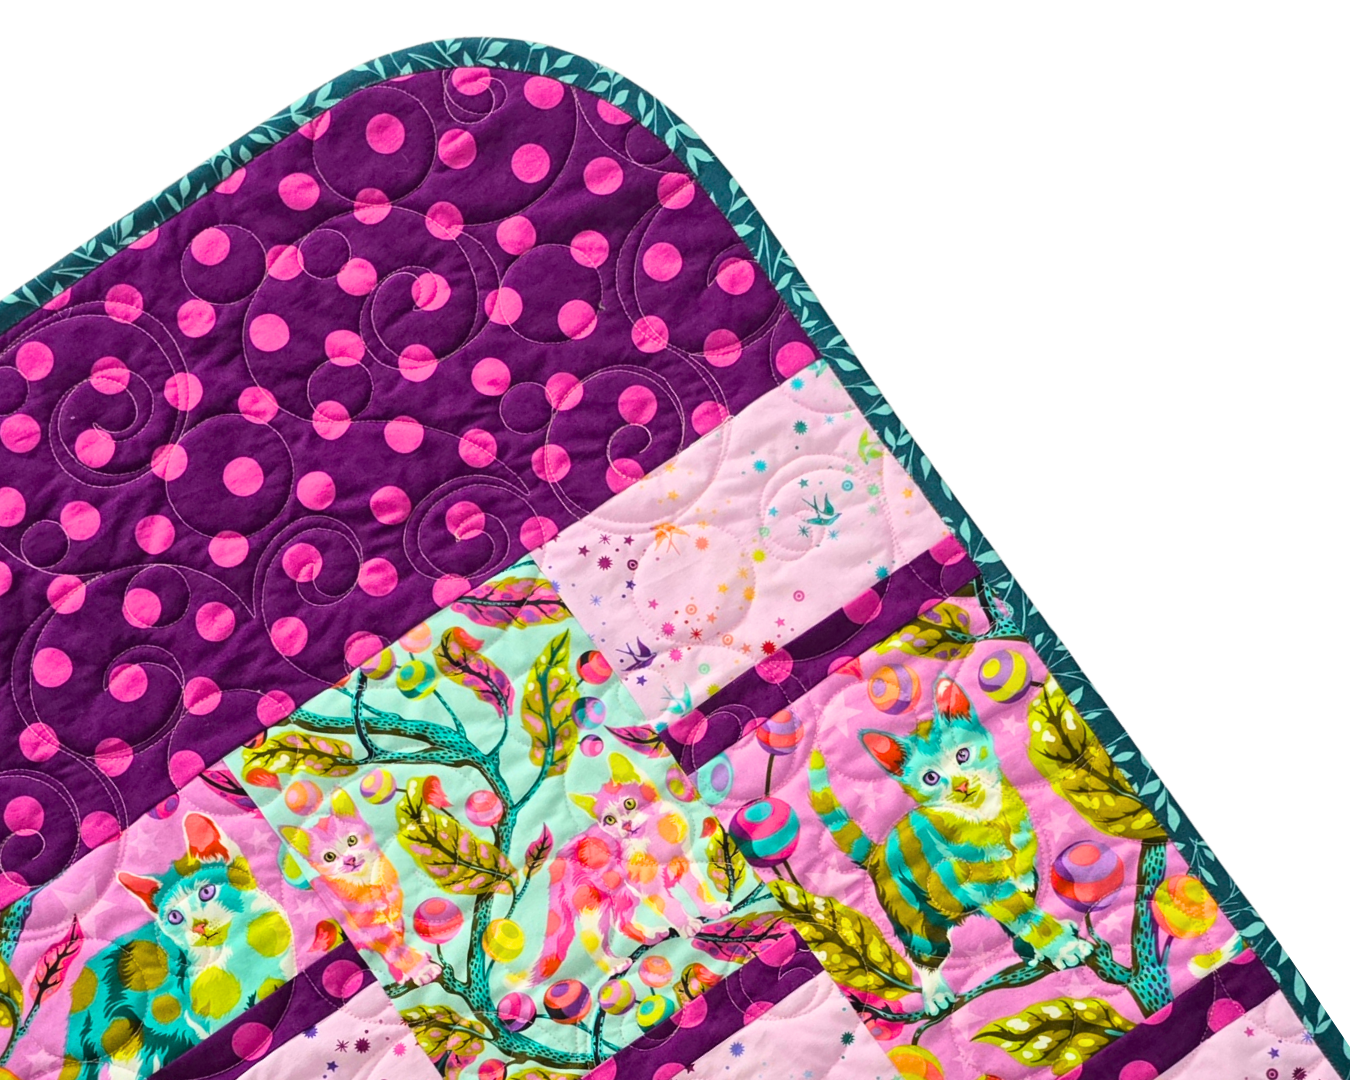
How to Bind Quilts with Rounded Corners – No Cutting on the Bias!
Looking for a beginner-friendly way to finish your quilt without fussing with mitered corners or cutting bias strips? In my latest video tutorial, I walk you through how to bind a quilt with gently rounded corners using regular quilting cotton and cross-grain binding strips. That’s right – no bias cuts required! Rounded corners are a…
-
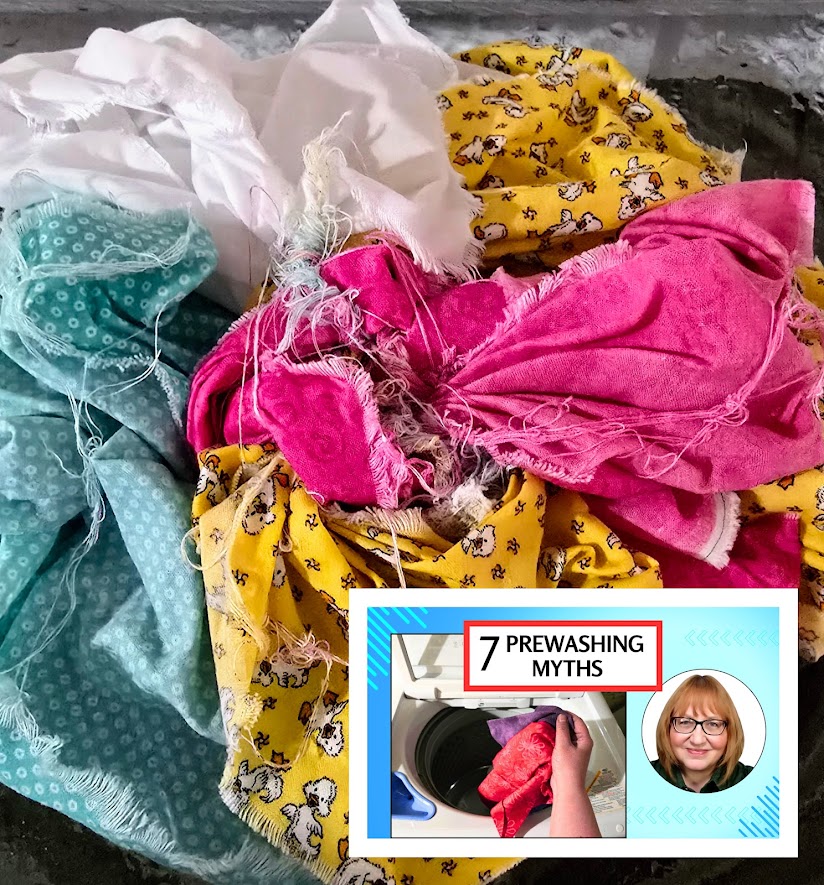
Myths and Truths About Prewashing: A Quilter’s Guide
If you’ve ever Googled “Should I prewash quilting fabric?” you already know that the advice varies wildly. Some quilters insist on it. Others skip it completely. And plenty of us fall somewhere in between. In my newest video, I break down the most common myths and misconceptions around prewashing, including tips for dealing with fabric…
-
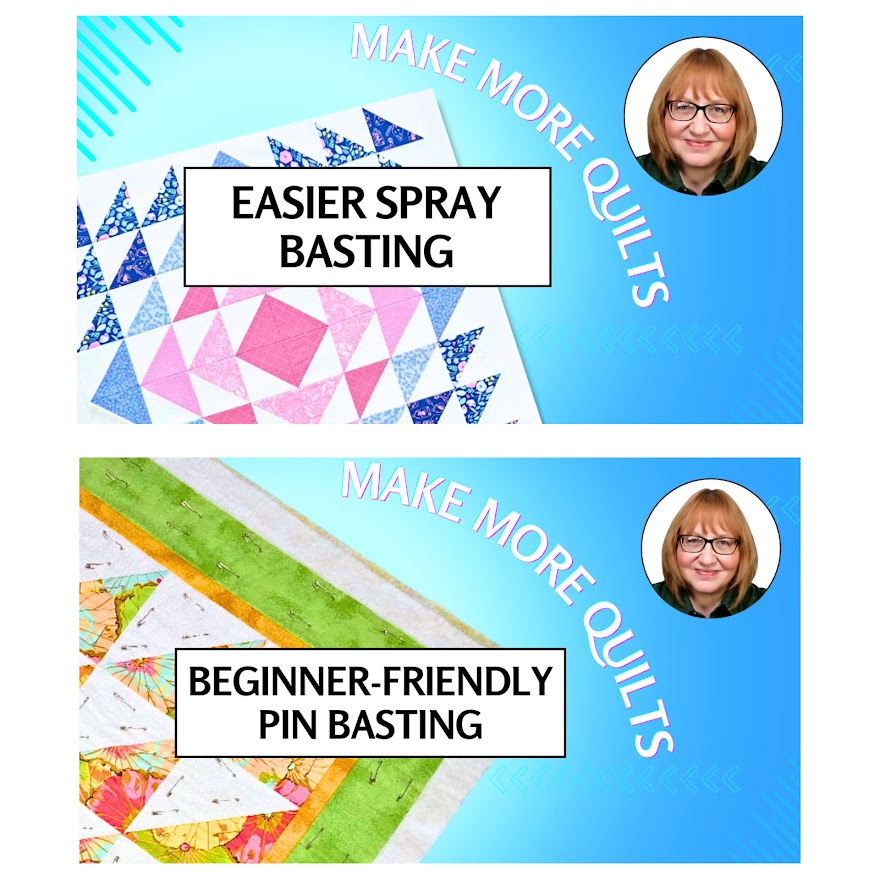
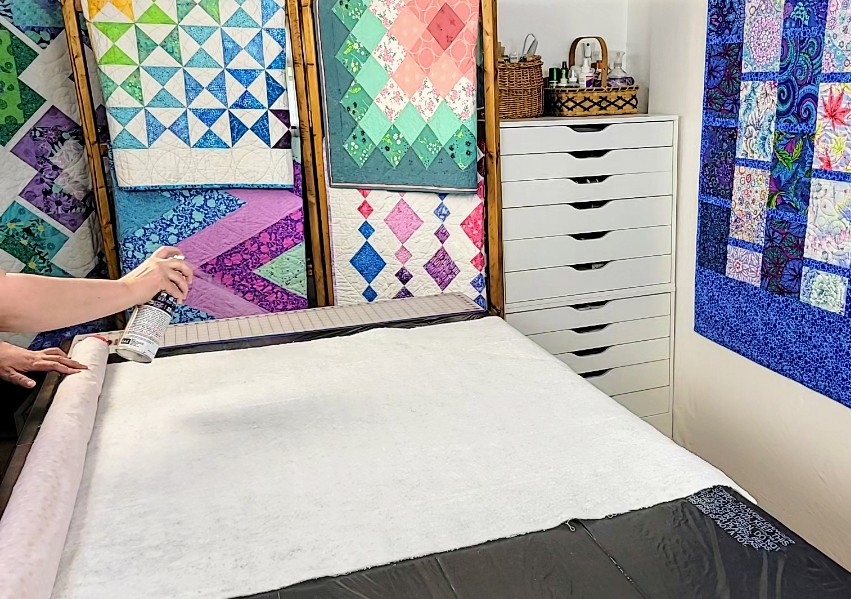
2 Different Approaches to Quilt Basting, Step-by-Step
I’ve talked about spray basting before, but I recently posted a FREE tutorial on my YouTube channel for those who wanted to see the process in more detail. But basting spray is not for everyone! Some folks find it too pricey or too difficult to source. Others may dislike the smell or would prefer not…
-
Quilting Legacies and Quilt Labels
Even as we grieve her recent passing, we’re taking great comfort in wrapping up in quilts made by my mother-in-law Sue Williams, and reflecting on how much joy quilting – and giving quilts to those she loved – gave to her. However, one thing I wish she had done differently is take the time to…
-
Quilt Basting with Pool Noodles and Broomsticks
I’m planning a series of posts with some of my favorite quilt basting tips. So, I thought I’d start by answering a question that recently came up in one of my machine quilting classes: “What are pool noodles and why do you like them so much?” Depending on the size of the quilt, the type…
-
No-Waste Quilt Batting (Wadding)
If you’re like me, at some point you may find yourself with a pile of batting scraps in various sizes. I don’t like to throw these leftover bits and strips away; so I’ve developed a system that works well for me. I typically buy queen-sized packaged batting or 108″ wide batting on a roll and…
-
Quilt Marking Tools Update
Earlier this year, I shared the post Testing My Quilt Marking Tools. Since then, I’ve been putting my favorites to work on actual quilts, and I have some new info (and links) to share with you. One of the things that surprised me most both during the initial testing process and as I continued to…
-
Making a 10 Minute Quilt Block
Can you make an interesting quilt block in just 10 minutes or less? And with just 3 seams? Yes! I’ve been experimenting lately with this oldie-but-goodie method that was popularized by Suzanne McNeill in her books: 10-Minute Blocks: 3-Seam Squares for Quicker Quilts: Jelly Rolls, Layer Cakes or Yardage (Design Originals) Handy Technique for a…
-
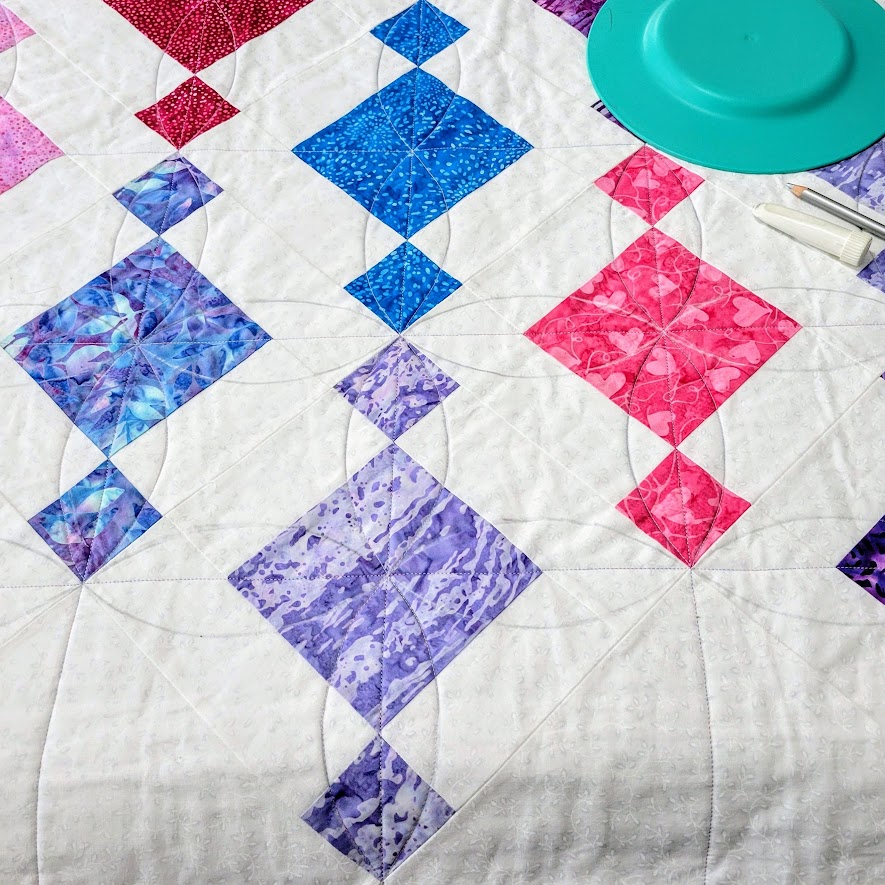
Walking Foot Quilting for My Beads/Chandelier Quilt
In my last post, I shared my progress on my Beads or Chandelier quilt, along with a free pattern from Donna Jordan of Jordan Fabrics. Today, I plan to share with you how I’m machine quilting my quilt on my home sewing machine with a walking foot. I spray basted my quilt sandwich with 505…
-
Link Love – The Beads or Chandelier Quilt
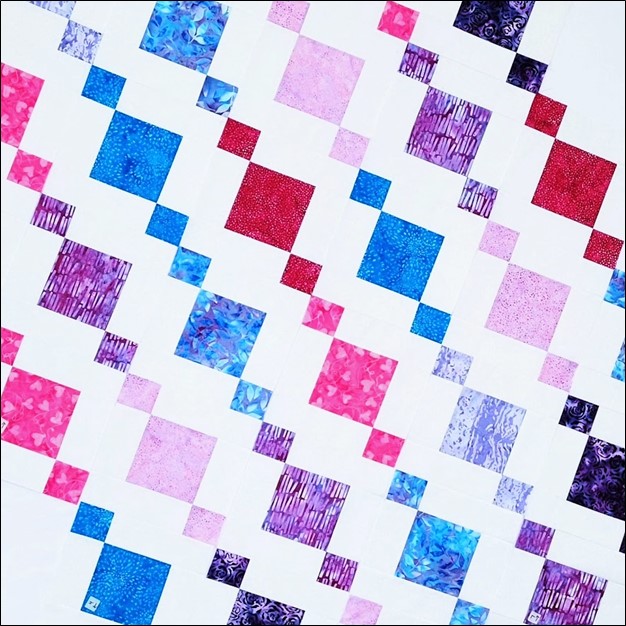
Free patterns are always fun, aren’t they? Well, today I have a delightful pattern recommendation to pass along to you: a pretty, on-point Beads quilt pattern by Donna Jordan from Jordan Fabrics. There’s even a video to go with the pattern! Scroll down the page to see the video. Here’s what inspired this project –…
-
Testing My Quilt Marking Tools
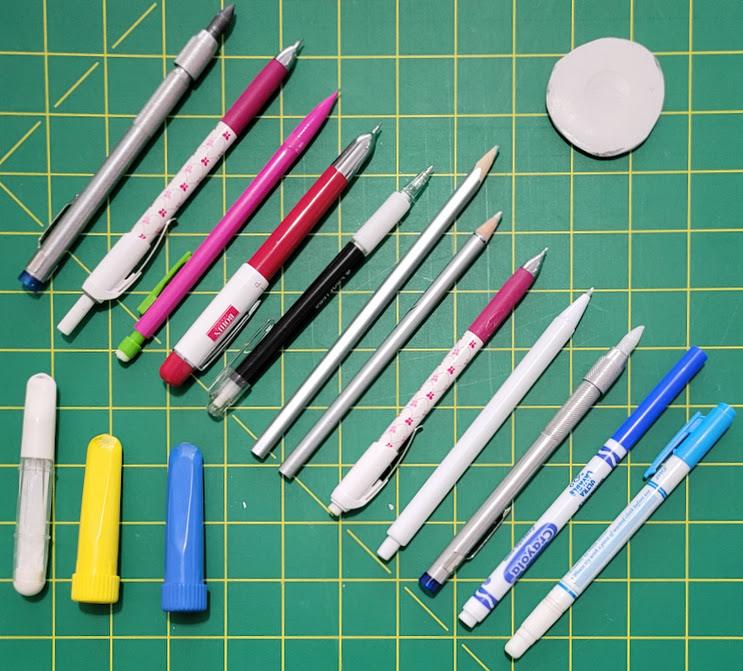
What should I use to mark my quilt? This seems to be one of the most commonly asked questions in the quilting community – and sometimes, one of the most controversial. The short answer is whatever gives you results that please you. But who wants to spend a lot of money on tools that may…
-
Making a Rope Bowl or Basket
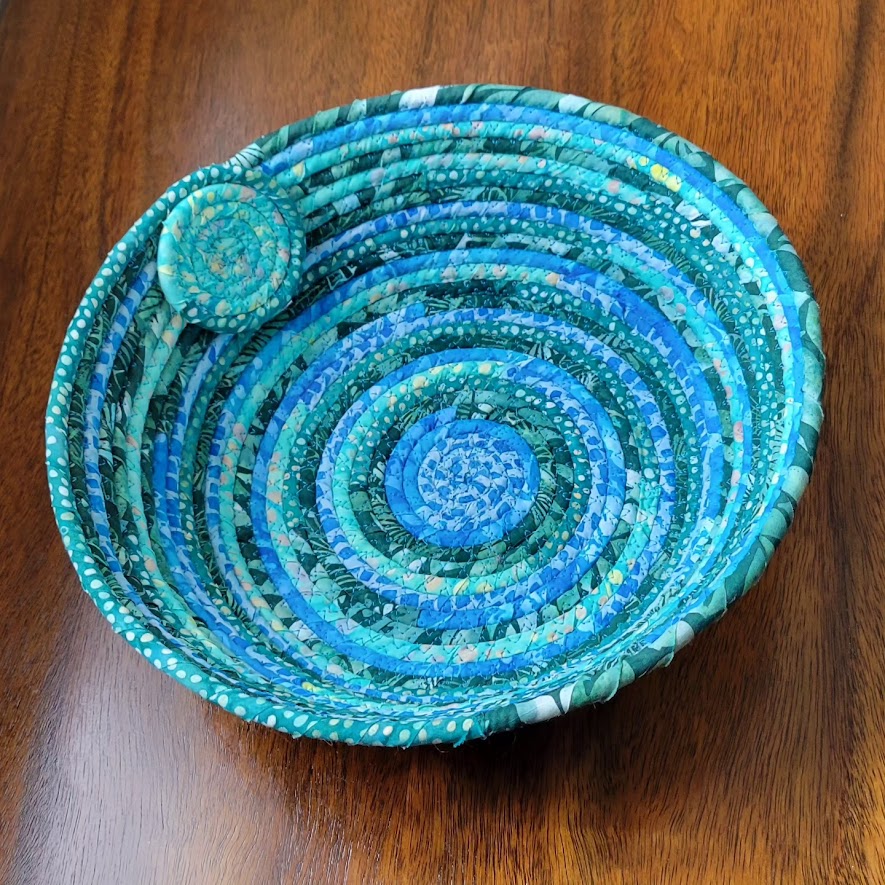
There’s no single “right” way to make a rope bowl. In fact, if you search for tutorials online, you’ll be inundated with a wide variety of approaches. Over the years, I’ve tried quite a few different methods; the tips and techniques I’m sharing today are some of my favorites. For this project, I started with…
-
Stay Stitching is Your Friend!
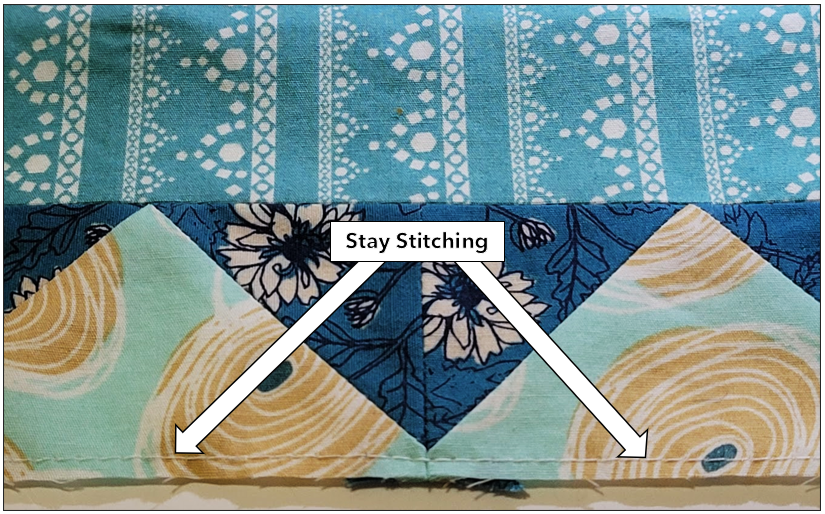
I’m thrilled that so many of you are enjoying my latest FREEBIE! But I’m finding there is one line in the printable Fabric to Finished Quilt checklist that some of you are wondering about. What is stay stitching? Why is it recommended? In this specific example, stay stitching is running a single line of stitches around the entire…
-
Easy & Elegant Echo Quilting
Machine quilting doesn’t need to be fussy, difficult, or complicated to be effective (Although over-the-top quilting can certainly be gorgeous!) One of my favorite techniques that is also super-easy and beginner-friendly is echo quilting. Echo quilting is simply choosing a seam in a pieced quilt or the edge of an appliquéd shape and stitching parallel…
-
Evaluating Relative Values
I’m getting ready to teach my Color Gets the Credit but Value does the Work class at the AQS show in Grand Rapids, Michigan, and I thought it might be helpful to post a quick overview of the methods I recommend for evaluating the relative value of the fabrics in your quilt or other project.…
-
Fun with Fussy-Cutting
I’ve been working on a new bed quilt lately; and as I’ve been cutting my fabric, I’m starting to accumulate quite a pile of new scraps. I started setting some of the scraps to one side. I had an idea… Fussy-cutting is a fun way to feature a specific design or motif in a fabric…
-
FREE PROJECT – Fast & Fun Folded Fabric Stars
These scrap-busting stars make great holiday ornaments or decorations, and are easy enough that kids can enjoy making them, too. 😊 What You’ll Need: 3 strips of fabric for each star I used 3” x 10” strips for the larger stars and 2” x 7” strips for the smaller star. You can use 3 strips…
-
Revisiting Continuous Curve Machine Quilting
Back in June, I shared a step-by-step tutorial for Continuous Curve Machine Quilting with a Walking Foot. This quilting pattern has been a favorite of mine since I first learned it almost 30 years ago. The version I shared was (and is) a fantastic beginner-friendly starting point, but I thought you might be ready for…
-
Choosing Thread for Machine Quilting – Let’s have some fun!
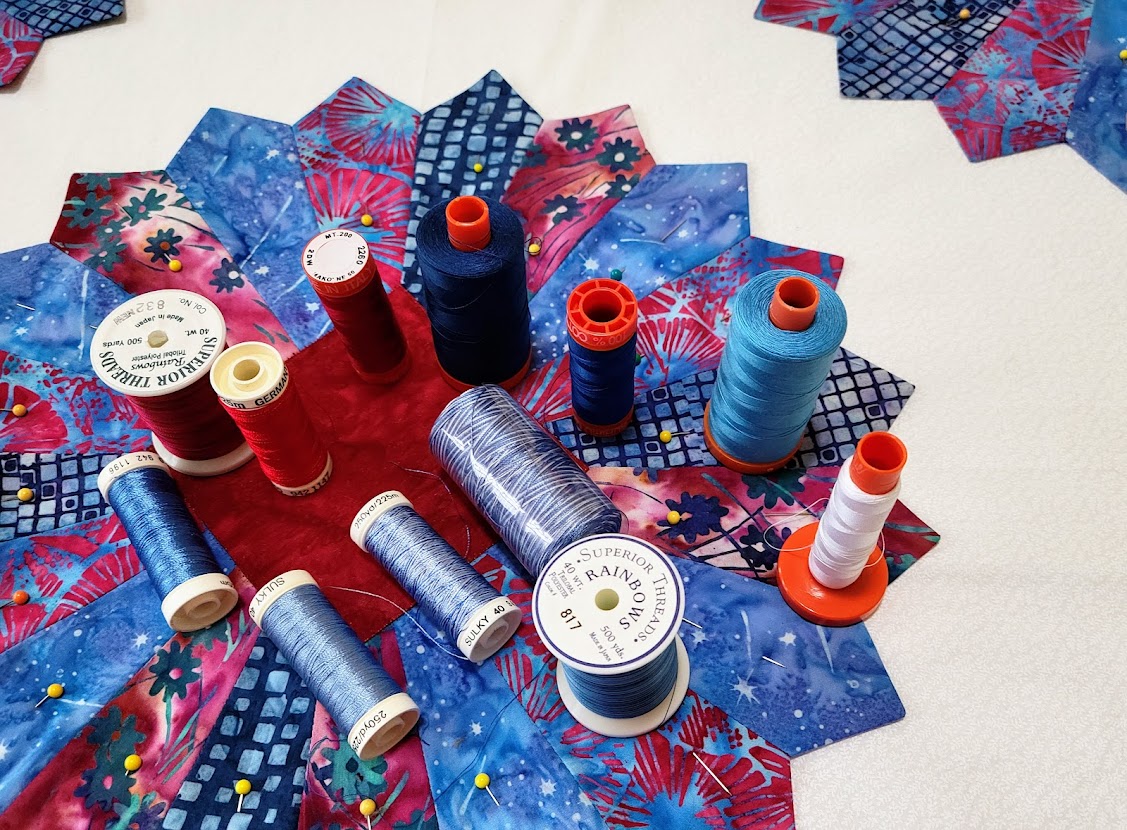
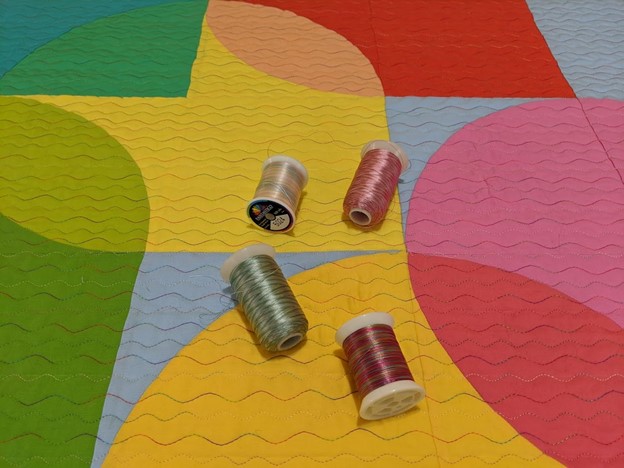
How do YOU decide what thread to use when you machine quilt? Do you have a go-to favorite? Have you ever played with any other options? My go-to thread is 50wt. Aurifil cotton – the same thread that I use for piecing my quilts. It’s strong, colorfast, easy to work with, reliable, and has just…
-
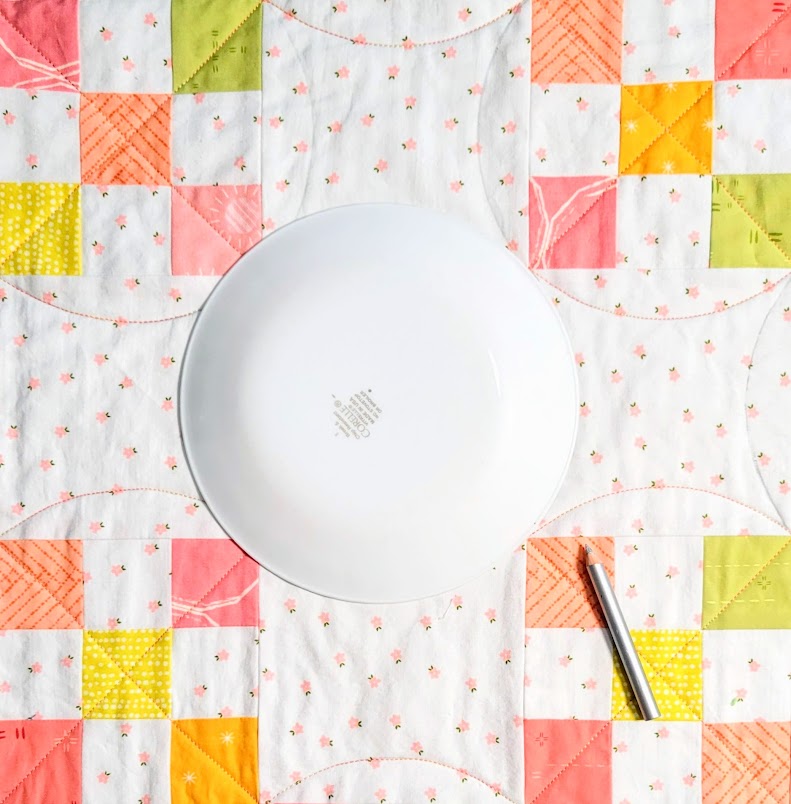
Continuous Curve Machine Quilting with a Walking Foot
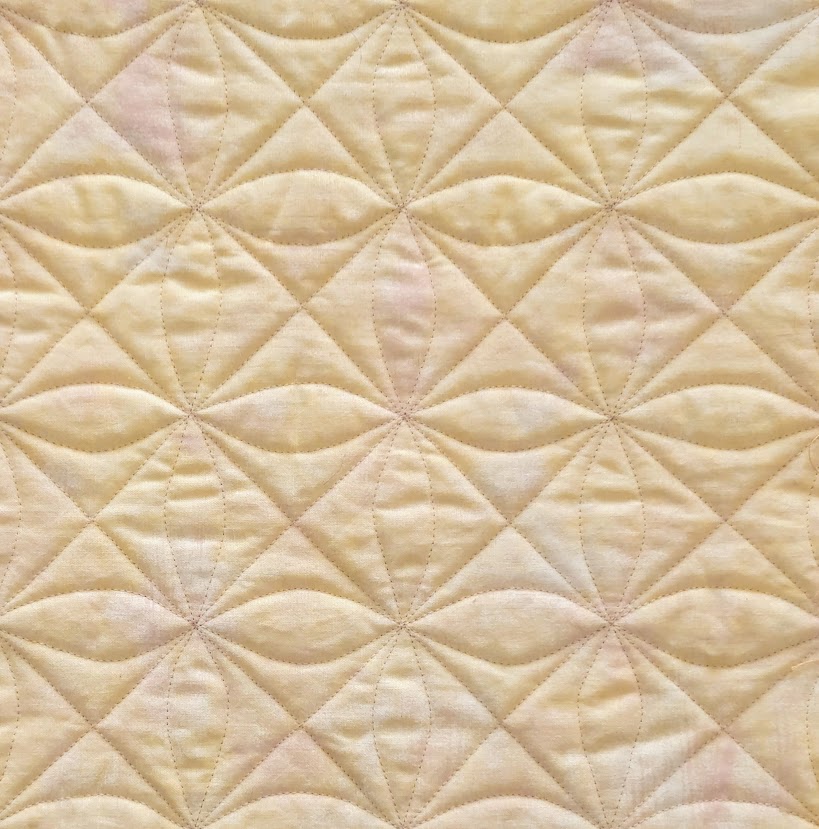
Continuous Curve (also known as Orange Peel) quilting has been around a long, long time, but its gentle curves are still one of my favorite ways to add a lovely soft texture to a quilt. It can be done by hand, with a walking foot, or with a free-motion foot; but the stitching path may…
-
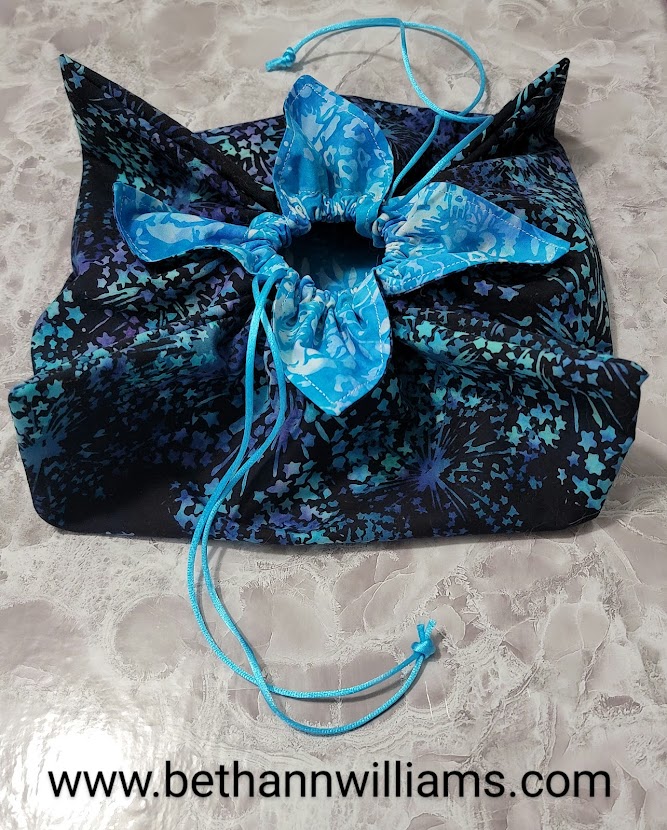
FREE Project – Origami Drawstring Bag
I have a quick and easy photo tutorial for you today – along with some fun photographs from when Connor and I taught this project in the Kids Make It, Take It classes we used to offer through Lakeshore Sewing. Not only is this delightful, giftable little bag useful and appealing for all ages –…
-
FREE Project – Festive Holiday Coasters
Hello again, everyone! As some of you know, I went through a cancer scare this fall, and had my hands more than full with doctor visits and subsequent surgery a couple of weeks ago. But I am thrilled to report that my final biopsies came back negative & I’m getting my groove back! I have…
-
Machine Quilting with a Serpentine Stitch
I’ll say one thing about the global pandemic: I think I’ve done more sewing and quilting in the past year and a half than in the previous 10 years! Seriously, my sewing machine has been a lifeline, and the connections I’ve made through sharing my work – and enjoying everyone else’s work – on Instagram…
-
Finishing Spree! Quick Bindings That Mimic the Look of Hand-Sewn
I like to have lots of different projects going at different stages at the same time, so I always have something interesting to work on. But sometimes there’s a bottleneck, and I have a bunch of projects that are all at the same step. That’s what has been happening to me lately – a pile-up…
-
Finishing Spree! Finish with a Facing
My sewing machine has been getting a workout! I’ve been in full-on production mode with even more projects than usual in-progress at the same time. As I’ve been working, one of the techniques I’ve been exploring is different ways to finish the outer edges of my quilts. I always finish my utility quilts (bed quilts,…
-
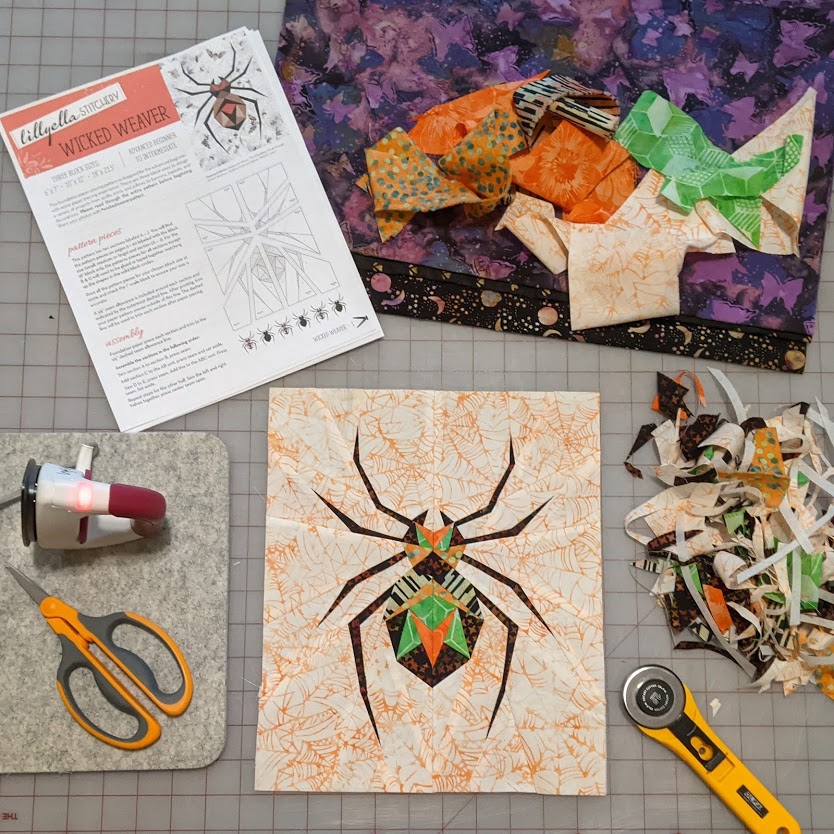
Wicked Weaver & My New Favorite Product
The October Java Batiks box from Cotton Cuts and the Midnight Bite Sew Along (#MidnightBiteSAL) from Lillyella Stitchery offered me a fun opportunity to go outside my comfort zone this month. The Midnight Bite pattern bundle has 3 sizes of each of two different patterns – a bat and a spider. I opted to make…
-
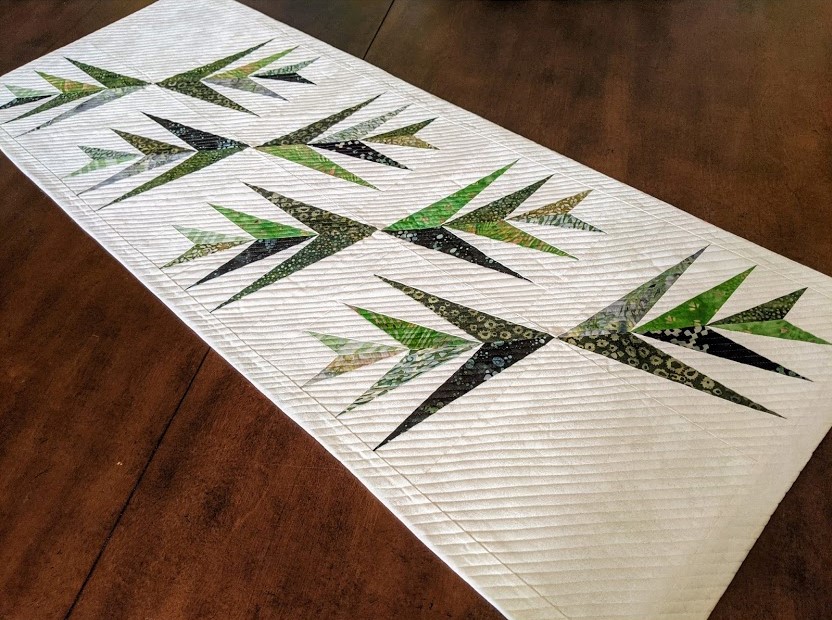
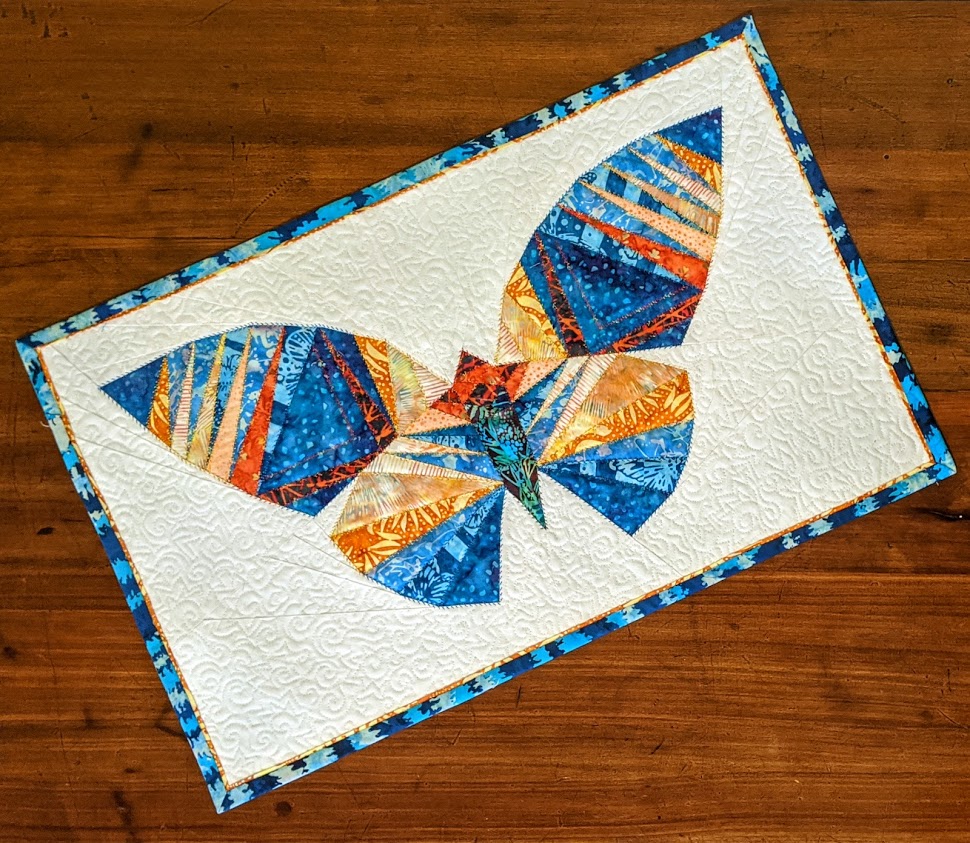
Finishing Spree – Take Wing, Foundation Piecing, & Mixing Quilting Methods
Foundation piecing (also called foundation paper piecing) is a great technique for achieving precise piecing and sharp points even with tiny pieces and fabric edges that are not on-grain. For this method, the pattern is printed (or traced) onto foundation paper. This paper acts as both a stabilizer and a stitching guide while the block…
-
Finishing Spree – Flange Binding by Machine
What is a flange binding? It’s a great no-hand-sewing option for finishing quilts with a sturdy double fold binding while adding a fun design element to the outer edges of your quilt. With only a few exceptions, I’ve always bound my quilts by sewing the binding to the front of the quilt by machine, and…
-
Finishing Spree – Quilting with Decorative Stitches
Now that I’m participating in at least four new sew-alongs over the next few months, my finishing-spree is more important that ever! This time, I’d like to share yet another machine quilting option – quilting with the decorative stitches that are built into your sewing machine. My observations & recommendations:
-
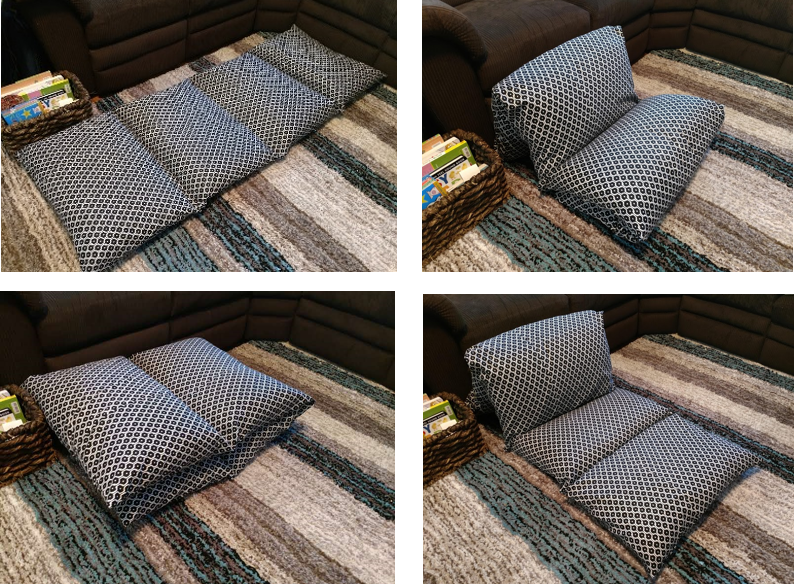
A Comfy & Easy-to-Make Pillow Lounger
I love to sit on the floor with William (age 3) and Emilia (age 1) and play, but I sure don’t love trying to get up again. Nor am I impressed with how hard the floor feels after a while. Given that and also knowing how much fun the little ones have falling/jumping/snuggling into pillows,…

