Can you make an interesting quilt block in just 10 minutes or less? And with just 3 seams?
Yes!
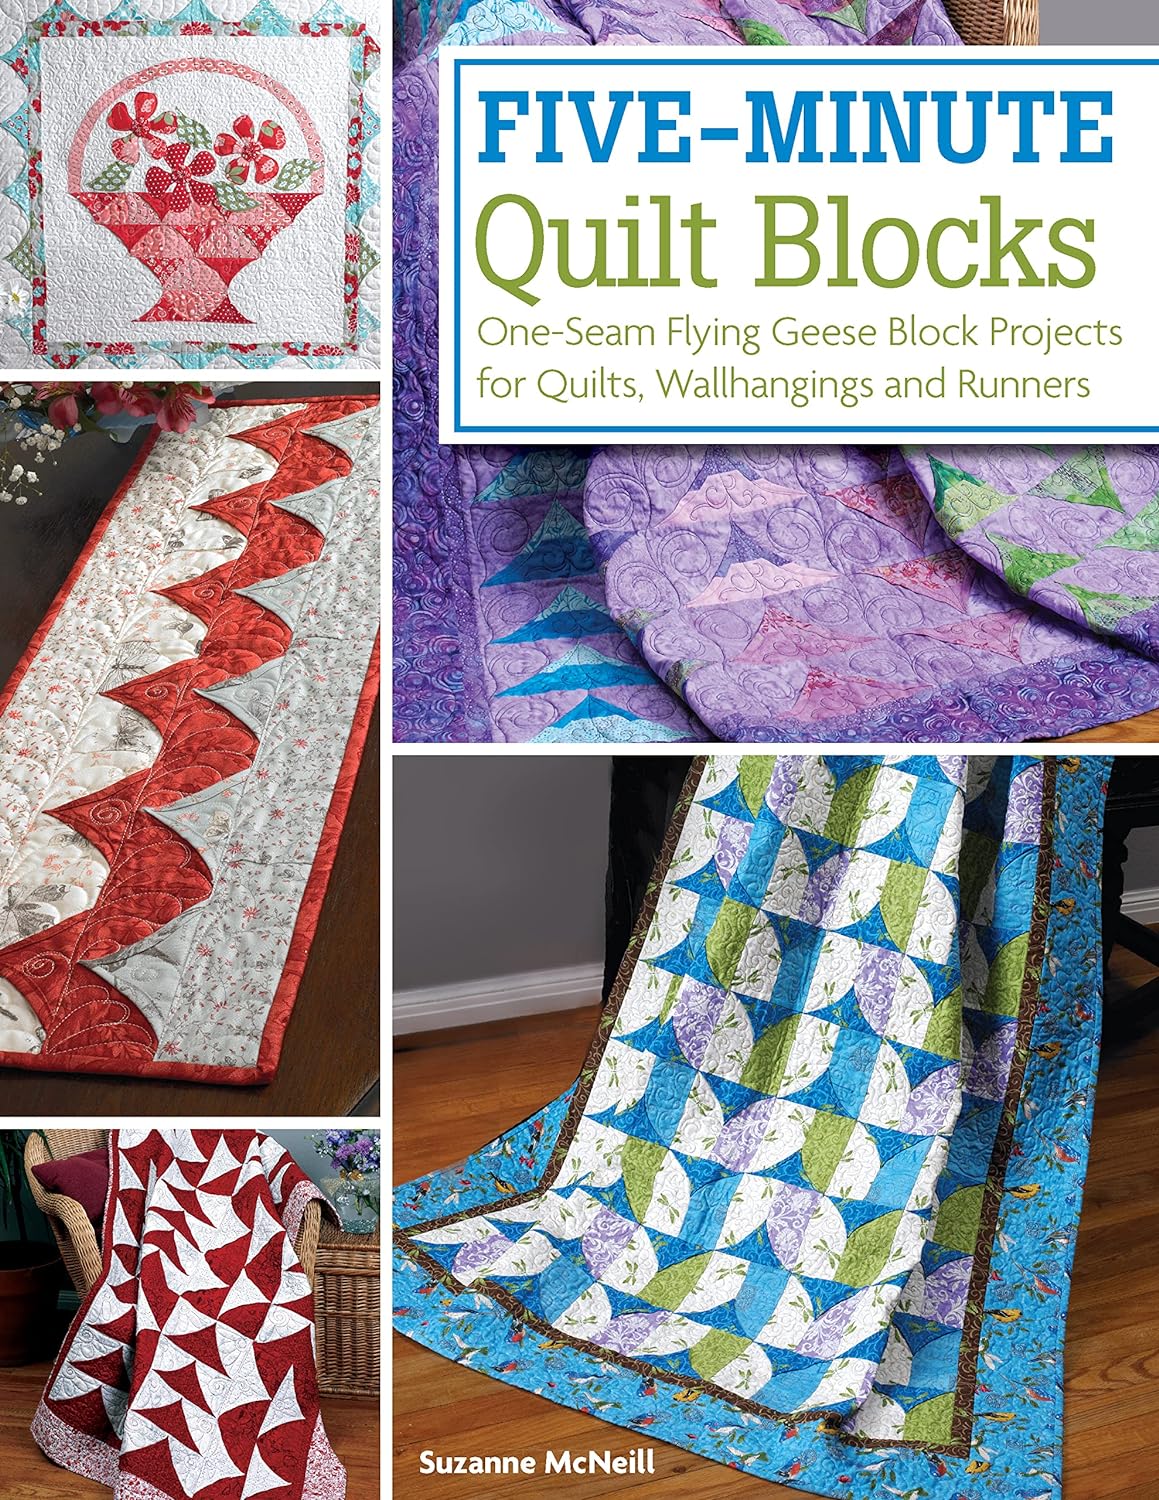
I’ve been experimenting lately with this oldie-but-goodie method that was popularized by Suzanne McNeill in her books:
- 10-Minute Blocks: 3-Seam Squares for Quicker Quilts: Jelly Rolls, Layer Cakes or Yardage (Design Originals) Handy Technique for a King-Size Quilt in a Day or a Throw in an Hour; 7 Stylish Projects
- 10-Minute Blocks 2: Variations on 3-Seam Squares
She also wrote a similar book:
These are affiliate links – your cost won’t change; but if you make a purchase, it will help support this site.
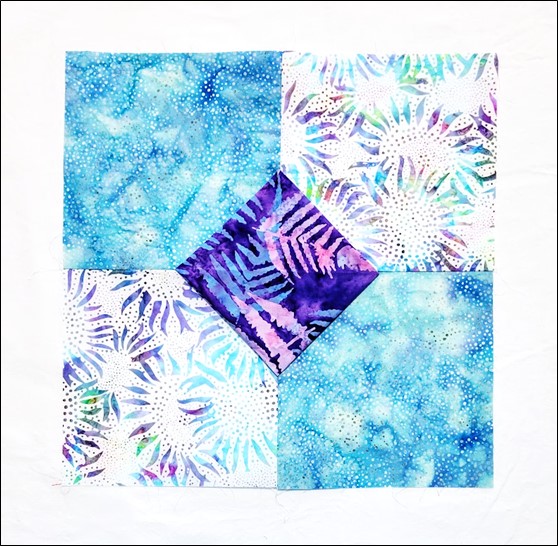
I’ve decided to make 4-Patch blocks with purple accent in the middle.
Here’s the basic process:
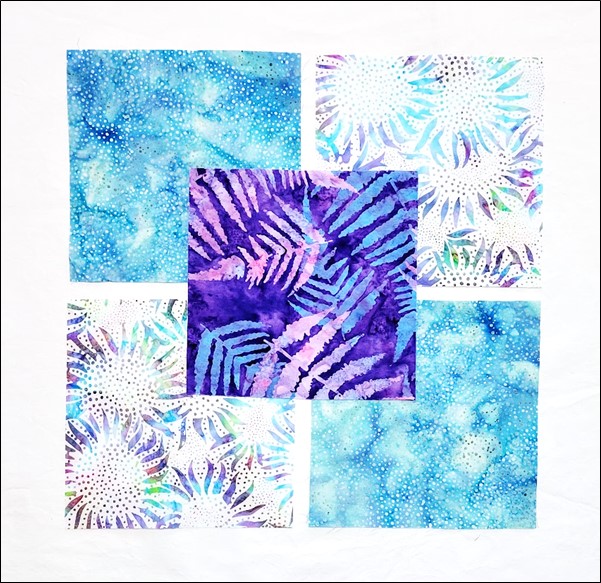
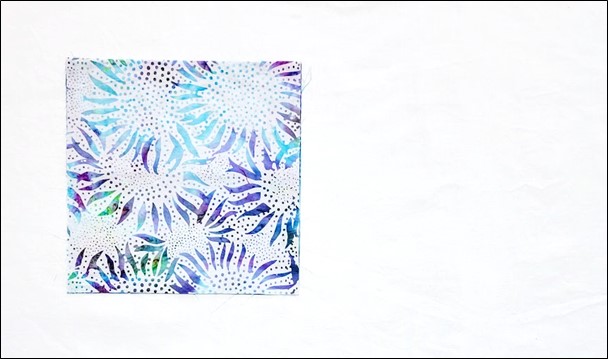
Step 1: Start with 2 darker squares, 2 lighter squares, and 1 strongly contrasting accent square, all the same size.
I happen to be using 7″ squares, which is smaller than what you usually see in this block. You could also opt to make the accent square larger or smaller than the 4 base squares.
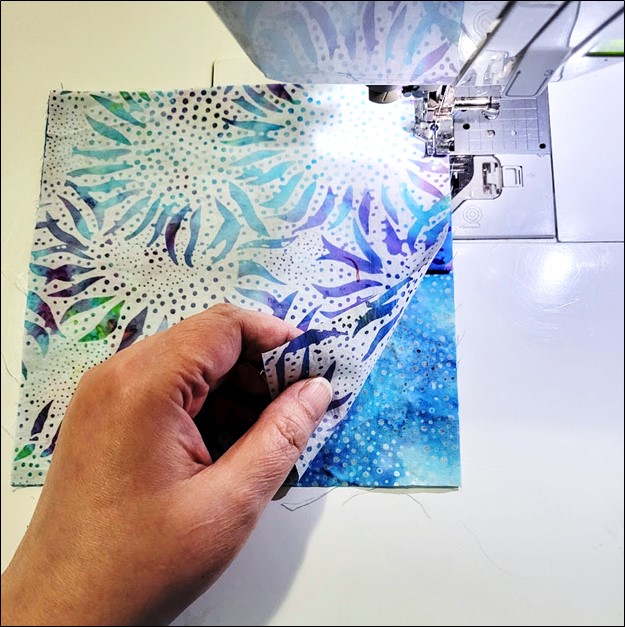
Step 2: Fold the accent square in half right side out (pretty side showing), and place it on top of a darker square, which should be right side up. Align the raw edges carefully along the top and sides of the square. The fold of the accent fabric should hit right in the middle of the darker square.
NOTE: Since I’m using batik fabrics, which look pretty much the same on the front and back, I’ll specify which side is up in each photo.
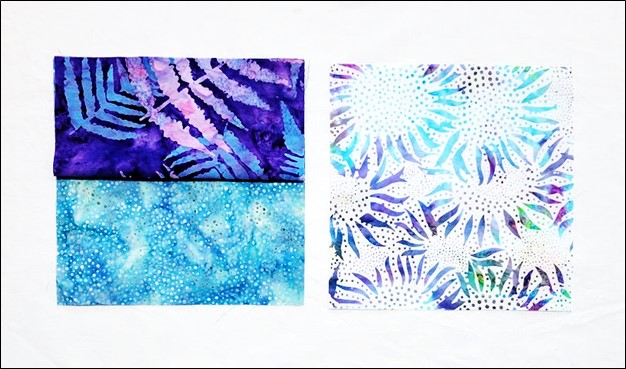
Step 3: Pick up a lighter square, and add it to the stacked fabrics, right side down.
Step 4: Sew down the right hand edge of the stack with a quarter-inch seam allowance.
In the photo, I’m holding up the corner of the top fabric just so that you can see the tip of the folded accent fabric.
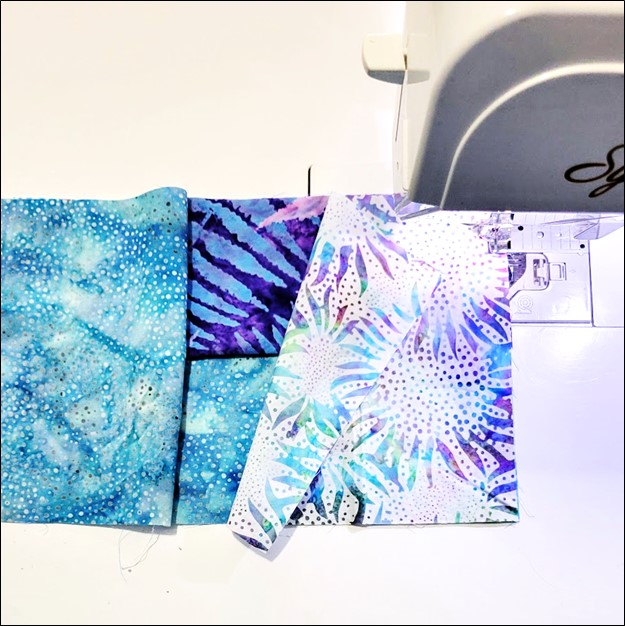
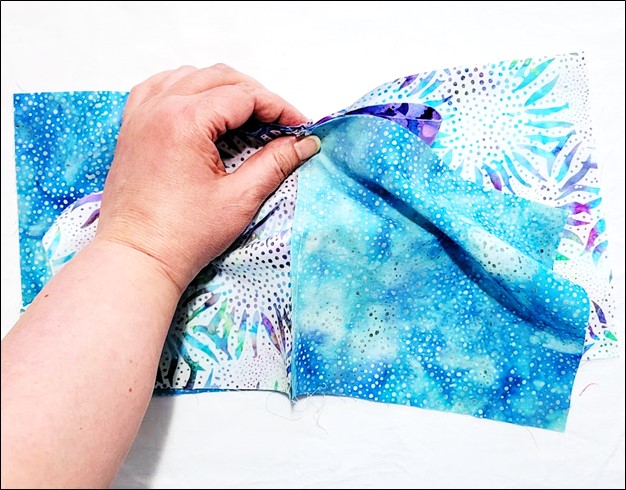
Step 5: Pull the 2 squares around and away from the folded fabric, right sides facing out, seam allowance hidden between the two square fabrics.

Step 6: Lay the folded accent fabric on top of the other darker square, lining up the upper and right hand edges carefully. Then add the remaining lighter square to the stack. All three of these fabrics should be right sides together.
I’ve pulled the lighter square back so that you can see the accent fabric and the darker fabric underneath.

Step 7: Sew down the right hand edge of the fabrics stacked together in Step 6 with a quarter-inch seam allowance.
Step 8: Pull those two fabrics away from the accent fabric just like in Step 5. All fabrics should now be right sides facing out, seam allowances hidden between the fabrics.
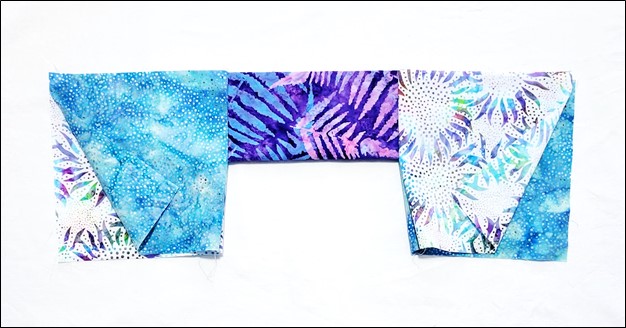
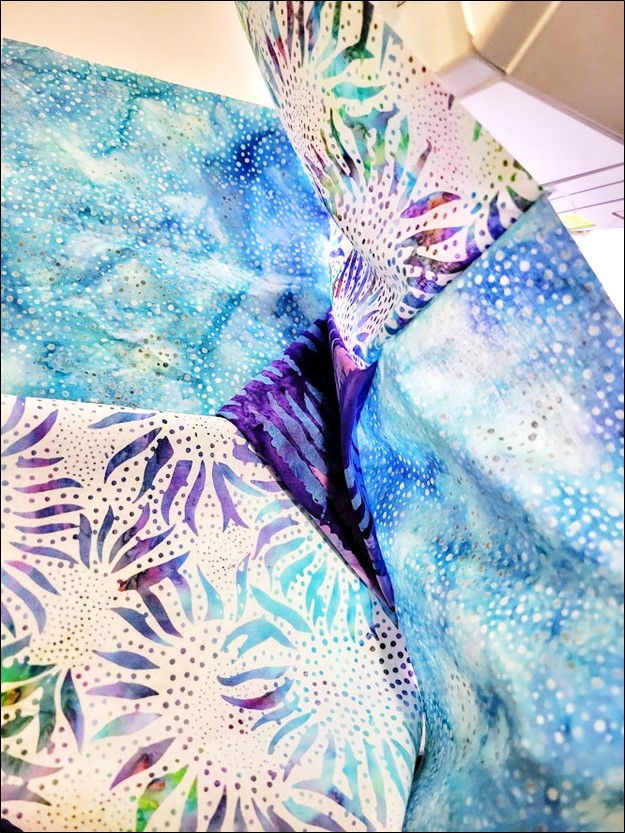
Step 9: Pick up the top square on each side of the accent fabric, and bring them together, right sides facing each other. Then bring the bottom 2 squares together, right sides facing each other.
The accent fabric will be completely hidden.
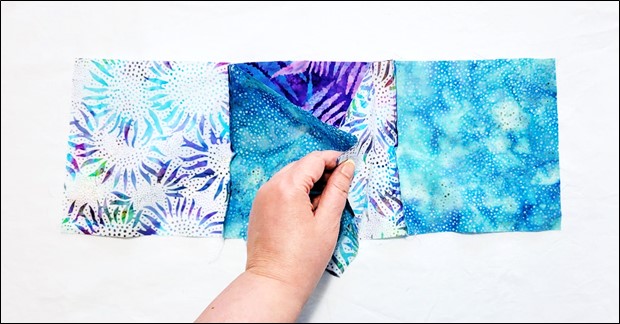
Step 10: Reach in between the layers to open up the accent fabric. (This is the fussiest part of the block.) Match the center seams and pin.
You should have the same amount of accent fabric on each side of the center seam.
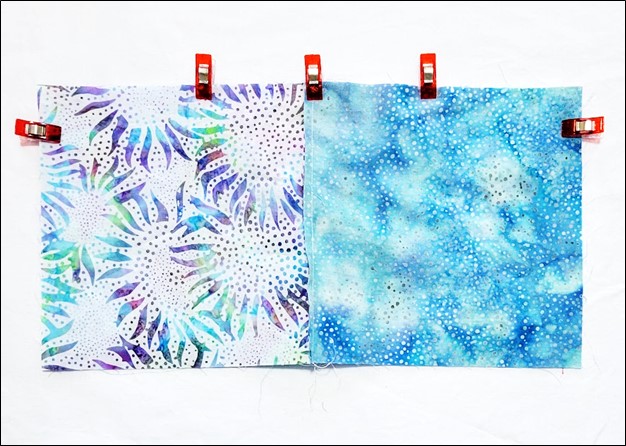
Step 11: Carefully flatten out the fabrics and pin or clip to keep everything in place.
Check carefully to make sure the accent fabric isn’t pleated or bunched along the seam line.
Step 12: Sew with a quarter-inch seam allowance.

I like to sew a couple of inches, then peek inside to make sure everything looks good before completing the seam.
Step 13: Open up the fabrics and admire the block!
I like to press the seam allowances first from the back, and then turn the block over and press the entire block from the front.
The accent is actually three dimensional. You can top-stitch the finished edges down, or you can turn them into cathedral-window style shapes – but that’s a variation we’ll explore another day.
But if you just can’t wait, click here for a video by Suzanne.
And here are Suzanne’s books again:

Happy Quilting!