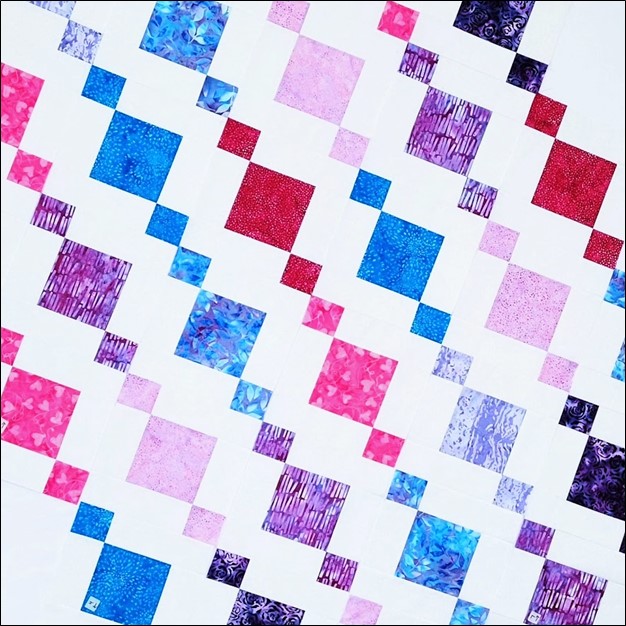
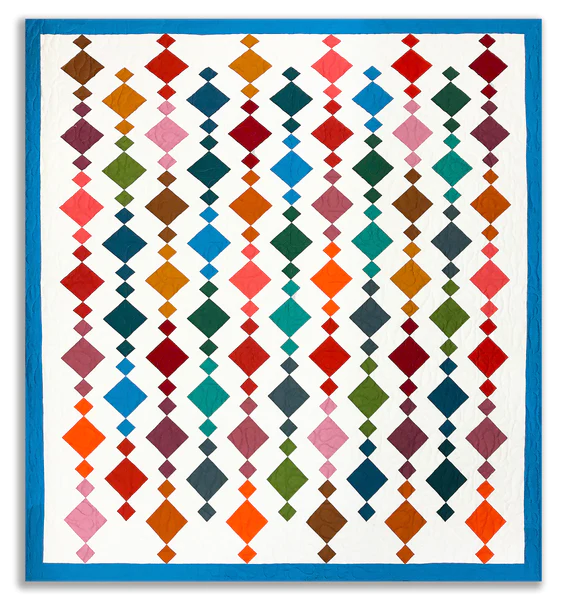
Free patterns are always fun, aren’t they? Well, today I have a delightful pattern recommendation to pass along to you: a pretty, on-point Beads quilt pattern by Donna Jordan from Jordan Fabrics. There’s even a video to go with the pattern! Scroll down the page to see the video.
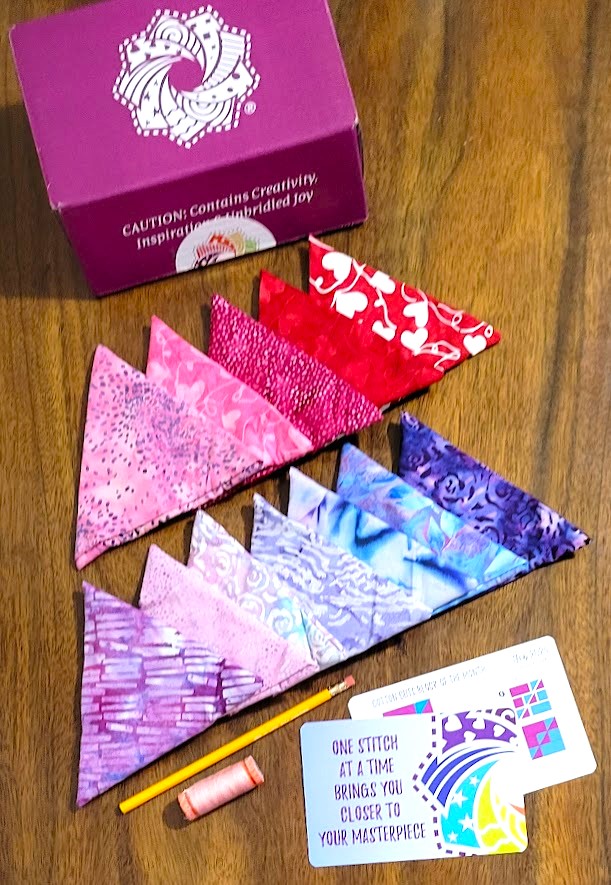
Here’s what inspired this project – the February Java Batiks box from Cotton Cuts.
I’m a Brand Ambassador, so I receive a lovely box every month, but subscriptions are available on their website.
I was thinking about what I might like to make with these fabrics, and I remembered the Beads Quilt free pattern I’d seen by Donna Jordan from Jordan Fabrics. I’ve also seen it called a Chandelier Quilt.
The blocks are fast and fun to make!
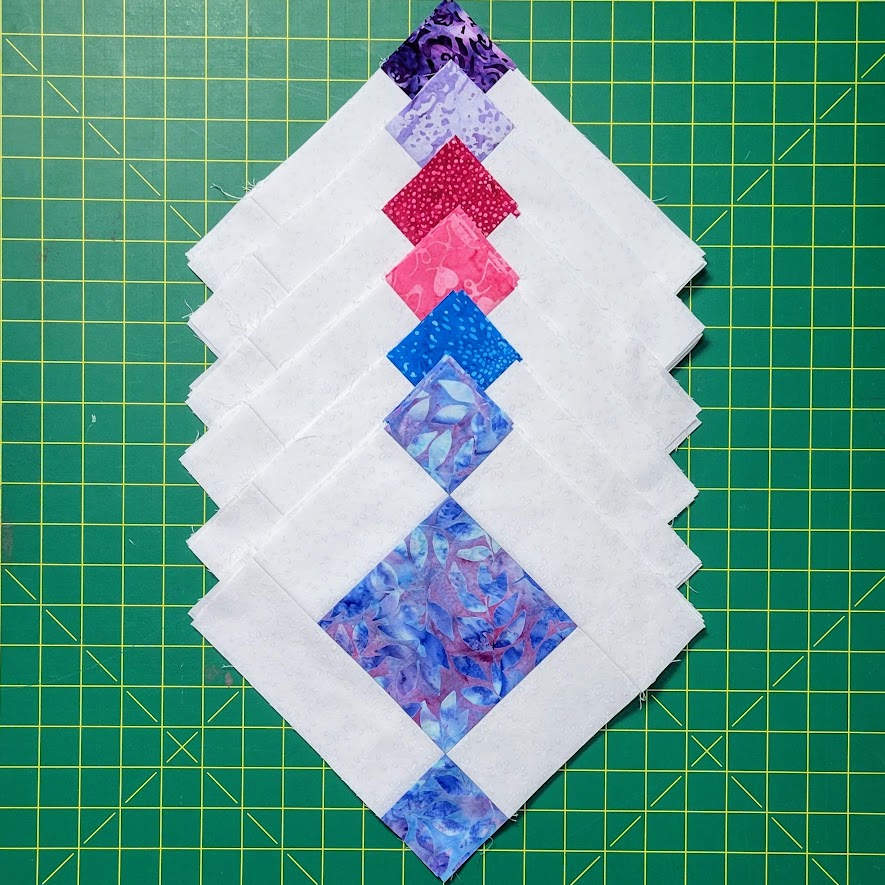
I wanted a smaller quilt, so I resized the pattern. Along with the background fabric, I used 8 colorful fat quarters, cutting (1) 5″ x 22″ strip and (1) 2 1/2″ x 22″ strip from each one.
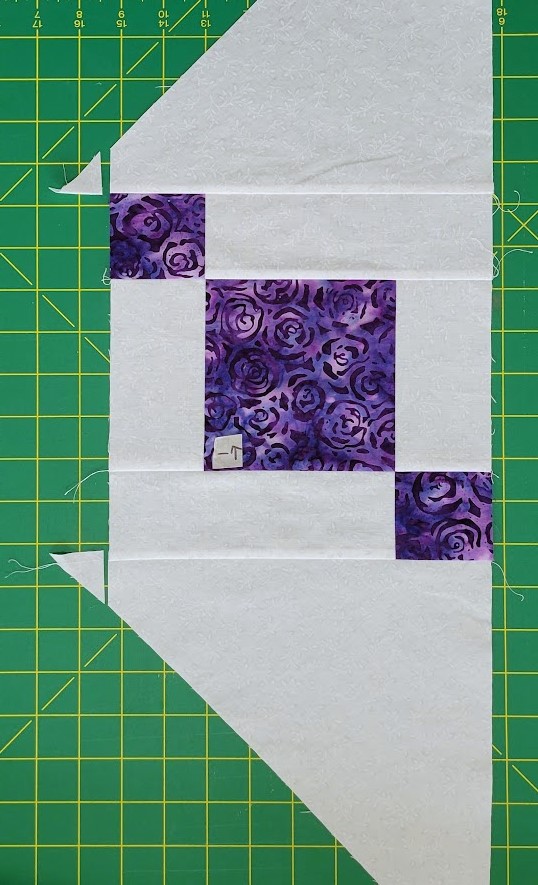
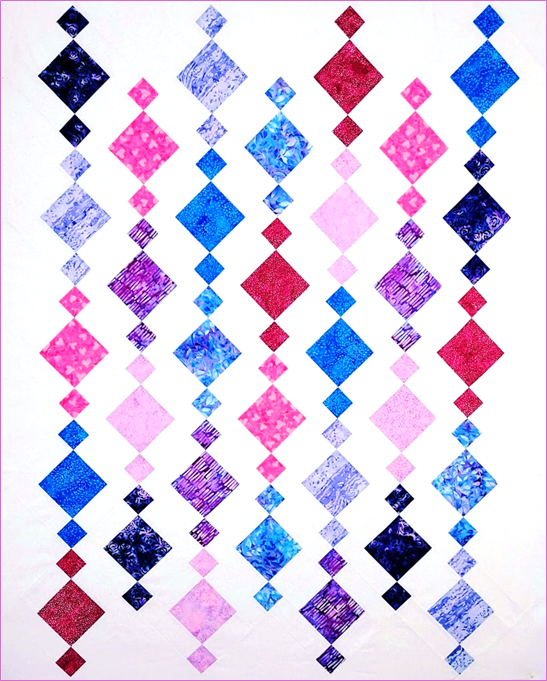
Here is an in-progress photo of my quilt:
I also cut my setting triangles a little bit bigger than Donna’s, so that I would have a little more white space around the edges of the quilt.
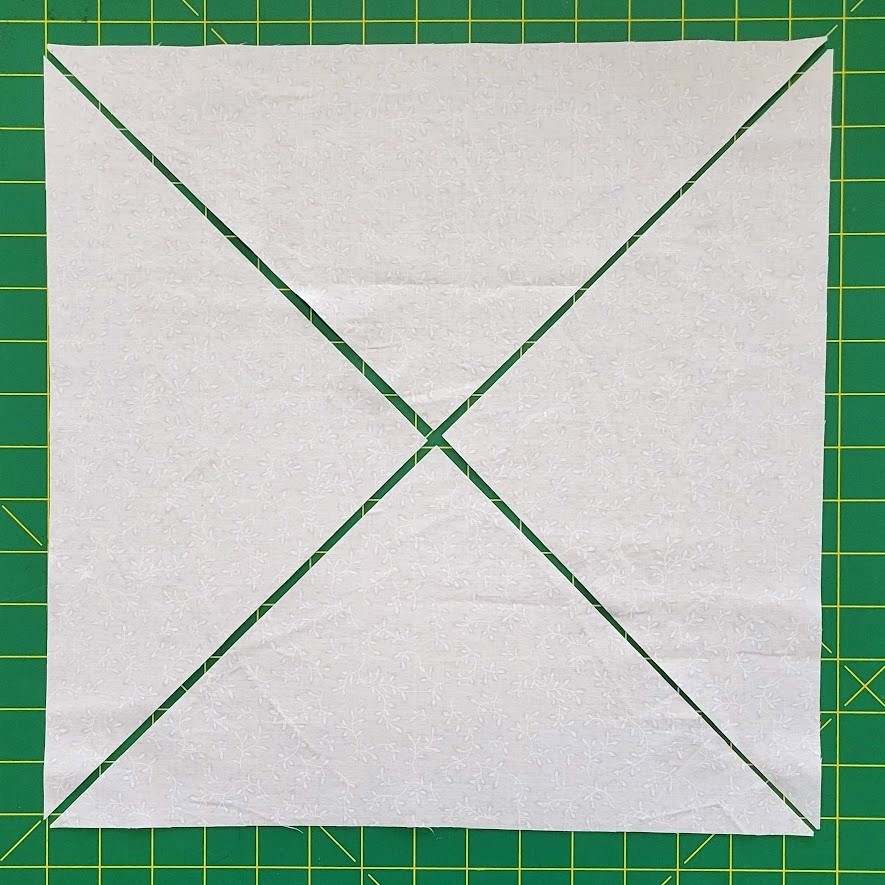
For my side triangles, I cut 14″ squares and cut them twice on the diagonal.
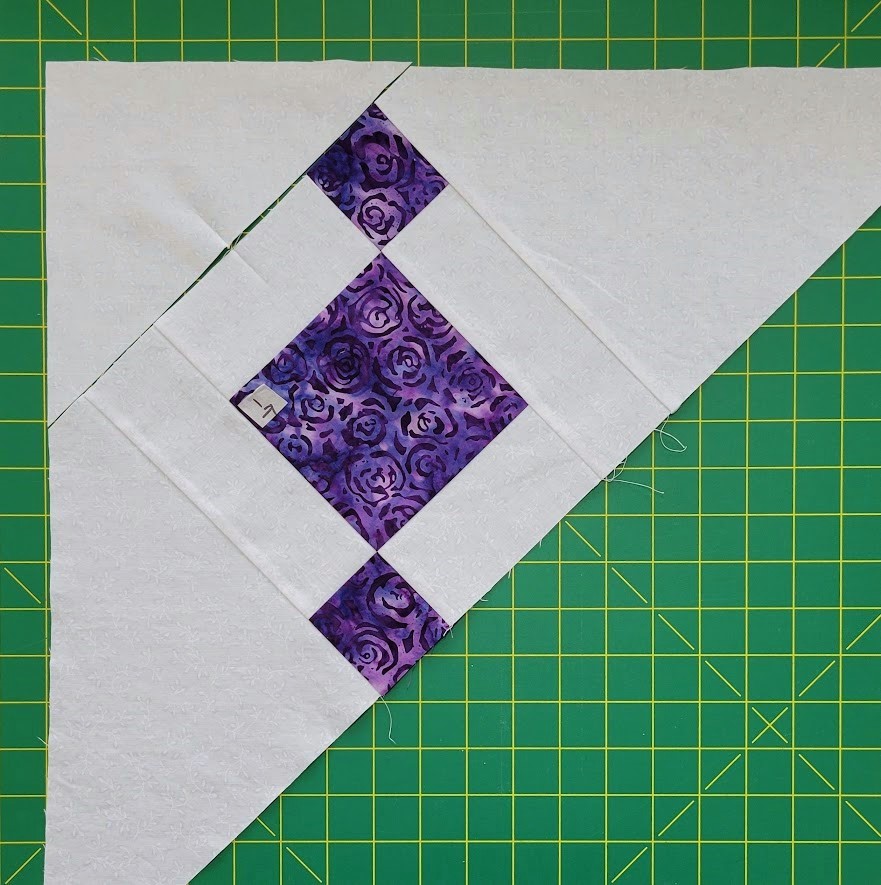
Here’s what it looks like when side triangles are added and trimmed:
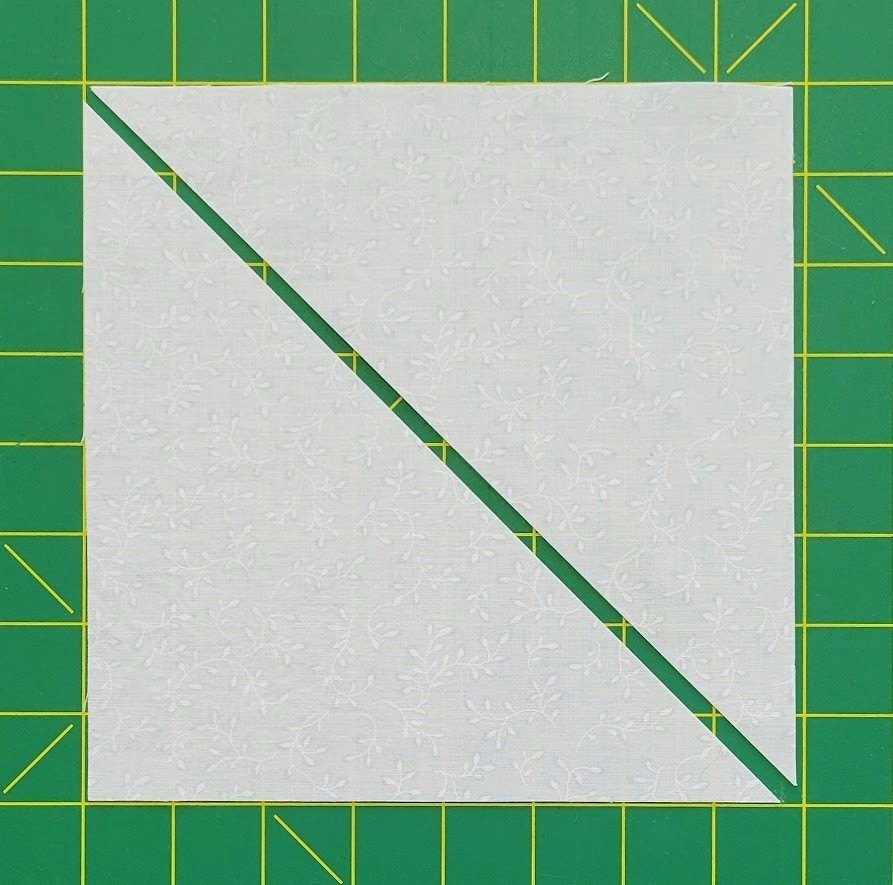
For the corner triangles, I cut 7 3/4″ squares and cut them once on the diagonal.
Note: next time I’ll cut them a little bit larger – they’re not quite as oversized as I wanted them to be.
If you look as the number 1 in the photo above, you’ll notice a little arrow on my masking tape label. I like my seams to nest; so in addition to numbering each diagonal row, I indicate the direction the seams in that row should be pressed.
When I sewed the rows together, the seams were easy to match up.
I pressed the long seams joining the rows open to reduce bulk for machine quilting.
Here’s my quilt top so far:
It’s a little cockeyed because I was having trouble holding my phone steady – sorry!
I’ll share my machine quilting plan next time.
Meanwhile, Happy Quilting!