There’s no single “right” way to make a rope bowl. In fact, if you search for tutorials online, you’ll be inundated with a wide variety of approaches. Over the years, I’ve tried quite a few different methods; the tips and techniques I’m sharing today are some of my favorites.
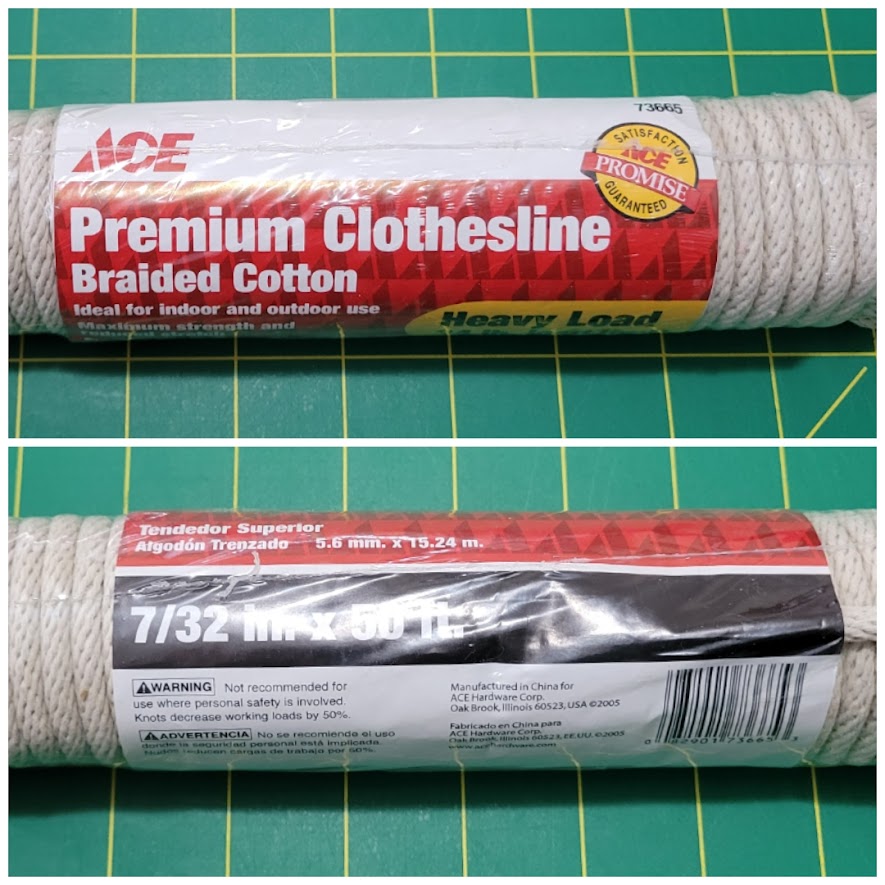
For this project, I started with 7/32″ (5.6 mm) x 50′ (15.24 m) Braided Cotton Clothesline from my local ACE hardware store.
I find that my machine is quite happy to sew through this thickness, as it adjusts automatically. If your machine does not have that capability, you might find it helpful to reduce the pressure on your presser foot.
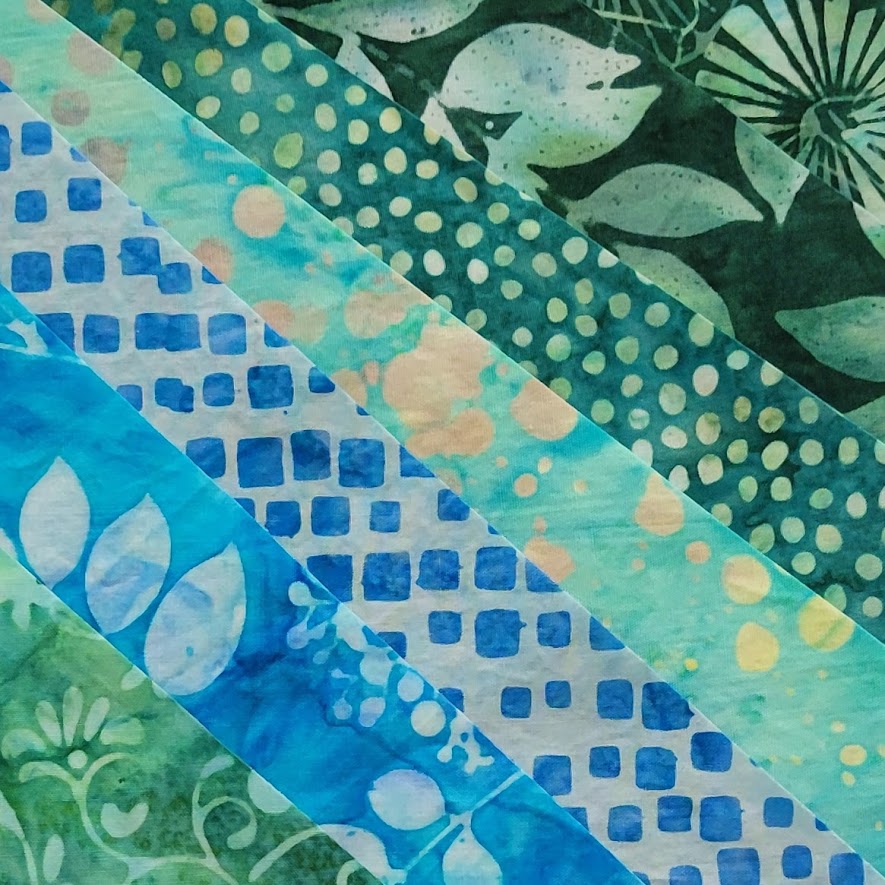
I used quilting-weight batik cotton fabrics from Cotton Cuts, mixing new fabrics from the latest Java Batiks box with leftover strips and scraps from previous projects.
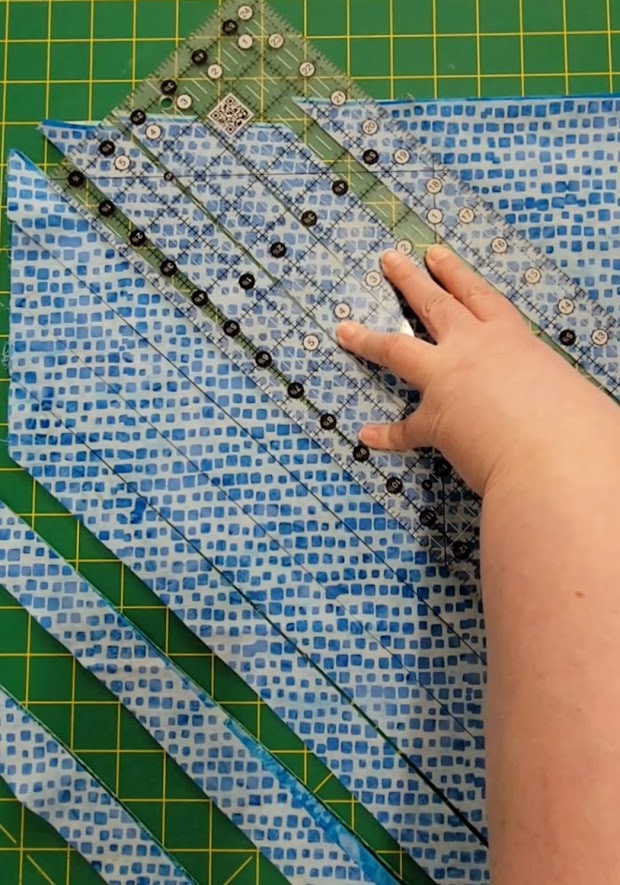
I cut my strips on the bias to reduce fraying. I stacked my fabrics and cut my strips 1 1/4″ wide, as that is the width of the strips I have leftover after my Celtic-style appliqué projects. This was a scrap-busting project for me as well as a fun side project. 🙂
You don’t have to use bias-cut strips if you don’t want to, or if the scraps you are trying to use up aren’t large enough to cut on the bias. Strips cut selvage to selvage (or the length of your leftover fabric) work just fine. However, you may find that the edges of the fabric don’t stay quite as crisp.
I used a bit of water-soluble fabric glue-stick to secure the first strip of fabric to one end of the rope and began wrapping, making sure that the end of the rope was completely covered.
I’ve tried wrapping the rope right at the sewing machine, but I found the process much more enjoyable this time as I sat on the couch and watched/listened to a movie with my kids while I wrapped the fabric strips around the cord.
I didn’t sew the strips together – just used a dab of the glue-stick to secure the end of one strip and another to secure the beginning of the next, making sure the joins were smooth and the cord completely covered.
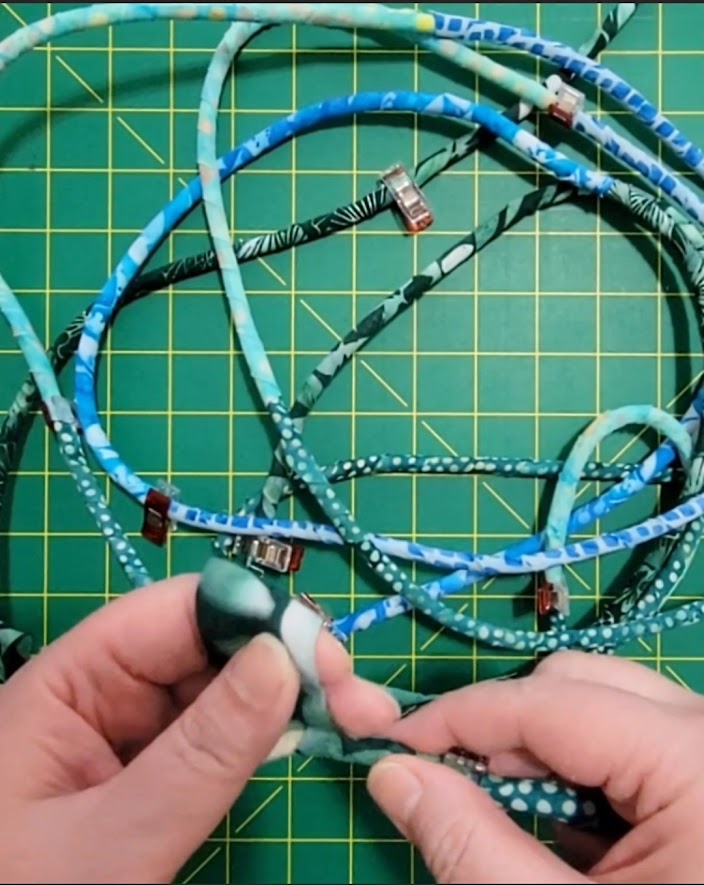
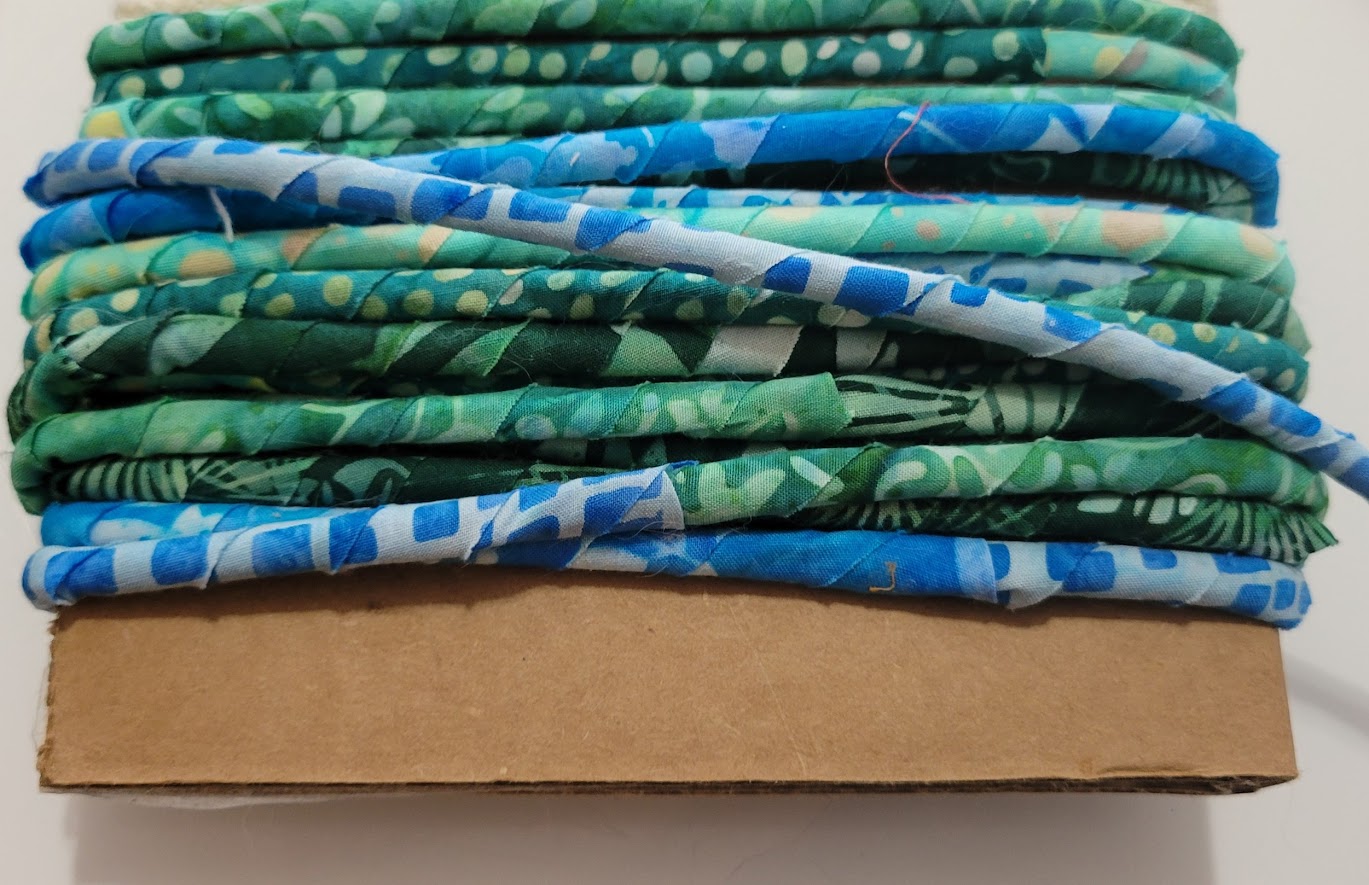
I used clips to hold the fabric tightly in place as the glue dried. Periodically, I stopped wrapping, removed the clips, and wound the wrapped cord around 2 layers of cardboard I cut from a box flap.
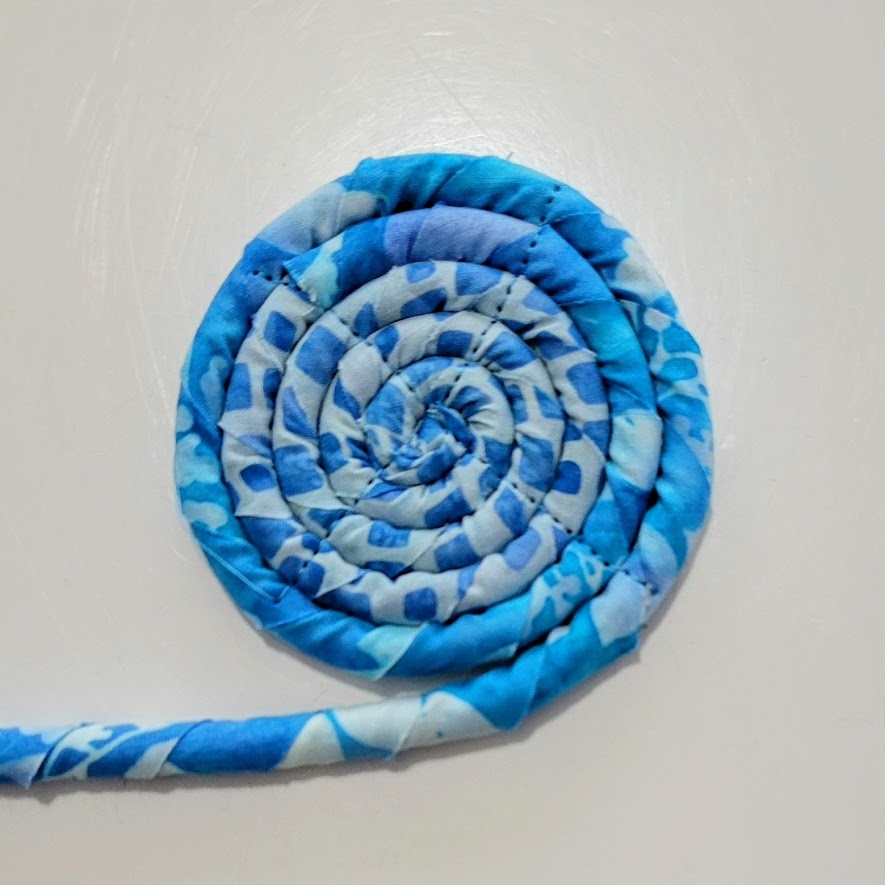
To get started, I made a coil and stuck a couple of pins through it to keep it from coming undone. I took it to the sewing machine and straight-stitched across the coil to secure it.
I recommend a size 80/12 Topstitch or Jeans needle, or a 90/14 quilting needle for this process – whichever you have on hand. The sharp points and reinforced shafts of these types of needles are just what you need!
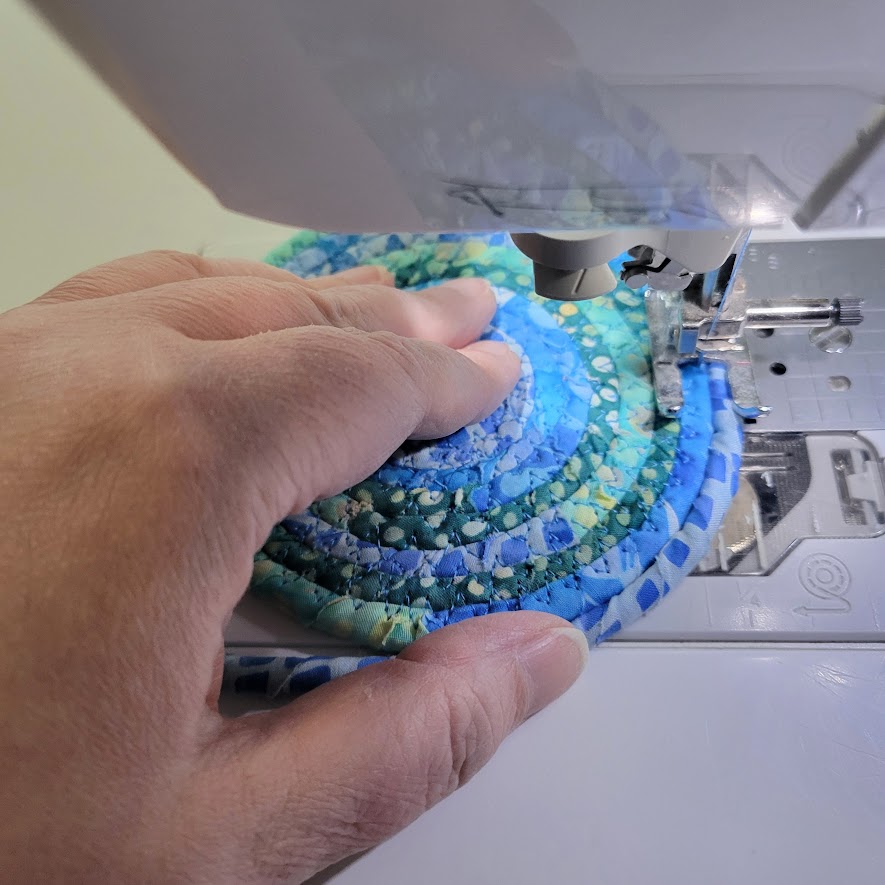
At this point, most instructions tell you to set your machine for the widest zigzag stitch you can make. That works! But I wanted to try something a little different. I wanted the thread to blend into the fabric instead of standing out. So I use Aurifil 50wt cotton thread in a turquoise color that blended with my fabrics and set my machine for a multi-step zigzag stitch.
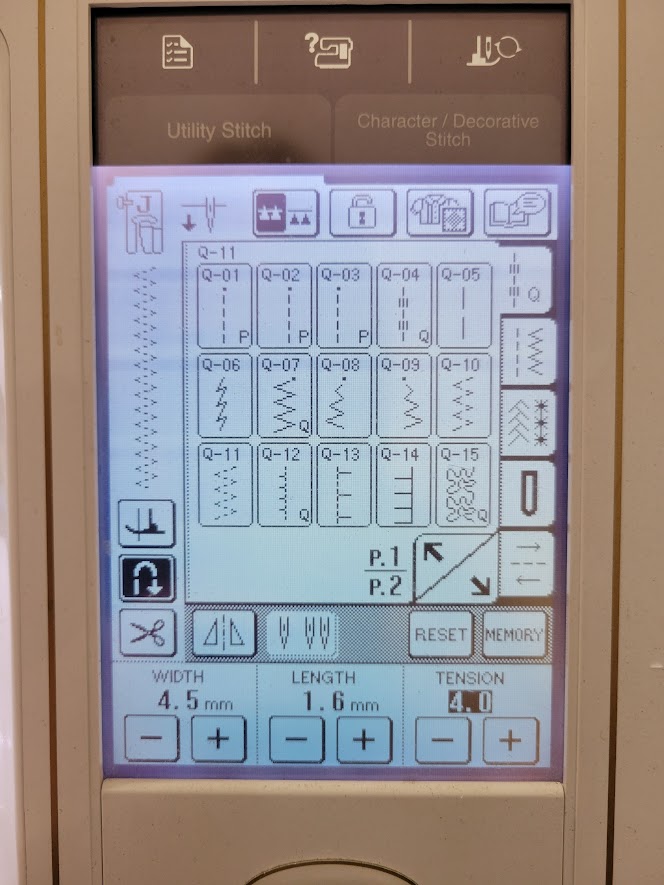
The reason I chose this stitch over a “regular” zigzag is that I knew the stitches would be shorter and tighter, sinking into the fabric instead of sitting on top of the fabric. I also set my machine to automatically lock my stitches whenever I started or stopped stitching. If your machine won’t do that, you can backstitch manually to lock your stitches.

I continued stitching around the central coil, making sure to keep my work flat against the machine as I worked and the rope always feeding from the right side of the coil. I took it out of the machine to take this photo.
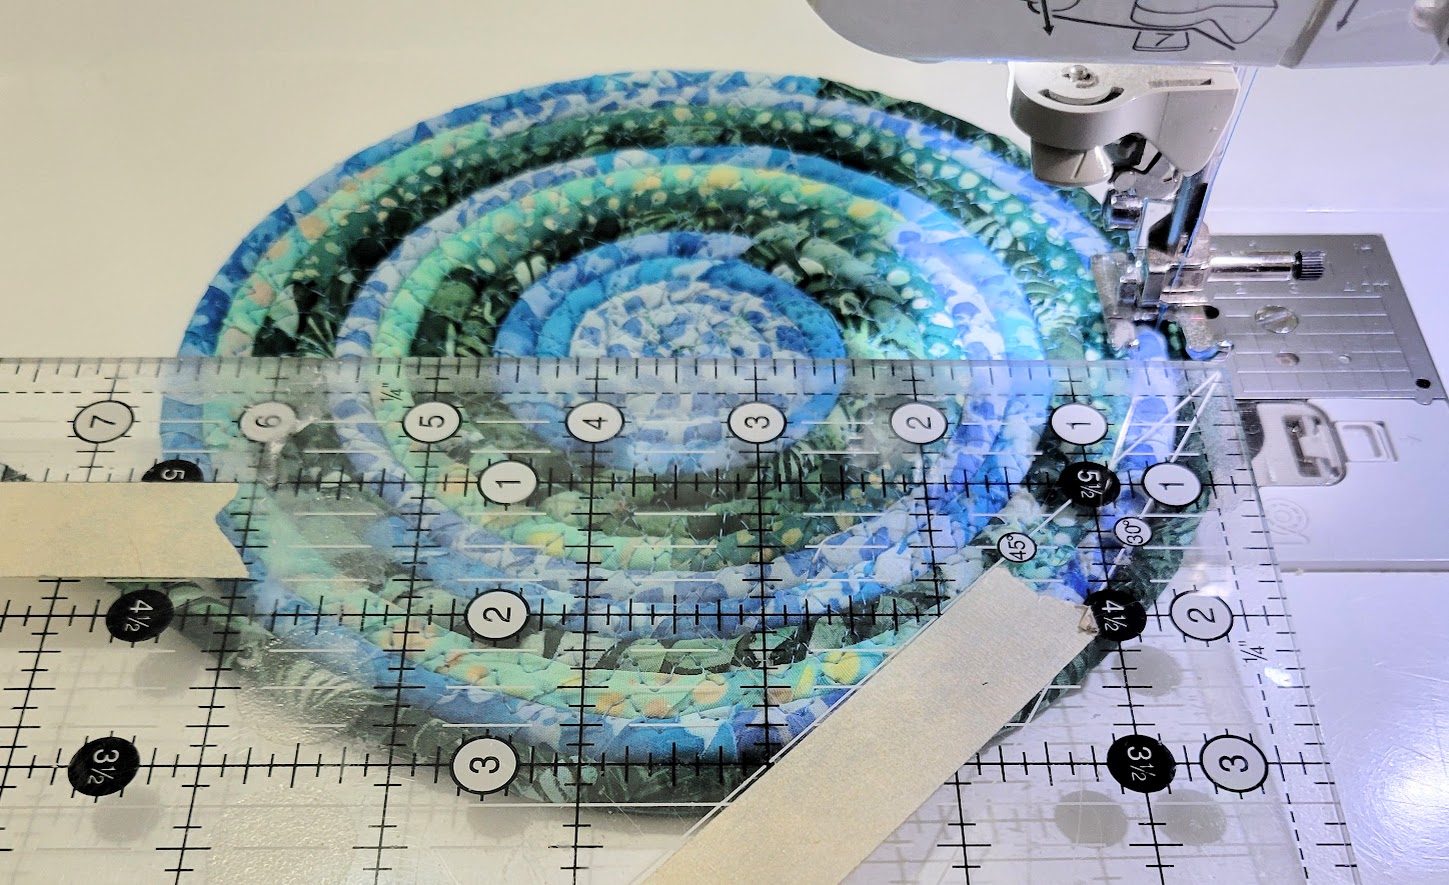
I kept stitching until the base was about 7″ across. I stitched one more round after taking the photo below.
To begin creating a bowl shape instead of a round platter, I switched to holding the base at a 45 degree angle to the surface of my sewing machine as I stitched. I kept it at this angle for a few rounds.
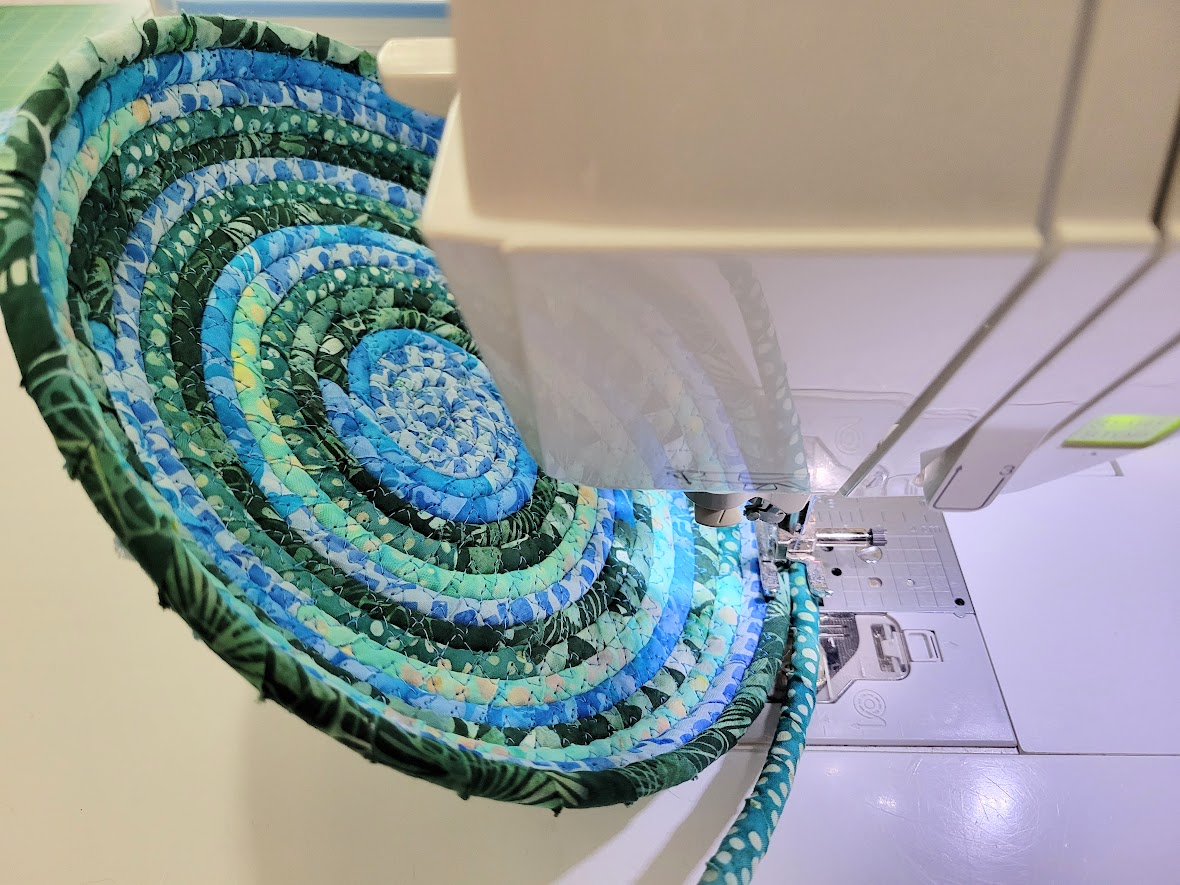
Then I switched to holding the base almost vertical against the side of my sewing machine so that I could build up the sides of the bowl.
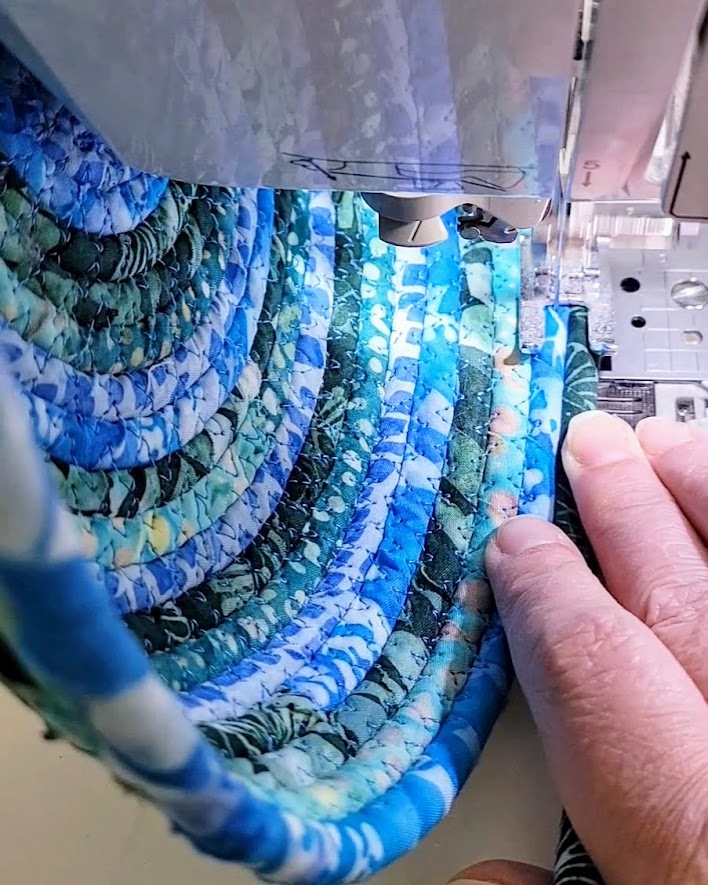
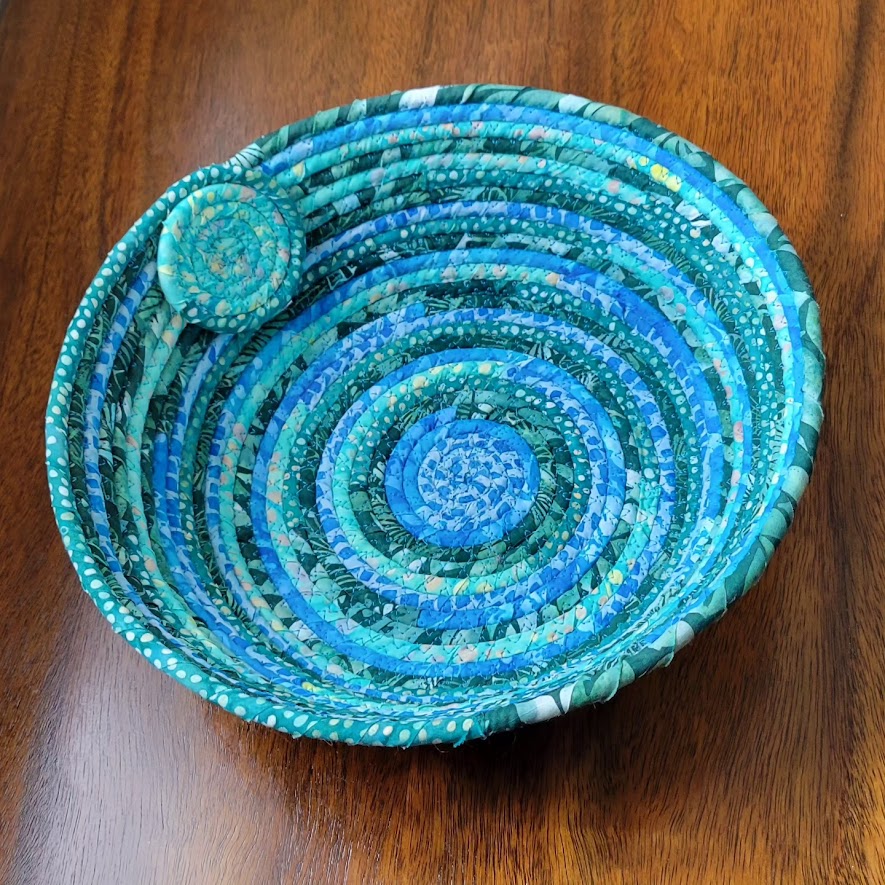
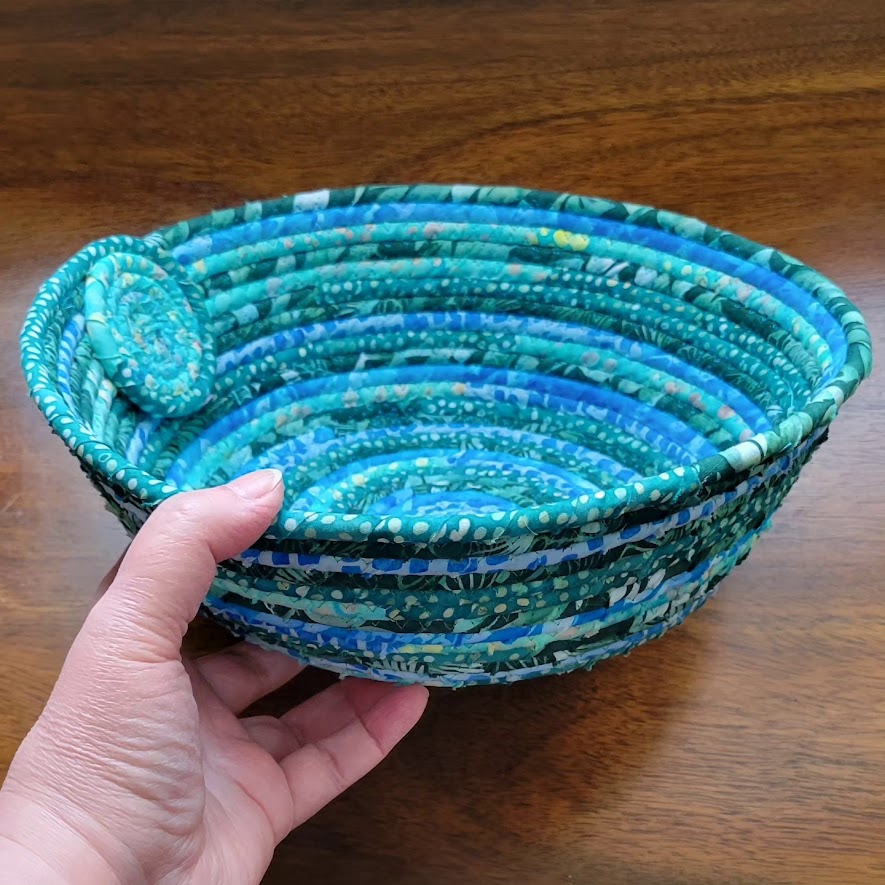
I kept stitching until I only had a couple of feet of wrapped rope left. There are many ways to finish off a rope bowl, but I wanted to create another spiral or decorative rosette. I took the bowl out of my machine so that I could shape the rosette and stitch around it in the same way as I had for the central coil at the base of my bowl.
Next time, I might try creating the spiral on the opposite end of the cord BEFORE making my bowl, as stitching the spiral after the bowl was nearly complete was the trickiest part of the whole process for me.
When I was satisfied with how the decorative rosette looked, I put the whole thing back in my machine and finished sewing the rope to the bowl.
I used a bit of Fabri-Tac permanent fabric glue to hold the final spiral or rosette in place, although I could have just hand-stitched it.
My 50′ package of rope made a bowl approximately 7″ across at the base, 10 1/2″ across at the top, and about 3 1/2″ high.
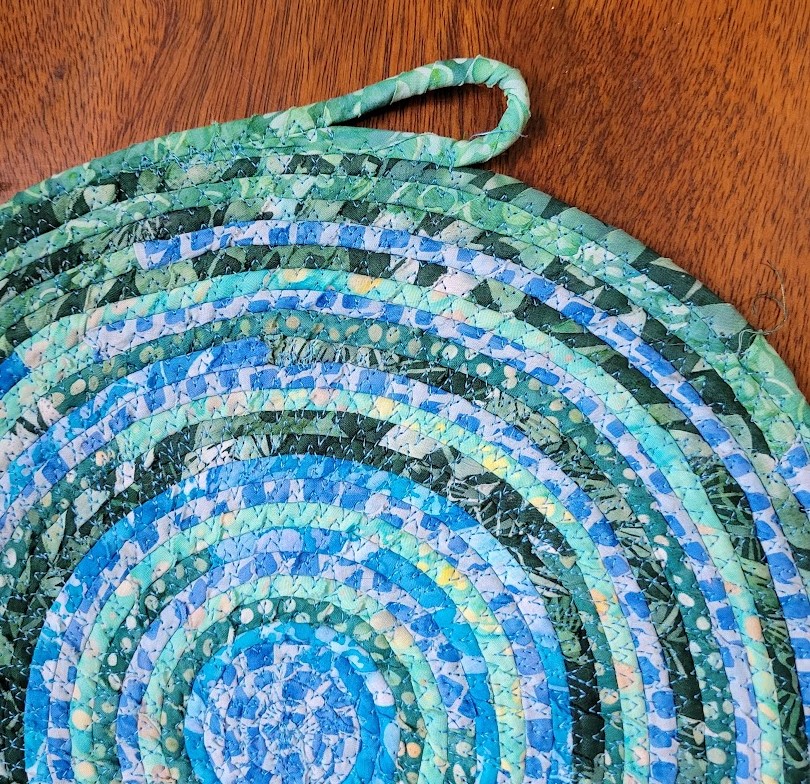
Another (easier) method for finishing off a rope project that I’ve used in the past and still like very much is to create a loop and tuck the end of the rope between the layers before stitching.
Have you tried a rope project yet? Let me know how it goes!