Do you ever wonder if there is an easier way to keep a consistent quarter inch seam allowance, appliqué by machine, or machine quilt without worrying about ripples or tucks in your finished quilt? Do you ever find yourself wandering in and out of the ditch when stitching in the ditch?
If you answered “yes” to any of these questions, I have info to share that just might help you in the future. I sure do wish I had known about all these presser feet when I started quilting!
But first, I want to make 1 thing clear: you CAN make a perfectly wonderful quilt using the standard straight stitch or zig zag presser foot that came with your machine. That’s how I started out, too.
However, having a specialty foot designed specifically to make your stitching easier and more accurate can be WONDERFUL.
PLEASE NOTE: unless I specifically say otherwise, all the presser feet I’m going to show are my own. They fit my low-shank Baby Lock sewing and embroidery machines. If you have a different brand, the presser feet designed to work with your machine might look a little different. If you are buying a presser foot, always check the description carefully to make sure the foot will work with your machine. For certain brands, you may need to buy brand-specific presser feet; while other brands (like mine) may be able to use “generic” feet that fit multiple brands. I use a mix of brand-specific and inexpensive “generic” feet.
If you have a high-end machine that came with a large assortment of presser feet (like my embroidery machine did), you may already have some or all of these feet hiding in your sewing room. Who knows? You might not need to buy anything new at all. 😊
Let’s take a look!
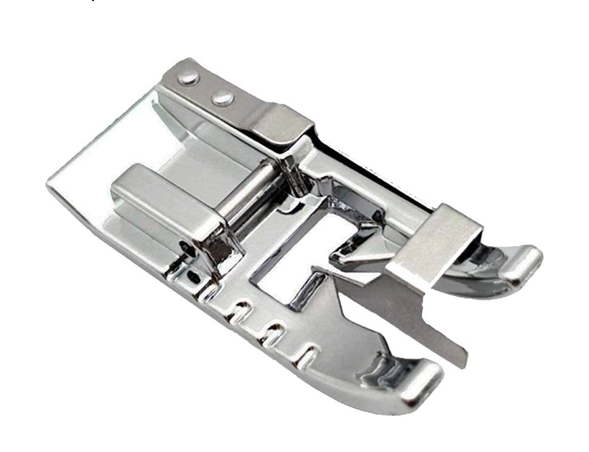
The Quarter Inch Foot
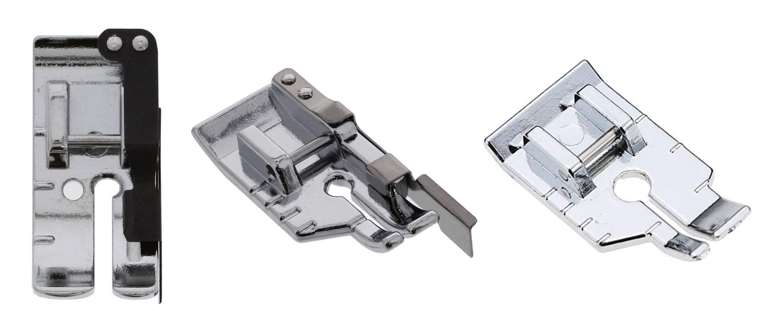
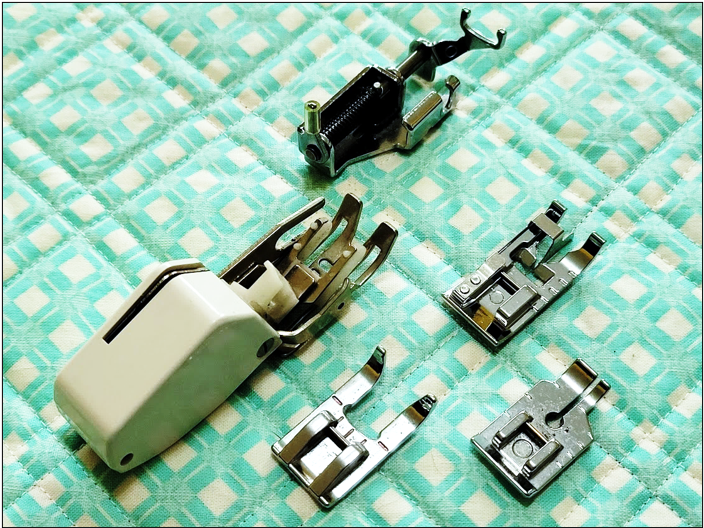
If I were just getting started, my first specialty foot purchase would be a quarter inch foot. I happen to own all 3 models shown in the photo, but I use the third one the most often, even though the first two have guide blades. Guide blades can be a double-edged sword, as they can be a FANTASTIC way to keep your fabric straight going through your machine, but they can be problematic if the thin metal guide accidentally gets bent – your seam allowance may no longer be exact.
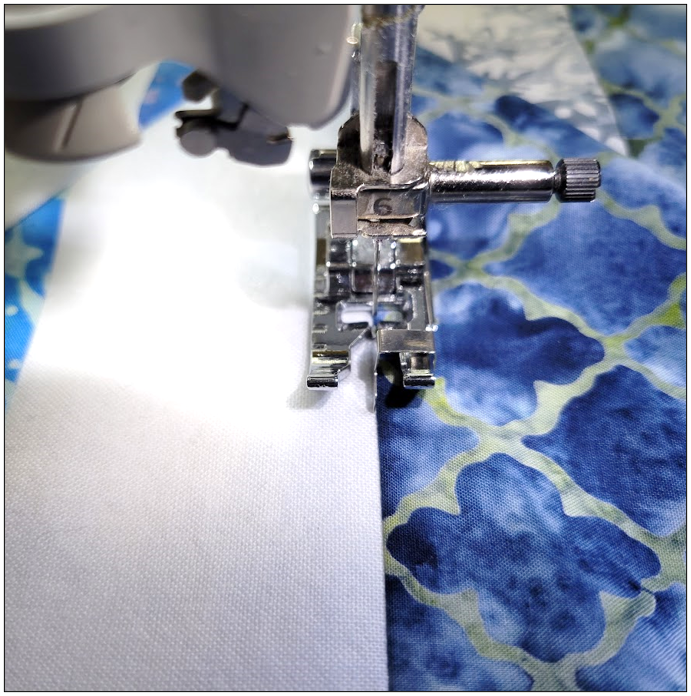
Here’s a look at my quarter inch foot in action:
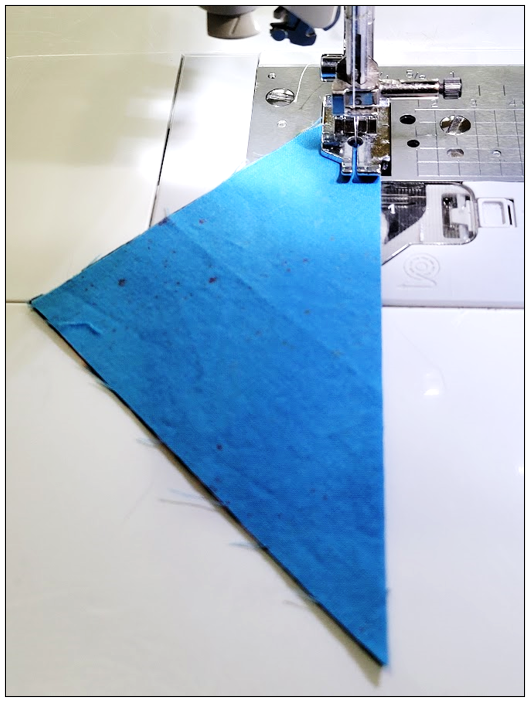
Perfectly consistent 1/4” seams are so much easier with this foot!
The Open Toe Appliqué Foot
If you stick to piecing, you may never need this foot. But if you dip your toes into machine appliqué (I LOVE “invisible” machine appliqué, myself), then this foot may come in handy.
Here I’m using the Open Toe foot while appliquéing Celtic-style knotwork:
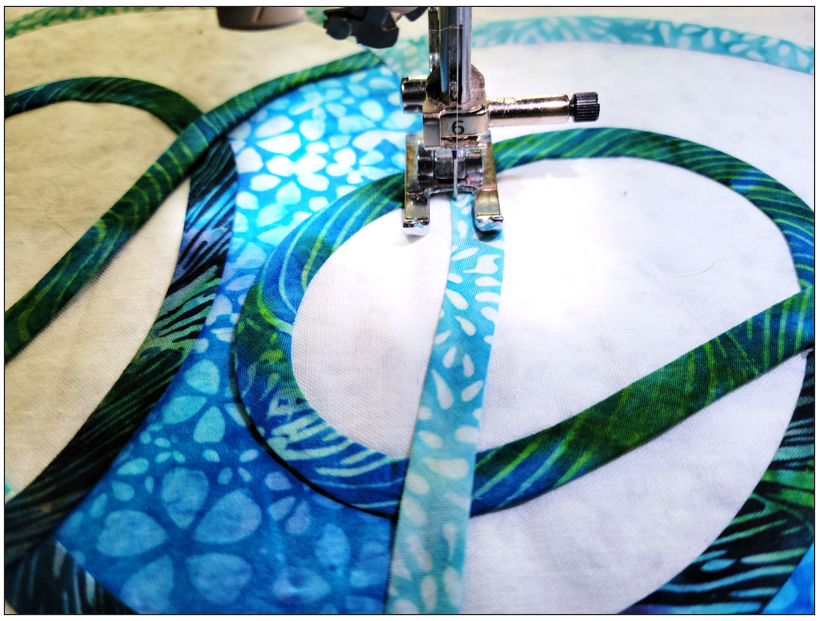
The wide-open space in front of the needle gives EXCELLENT visibility. I like this foot for satin-stitching, too.
Please remember – you can use your standard zig zag foot for these techniques; I just find it easier this way.
You can often find this foot in both metal (as shown here) or in clear plastic. I find they work equally well.
The Stitch in the Ditch Foot
Have you heard of this one? Sometimes it is called the Stitch in the Ditch/Edge Joining Foot.
It has a guide blade in the center of the foot. This is great for stitching in the ditch, or the crevice created by the seamline between two fabrics that have been sewn together. Just nestle that guide blade into the seamline (ditch) and off you go!
Here it is in action:
The Walking Foot/Even Feed Foot
If you’ve ever noticed the fabric in your quilt looking like it has been pulled, dragged, or shifted out of alignment while you are machine quilting, or you find tucks or ripples on either the top or the underside of your quilt, then you’ll want to try this foot.
Here’s a look at three different models:
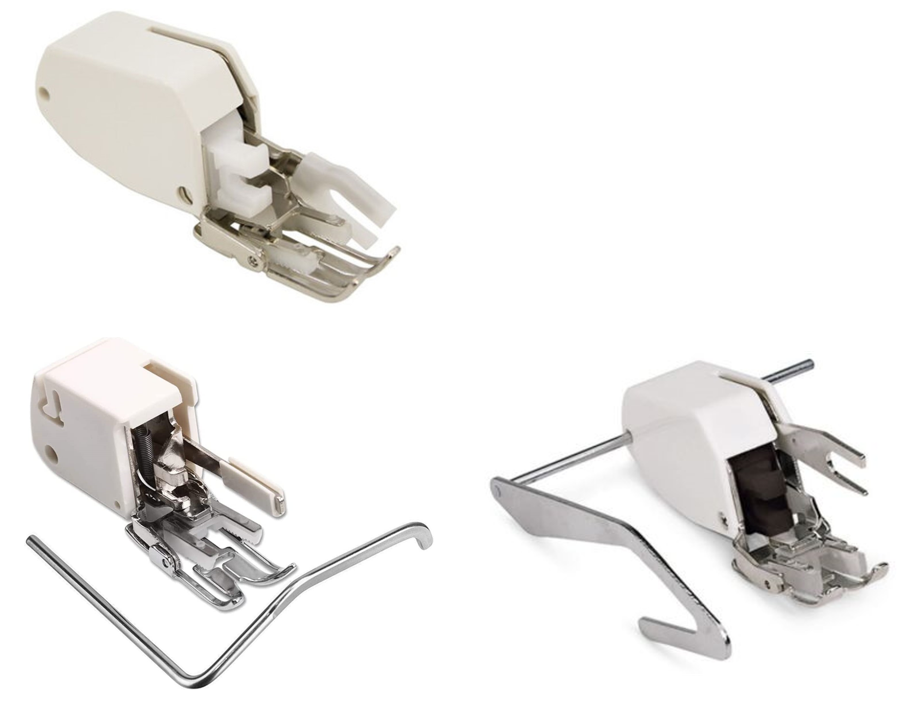
Both models in the second row happen to come with adjustable guide bars that can be helpful if you would like to stitch parallel lines or grids with little or no marking.
Depending on the brand of your machine, your walking foot might look a little different yet. It might have markings for echo quilting, it might have an open toe, or other features.
The defining characteristic of a walking foot is that there are feed dogs in the foot itself that work in concert with the feed dogs in your machine to pull all the layers (quilt top, batting, quilt backing) through your machine at the same time. Instead of the presser foot dragging across the fabric as you stitch, the walking foot lifts up off the fabric between each stitch.
Warning: it must be installed correctly to work!
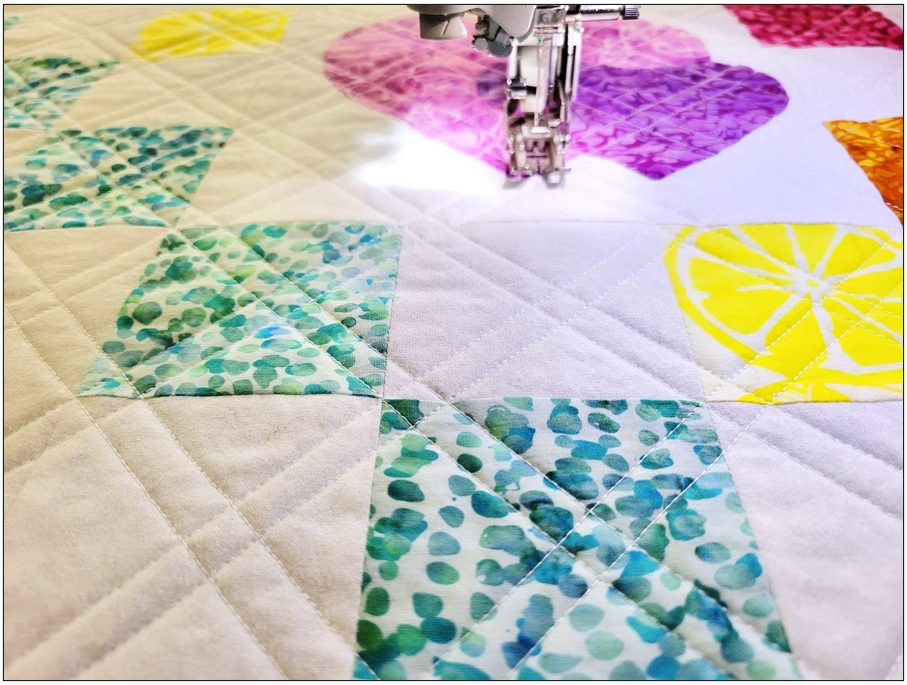
Here’s an example of machine quilting done with a walking foot:
If you have a machine that has built-in dual feed or automatic sensors, you may not need a walking foot – lucky you!
Quick note: My Easy & Effective Machine Quilting with a Walking Foot live Zoom class is coming up again in June 2023 – click through the title if you’d like more info. Video recordings will also be available for those who can’t make the live sessions.
Free Motion Foot/Darning Foot/Spring Embroidery Foot
As you might guess from the headline, this foot comes in many variations and goes by many names.
Here is a look at some of the options:
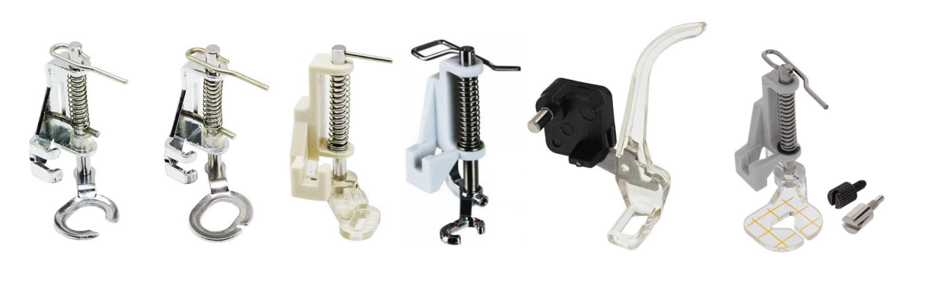
As you can see, some have an opening in the front to allow for better visibility; the last one includes guide marks for echo quilting. My preferred choice is the fourth one from the left – I like to see right to the needle. But I’ve used all of them while assisting students in my classes, and they all work just fine!
The defining characteristic of a free motion foot is that it “hops” up and down with each stitch. The foot descends and holds the fabric tightly against the throat plate as the needle enters and exits the quilt sandwich, and then lifts off the quilt between each stitch. This gives you the freedom to stitch in ANY direction – not just forwards or backwards. It’s like drawing with your sewing machine. Great fun!
Here it is in action:

You’ll notice I’m wearing quilting gloves to give me better traction and help me control the quilt more easily. I wouldn’t use my free motion foot without them – they make that much difference.
Do you use any of these presser feet? Do you have any other recommendations to share?
I’d love to hear about it!
Meanwhile, Happy Sewing and Quilting!
This post was also published on the official Cotton Cuts blog.