
Foundation piecing (also called foundation paper piecing) is a great technique for achieving precise piecing and sharp points even with tiny pieces and fabric edges that are not on-grain. For this method, the pattern is printed (or traced) onto foundation paper. This paper acts as both a stabilizer and a stitching guide while the block is being constructed. When all of the pieced sections of the design have been joined together, the paper is carefully torn away from the underside of the quilt top.
New to foundation piecing? We All Sew has a great FREE foundation pieced block tutorial that provides a good starting point. Don’t worry if you don’t have the same kind of machine used in the tutorial – most any machine with a basic straight stitch should do just fine.
Although I generally don’t do a lot of foundation paper piecing, I fell in love with the Take Wing pattern by Lillyella Stitchery when I came across it on Instagram. Just beautiful!

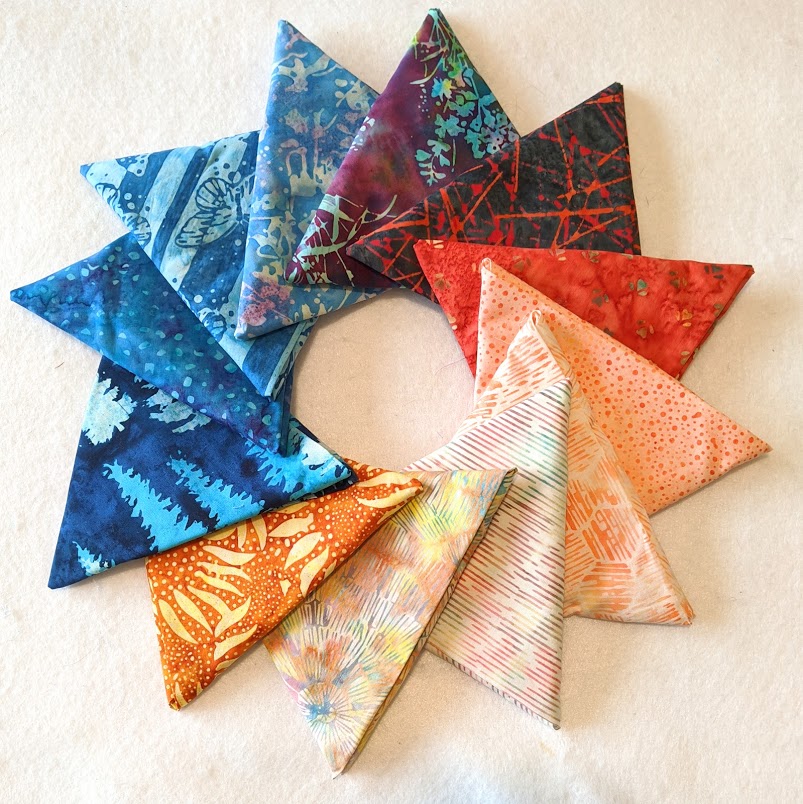
I purchased the pattern right away, but then had to set it aside for a bit because I already had too many irons in the fire. But when the August Java Batiks box from Cotton Cuts arrived, I knew immediately just what I wanted to make!
I purchased the pdf version of the pattern, so I was able to print the pattern pages directly onto my foundation paper. For this project, I used the foundation paper by Carol Doak, which worked very well. (Incidentally, I recently came across the June Tailor Perfect Piecing Foundation Sheets – they are a bit more expensive, but supposedly can be left in the quilt, eliminating the dreaded step of tearing away the foundation paper when the quilt top is complete. I haven’t tried it yet, but I’m eager to do so!)
To make it easier to remove the paper later, I shortened my stitch length slightly and used 60 wt. Bottom Line thread in both the top and bobbin of my machine.
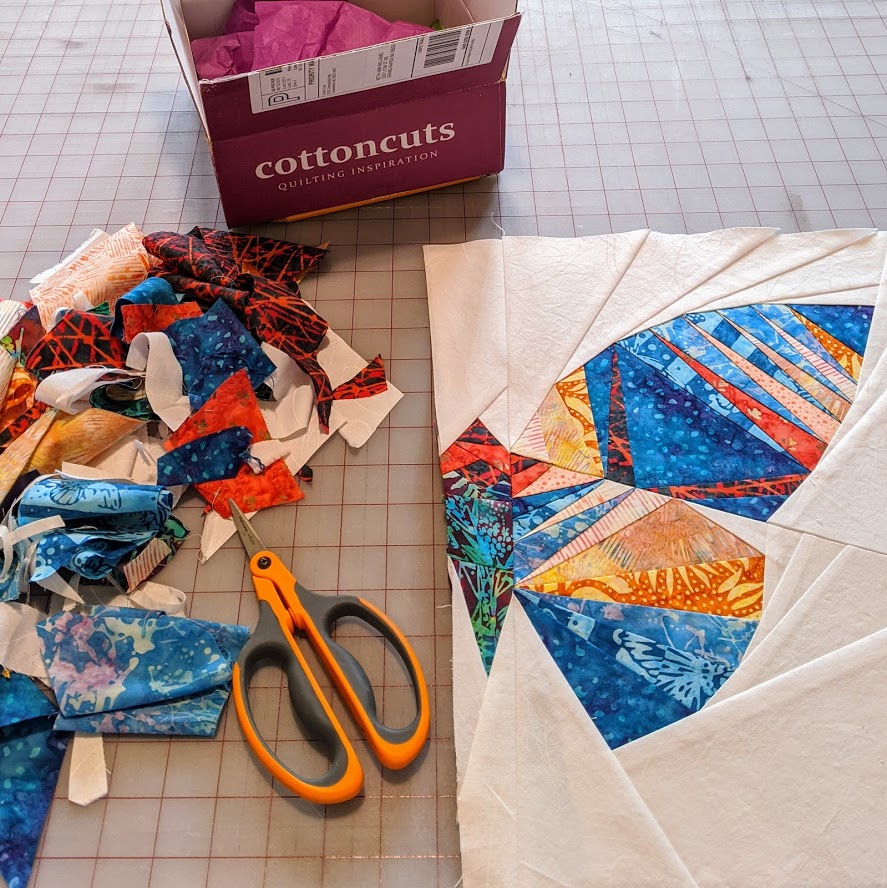
Here’s my version of Take Wing in-progress:
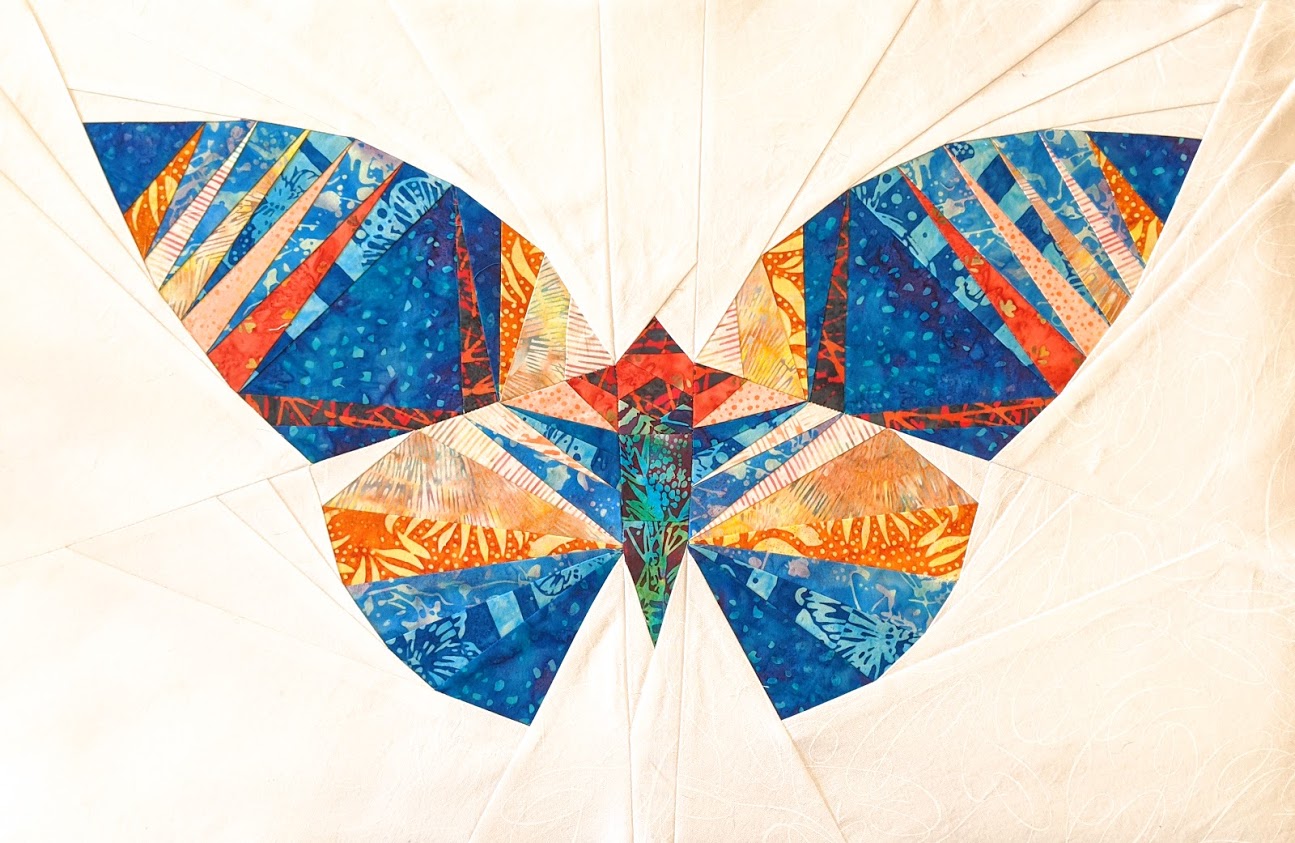
And completed, with the background trimmed:
Then it was time to layer my completed top with batting and backing and add the quilting stitches that would hold all of the layers together. I selected Warm and White cotton batting because it is very stable, low-loft, and the bright white would help keep my quilt top bright (a cream-colored batting might have shadowed through, slightly dulling the white of my background fabric).
For the quilting, I decided on a mix of walking foot and free-motion techniques.
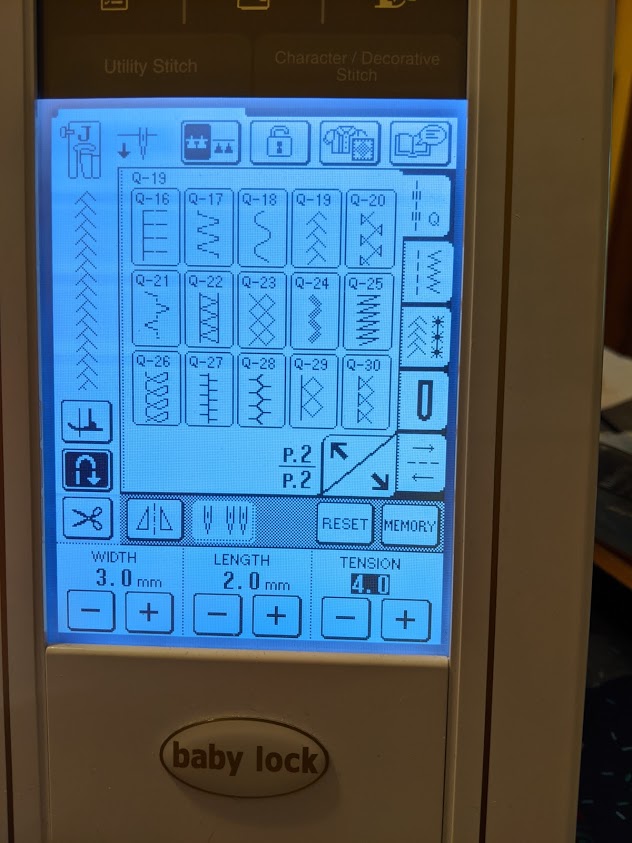
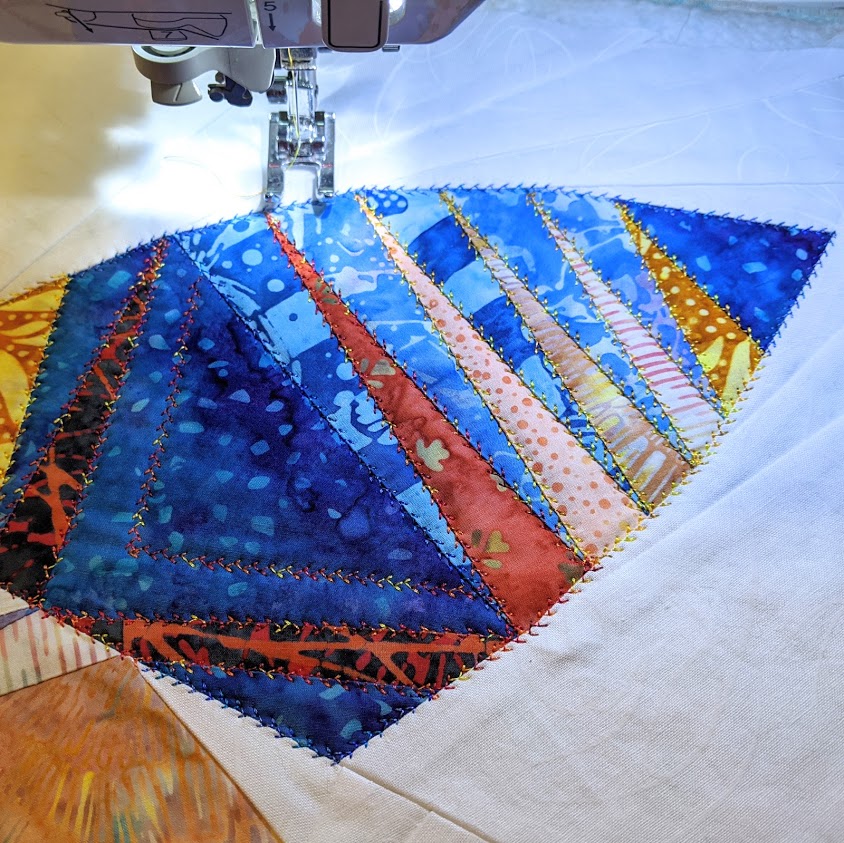
I began by stitching over the seams in my butterfly with a feather stitch. I used 40 wt. variegated thread for my top thread, and 60 wt. Bottom Line in the bobbin.
After completing all of the feather stitching with my walking foot, I switched to my free-motion foot to fill in the background with some “graffiti-style” free motion quilting.

Finally, I added a flange binding to the finished quilt.
All in all, I had a lot of fun with this project!