I hope all of my US friends had a wonderful Thanksgiving! My husband and son couldn’t get away, but my daughter Connor and I had a fabulous road trip together to visit my family in Pennsylvania and New York. We had a wonderful time staying with my parents and then with my sister – including cherished opportunities to connect with many of my cousins and other extended family members. What a treat that was!
But now I’m home and back in finishing mode.
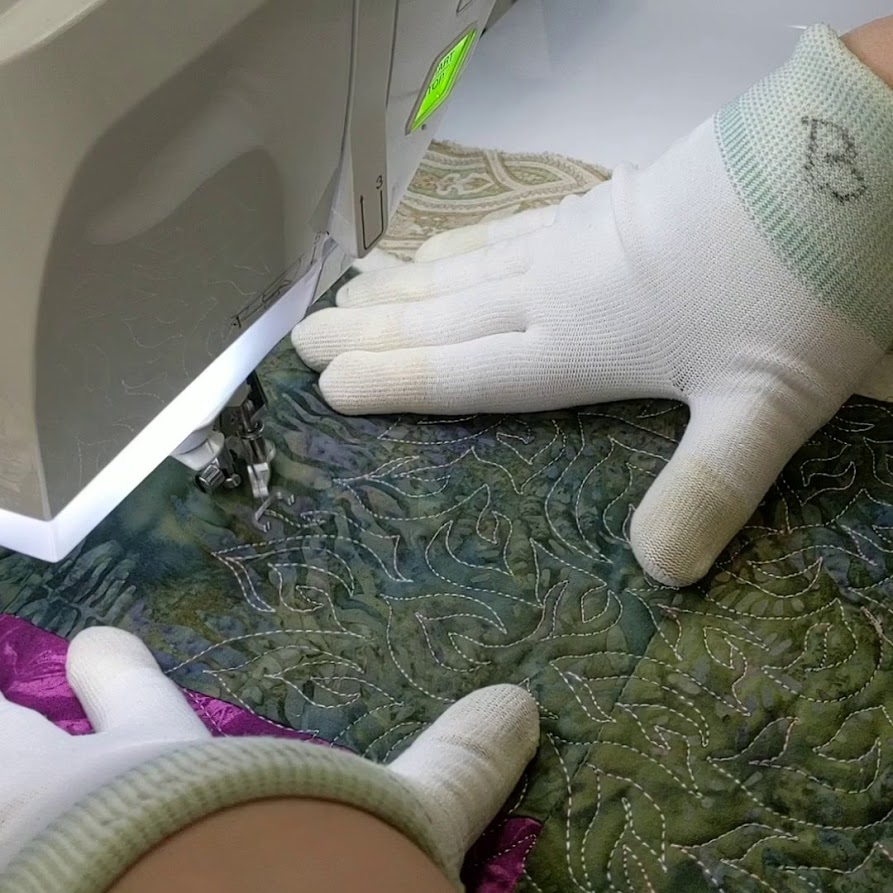
I’ve switched gears from machine-guided quilting with my walking foot to free-motion quilting with my darning or free-motion foot. This allows me to stitch in any direction I please – but also means that I am solely responsible for moving the quilt. The feed dogs of the sewing machine are disengaged so that the needle goes up and down, but doesn’t move the fabric. This means I need to have a careful balance between the speed at which I am running my sewing machine and the speed at which I am moving the fabric – run the machine too fast, and the stitches are too small; move the quilt too quickly, and the stitches are too long. The goal is to create beautiful patterning (“drawing” with the sewing machine) while still keeping the stitches all approximately the same length.
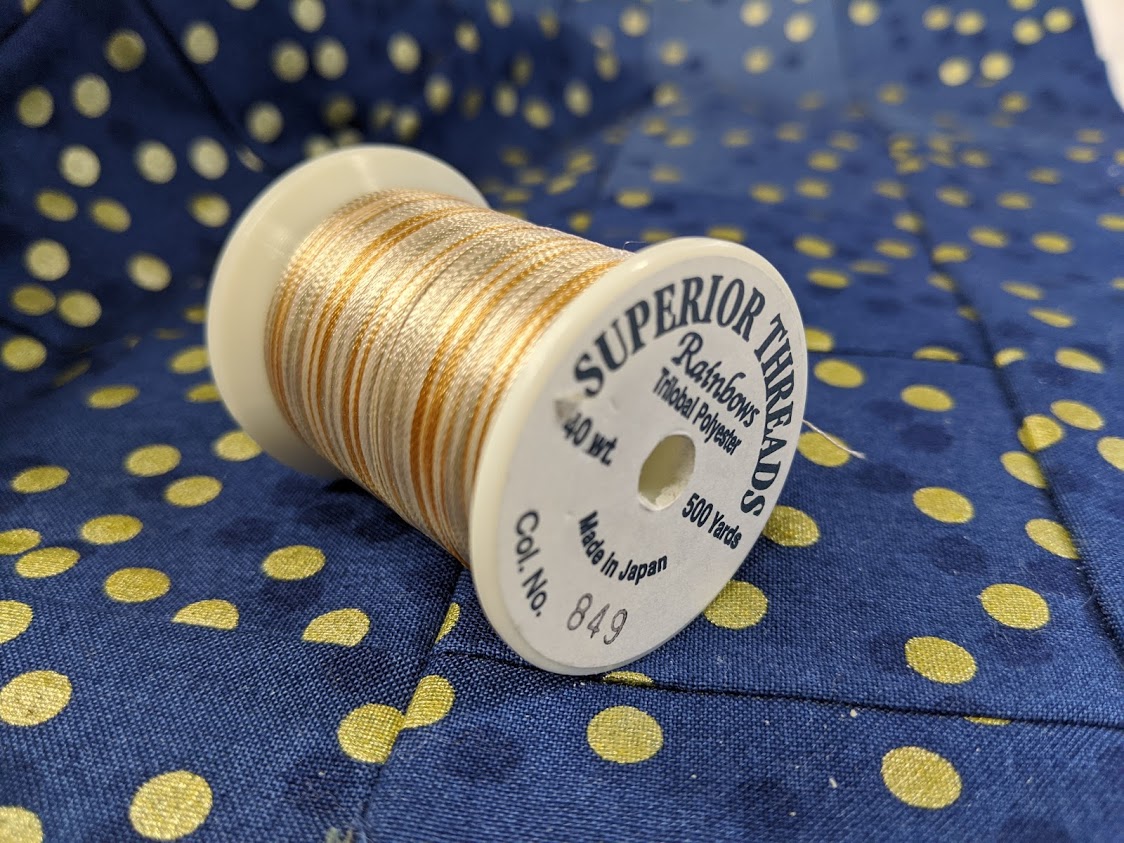
Batting choice, needle choice, thread choice and tension settings can each make a significant difference in the appearance and quality of the stitching.
But one of the main challenges of free-motion quilting is the physicality of moving the quilt. Fabric can get very heavy, and it’s all too easy for one’s hands to slip and lose control. Having a large stable, flat surface to work on really helps; this could be an extension table, a Sew Steady Table, or a cabinet with a surface flush with the surface of your machine. A Supreme Slider can also be a big plus – but you must first make sure it is anchored securely so that it doesn’t slide right into your stitches. Ask me how I know that…
In the past, I have steered away from the various hoops designed to assist with free-motion quilting, feeling that the downsides outweighed the potential pay-off. But I’ve been rethinking that.
I’m currently working on my Snowflake quilt from the sew-along with Nicole from Modern Handcraft.

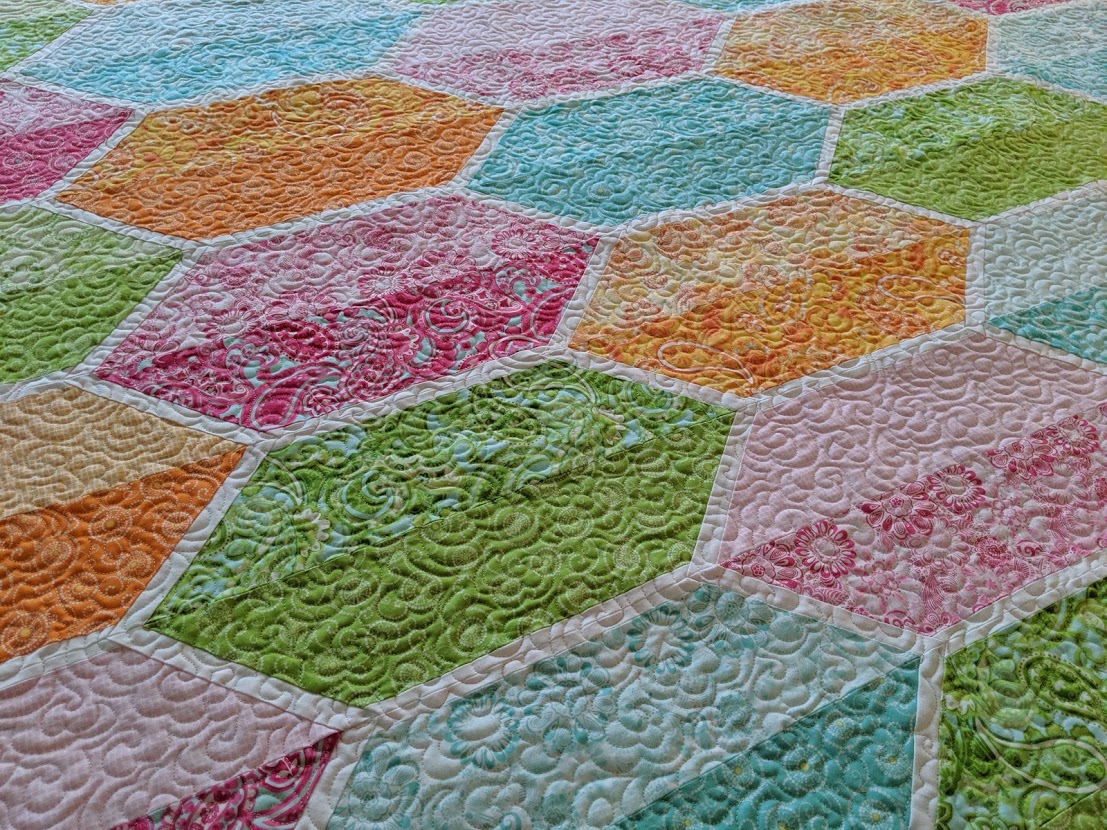
As I quilt this, I’m considering what I learned from the previous two quilts in my Finishing Spree – my Church Window quilt (pattern by Brittany of Lo & Behold Stitchery) and the Enchanted Carpet bargello quilt made by my friend Ruth DeJager (original design from my book Colorwash Bargello Quilts).
I used my Machingers quilting gloves to quilt the bargello quilt. Quilting gloves of various kinds have been my go-to for over 25 years of free-motion quilting.
The main advantages I’ve found to wearing quilting gloves:
- They have rubberized tips and/or a nubbly surface that help keep your hands from slipping on the quilt.
- Since your hands are less likely to slip, you don’t need to bear down as much while moving the quilt – significantly reducing the amount of strength needed to control the quilt.
- Since you can (with practice!) move your hands independently from one another, you can move around the quilt in continuous manner, stopping only when necessary to redistribute the bulk of the quilt around the machine.
- With proper distribution of the bulk of your quilt around your sewing machine, you can achieve very fine control.
- If there is an area of extra fullness in the quilt, you can apply gentle pressure with your hands to help flatten the quilt as you stitch.
The main drawbacks I’ve found:
- Some people don’t like the sensation of wearing the gloves.
- Some people find that their hands get too warm.
- Since you need to keep your hands fairly close to the needle area, it may be challenging for you to visualize your stitching path for larger designs – your hands may be blocking your view!
- If your hands are small (like mine) you will need to reposition them frequently; and it takes practice to learn how to do this without creating a noticeable disruption in your stitching line.
While quilting my Church Window quilt from the sew-along with Brittany of Lo & Behold Stitchery, I tried out the quilting hoops that I received as bonus items with my Martelli table.
The main advantages I’ve found to using a quilting hoop:
- Better visibility! Your hands may be farther away from the needle, allowing you to see more of your design at once.
- The pressure is distributed over a larger area at a time.
- With proper distribution of the bulk of your quilt around your sewing machine, you can stabilize and control a larger area of the quilt at a time than you might be able to manage with just your hands.
- It can be significantly tess taxing physically. This was HUGE to me.
The main drawbacks I’ve found:
- Unless you have a machine with a very wide space between the needle and the side of the machine, you will find yourself bumping the hoop up against the machine, thereby disrupting your stitching line. I have a pretty wide 10″ of space to work in, and still found this an annoyance – even when working with the smaller hoop.
- While it is always very helpful to have a large, flat working area (such as a Sew Steady extension table, or working with your machine in a cabinet with a surface flush with the surface of your machine), it is imperative for using a hoop, since you must have something to press the entire hoop against while you work.
- You may need to leave several inches more of extra batting & backing fabric around the outer edges of your quilt top in order for the hoop to have enough surface contact to get good control when quilting close to the edge of the quilt.
- You have to stop completely to reposition the hoop. I didn’t really mind this, though; as each time I repositioned the quilt, I took the opportunity to redistribute the weight of the quilt around the machine so that I could move the quilt freely without the dragging the weight of the entire quilt.
My conclusion: I like both options! As I’m quilting my Snowflake, I’m wearing my quilting gloves for quilting near the outer edges of the quilt, and switching to one of my Martelli hoops for quilting the interior of the quilt.
Happy quilting! 🙂