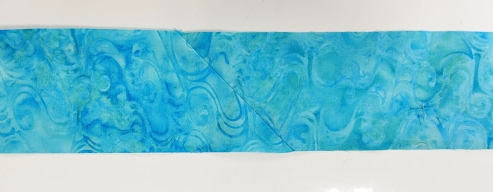
I’m ready to bind my newest incarnation of Cascade from Colorwash Bargello Quilts.
I’ve always bound my quilts by sewing the binding to the front of the quilt by machine, and then wrapping the binding around to the back of the quilt and sewing it down my hand. I love the look; but unfortunately, it is very hard on my hands. So I’ve been thinking for a while about how to eliminate the handwork without sacrificing quality.
I’ve seen many examples of machine-sewn bindings that were first sewn on the front of the quilt, wrapped to the back, and then machine stitched “in the ditch” from the front of the quilt, (hopefully) catching the binding in the stitching on the back of the quilt. Sometimes it looks great, but I’ve also seen it end up pretty messy. I’m concerned that it can be tricky to get a nice consistently clean result on the back of the quilt, since you can’t see the binding underneath when you are stitching from the front.
So today I am trying something a little different.
The preparatory steps are exactly the same as if I were attaching my binding in the traditional manner.
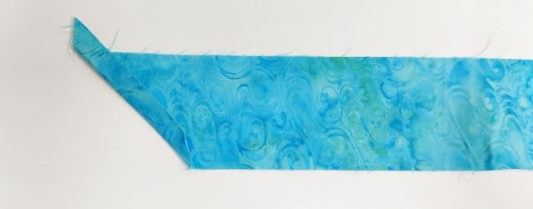
I cut my binding strips 2 1/2″ wide. For this quilt, I need about 4 1/2 strips cut the full width of the fabric. I’m joining the strips with a diagonal seam, as that helps prevent the seam allowances where are strips are joined together from forming lumps or bumps in the finished binding. I trim the excess triangle of fabric on the other side of the seam and press the seam open.
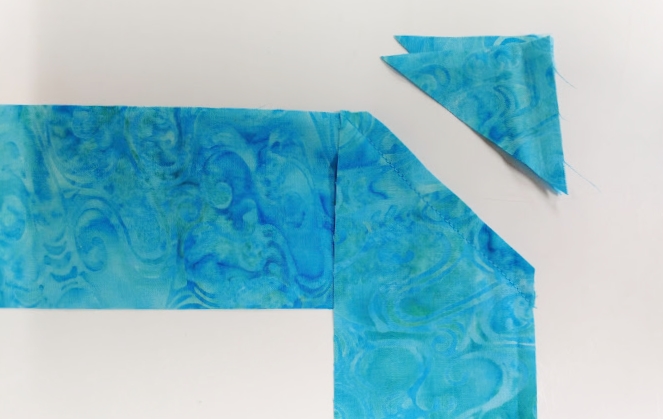
For similar reasons, I trim the fabric at the beginning of the binding to a 90 degree angle and fold over a generous 1/4″ seam allowance.
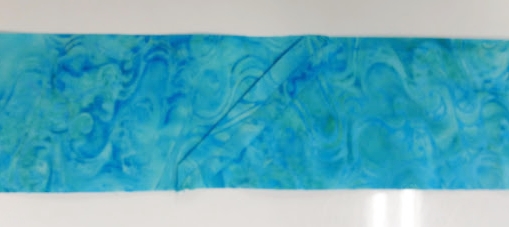
The next step is to press the entire length of the binding in half lengthwise.

Before I start sewing, I lay the binding around the outer edge of the quilt and note where the diagonal seams joining the binding strips are falling. If necessary, I adjust the position of the binding to ensure that no joins fall at any of the corners of the quilt.
This where I’m going to start doing things just a little bit differently than I usually would.
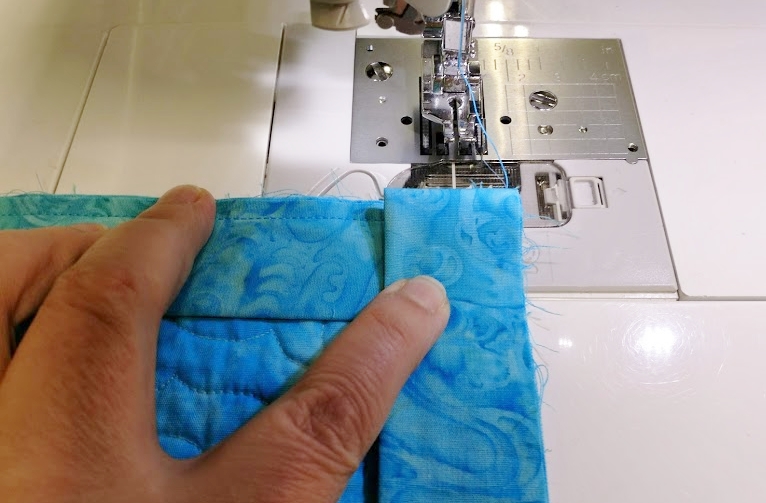
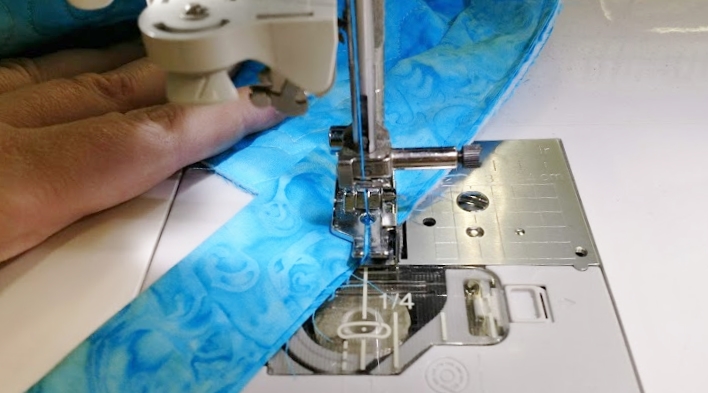
I’m working on the back of the quilt instead of the front. When I start sewing, I leave the first few inches of the binding unsewn.
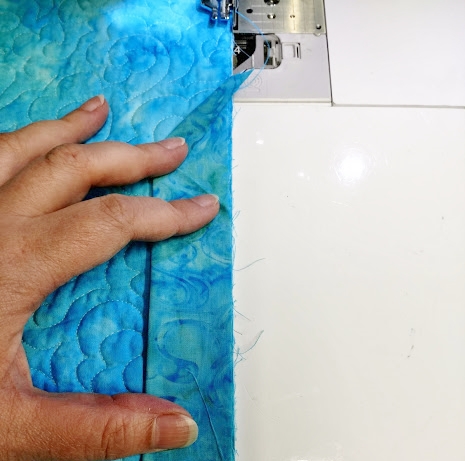
Normally, I would sew the binding on to the front of the quilt with a 3/8″ seam allowance. When it is wrapped to the back, it finishes at approximately 3/8″ wide on both sides of the quilt.
But this time, I am attaching the binding first to the back of the quilt with a 1/4″ seam allowance. I’m planning to have the binding be about 1/2″ wide on the front side of the quilt, which will allow me to avoid the binding altogether when I stitch the free edge of the binding to the front of the quilt.
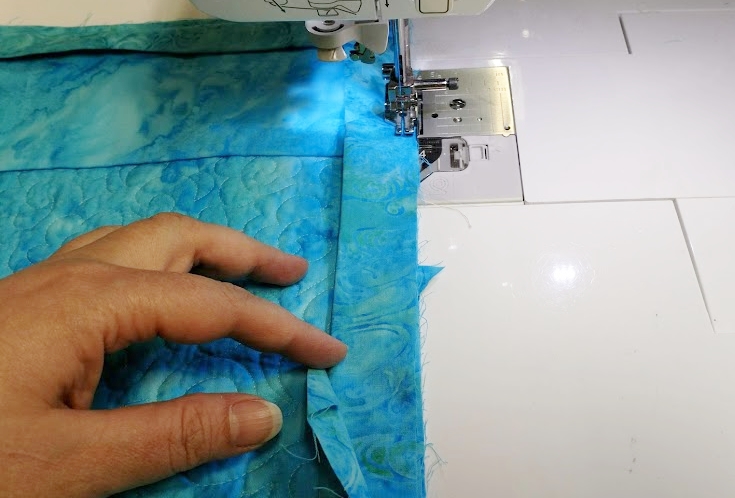
Here’s how I miter the corners of the binding:
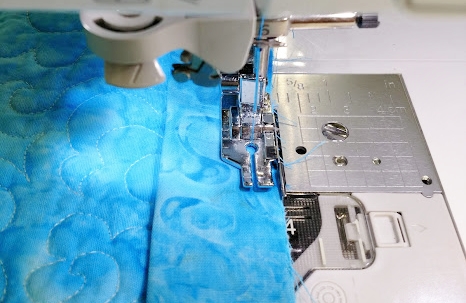
Since I am sewing with a 1/4″ seam allowance, I stop when I am 1/4″ from the corner of the quilt. (If I was sewing with a 3/8″ seam allowance, I would stop 3/8″ from the corner.)
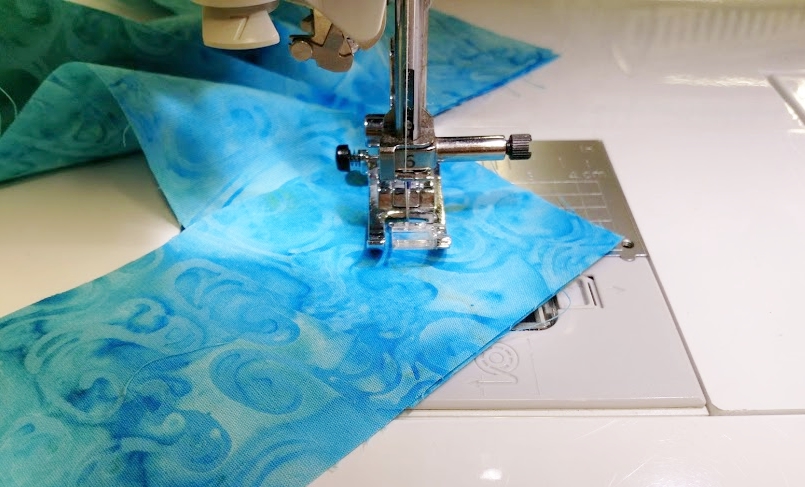
Keeping the needle in the fabric, I rotate the quilt slightly and stitch off the corner at a 90 degree angle from the previous stitching.


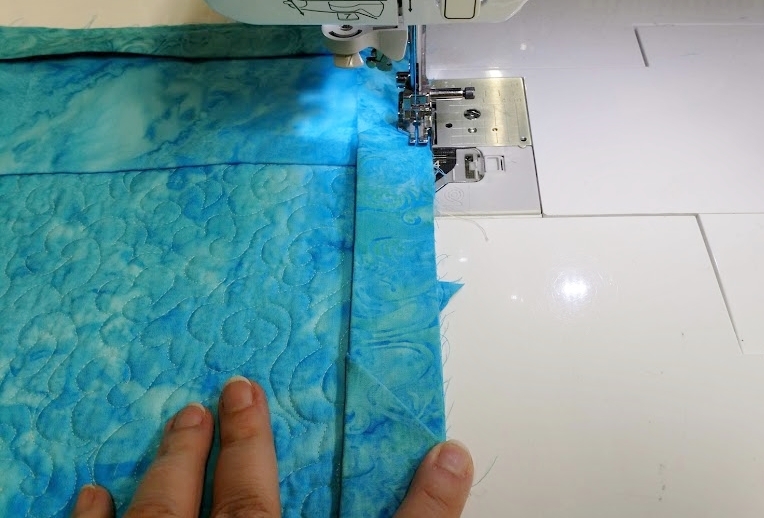
Then I fold the binding back towards me again, so that the fold line is even with the outside edge of the quilt.
I slide the quilt back under the presser foot and start stitching at the outer edge of the quilt, right on top of the folded binding.

I continue stitching around the quilt, mitering all the corners in the same manner.
Tip: Wonder Clips are an amazingly helpful alternative to pins when working with thick layers, curves, fabrics that might show pin holes, etc. – and are especially helpful when attaching binding. Prices vary widely, so be aware that some of the cheaper versions tend to come apart pretty quickly – ask me how I know! 😉
When I am almost back to where I started, I briefly unfold the binding and cut the end of the binding to another 90 degree angle (to eliminate bulk) before refolding and inserting the end of the binding into the fold of the binding left unsewn when I started attaching the binding.
Then I continue stitching until I overlap my previous stitching by about 1/2″ or so, and backstitch or “fix” stitch to secure the stitching.
This is what the overlapped ends of the binding look like when I start to wrap the binding over to the other side:
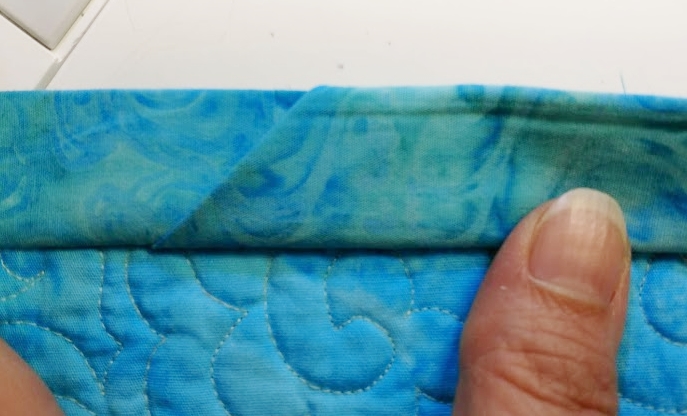
Ta-da! The binding is now attached to the front of the quilt.