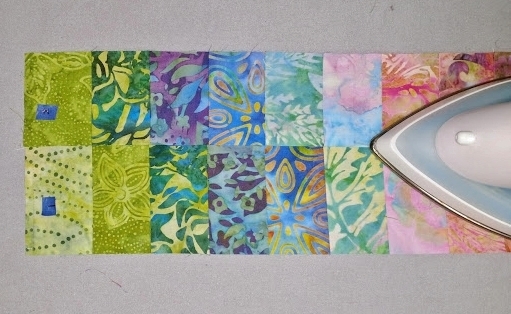
The vertical rows have all been numbered and are ready to sew. Just like before, I start with a small piece of “header” fabric in my machine, stitch across it, take a stitch or two on “air” and then (without raising the presser foot), slide my first set of strips under the presser foot.
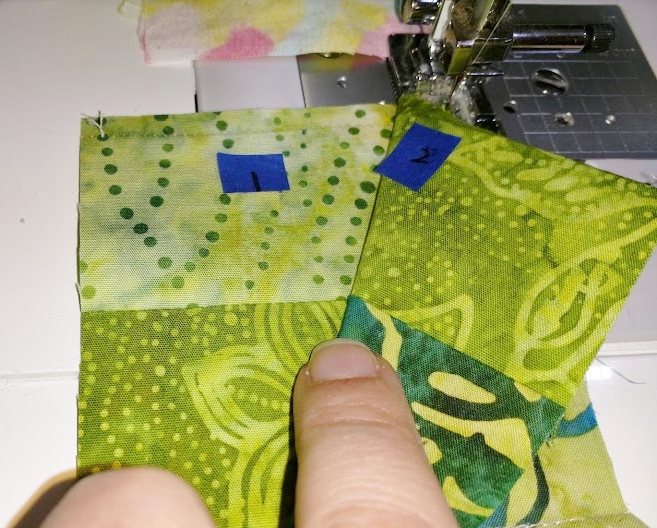
I sew all of the strips into sets of 2, always first checking the numbers at the top of each strip to make sure the strips are in the correct order and orientation.
Checking the numbers at the top of each strip before sewing them togetherThe horizontal seams should “nest” against each other. I watch from the side and “finger pin” as I go, but you can use regular pins if you prefer.
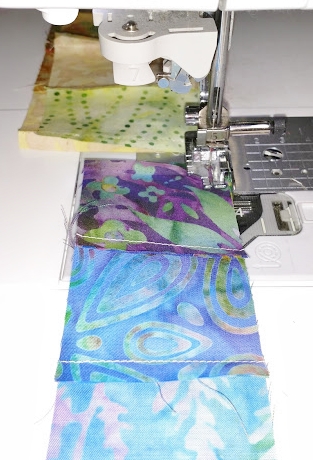
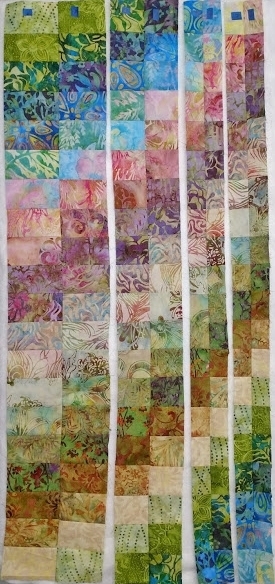
I sew in a continuous chain until all of the vertical strips are in sets of two.
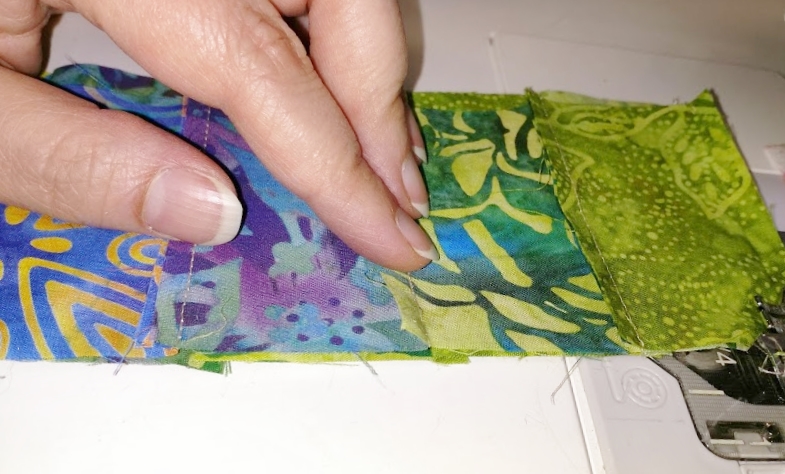
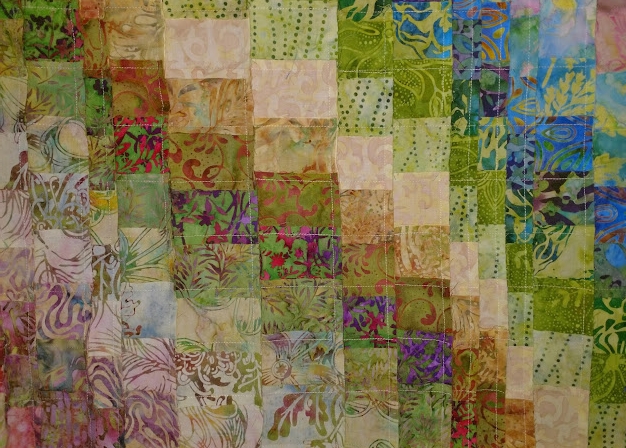
Again, just like earlier, I first press from the back to “set” the stitches before flipping the strip set over and opening up the seam. This time all of the seam allowances will be pressed in the same direction – toward the higher number.
Setting the stitchesOpening up the seam and pressing the seam allowances toward the higher number
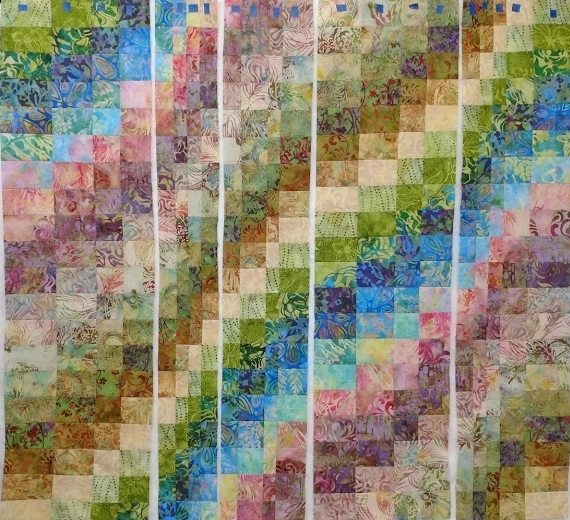
The next step is to sew the sets of 2 strips into sets of 4, followed by pressing, then sets of 8, and so on.
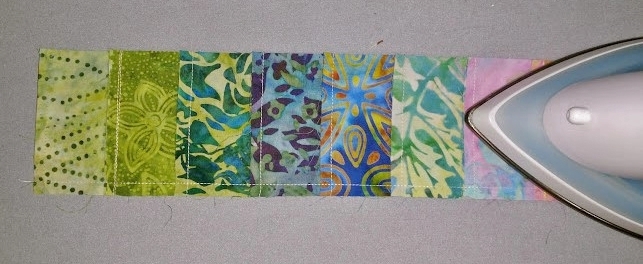
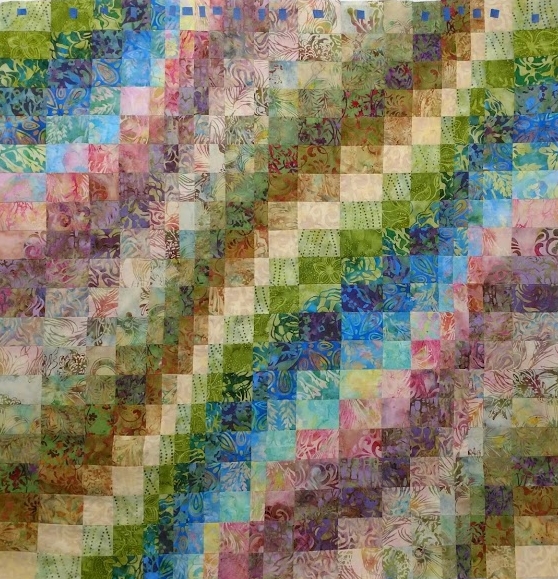
Sets of 2 (in progress)Sets of 4All of the seam allowances are pressed in the same directionFinal stage – all of the vertical rows have been sewn together
When health challenges made hand-sewing (and hand appliqué and hand-quilting) no longer physically viable for her, Beth Ann’s first instinct was dismay and discouragement. But Grandma Baldwin gave her a loving (but stern!) “No pity parties – just figure out a different way.” So Beth Ann turned to her trusty sewing machine and began devising ways to achieve the fine quality appliqué look she craved faster and easier than she ever thought possible. And a career was born!
Now Beth Ann enjoys sharing her accessible “invisible” machine appliqué and creative machine quilting techniques with other quilters and fiber artists around the world.