This is the third in a series of sew/quilt-along posts about making a bargello quilt.
Once you have your strips cut (each pattern in Colorwash Bargello Quilts tells you how many strips to cut – Cascade requires 2 strips of each fabric, each strip 2″ x 20-21″), it’s time to sew them together.
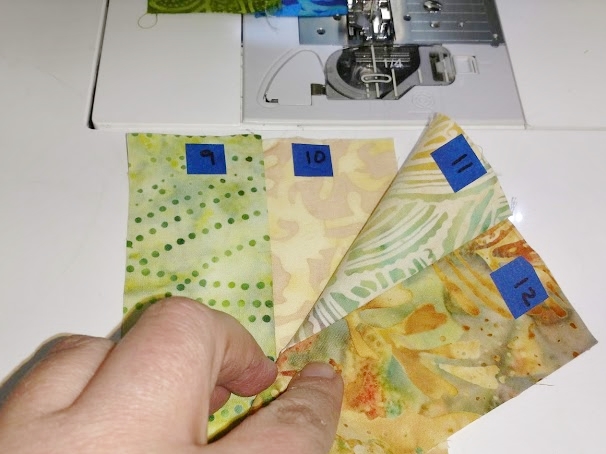
Note: the original Cascade pattern calls for 19 fabrics. I am using 20 for this new quilt.
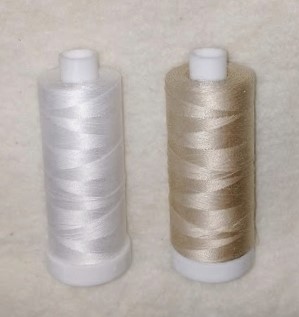
First of all, I highly suggest using a noticeably different color thread in the top of your machine than what you are using in the bobbin. This makes no difference when you sew the strip sets, but it will make a LOT of difference later…
I also have a few tricks I’d like to share that might help you avoid uneven strip sets, seam allowances that curl, or puckers or pleats in the seams:
- A consistent seam allowance is a MUST. Quilters generally stick with 1/4″ seams. For this kind of project, an exact 1/4″ isn’t as important as a consistent seam allowance that measures the same width at any point along the seam.

Two styles of quarter-inch presser feet. I prefer the one with the blade, but either one can help keep seams consistent. - I also recommend a straight stitch throat plate, if you have one.
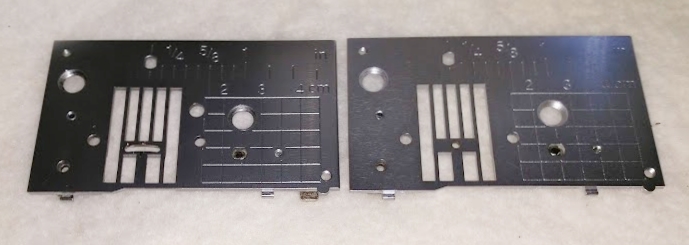
A zigzag throat plate (left) vs. a straight stitch throat plate (right)
- To avoid distortions at the beginning of a seam – or having the machine “eat” the fabric for the first couple of stitches – I always use “headers”. I place a small piece of fabric under the presser foot and stitch almost all the way across it. I position my strips so that the machine finishes stitching across the header, stitches across nothing but air for a stitch or two, and then begins the seam on the strips. When I get to the end of the first set of strips I am sewing, I slide the next set into position and keep going. I do not raise my presser foot or cut my thread between sets of strips!
- ALWAYS check the numbers at the top of each strip before sewing – it’s very easy to accidentally flip a set of strips over and sew the wrong side (yes, this is the voice of experience!)

Checking the numbers on the first 2 strips before sliding them into place to sew. Note the “header” fabric already in the machine.
- I keep sewing in one long continuous line until all of my strips have been sewn into sets of 2. I finish by stitching onto another piece of fabric, or “footer”. This helps prevent the strips from fishtailing at the end of the seam, causing the stitches to swing off the side.
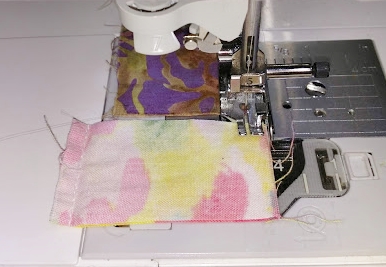
Finishing with a “footer” 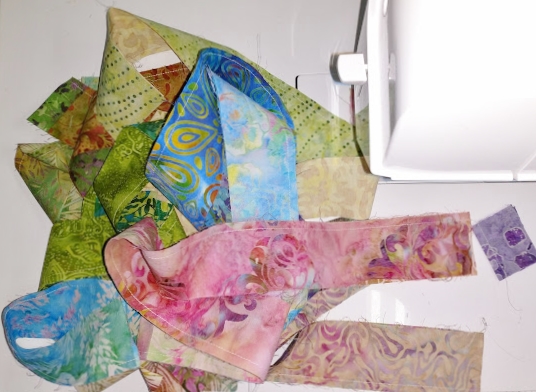
The strips have been sewn into sets of 2 and are ready to cut apart. - Once the strips are out of the machine, the few stitches connecting each set of strips can be cut and the strip sets can be pressed individually.
- PRESSING MATTERS:
- I find it very helpful to first press the closed seam (fabric kept right side-to right side, just as sewn) from the back side to “set” the stitches. This helps prevent funky things happening with the seam allowance. Press up and down – don’t slide the iron!

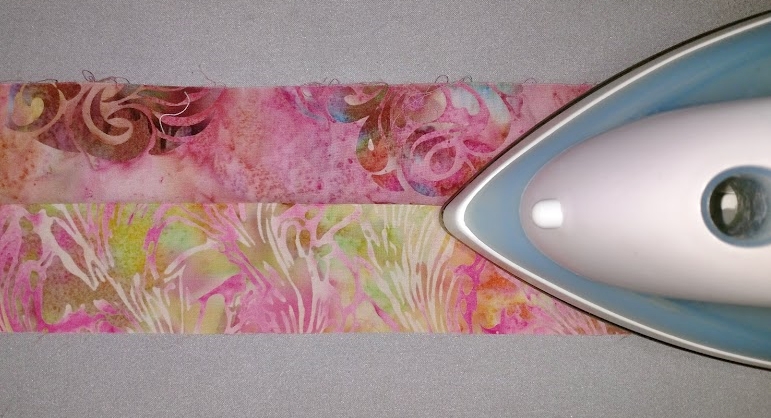
Setting the stitches - Then I flip the fabric back over, right side up. I gently pull the strips apart with my fingers, making sure there are no tucks in the fabric as I press the seam to one side with the tip of my iron.

Using the tip of the iron (and my fingertips, which aren’t in the photo) to force the seam completely open. - Finally, I press the fabrics once more from the right side, making sure the seam allowance is still pressed to one side. I’m careful to press up and down with the iron – avoiding sliding it, as that’s an easy way to stretch or distort the fabric.
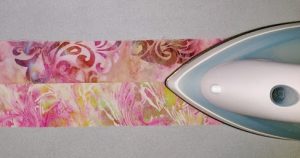
Giving the strips a final press.
- I find it very helpful to first press the closed seam (fabric kept right side-to right side, just as sewn) from the back side to “set” the stitches. This helps prevent funky things happening with the seam allowance. Press up and down – don’t slide the iron!

Note: Each pattern in Colorwash Bargello Quilts specifies how the seam allowances in each strip set should be pressed. Generally, if you are making 2 strip sets, the seams of the first set will all be pressed towards the first strip and the seams in the second set will all be pressed towards the last strip (or vice versa). This is important!
- After pressing, I sew my sets of 2 into sets of 4, and so on, pressing carefully after each round of sewing.
Not only should the right hand edges of the fabrics line up, but the previously sewn seam allowances should “nest” against each other. 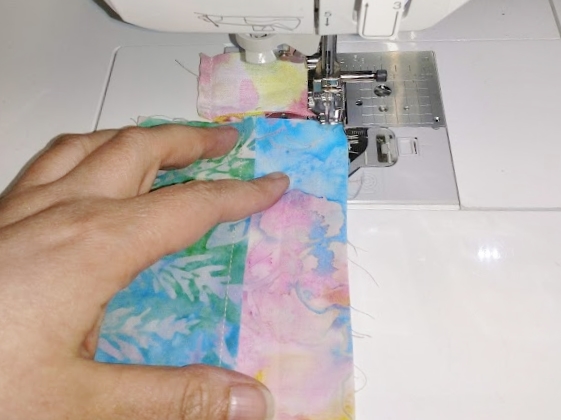
I carefully watch the right hand edges of the fabrics as I sew AND run my fingers along the seam closest to the edge I am sewing to make sure the seam allowances remain properly “nested” against each other. (You can pin, if you prefer.) Sewing sets of 2 into sets of 4 – always check to make sure the higher numbers are on top of the lower numbers! 
Sets of 2 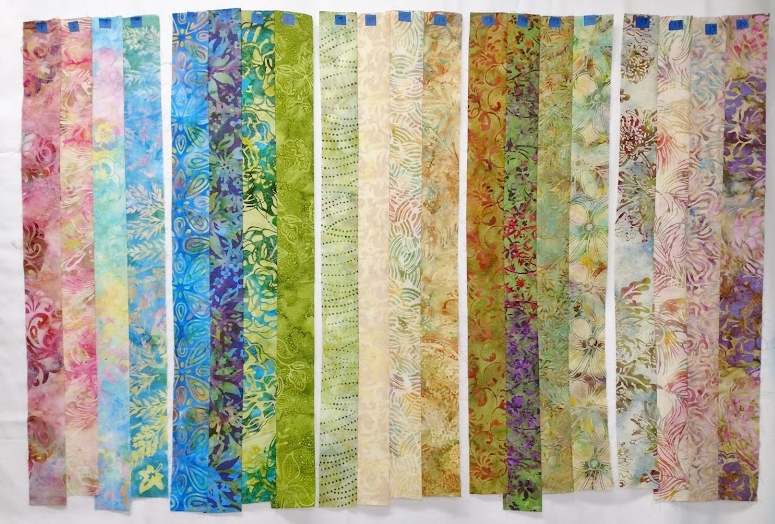
Sets of 4 (although your last set may have fewer than 4 fabrics). Next there will be sets of 8, and so on, until the strip set is complete. 
The 2 strip sets for this project should be exactly the same EXCEPT for the direction in which the seam allowances have been pressed. 
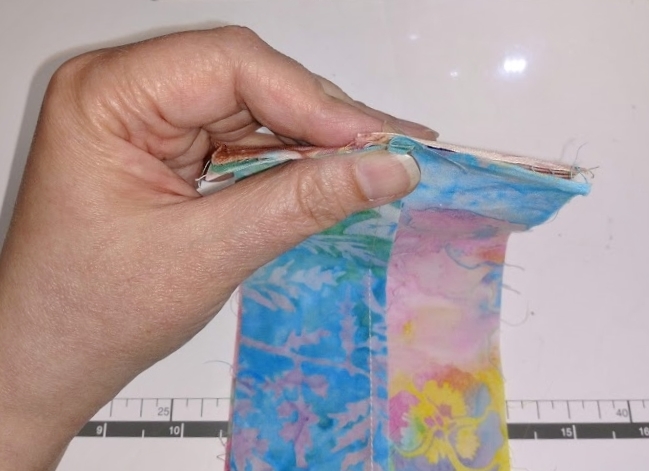
Once the strip sets are complete, I turn each one into a separate tube by sewing the first strip to the last strip.