Sewing with Seat Belts – Market Tote from Cozy Nest Design
Notes: All pattern information is from Cozy Nest Design.
Seat Belt Series: Market Tote Sewing Pattern
$6.99 (PDF download)
The Market Tote sewing pattern will take you step-by-step to creating a customized bag made of seat belt webbing! Seat belt webbing is shimmery and luxurious, yet extremely durable and easy to clean and sew! The tote features 2 exterior slip pockets and a flap accent with metal ring. On the interior you will find a zipped pocket and zipped gusset closure. The handles are 23″ long with a 11″ drop. Instructions are included for 3 different size options.
Skill level: Intermediate
Finished sizes:
small: 14 x 9 1/2 x 3 3/4″
medium: 15 1/2 x 11 x 3 3/4″
large: 17 x 13 x 3 3/4″
What’s in the pattern:
– 3 complete sets of instructions are included – one for each bag size (small, medium and large)
– imperial and metric measurements
– cutting labels and one pattern piece* for each bag size
– a thoroughly tested design given the thumbs up by my amazing test team
– quality computer-generated line drawings and concise, detailed instructions
* all other pieces are cut based on measurements.
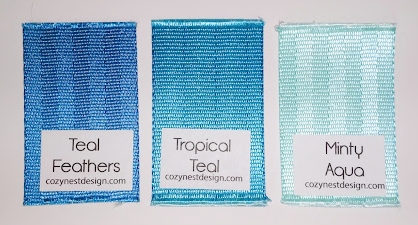
Here are the colors I chose for my first Market Tote:
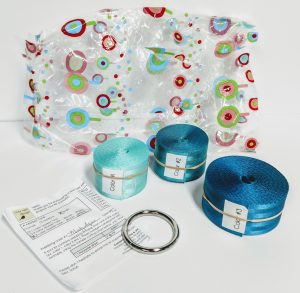
Here is what the kit looks like:
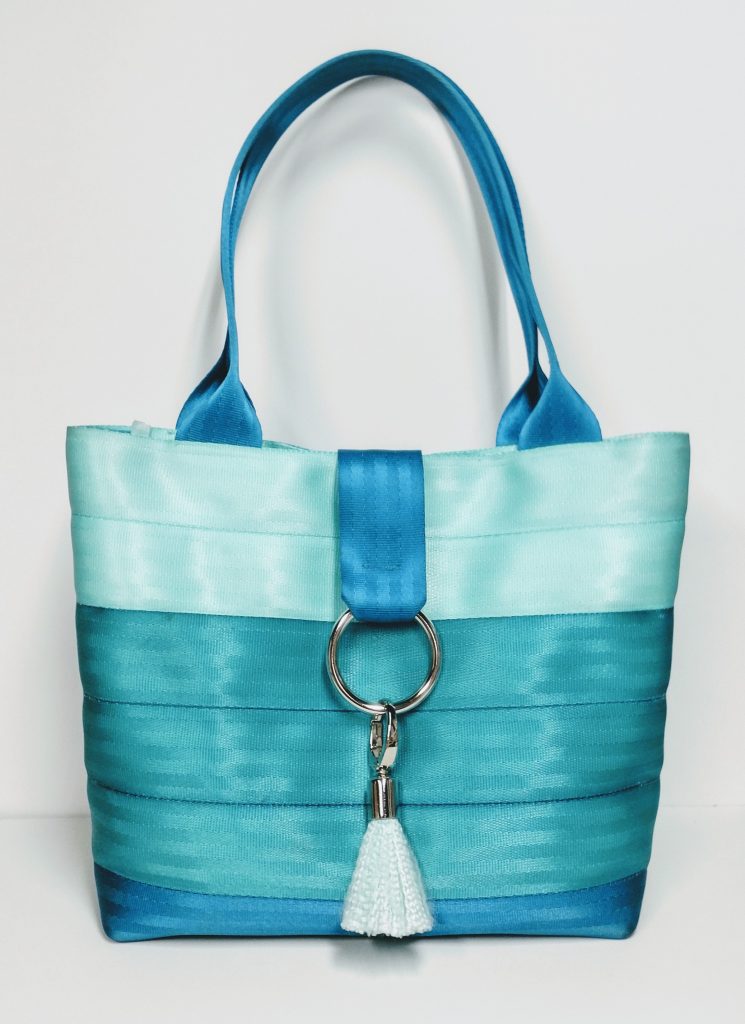
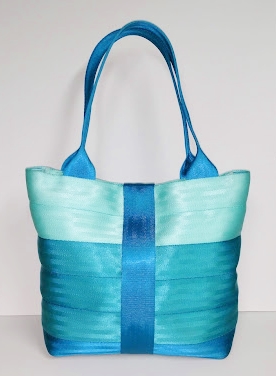
And here is the tote:
This is the project I was most excited about making. I found Sarah’s pattern to be one of the most well thought-out and well illustrated patterns I have purchased. It’s a lot of information, though, so I advise reading the pattern through a couple of times before beginning.
I also advise using a post-it note, clip, or some other method of marking your place in the pattern as you go along. Where I ran into trouble was when I assumed (after making many bags, totes and purses before) that I knew what was coming and didn’t read the instructions as carefully as I should have. Seam allowances may vary from what you may expect, so pay special attention to those, too! (I had to do some sewing-in-reverse AKA ripping out stitches a couple of times because I was on autopilot and missed the change in seam allowances clearly specified in the pattern.
A few other notes:
- I loved the cutting labels provided in the pattern – such a helpful way to keep track of all the pieces and webbing!
- I used MonoPoly, a clear .004 monofilament thread, as my top thread when stitching the seat belt webbing to the base fabric. Sarah repeatedly emphasizes sewing as close as possible to the edge of the webbing. I used a topstitch foot, and stitched about 1/8″ from the edge, which must be a wider seam allowance than Sarah uses for this step. My stitching turned out to be far enough away from the edges of the webbing that the backing fabric peeked through when I flexed the stitched panel of seat belt webbing. I ended up going back over the seams with a very small zigzag stitch to eliminate any gaps, with the only exception being the slip pockets, because I didn’t want to sew them closed. For my second bag, I zigzagged over the edges as I added each strip of seat belt webbing.
- I used Bottom Line from Superior Threads in my bobbin.
- I switched my top thread to Bottom line as well for the construction of the bag, although you could just as easily use a good quality 50 wt. cotton for both the top thread and the bobbin.
- A sharp, strong needle is extremely helpful. I got the best results with a Schmetz quilting needle, size 75 or a Topstitch needle, size 80.
- I used an outdoor fabric instead of the recommended quilting-weight cotton for the lining of my bag. I really like the washability and durability this gives, but the extra thickness also made it significantly harder to sew. I followed the pattern suggestion the next time I made this tote 😉
- I decided I wanted the zipper panel at the top of the bag to be in the lightest color instead of the darkest, so I cannibalized a Zipped Pouch kit I had purchased at the same time. Next time, I’ll just order the exact seat belt webbing I need by the yard.
- I purchased the tassel kit separately – also from Cozy Nest Design. It was very easy to make!
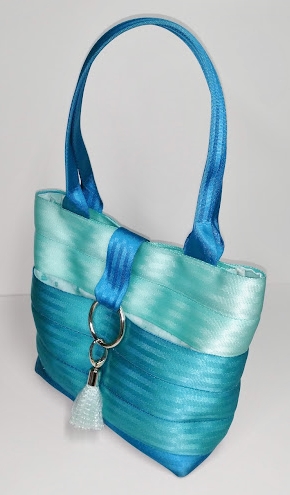
When I was looking at the pattern online, I wasn’t sure where the slip pockets were, so I took this photo so you could see them more easily:
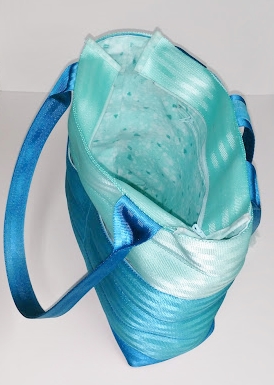
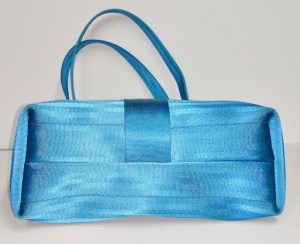
And here are views of the interior and bottom of the bag:

I’ve been using the bag for about 2 months now, and I’ve been very happy with it!
Note: If you live in West Michigan, you can check with the Wyoming Lakeshore Sewing store to see if there are openings in Kim Hilton’s Market Tote class, taught with permission from Cozy Nest Design.
2 thoughts on “Pattern Review”