2025 UPDATE: My Celtic patterns can now be found in my online shop.
This is the tenth in a series of posts that will take you step-by-step through the process of creating a Celtic Quilt.
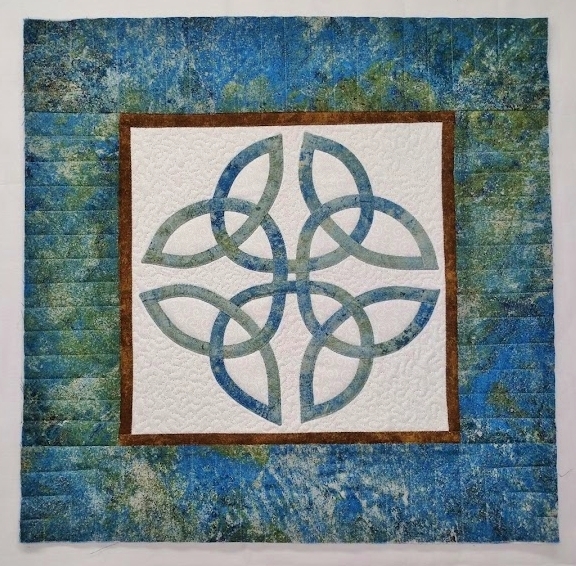
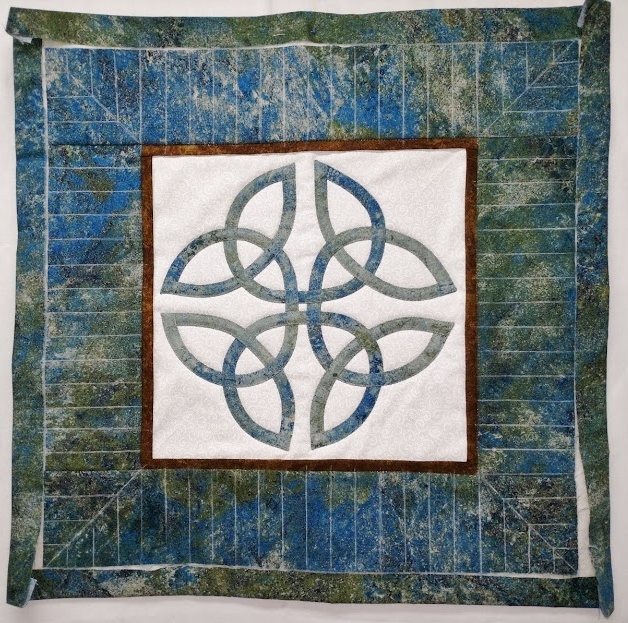
The lines that form my Celtic and Celtic-style knotwork designs are formed by cutting bias strips of fabric and sewing them into tubes, which are then fused onto background fabric. For this project, I added the borders, layered the quilt top with batting and backing, and machine appliquéd and quilted the design in one step.
Now I’m ready to add a little more texture!
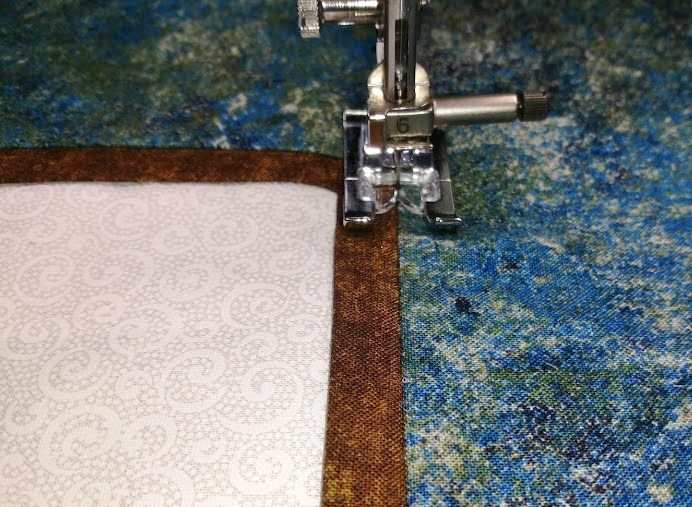
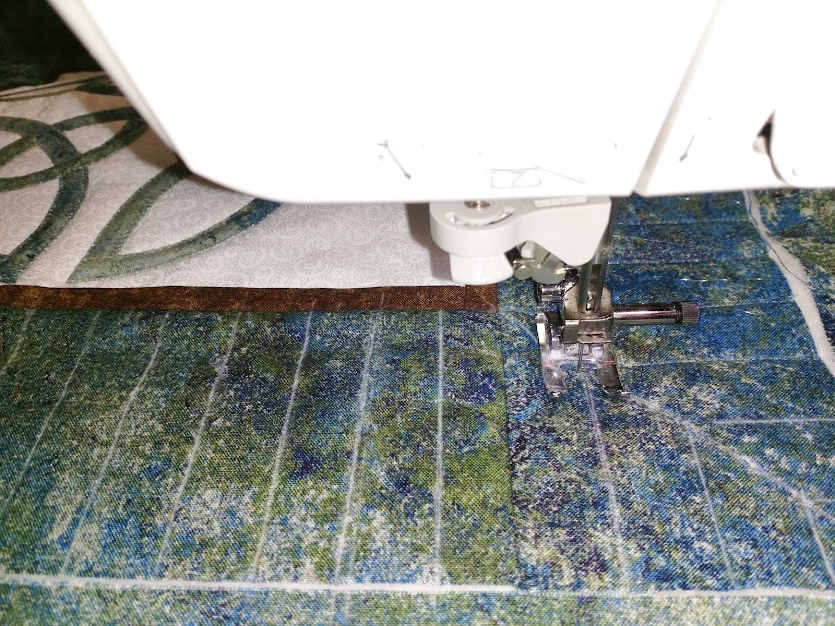
Since the design itself has already been appliquéd and quilted in one step, I’m going to start this stage by stitching in the ditch between my borders. This will further stabilize the quilt and help keep my borders straight. I usually recommend a walking foot for this step, but my layers are flat and stable enough that I am going to continue on with my standard presser foot.
I could stop here, but I’m having too much fun. 🙂
Now I’m going to start marking. I’m using one of my all-time favorite marking tools today, the refillable WHITE Clover Chaco Liner (which also comes in a pen style).
I like that it makes a nice thin, but easily visible, line on medium to dark fabrics, and brushes away pretty easily. It also washes off completely.
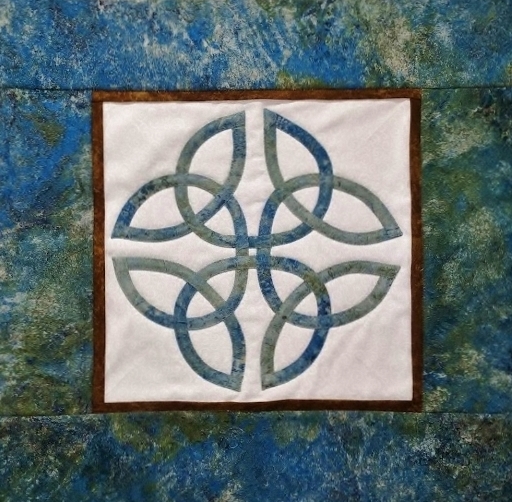
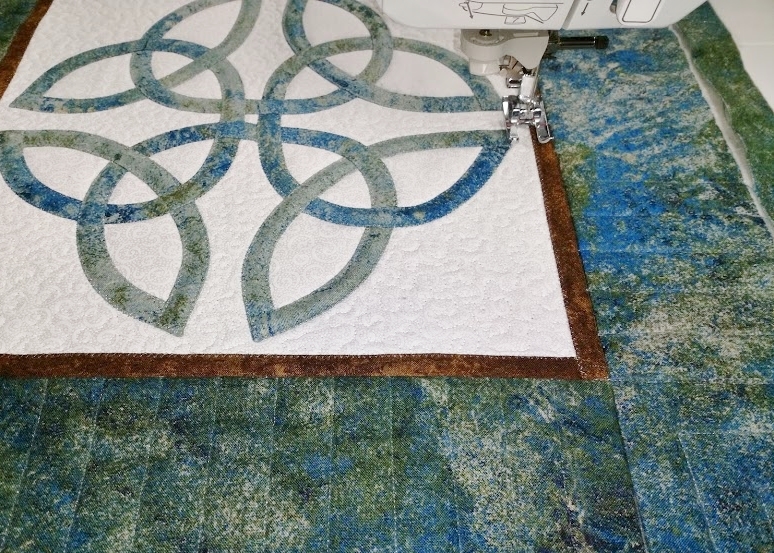
Now the border is done. Again, I could stop here, cut off the excess batting and backing, and bind the finished quilt.
But I think I’d like even more texture…
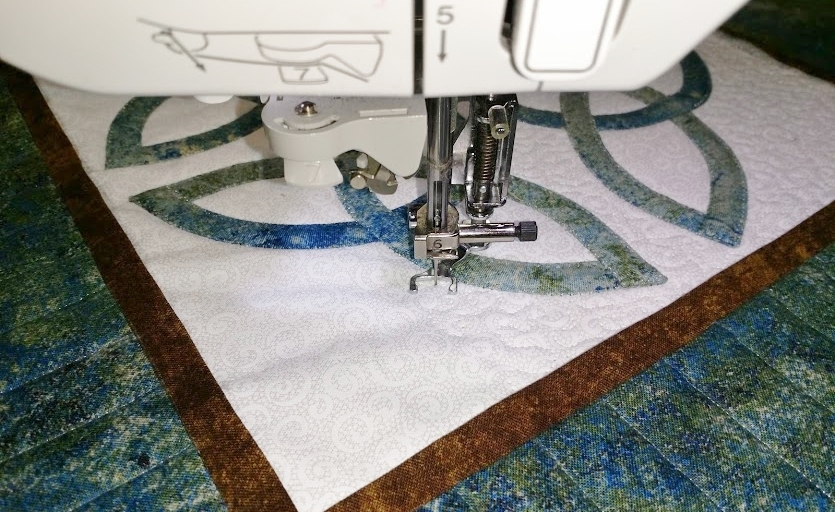
I’ve dropped the feed dogs on my sewing machine and am using my free-motion foot to stipple in the negative space around the design.
Note: Check out these previous posts for more information about machine quilting in general and free-motion quilting in particular: Machine Quilting FAQ & Top Tips and Free-Motion Quilting – the fun stuff!
After stippling the inside, I decided that I don’t need the textural interest of the flap border, so went back and appliquéd down the free edge with the same stitch I used to appliqué the central design.
Here is the True Lovers’ Knot with the quilting complete: