
This is the eighth in a series of posts that will take you step-by-step through the process of creating a Celtic Quilt.
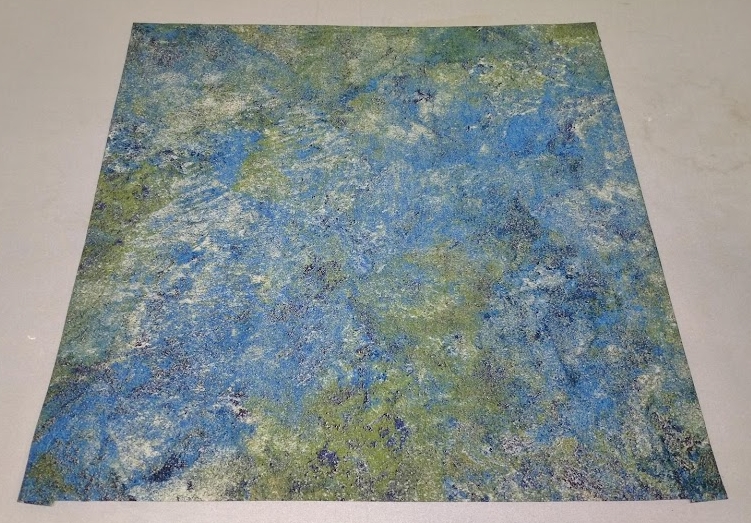
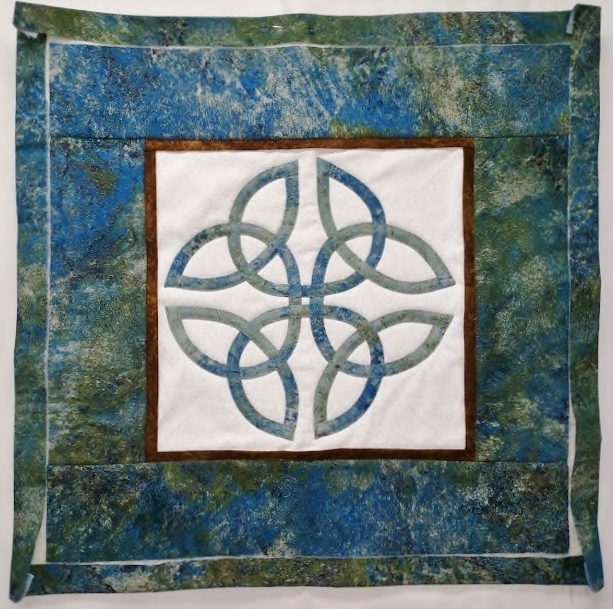
The lines that form my Celtic and Celtic-style knotwork designs are formed by cutting bias strips of fabric and sewing them into tubes, which are then fuse-basted onto background fabric. You can choose to appliqué the design (sew everything down), add borders, layer the quilt top with batting and backing, and then quilt by either hand or machine. Or you can choose (as I usually do) to add the border(s), layer the quilt top with batting and backing, and then machine appliqué and quilt in one step.
What kind of batting do you prefer?
This is one of the most common questions quilters ask each other. My preference is for low-loft batting, usually cotton or cotton blend, although I’ve seen some really nice bamboo battings lately…
The batting I’m using for this project is Hobb’s Heirloom 80/20 Fusible Cotton Batting. I like it because it is nice and flat, does not beard over time, and the dry (heat activated) adhesive allows me to fuse the quilt top, batting, and backing all in one go. It also gives the quilt sandwich a slight stiffness that helps stabilize the fabric – very helpful for Celtic-style appliqué, which involves lots of turning. (This slight stiffness washes out if you launder the quilt; the adhesive is water-soluble.)
It is also particularly helpful not to have to deal with pins (as in pin-basting) potentially getting caught on each other or on the presser foot as you quilt.
If you choose to use a temporary basting spray instead of a fusible batting, I recommend using 505 Spray and Fix, as I find it is much less likely to gum up your needles and/or cause thread breakage.
But as always, use what works best for you!
Is the layering process any different with fusible batting?
Slightly.
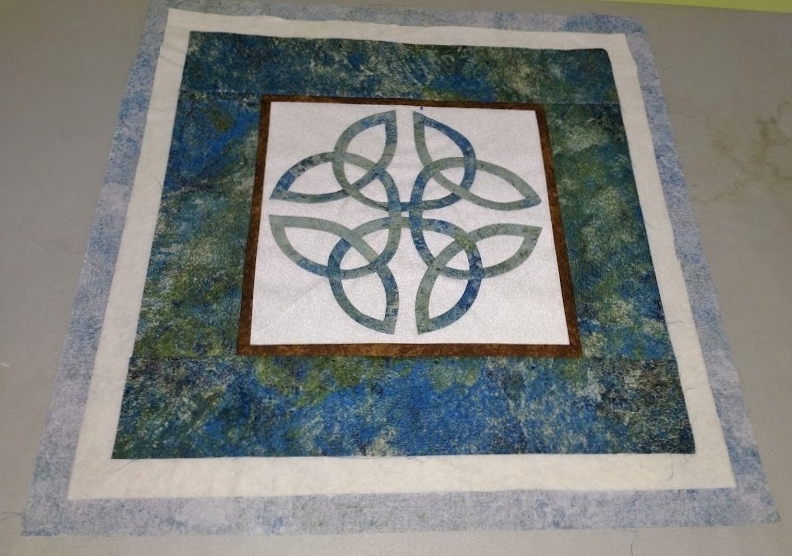
First of all, when I use a non-fusible batting, I cut my batting and backing about 2″ larger than my quilt top (or 1″ for small project like this). But when I use fusible batting, I try to have twice as much extra backing fabric as I do batting. Since this is a small project, I cut my batting 1″ wider on each side than my quilt top. Then I cut my backing fabric 2″ wider.
Is this strictly necessary?
No. But I find it very helpful! Cutting the backing this way allows me to wrap the extra backing fabric from the back to the front of the quilt, covering up the extra batting. That way, I can press with my hot (but NO STEAM!) iron right up to the edges of the quilt top without worrying about touching my iron to the batting.
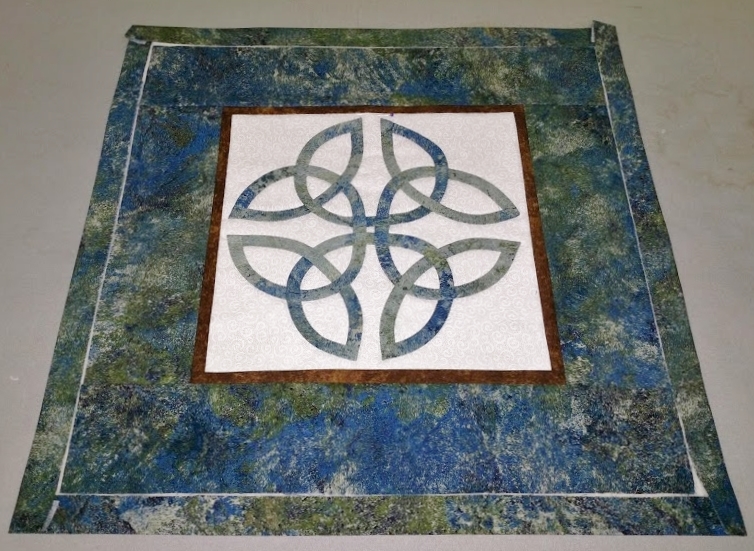
I find the key to success is to press the hot (no steam) iron down, give it a 4 count, and then lift the iron and move it over to the next spot, working across the quilt top in a grid-like fashion. It’s best to avoid sliding the iron as you might if you were pressing a garment; you might dislodge the layers or cause a ripple or tuck.
Once I’ve completely pressed the front side, I flip the whole thing over and check for any wrinkles (you can pull the fabric away and smooth the fabric back out again if you happen to see one), and press again from the back side.