2025 UPDATE: My Celtic patterns can now be found in my online shop.
This is the sixth in a series of posts that will take you step-by-step through the process of creating a Celtic Quilt.
The lines that form my Celtic and Celtic-style knotwork designs are formed by cutting bias strips of fabric and sewing them into tubes, which are then fuse-basted onto background fabric.
The fabric tubes have been trimmed and pressed, and are ready to go. How do you get them positioned smoothly on the fabric?
First of all, I don’t recommend using pins – they will only poke you and get in the way (ask me how I know this!)
When I first started working with Celtic and Celtic-style designs, I preferred 1/4″ wide strips of Steam-a-Seam2, which is pressure-sensitive and holds the fabric temporarily in place until you press with an iron to fuse it permanently.
 Some years later, I discovered Roxanne’s Glue Baste-It. I love that it only takes small droplets of glue to hold the fabric in place, dries very quickly – especially when you run a hot iron over the fabric – and is water soluble, so it is easy to dampen and reposition something if necessary. I have never had any issues with it discoloring my fabric over time when I haven’t washed my samples, but I love that it does wash out.
The needle-nosed applicator is terrific for applying just the wee bit that is needed, but always remember to remove the applicator tip, clean it out thoroughly, and replace the original bottle cap on the glue bottle for storage. (Again, ask me how I know this is so important…)
Here is a link on Amazon if you can’t find it in your local sewing or quilt store:
:
Now let’s get started:
Note: As I mentioned earlier, I am using the True Lovers’ Knot pattern from my book, but you can use this method with other Celtic or Celtic-style designs – although you will probably find it helpful to enlarge any knotwork you find elsewhere significantly in order to make is easier to sew.
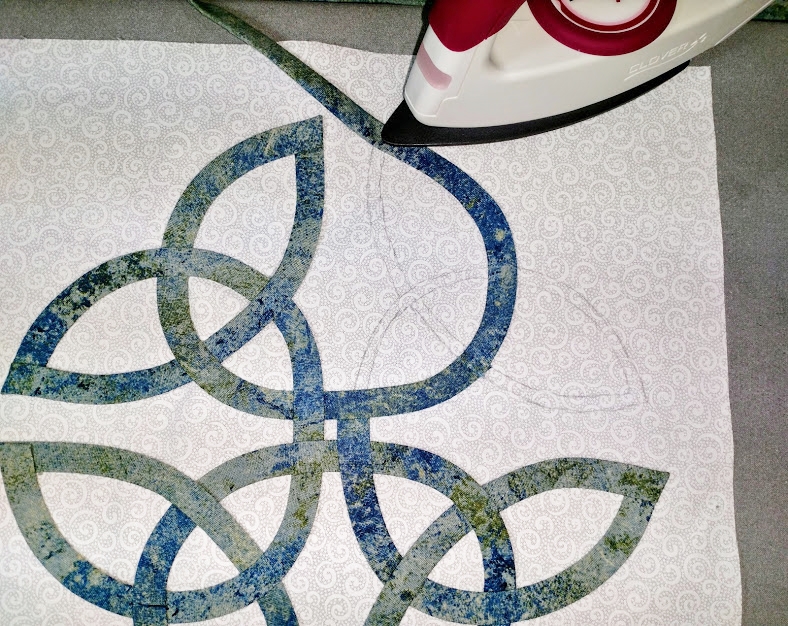
- Find a good starting spot. This MUST be at an intersection, and MUST be on the line that is in the “under” position.
Dab the glue onto the background fabric, continuing until you either get to a point or reach another “under” position. Exception: DO NOT put glue on the intersections where 2 lines cross.
- Lay down the first bias tube, making sure that you leave a 1/4″ long seam allowance at the beginning. (This will be covered by another tube later.)
- Although the glue holds the fabric quite well, I prefer to take the extra step of pressing with my Clover Wedge Iron (or other small iron) to quick-dry the glue and flatten the tubes.
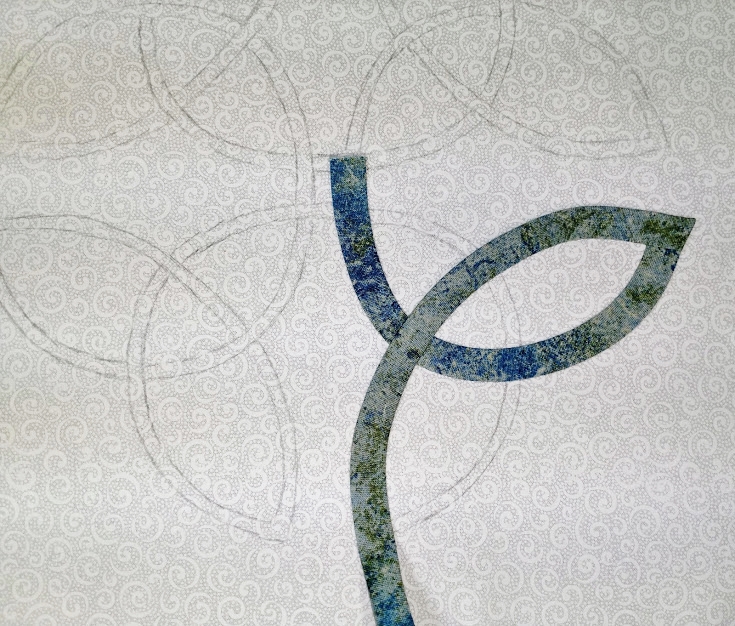
- When you get to a point, first press the fabric all the way to the end of the point. Then fold the fabric back on itself (creating a small pleat between the layers) so that the new starting edge is even with the outer edge of the original tube. Please note: this is NOT a miter – I have found that while miters are manageable for hand appliqué, the toe of the presser foot tends to push them out of whack when you are stitching by machine. This method usually looks a lot neater when you are done – and it’s significantly easier, too! 🙂
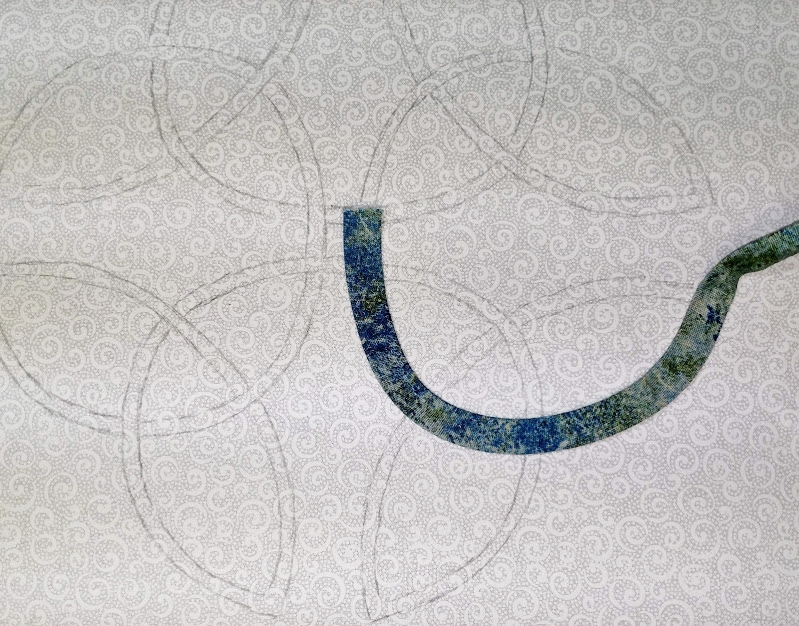
I like to start in the middle of this design. Leave a 1/4″ seam allowance so that the end can be tucked under the crossing line later. 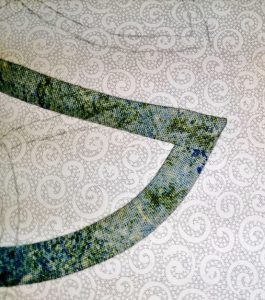
Close-up of a point. - When you come to a spot where the fabric needs to cross another line in an under position, use your bias press bar to make sure the glue isn’t blocking the path and then again to push the end of the fabric through to the other side so that you can easily pull it the rest of the way.
Creating an “over” 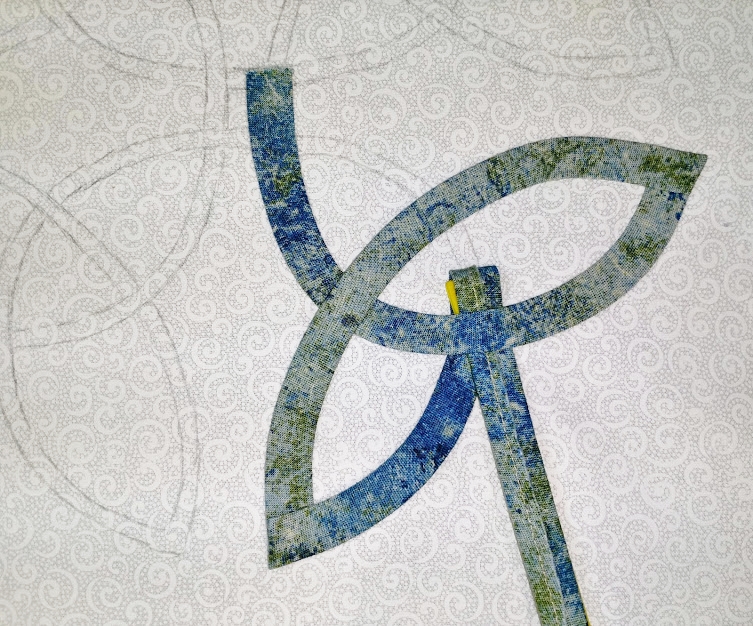
Using a bias press bar (mostly hidded by the fabric) to push the end of the fabric “under” - Keep your pattern handy to help you keep track of the “unders” and “overs” while you continue to glue and then press the fabric into place as you work your way around the design. Avoid getting glue in the intersections and accidentally blocking the path of another line.
- Best case scenario, you will run out of fabric just as you reach an “under” position. If you do not, you’ll need to go back to the last “under” and cut the fabric there. All fabric tubes must start and end in the “under” position so that the raw edges can be concealed underneath the “over” tube.
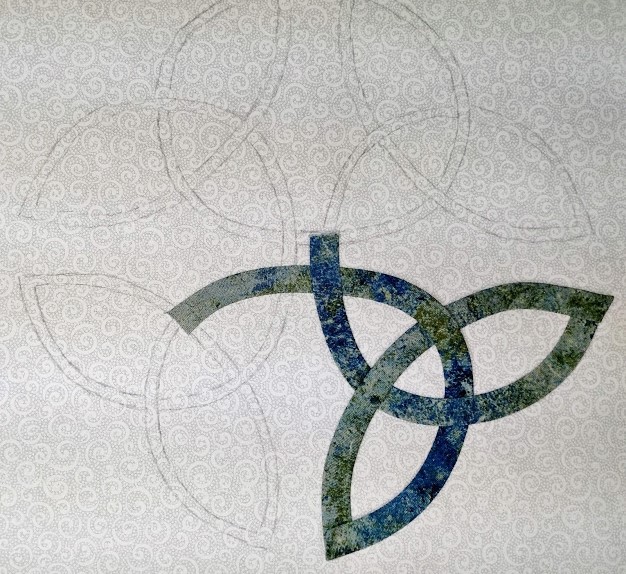
Ending a line in an “under” position – notice the 1/4″ seam allowance at the end; it will be overlapped by the new fabric tube. 
Glue dots ready for the next tube 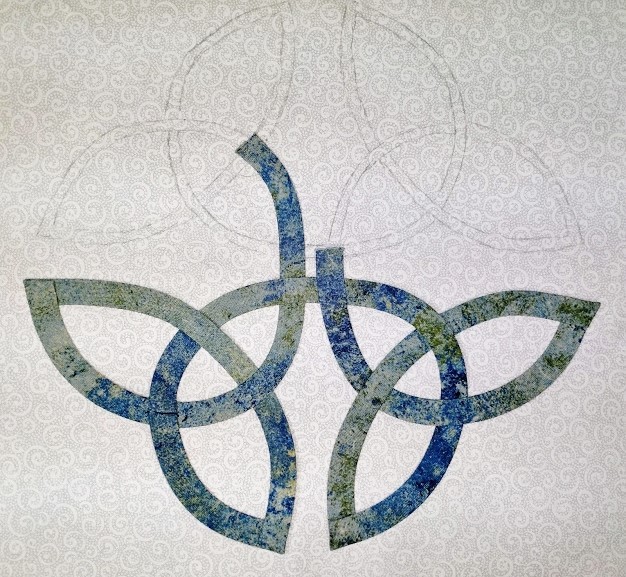
Ending another tube, ready to start a new one Almost there! - When you are finished, compare your work to the original design (especially the “unders” and “overs”) and give the design a final press. Don’t stress if you find an error – the water soluble glue means you can easily fix anything that might not have noticed earlier.
- Stand back and admire your design!
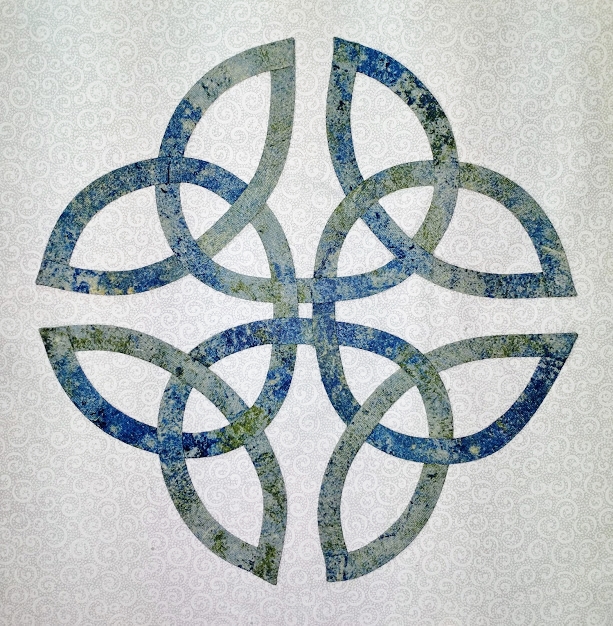
Ta-da!
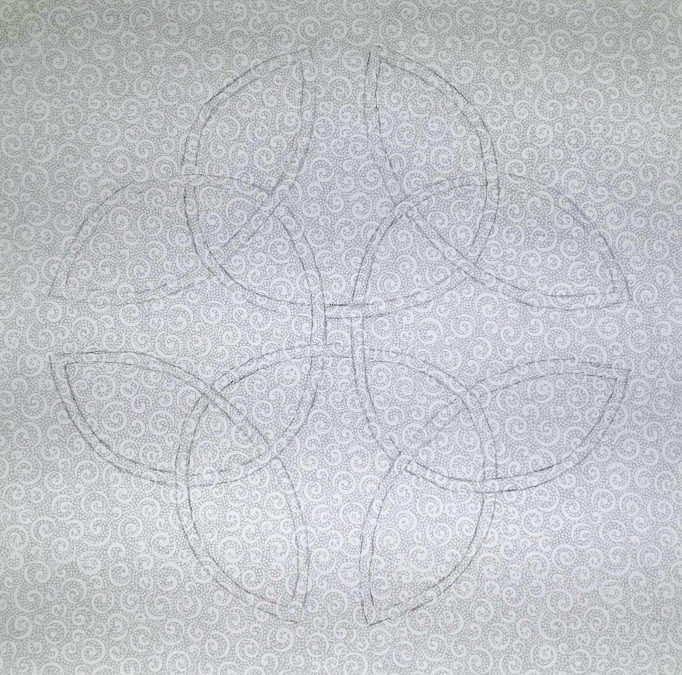
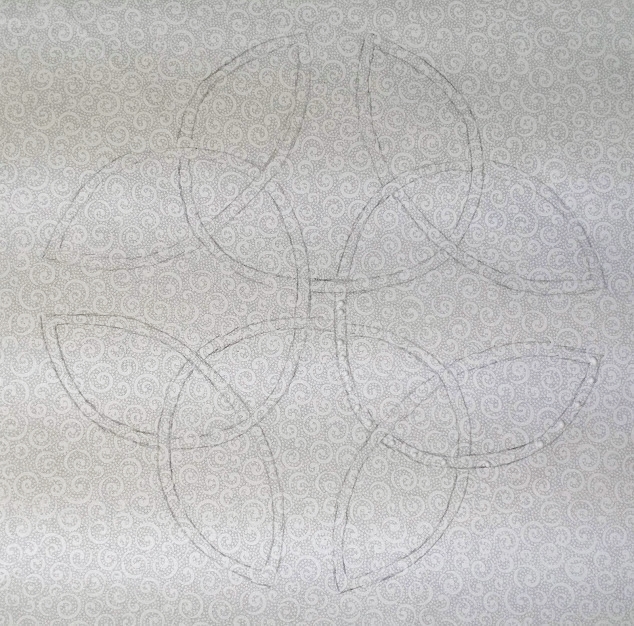
The True Lovers’ Knot (placed on point) from Celtic Quilts: A New Look for Ancient Designs – all ready to start sewing.
