2025 UPDATE: My Celtic patterns can now be found in my online shop.
This is the fourth in a series of posts that will take you step-by-step through the process of creating a Celtic Quilt.
The lines that form my Celtic and Celtic-style knotwork designs are formed by cutting bias strips of fabric and sewing them into tubes, which are then machine appliquéd onto background fabric.
Your strips are all cut – what next? Now to sew them into tubes…
If you cut your strips 1 1/4″ wide, you’ll need to sew them with a SCANT 1/4″ seam.
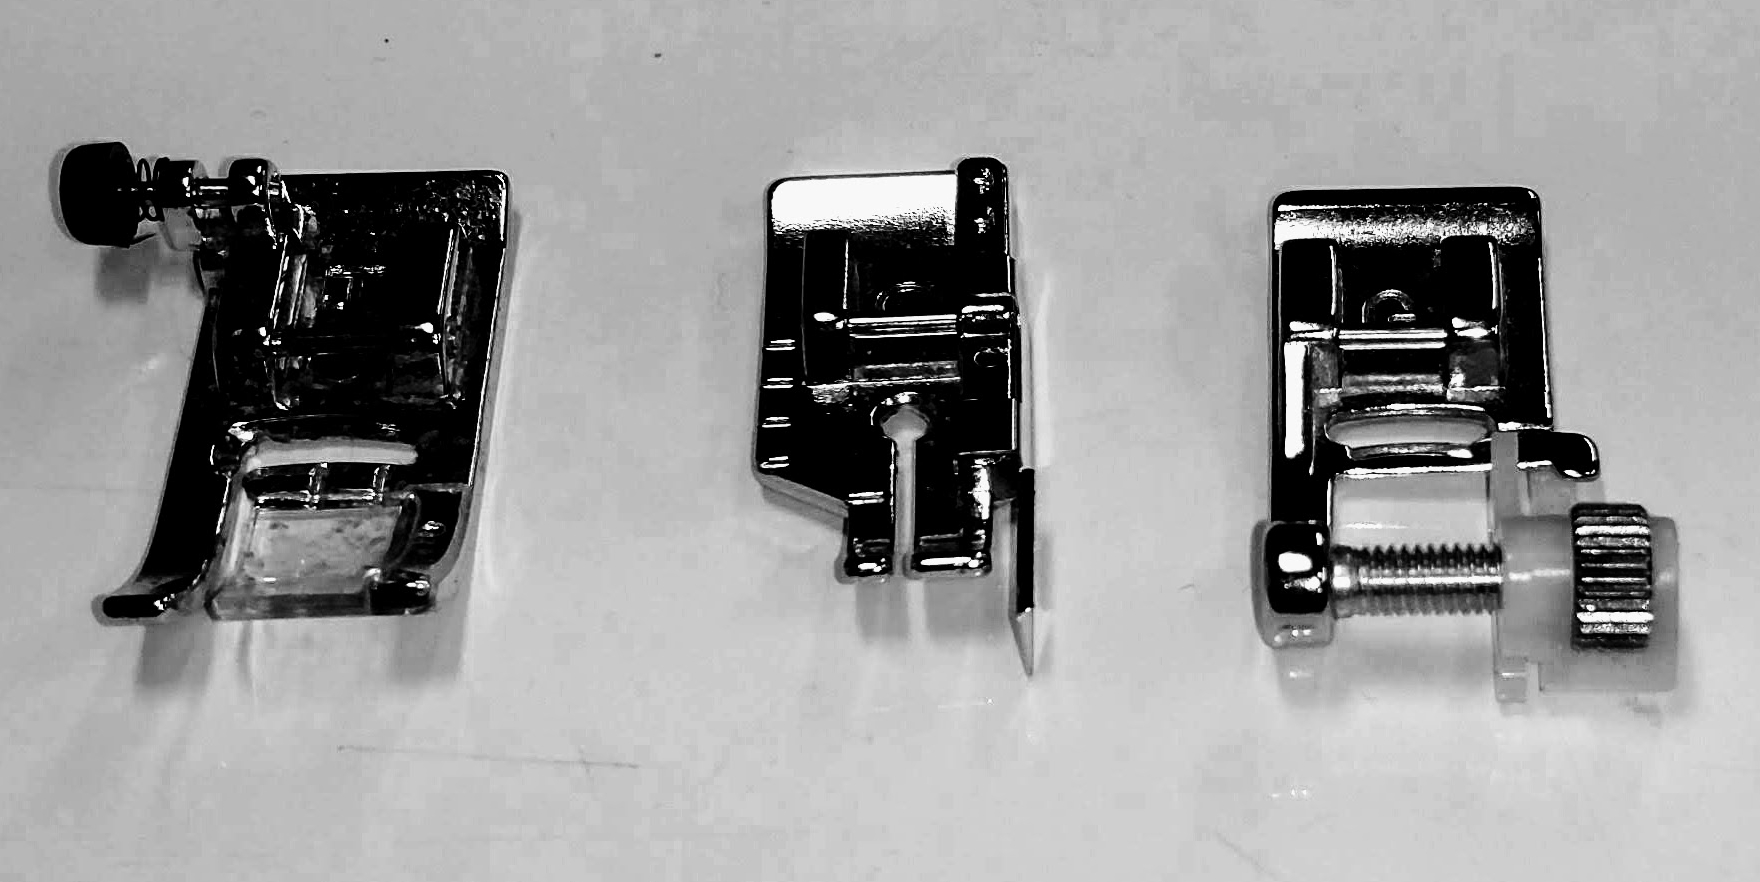
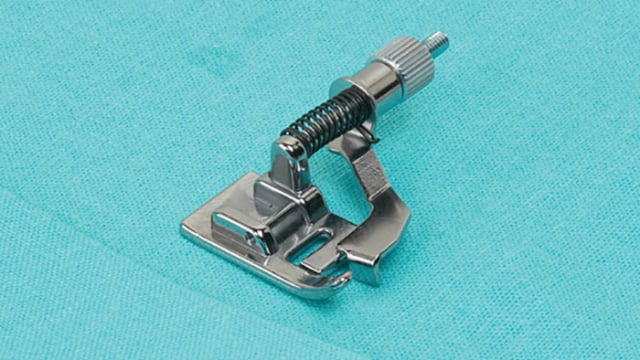
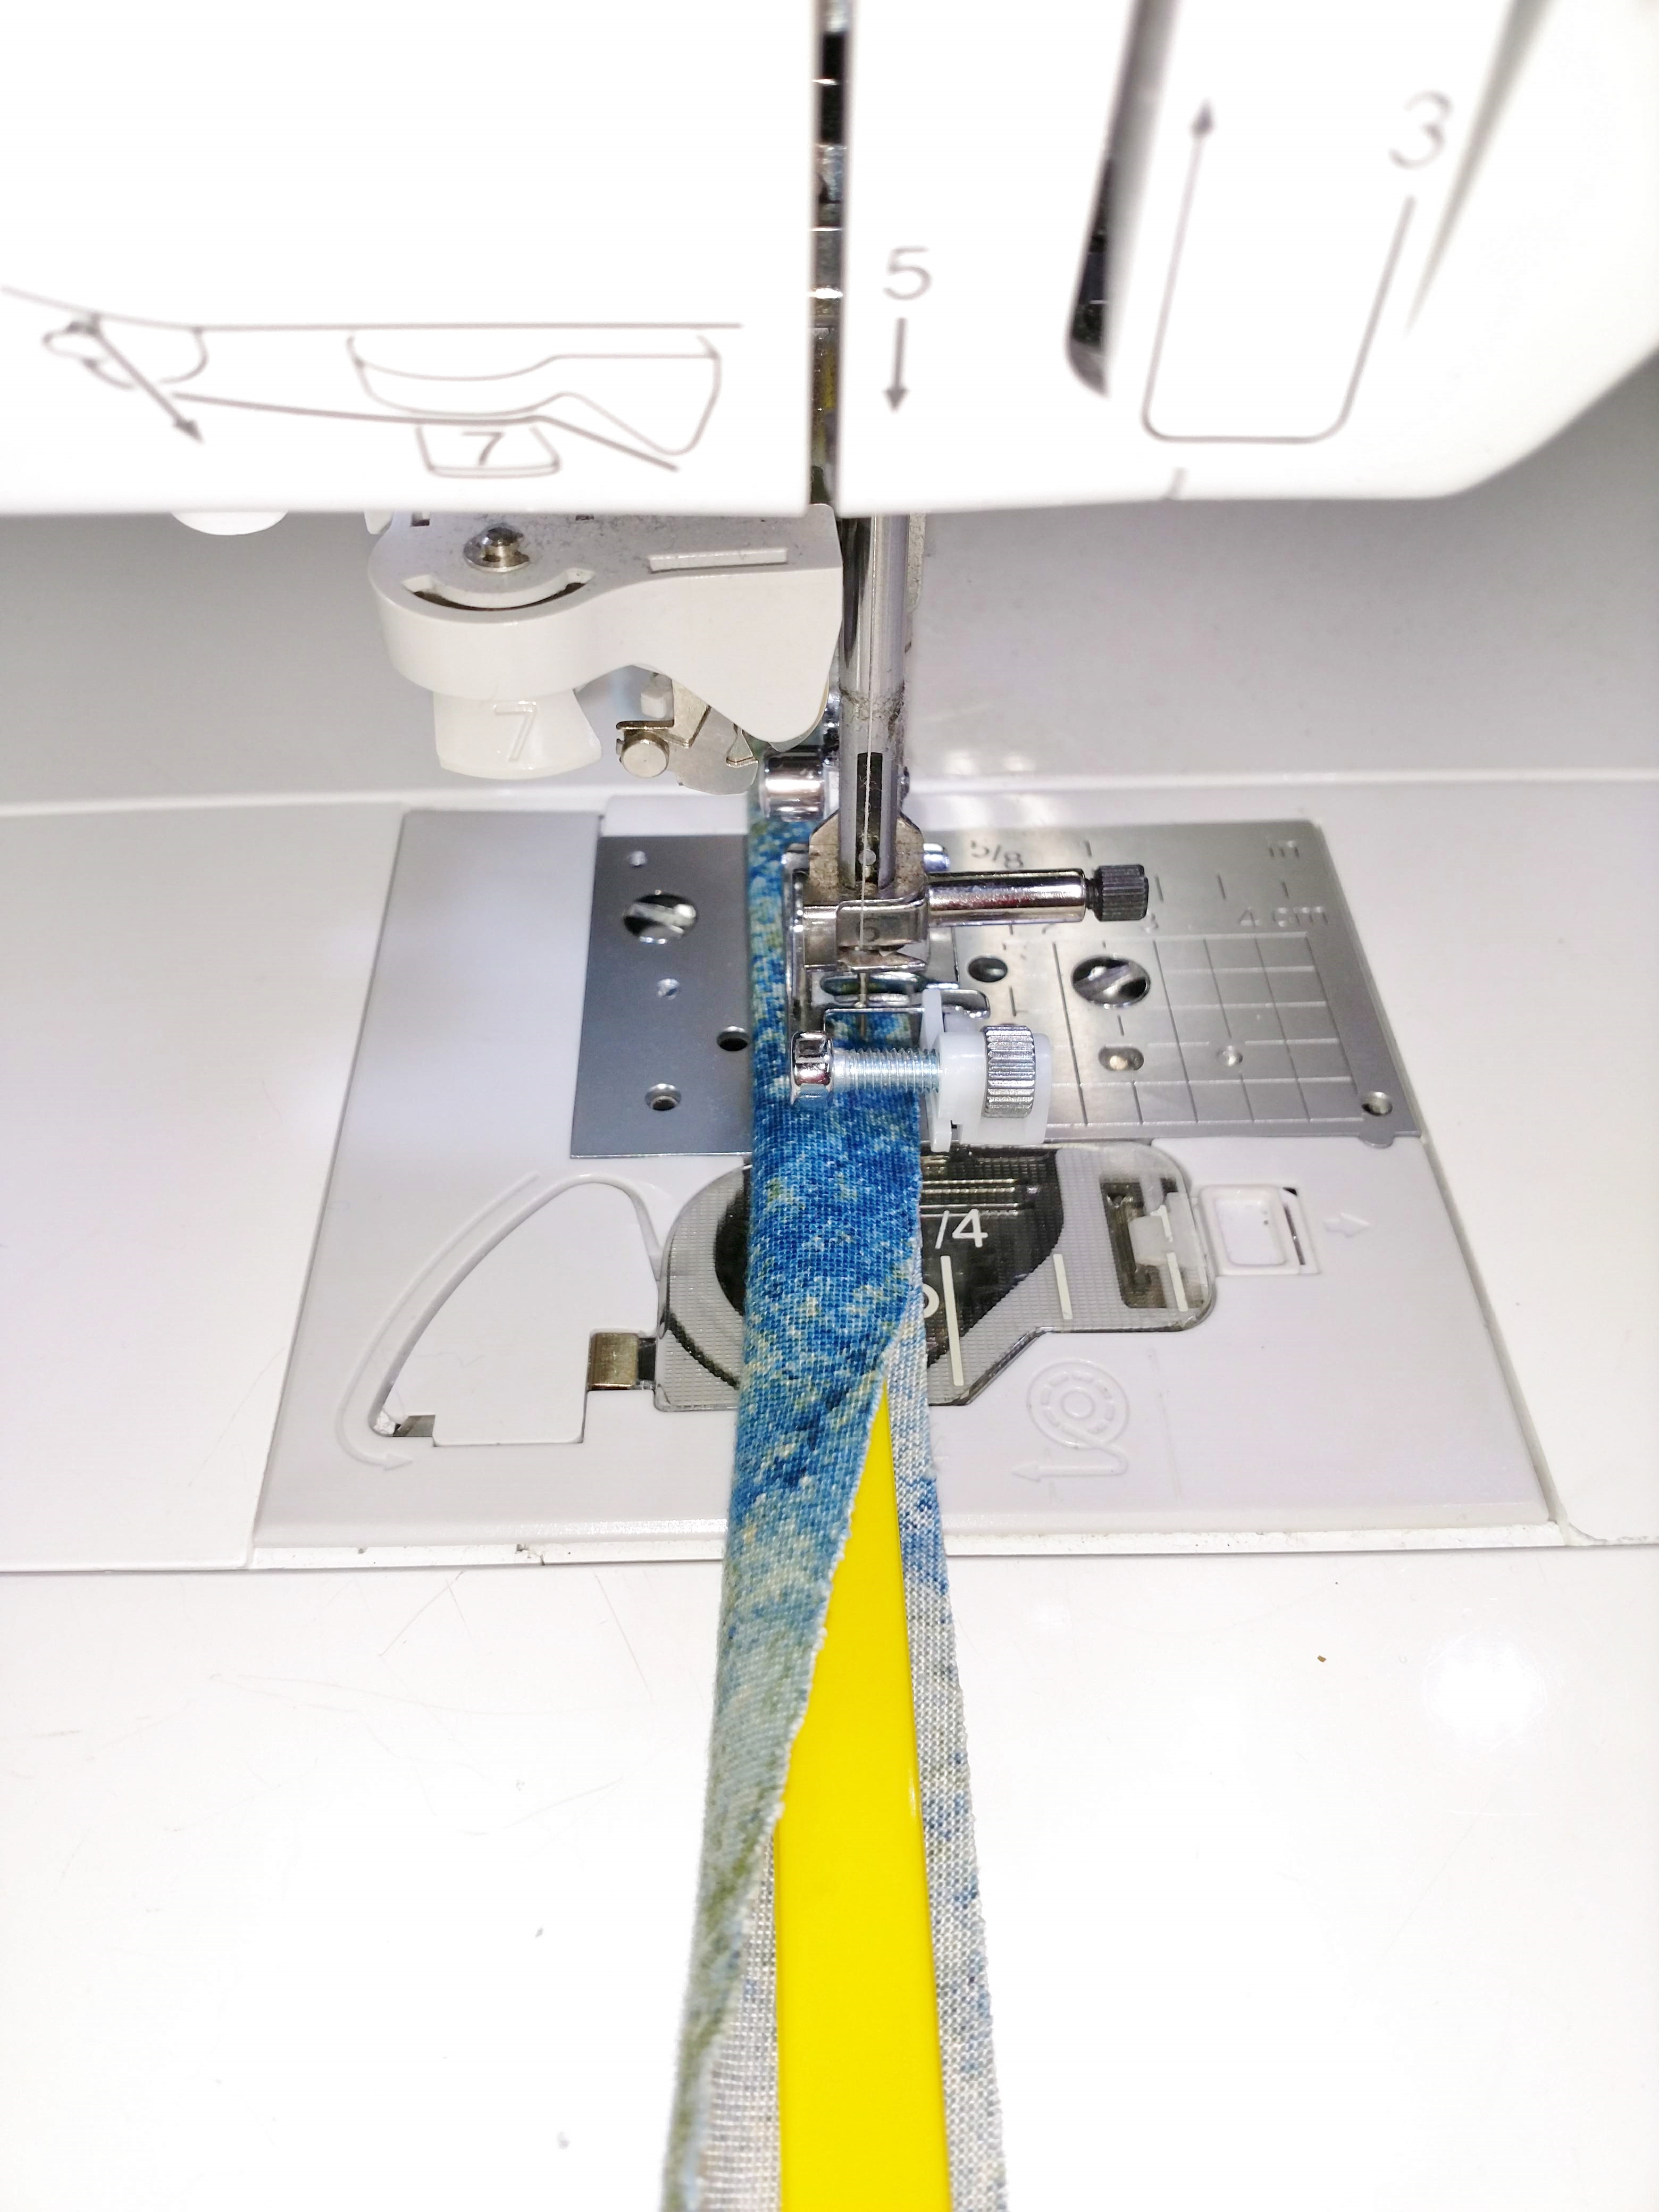
You can use your standard presser foot for this step, a quarter-inch foot, or an adjustable blind hem presser foot, but my preference is to use my blind hem foot, as I can adjust the guide to give me a perfectly consistent seam allowance that is just under 1/4″ wide.
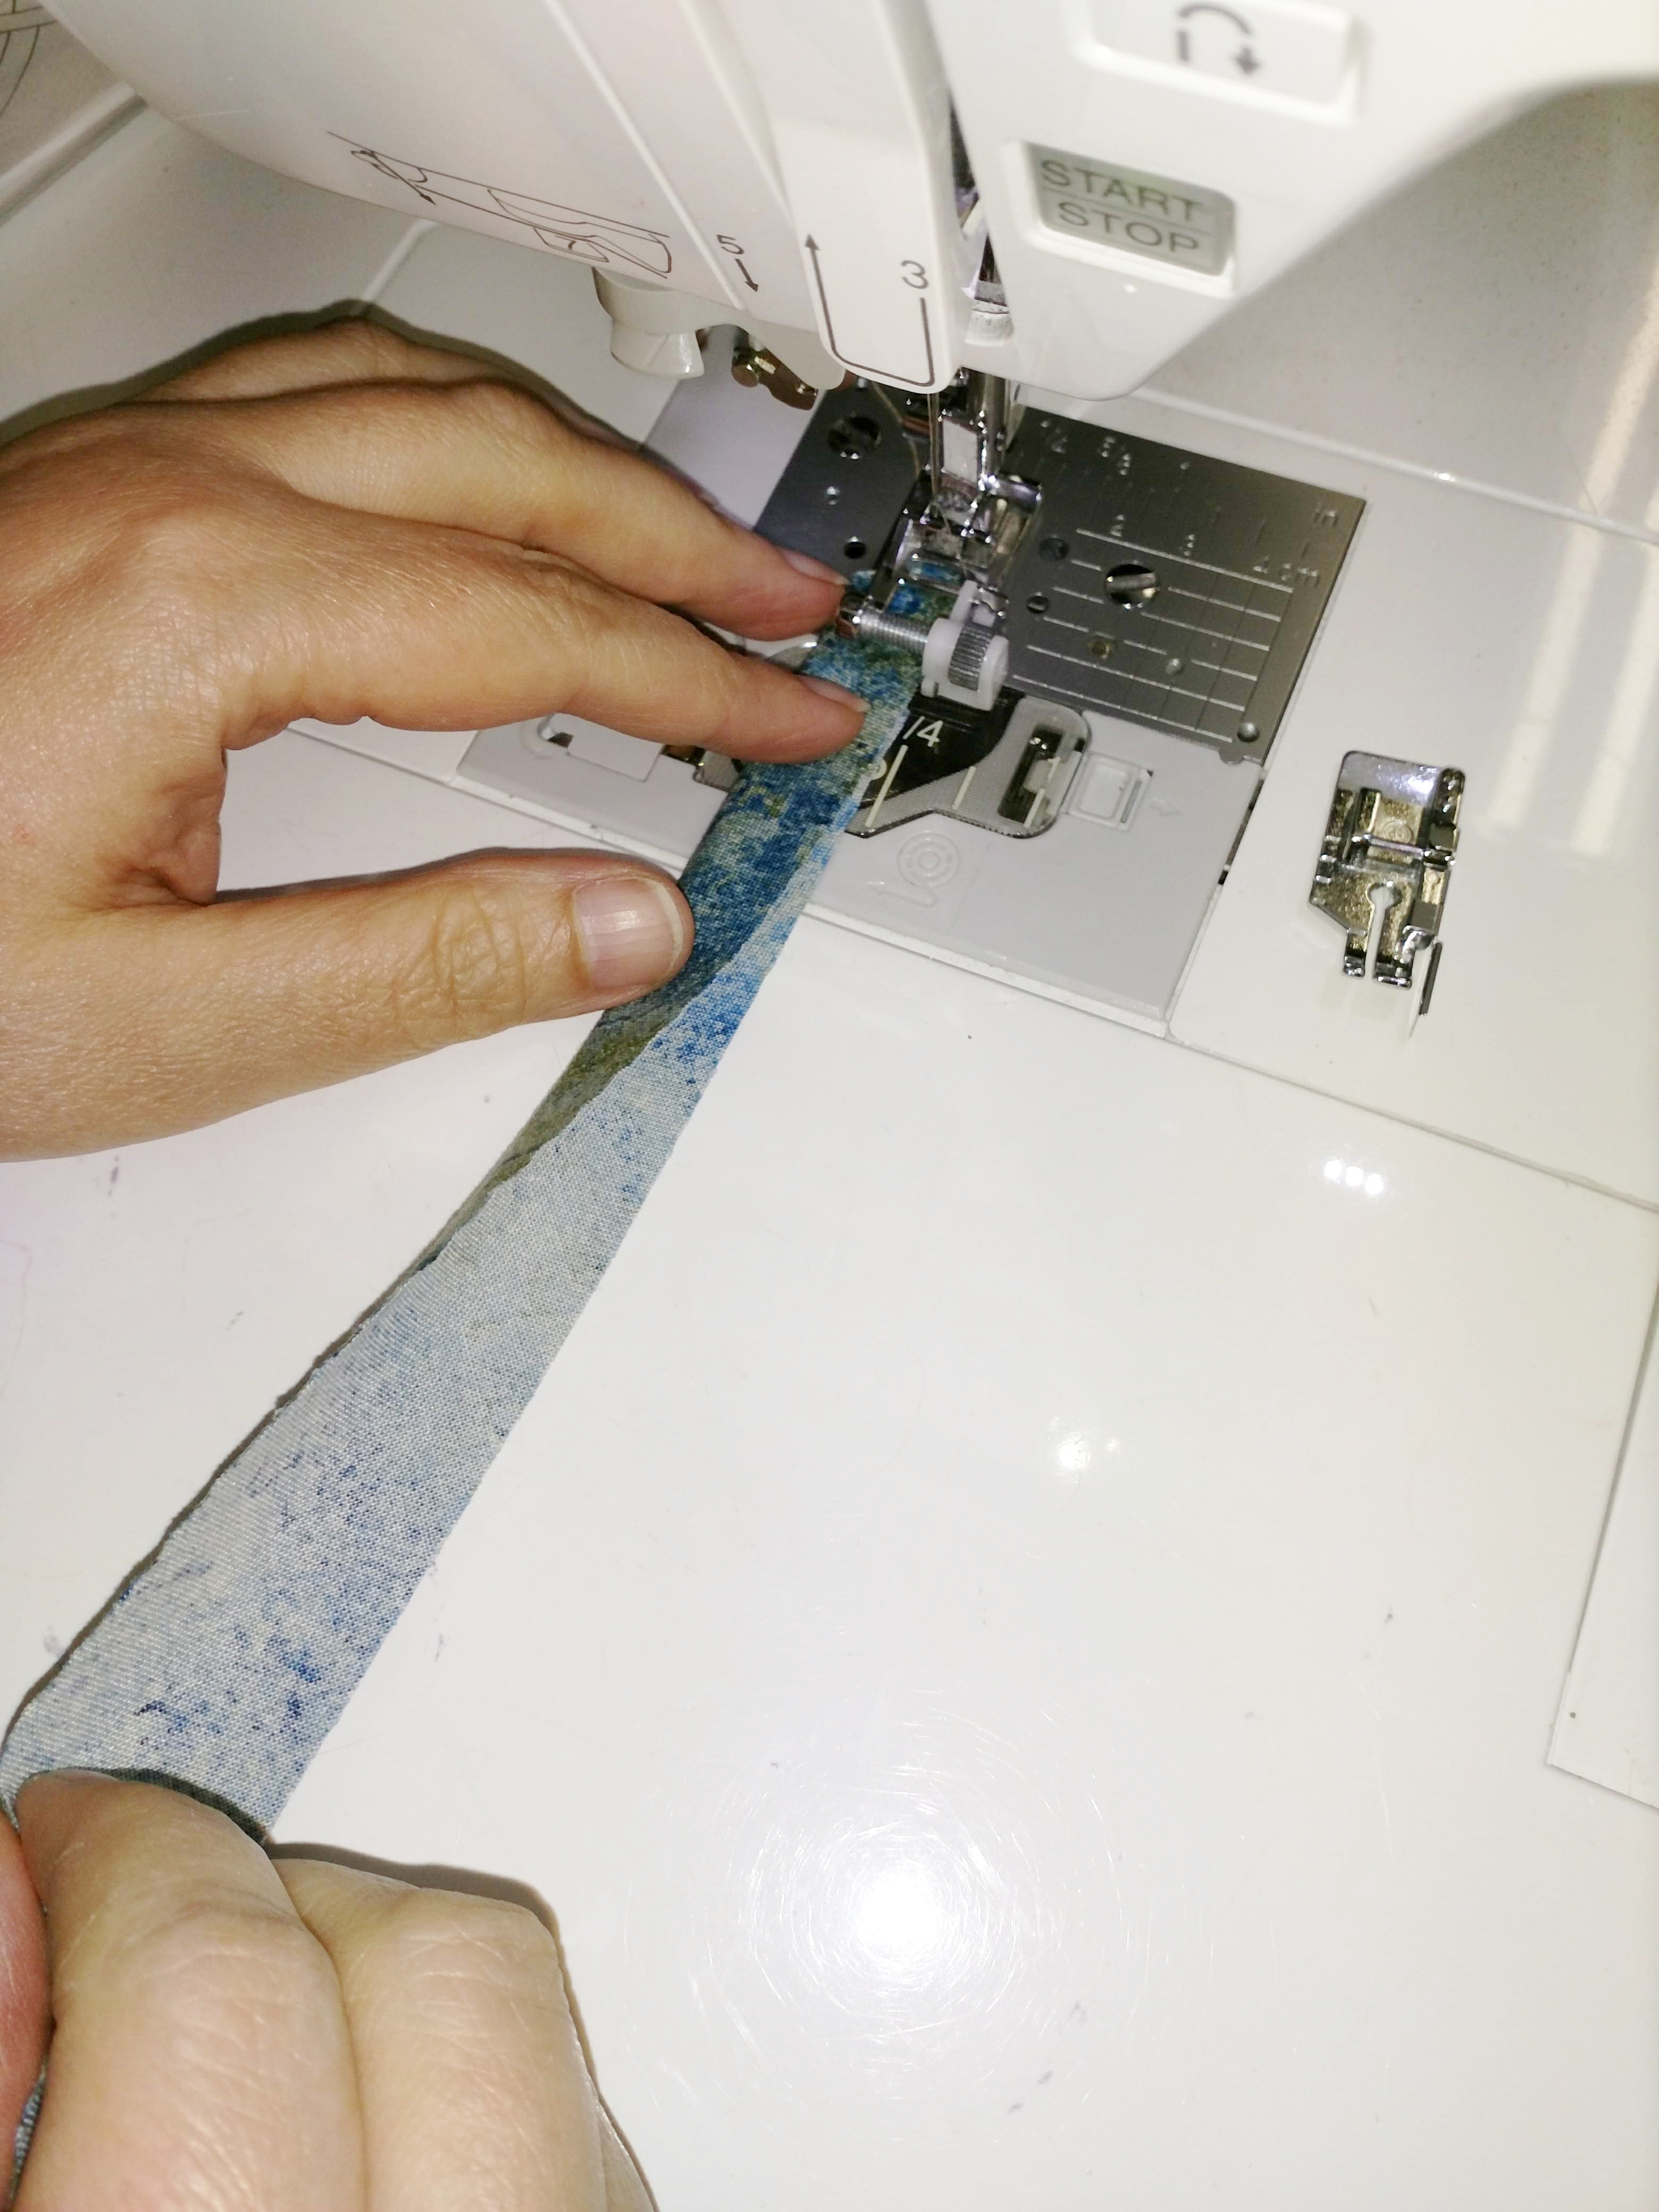
- One at a time, fold each strip wrong sides together (pretty side showing) and sew down the open edge, creating a tube. There will be no need to turn anything right side out after sewing – we’re keeping it easy!
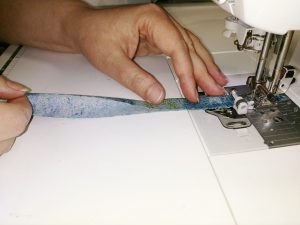
Use your fingers to guide the fabric – no need to pin!

Please Note: don’t try to start stitching on a point; your machine is likely to “eat” the fabric by sucking the tip down into the feed dogs and/or needle plate of your machine if you do, and causing a major traffic jam. Instead, I recommend starting stitching 1/4″ – 1/2″ or so down from the point.

The pin is pointing to a good starting spot.
- When you’ve sewn at least a few inches down the first strip, stop and do quick check to make sure your seam allowance is just right. Slide one end of a 3/8″ pressing bar into the stitched end of your fabric. The bar should slide in comfortably. If the fabric is very loose, your seam allowance is too narrow. If the fabric is very tight or the bar just won’t fit, then your seam allowance is too wide. Adjust accordingly until the fit is just right.
Slide a 3/8″ wide press bar up into the stitched end of the first tube to make sure the seam allowance is just right. REMOVE THE BAR before resuming stitching.
Tip – Although you can make do with almost any kind of press bar as long as it is the correct width, these are my preferred heat-resistant press bars. You’ll learn more about them in my next post 🙂
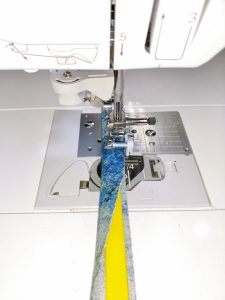
- When you get almost to the end of the first strip, pause, lift up the end of the strip, and slide the tip of the next folded strip underneath. Resume stitching. This will allow you to sew the strips in one continuous string – and prevent your machine from “eating” the pointed ends of the fabric strips. Don’t worry if the joins are messy – they are temporary, and will be cut away in the next step.
Pause when you get almost to the end of the first strip. 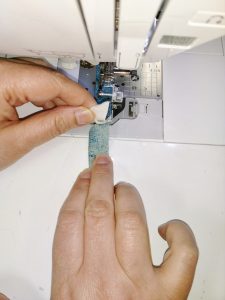
Lift up the end of the first strip and slide the pointed end of the second strip underneath. This will help prevent your machine from “eating” the fabric. 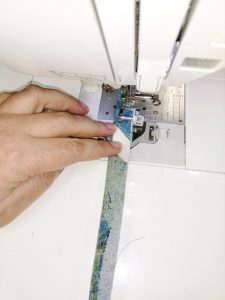
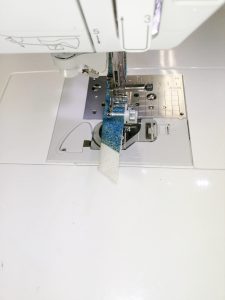
Overlapping the pointed ends of the bias strips also allows you to sew a continous line. - Continue stitching right onto the next strip. Keep adding strips in the same manner, until you have one long (albeit messy) string of fabric tubes.
For a brief and shining moment, you will have one long continuous string of fabric tubes. This is only temporary! - When you are finished sewing all the strips, cut straight across each side of the overlapped areas to separate the tubes.
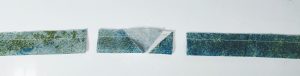
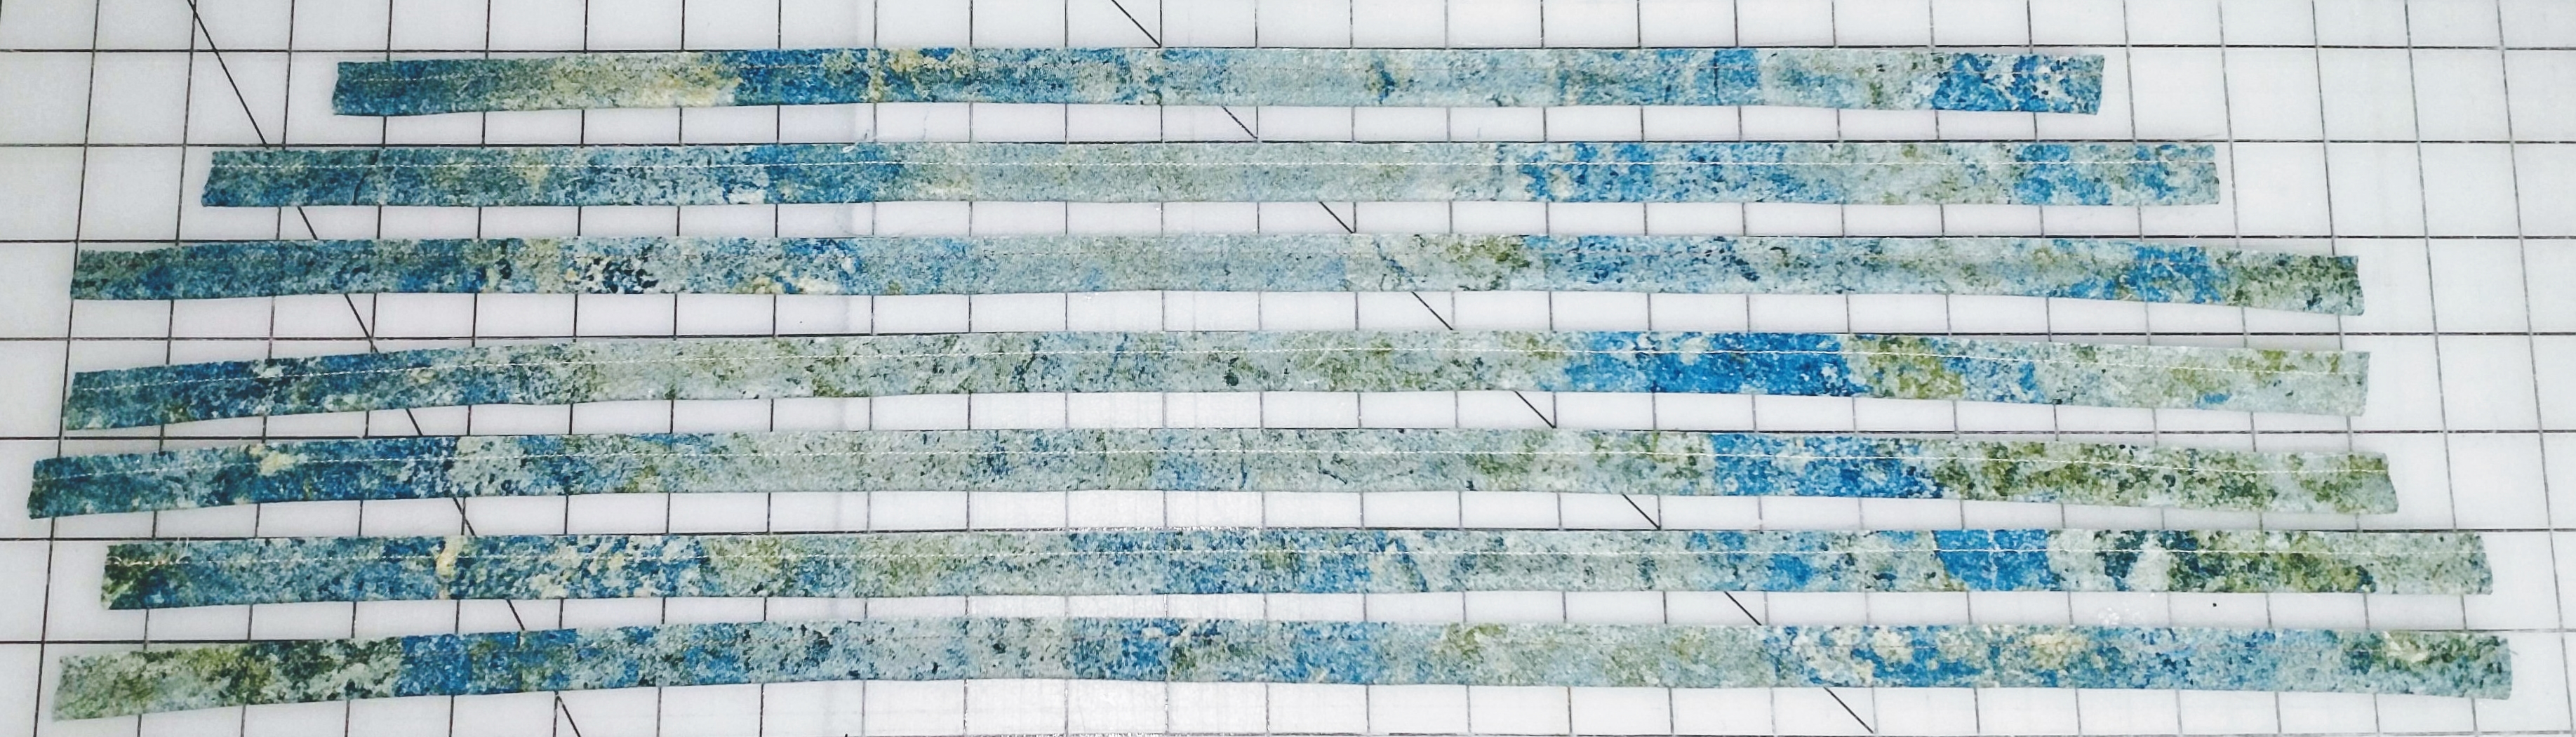
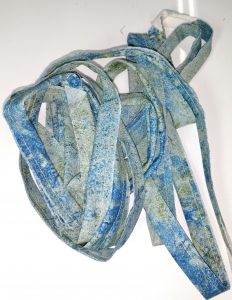
Cut straight across and remove the overlapped areas (check both the front and back) to separate the tubes. - Here is my finished set of bias-cut tubes, ready to press. Since these tubes are on the long side, I estimate that 8 will be sufficient for my design. (The photo only shows 7 because I didn’t notice that one had dropped onto the floor when I was setting up the photo.) If your strips are shorter (because you had a smaller “waste” triangle when you started cutting your strips), you may need as many as 10 strips.


