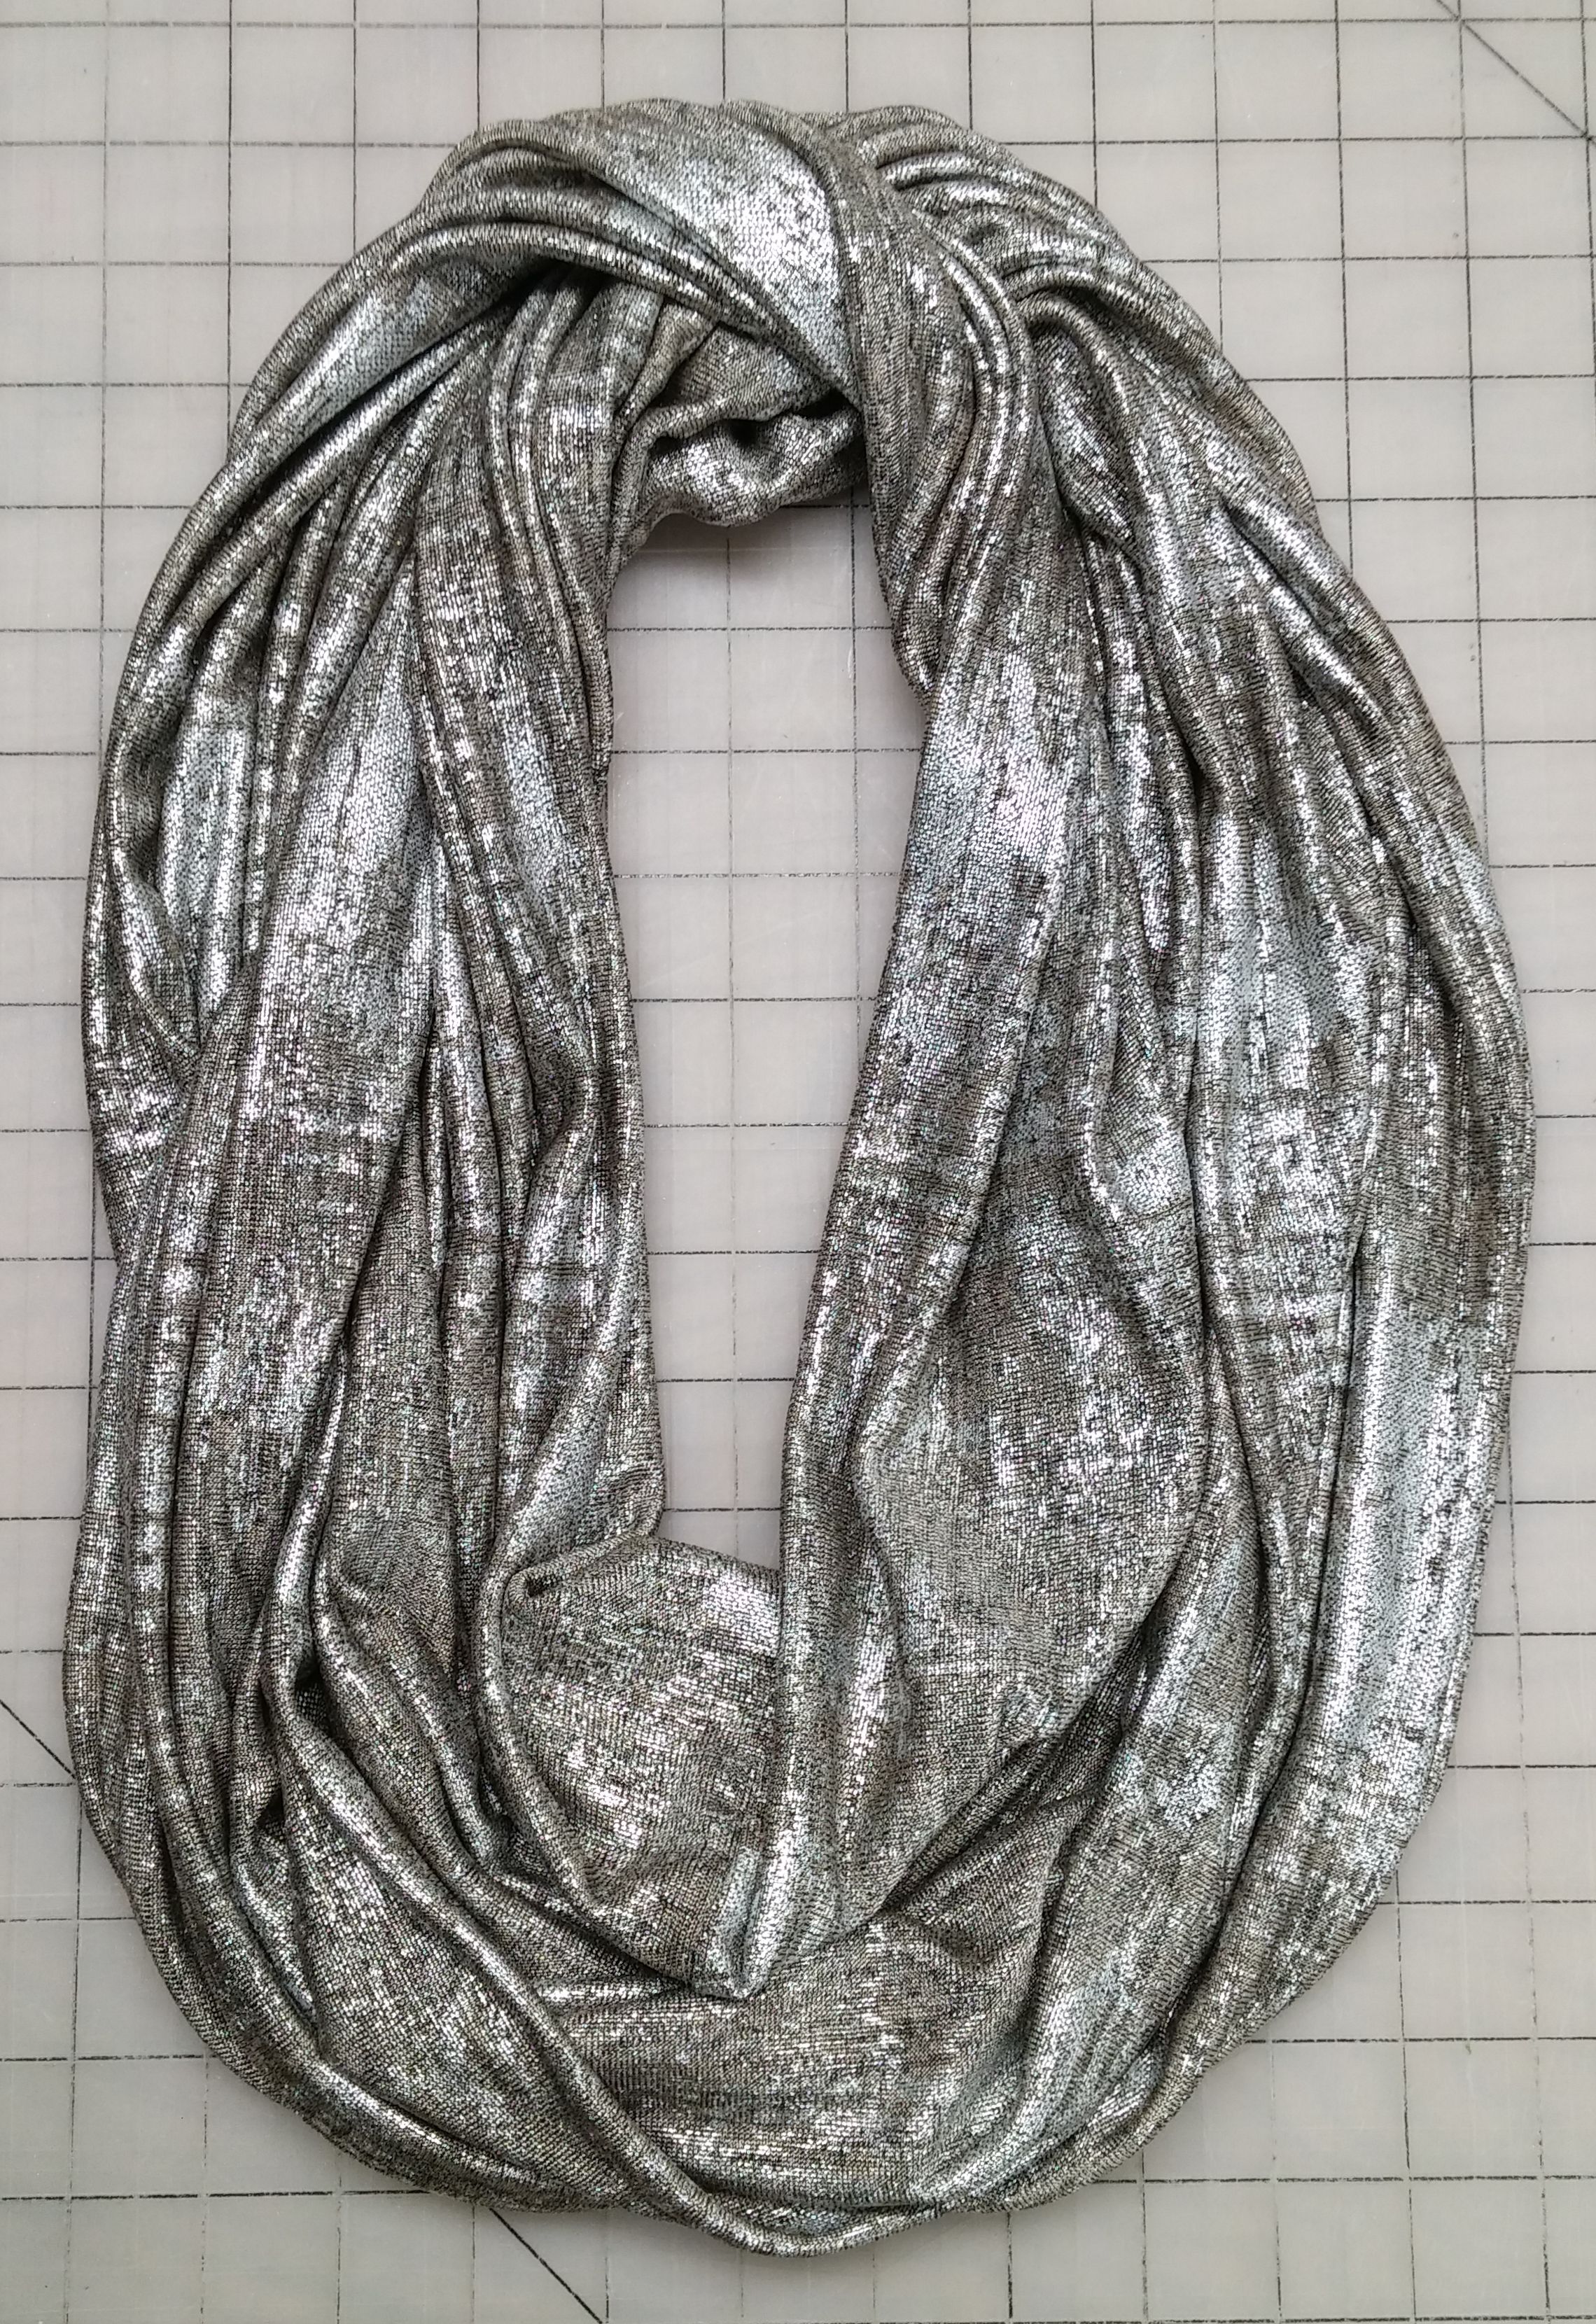
Infinity scarves are one of my favorite sewn gifts to give or to receive – easy to make and easy to wear! The continuous loop means no worrying about the scarf sliding out of position or the scarf ends being blown right off your body in a passing breeze.
There are many Infinity Scarf tutorials online and the majority get the job done just fine, but most of them end with a very wide opening that straddles the intersection where the ends of the scarf are joined. This can be a bit of a pain to hand stitch. I think this method, which I learned from Nancy Zieman, is a little easier and leaves a smaller, easier-to-sew invisibly, opening.
Since I’m working here with Telio Reflection knit fabric, I’m going to use the serger, but it could also be sewn on a regular sewing machine. As we go along, I’ll include photos showing how the stitching would look on a sewing machine.
Here is the Step-by-Step Tutorial:
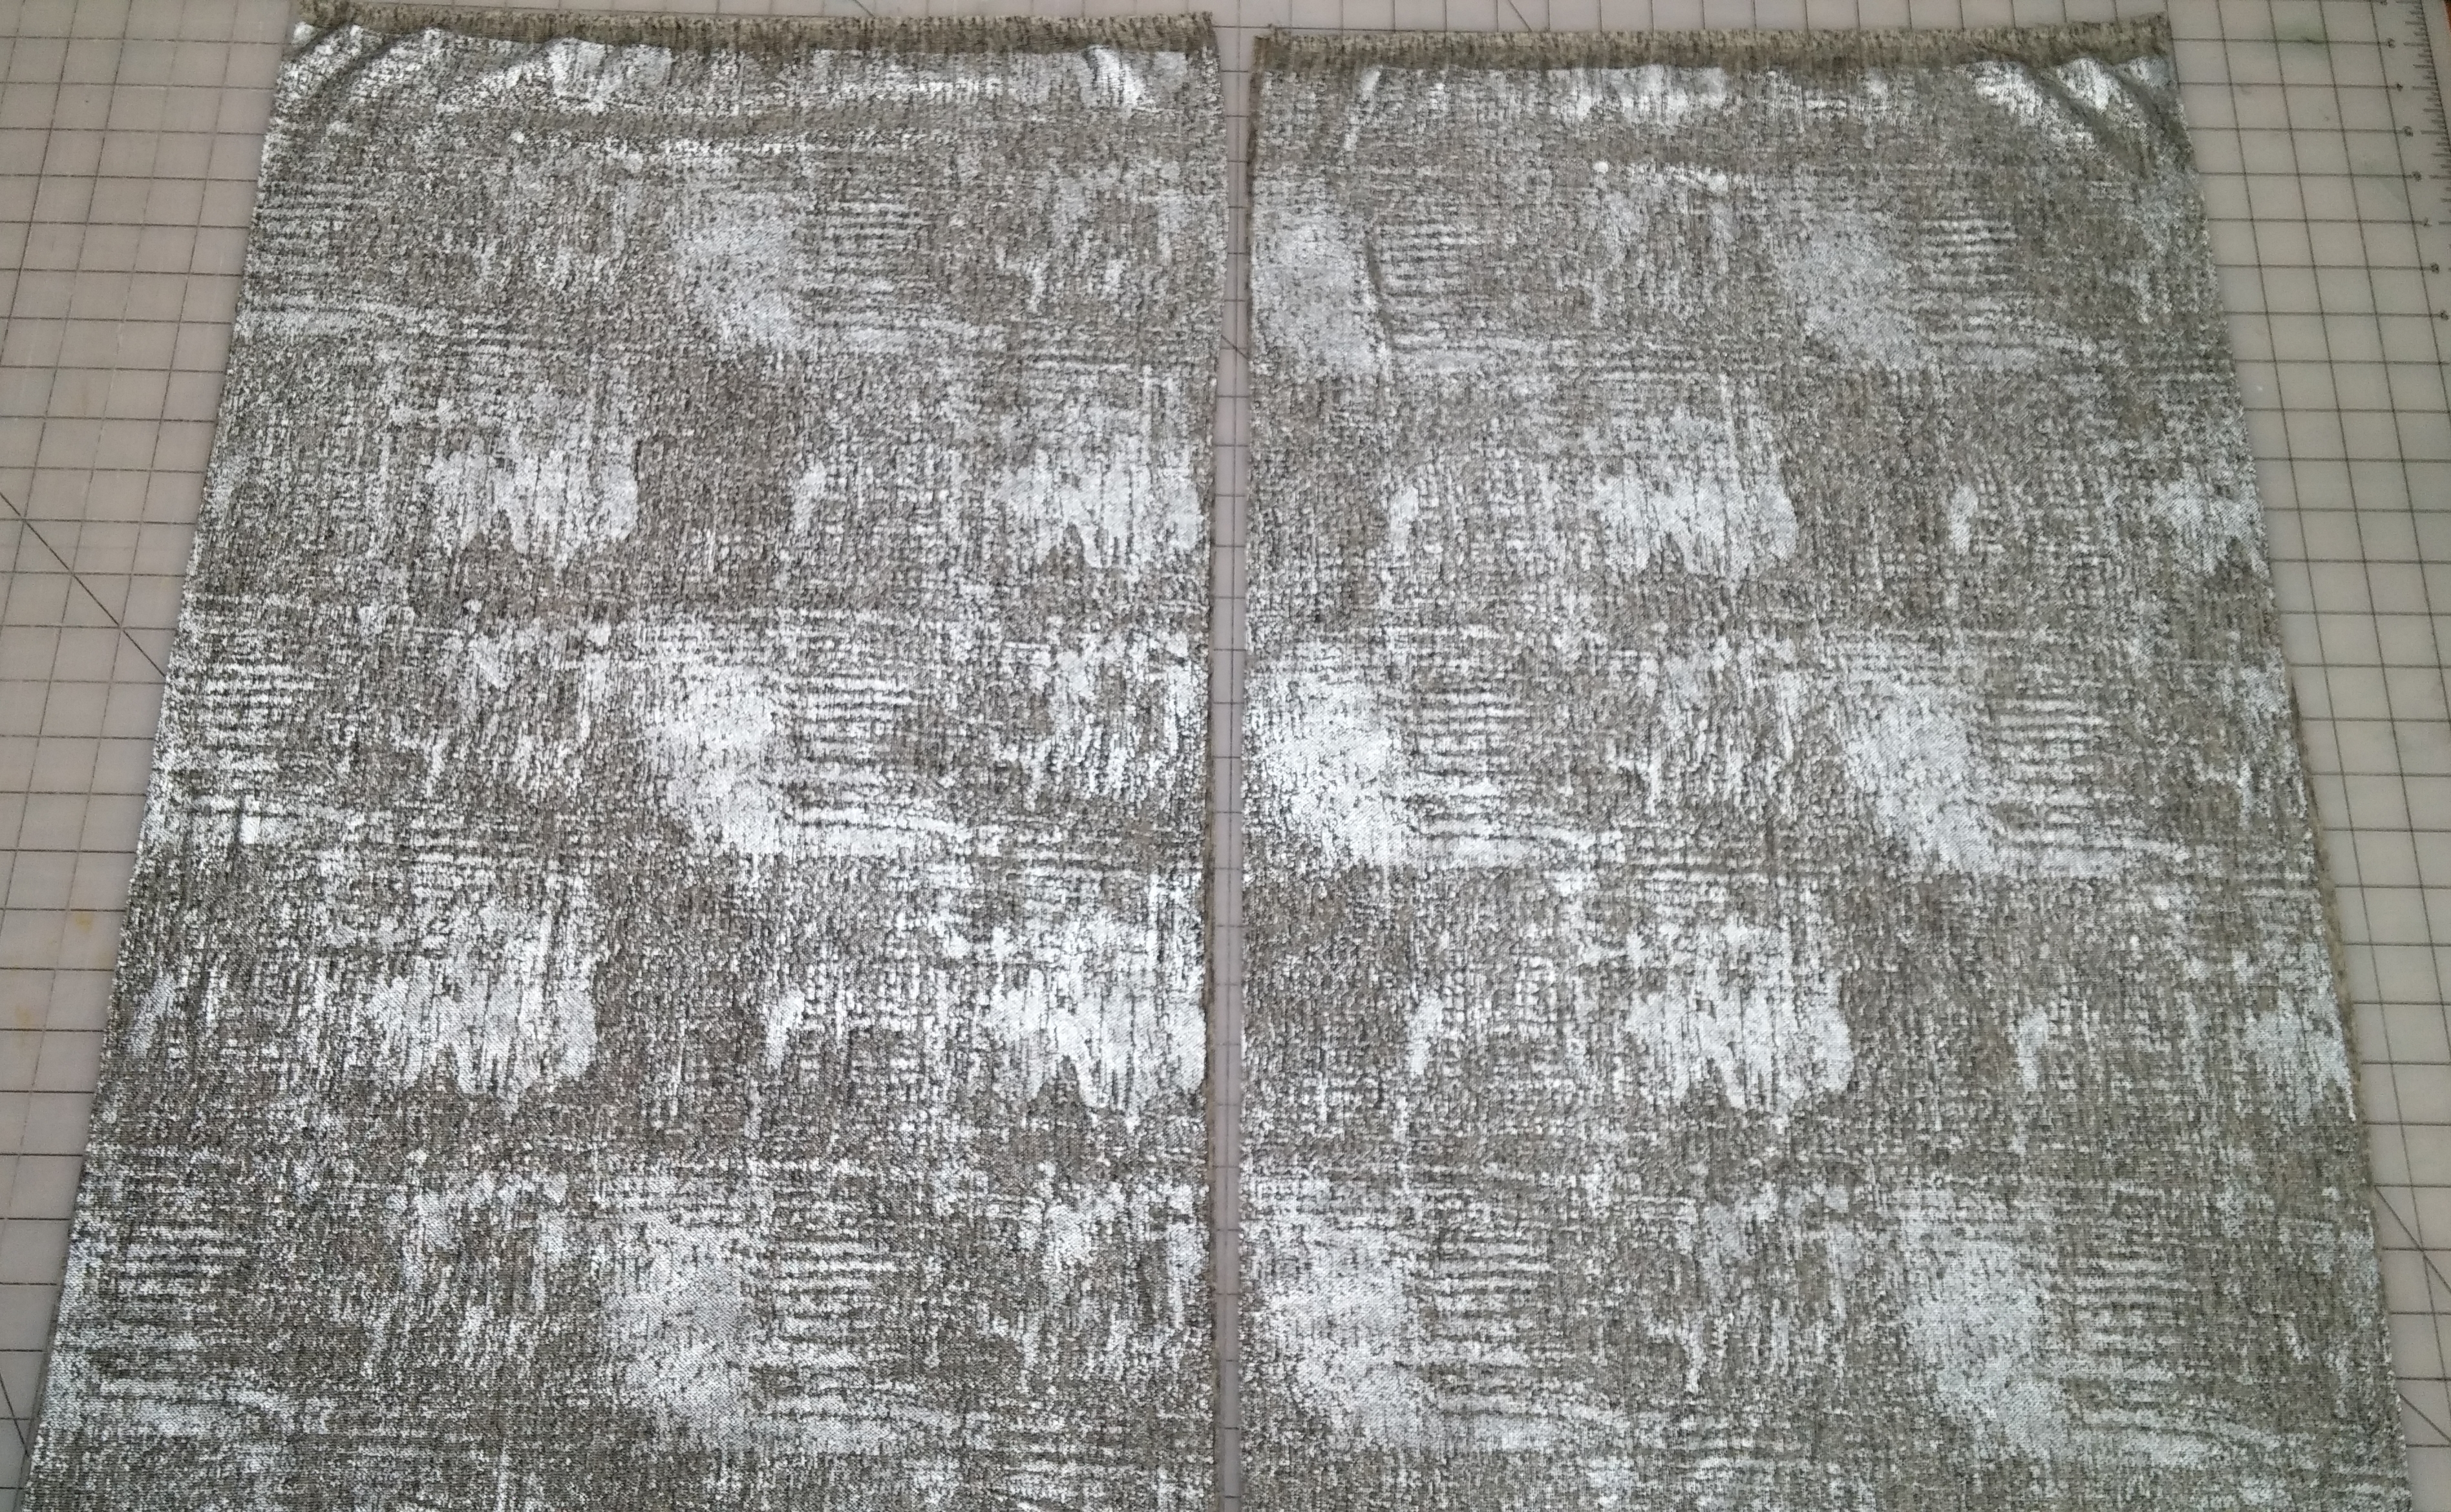
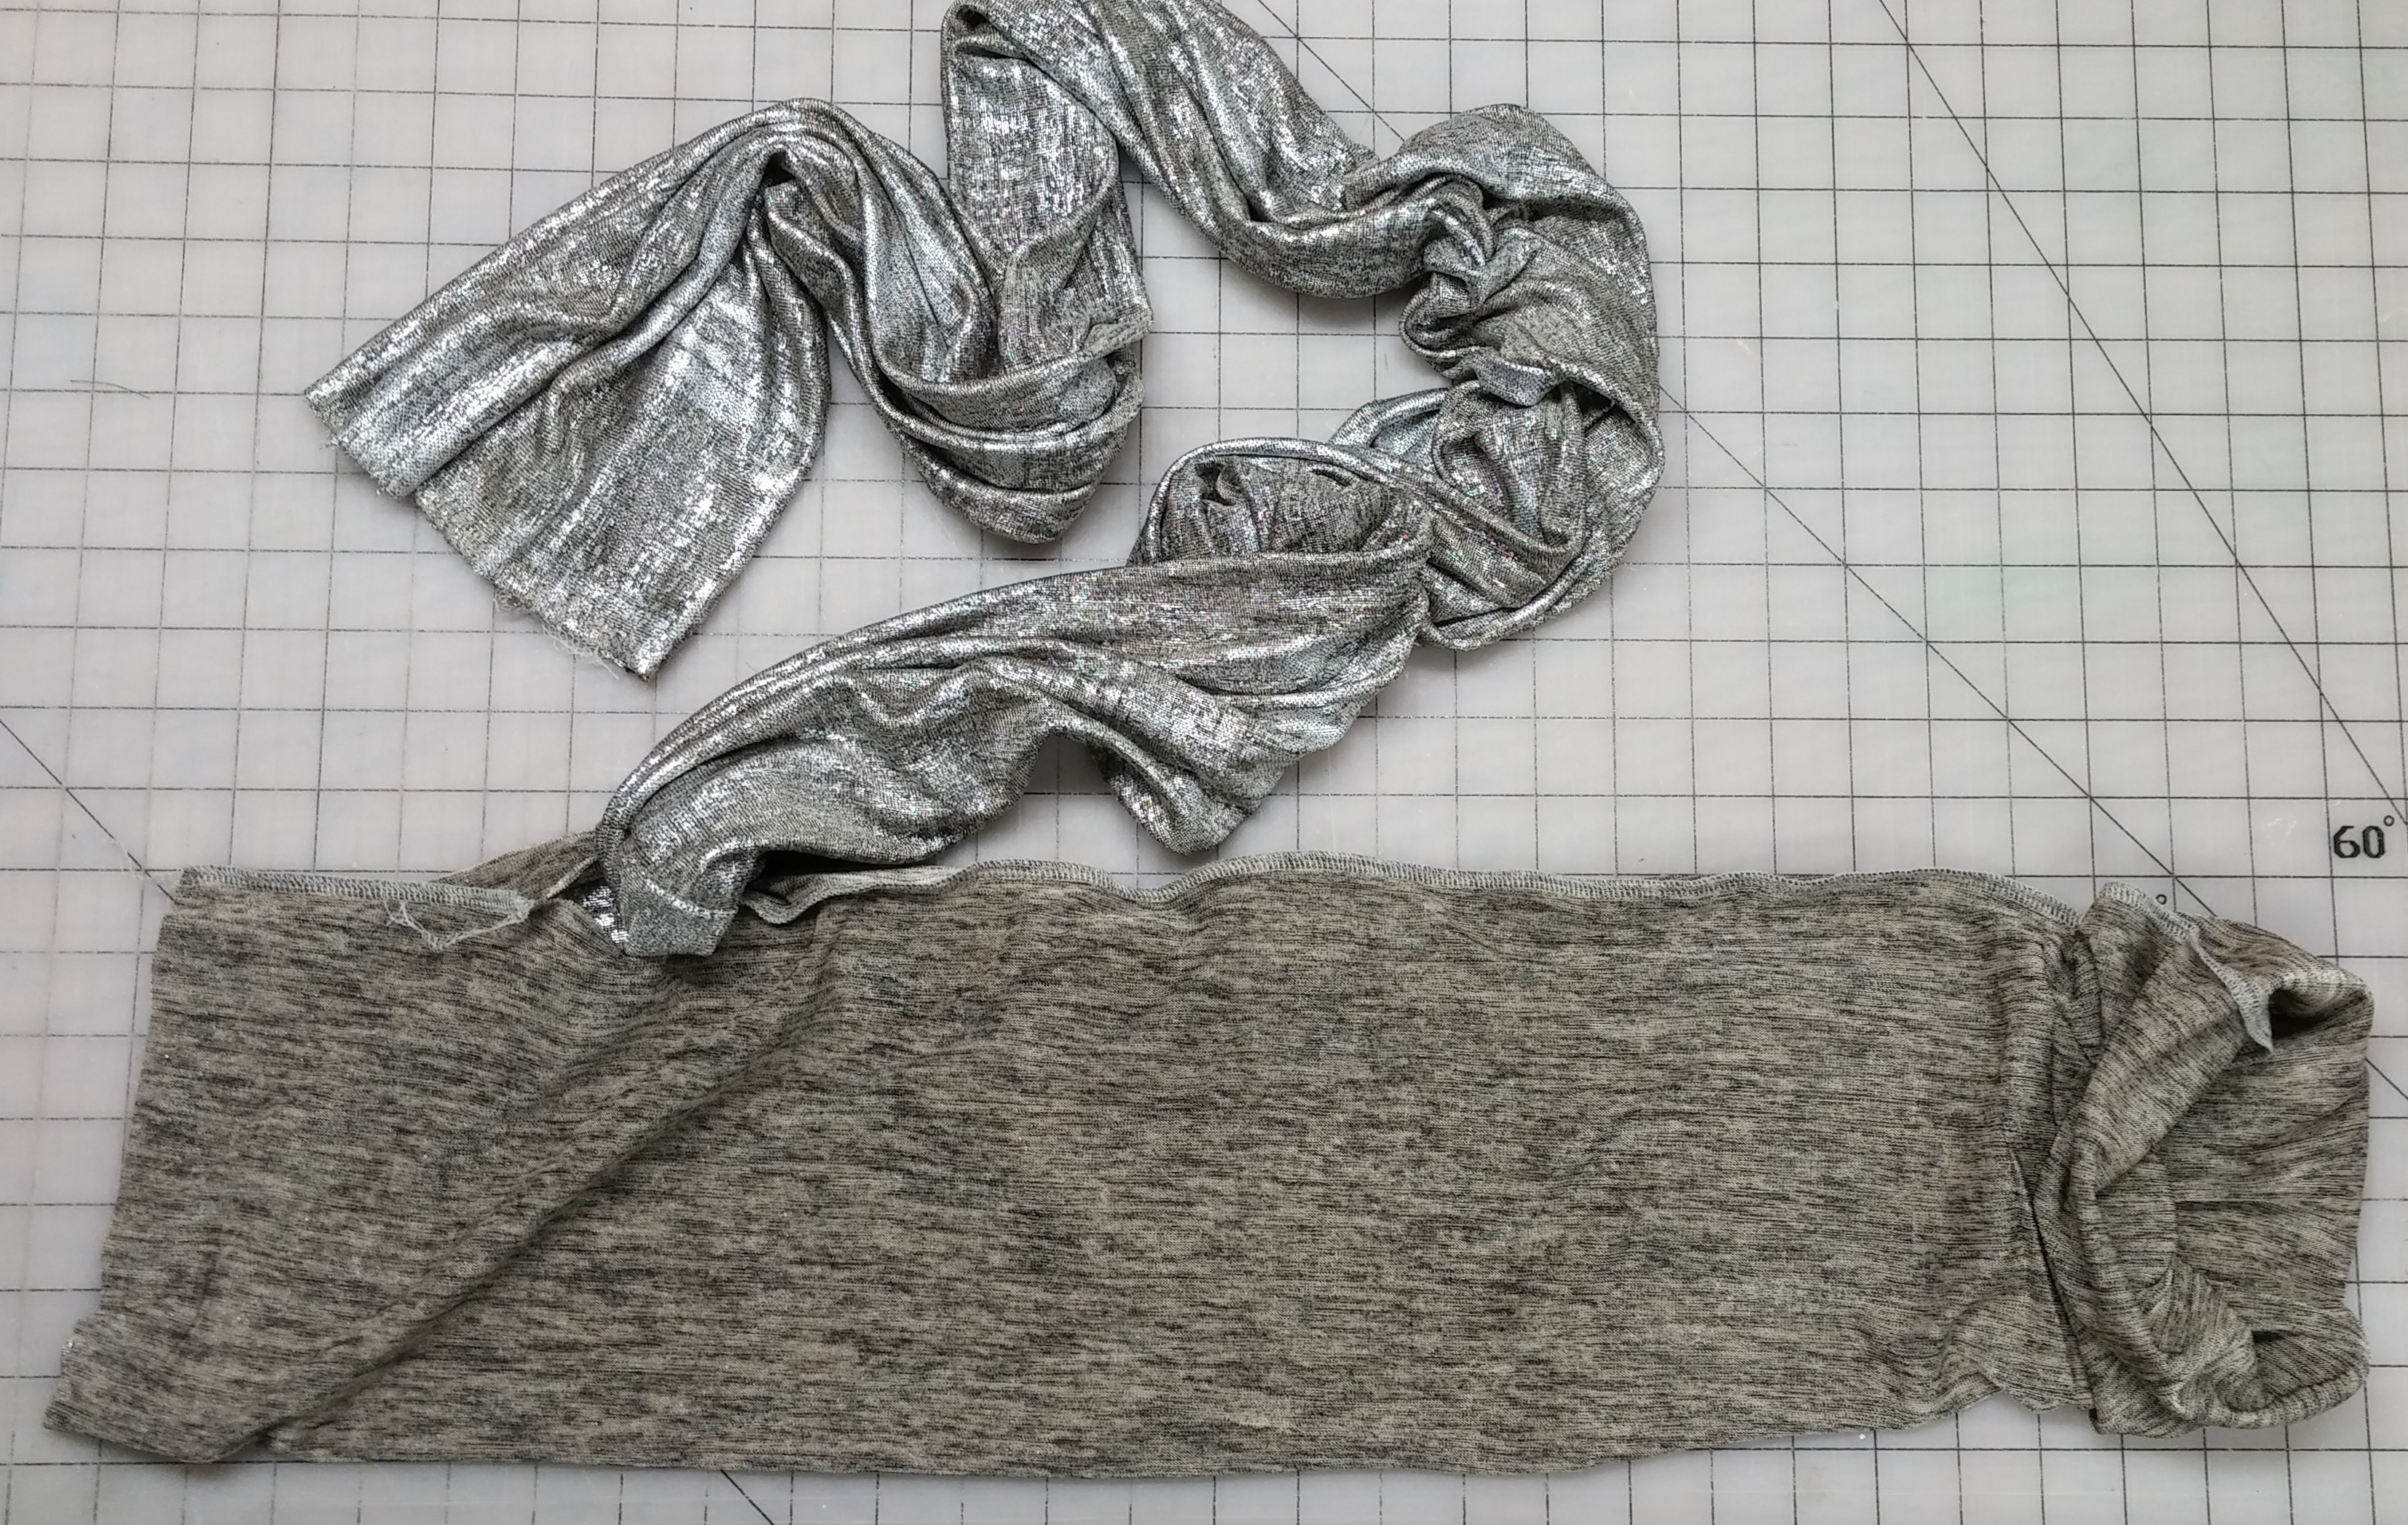
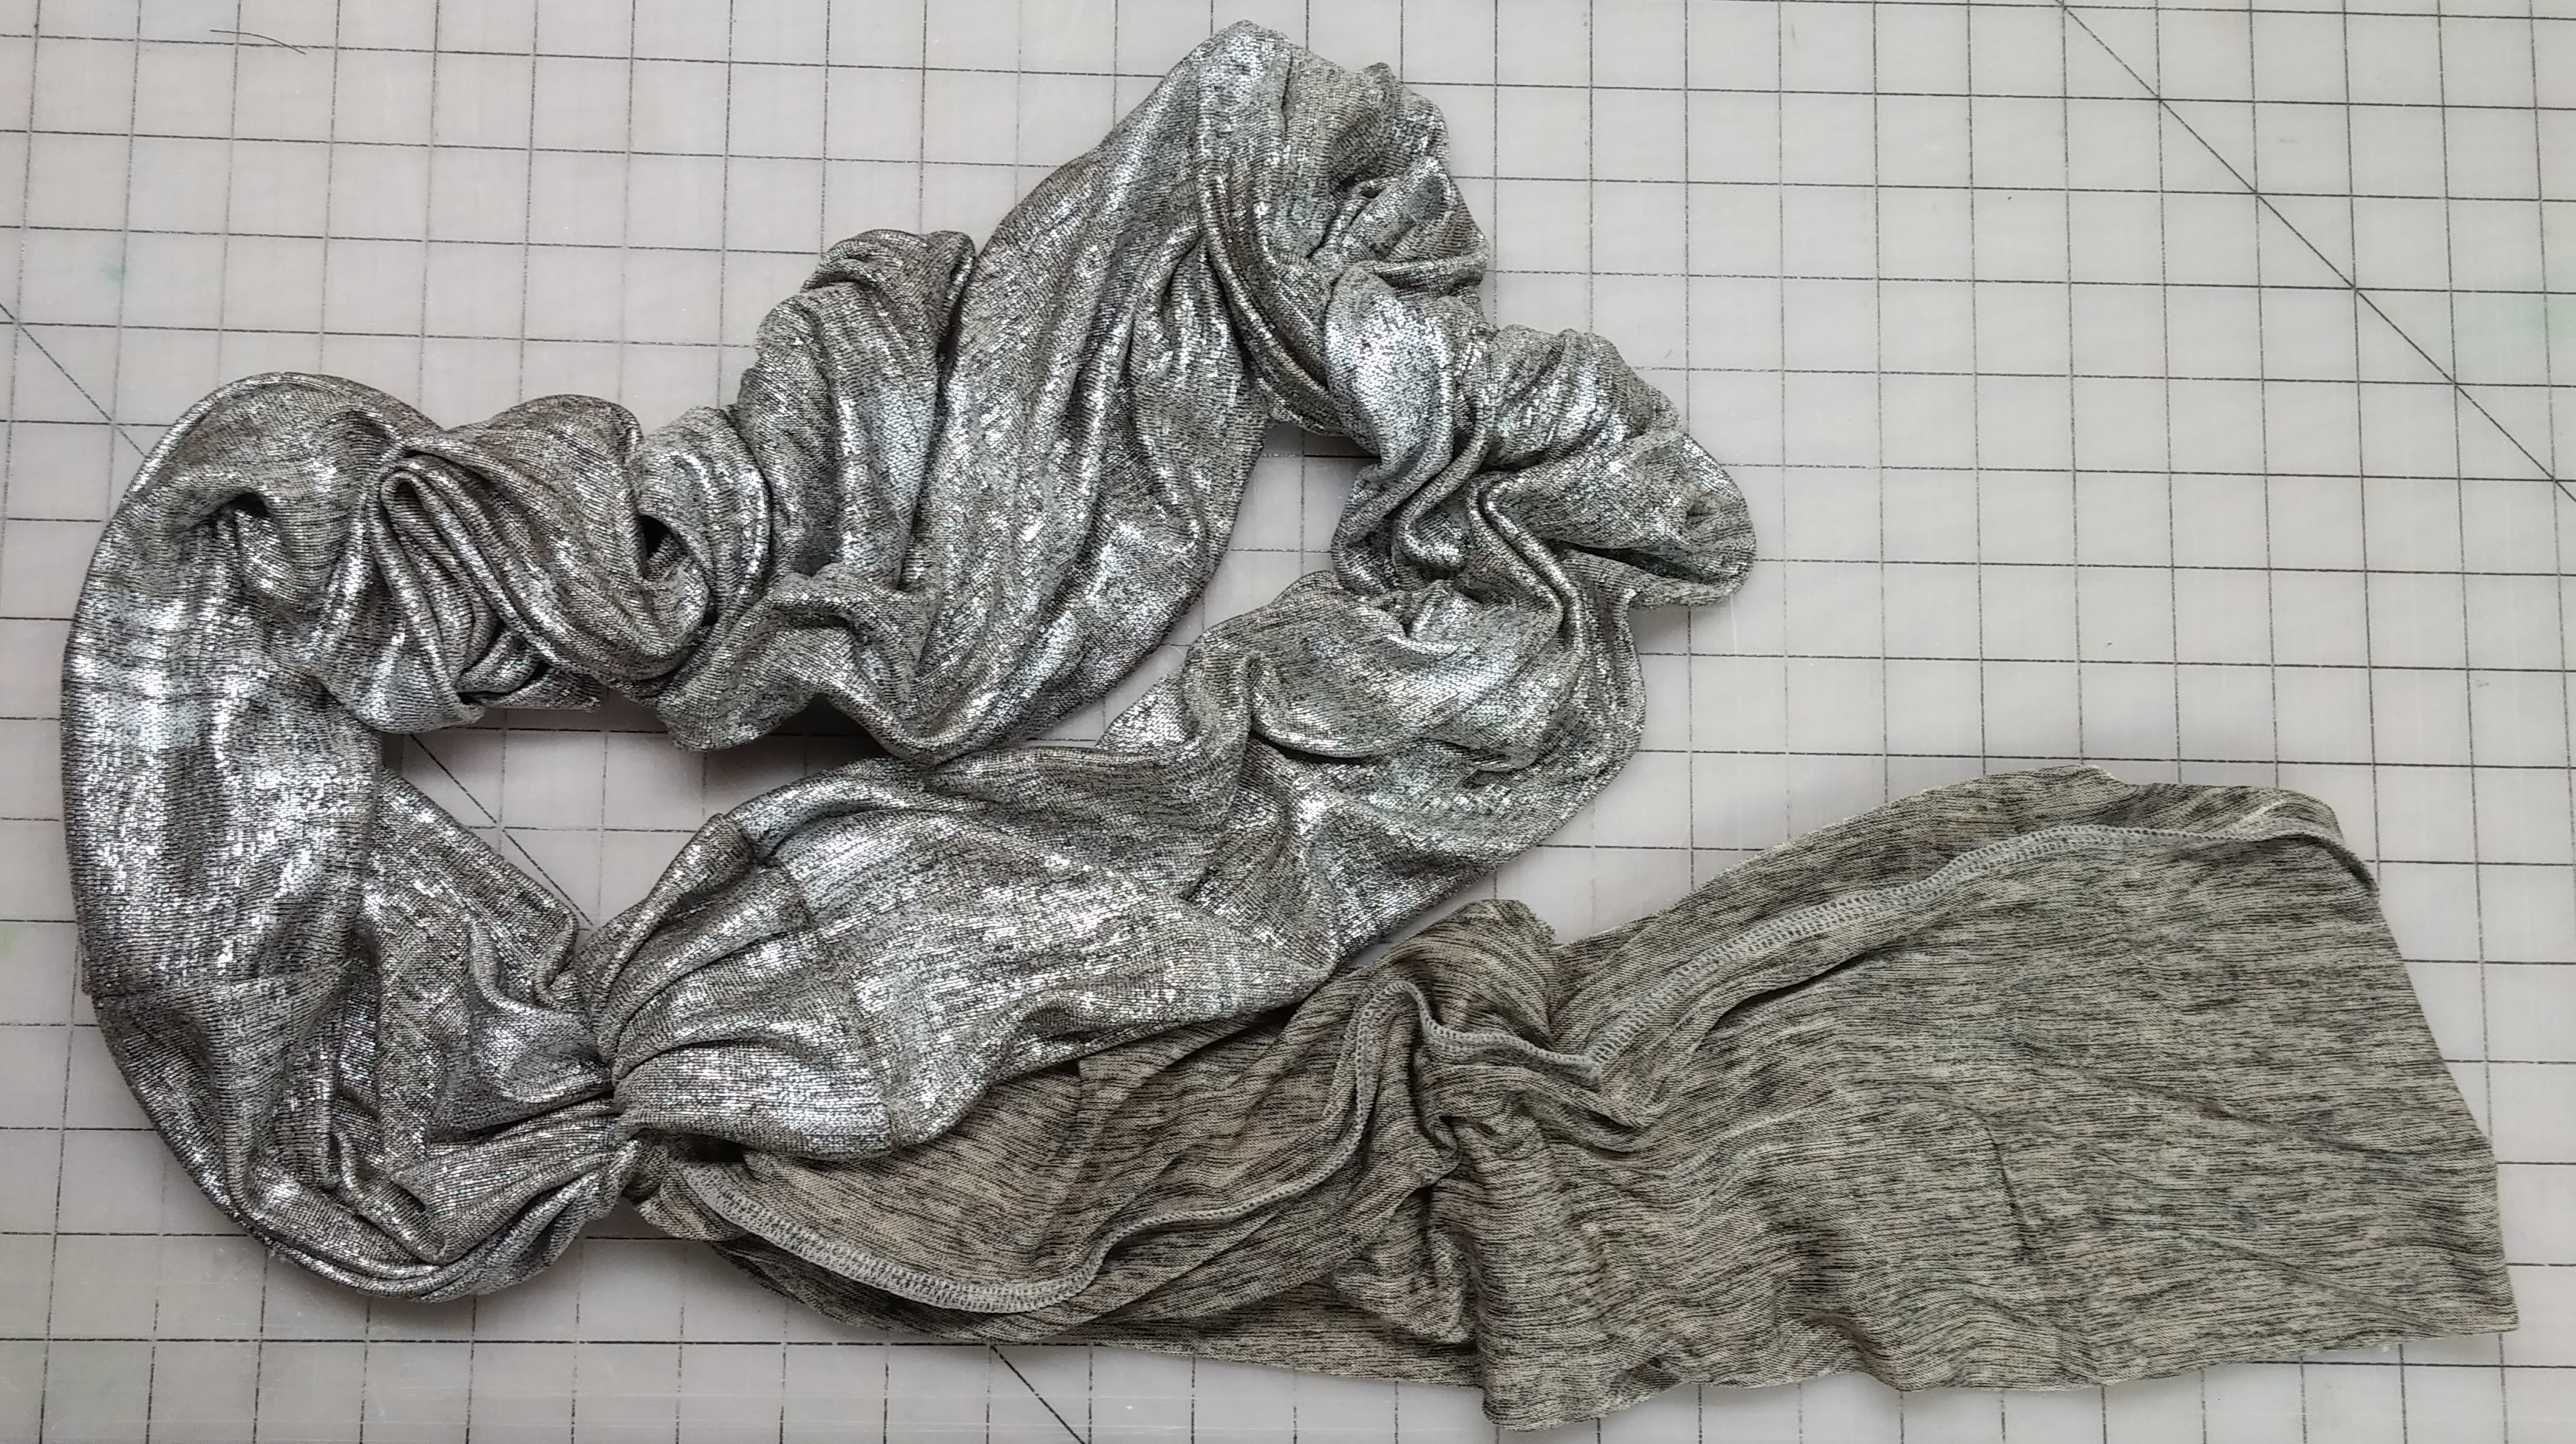
Step 1 – Cut your fabric – There is no one amount of fabric that everyone agrees on; it varies with the hand of the fabric, the weight of the fabric, and personal preferences.
My most common choice is 1 yard of fabric cut into two 18″ x WOF strips. (WOF – width of fabric, generally 40″ – 60″, depending on the type of fabric).
Cut the selvages (shown here at the top of the photo) off the ends of each strip evenly.
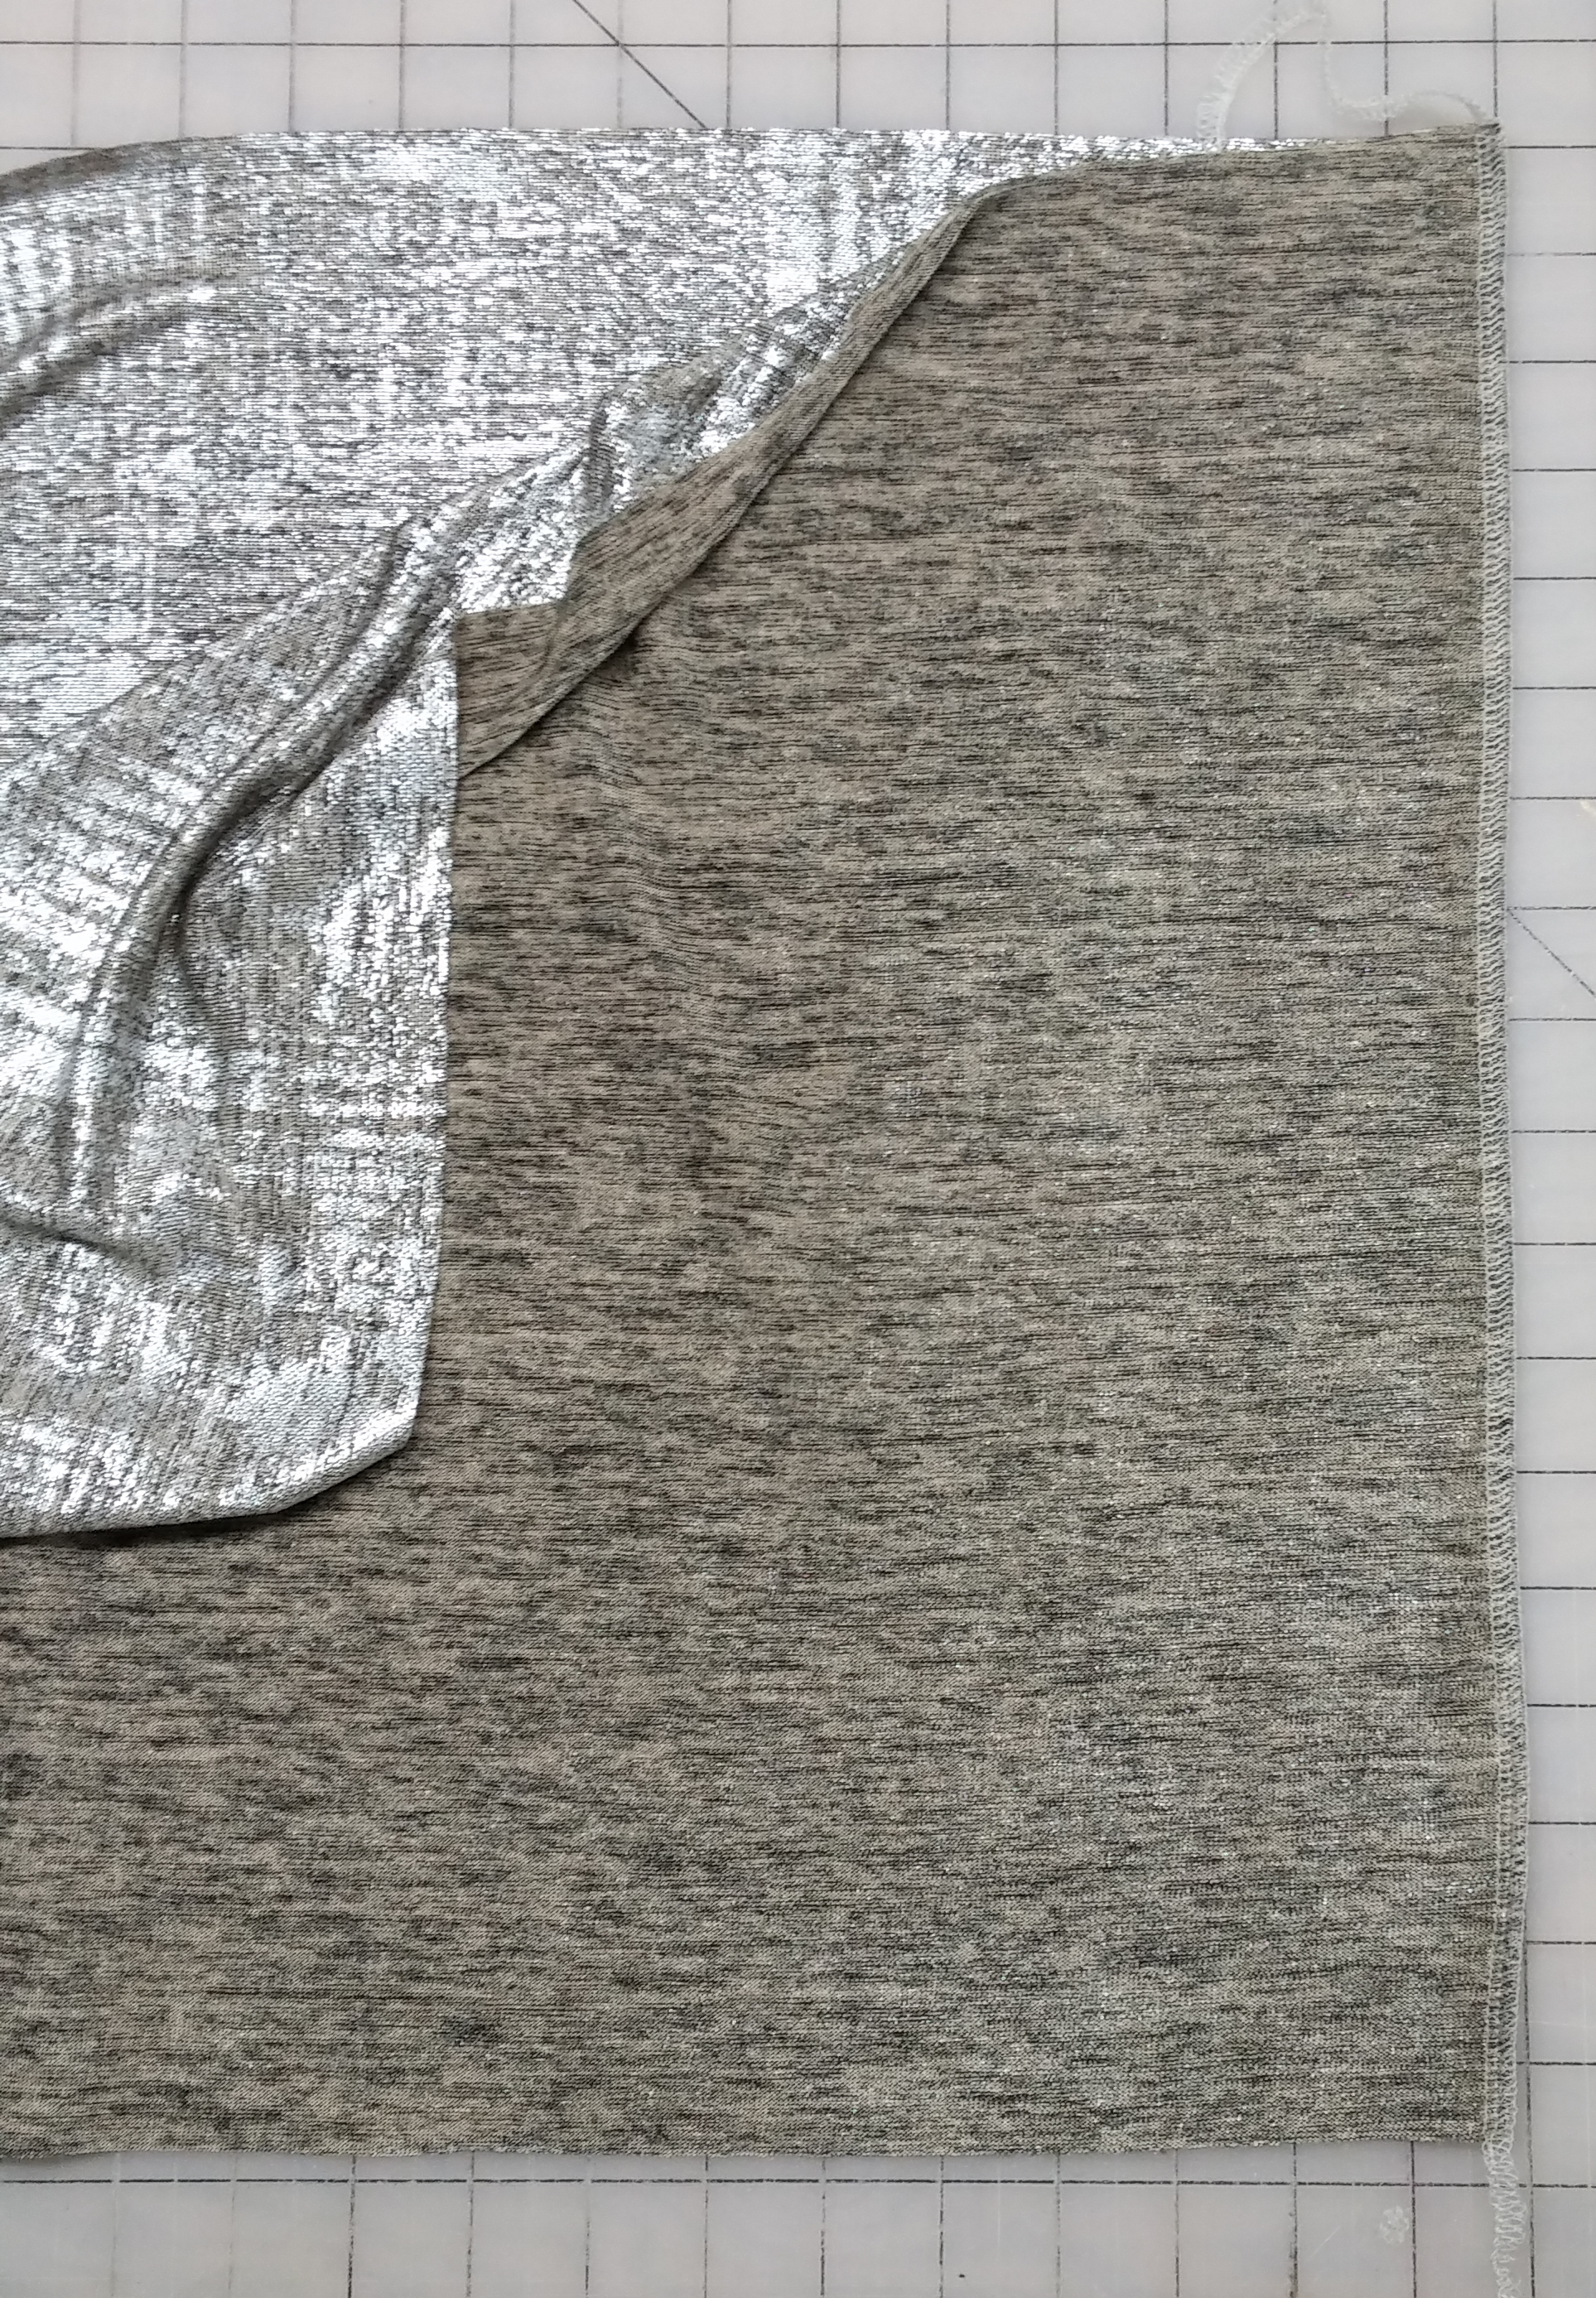
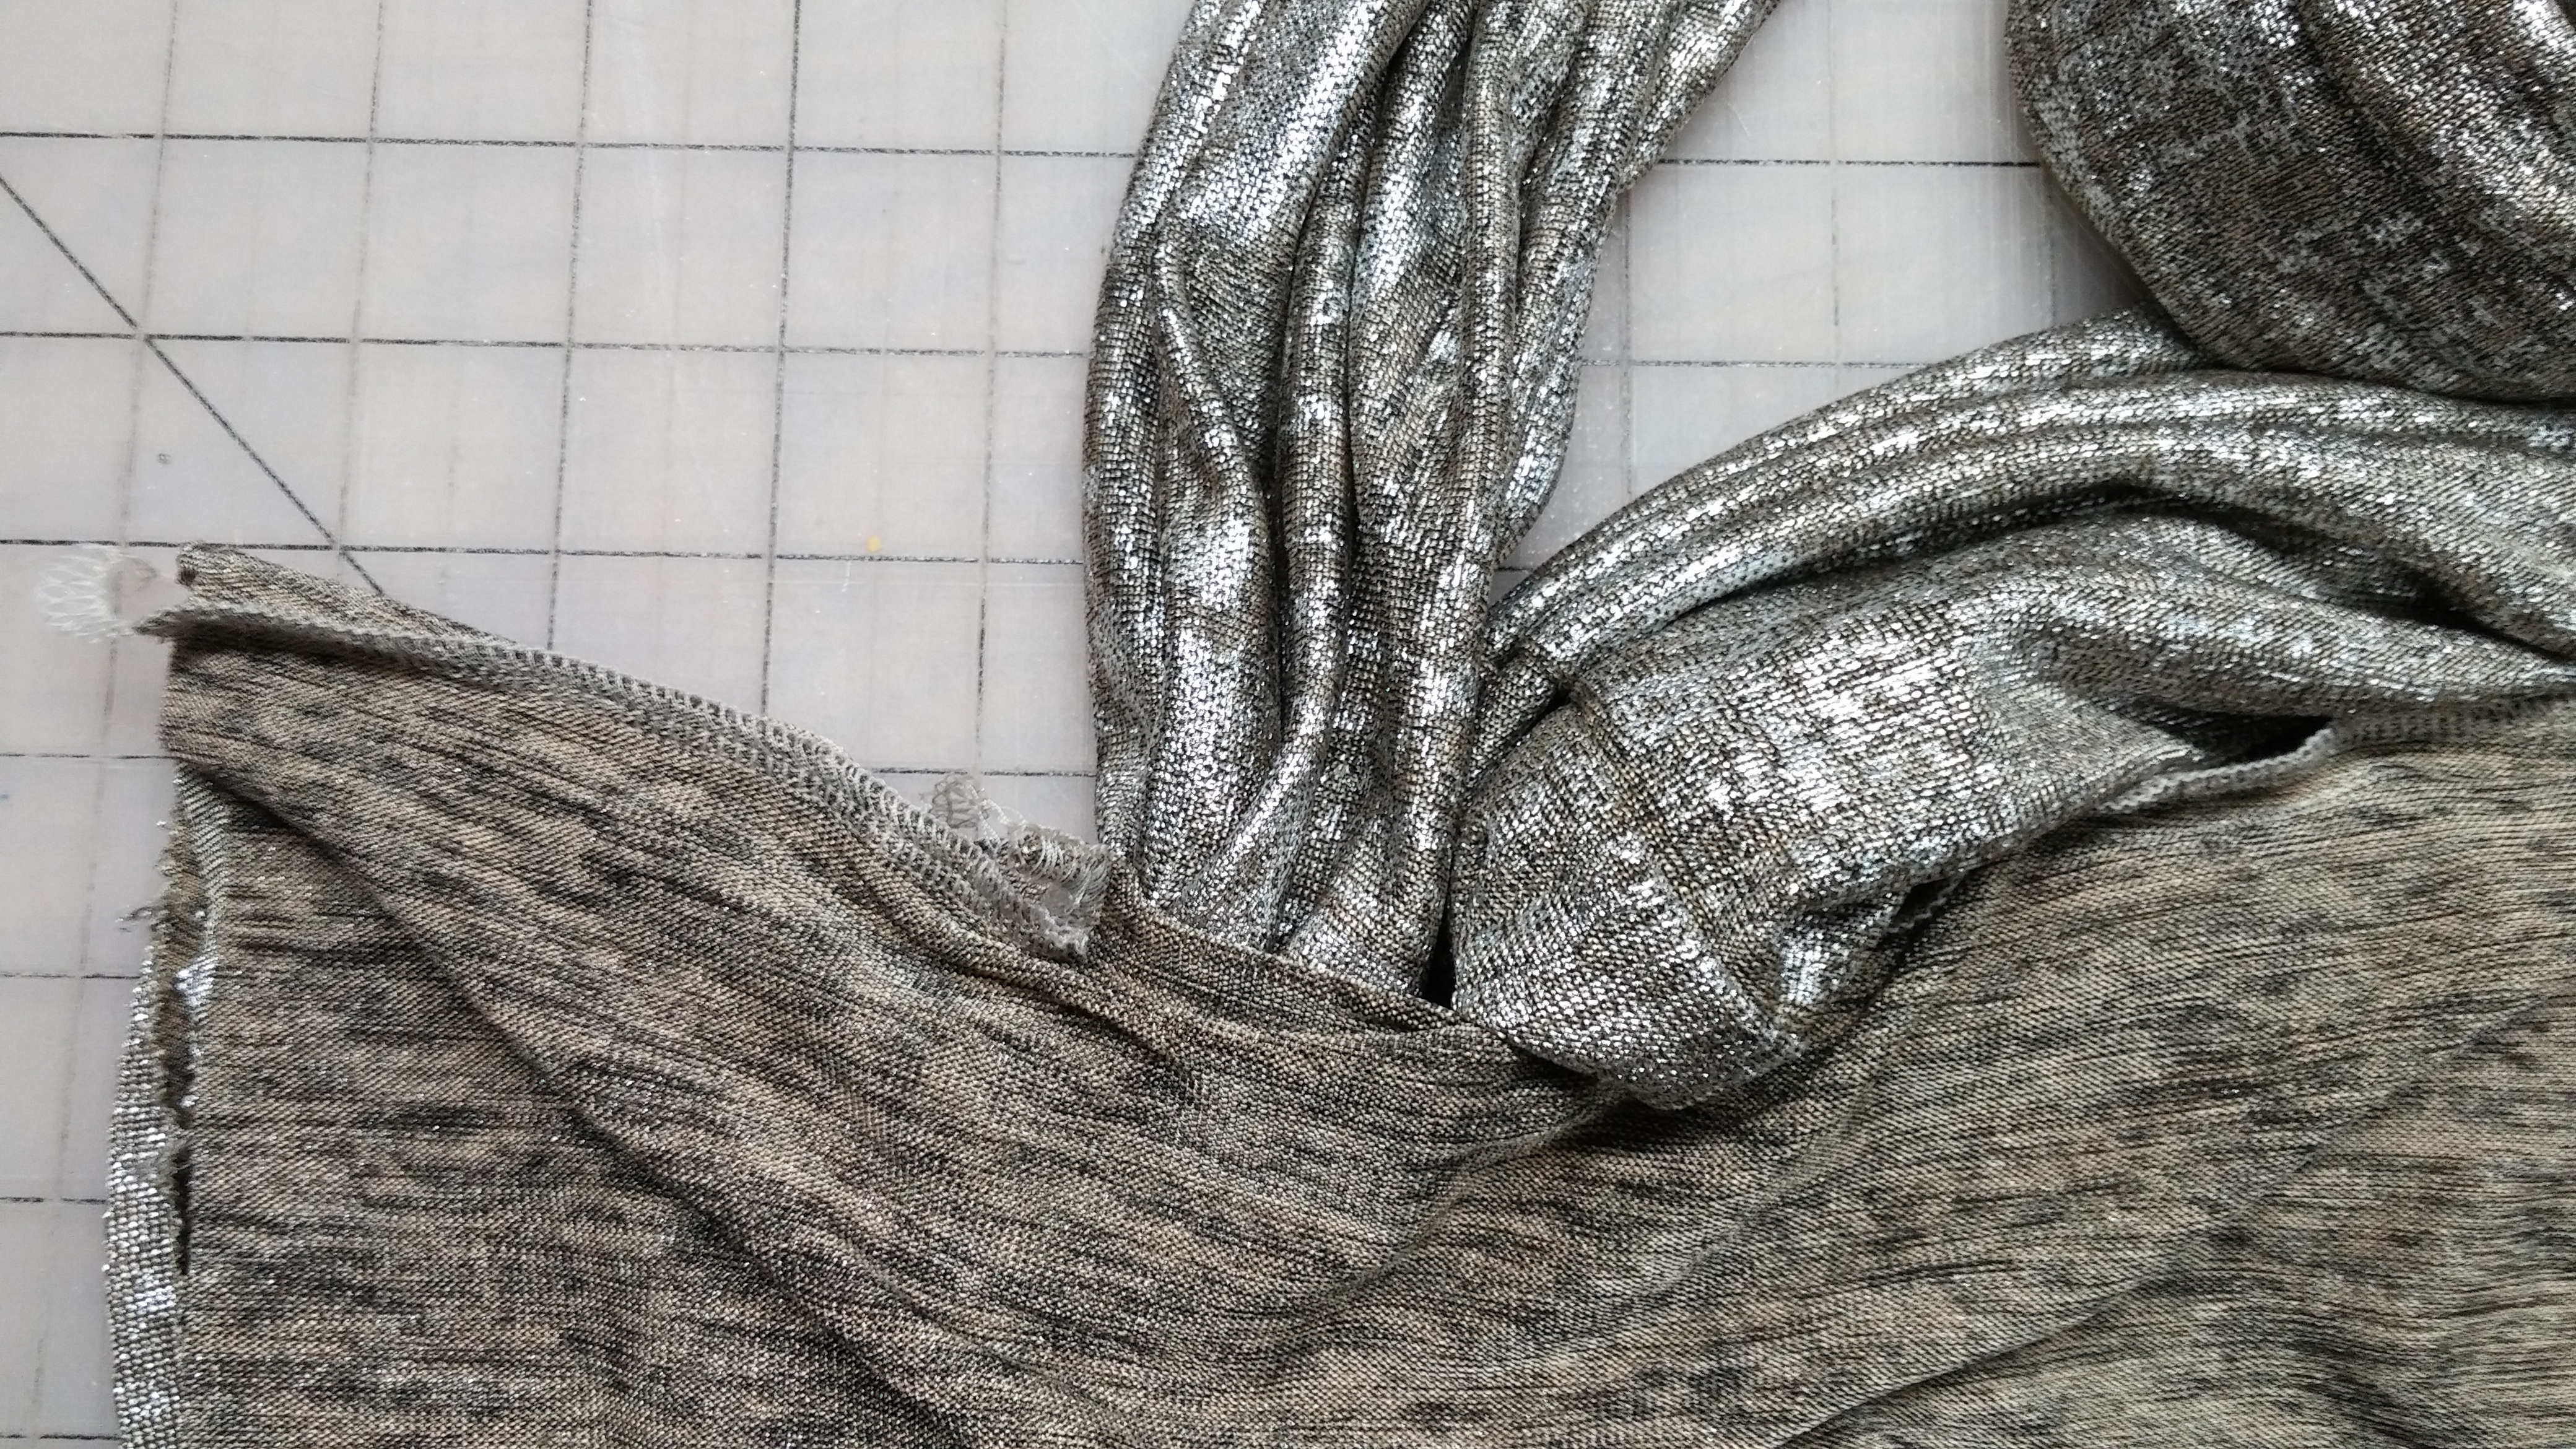
Step 2 – Sew the strips together along 1 short edge, creating 1 very long strip.
I’m using a 6mm wide 4-thread overlock stitch and trimming off a sliver of fabric as I stitch. My fabric is quite stretchy, so I have the differential feed set at 1.5
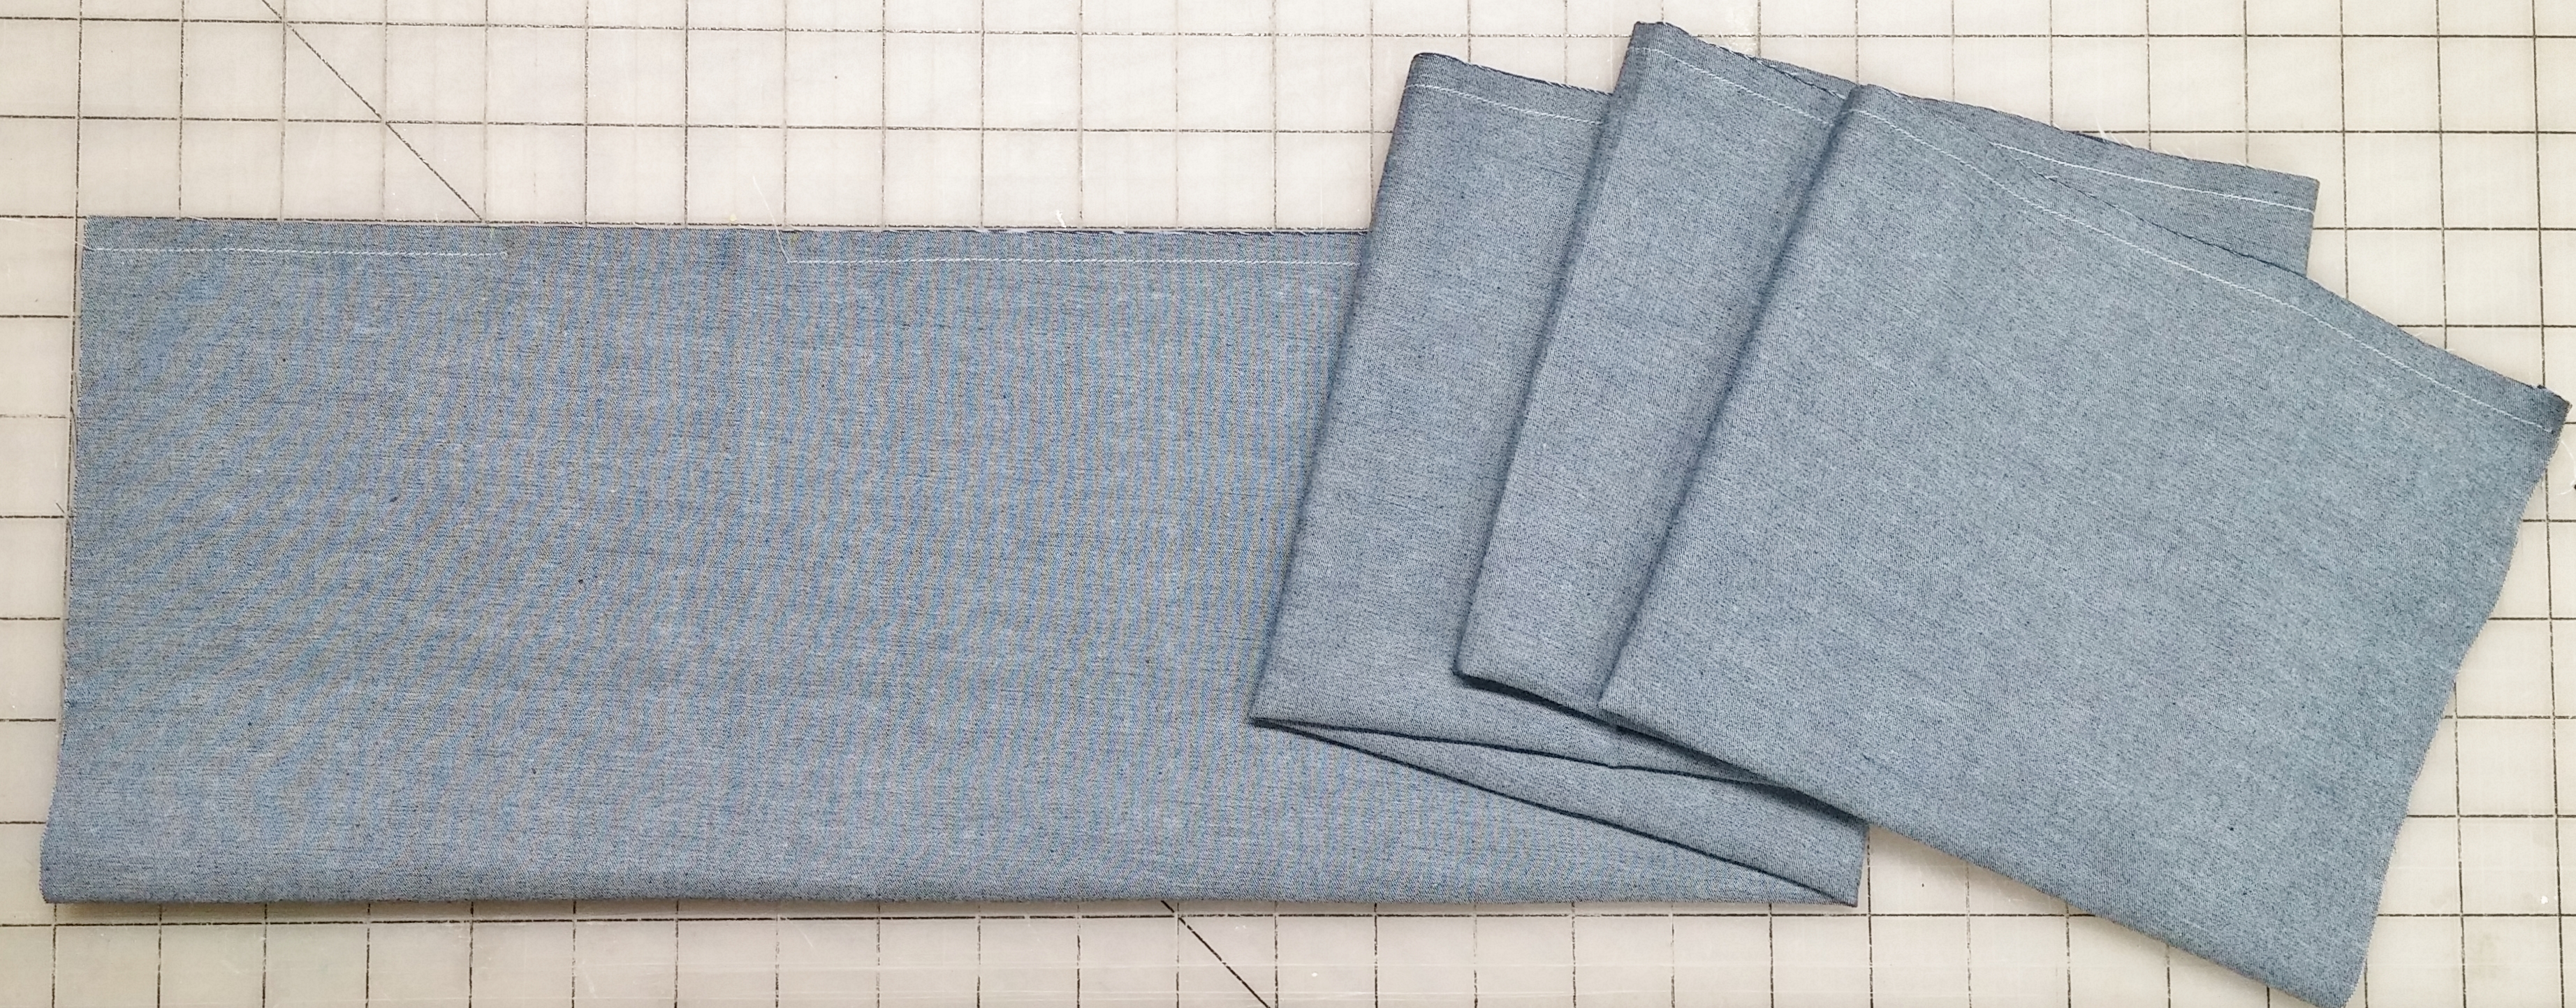
Note: for a shorter scarf or a cowlneck, you may decide to use only 1 strip of fabric. In that case, skip this step. (See the photo of the blue scarf at the end of this tutorial for an sample using only 1 strip of 58″ wide fabric.)
If you are using a sewing machine, I suggest a 3/8″ seam allowance and experimenting with a stretch stitch or a small zigzag stitch for very stretchy knits and a straight stitch for woven fabrics (a straight stitch sometimes works on stable knits, too.) Be sure to backstitch at the beginning and end of each line of stitching!

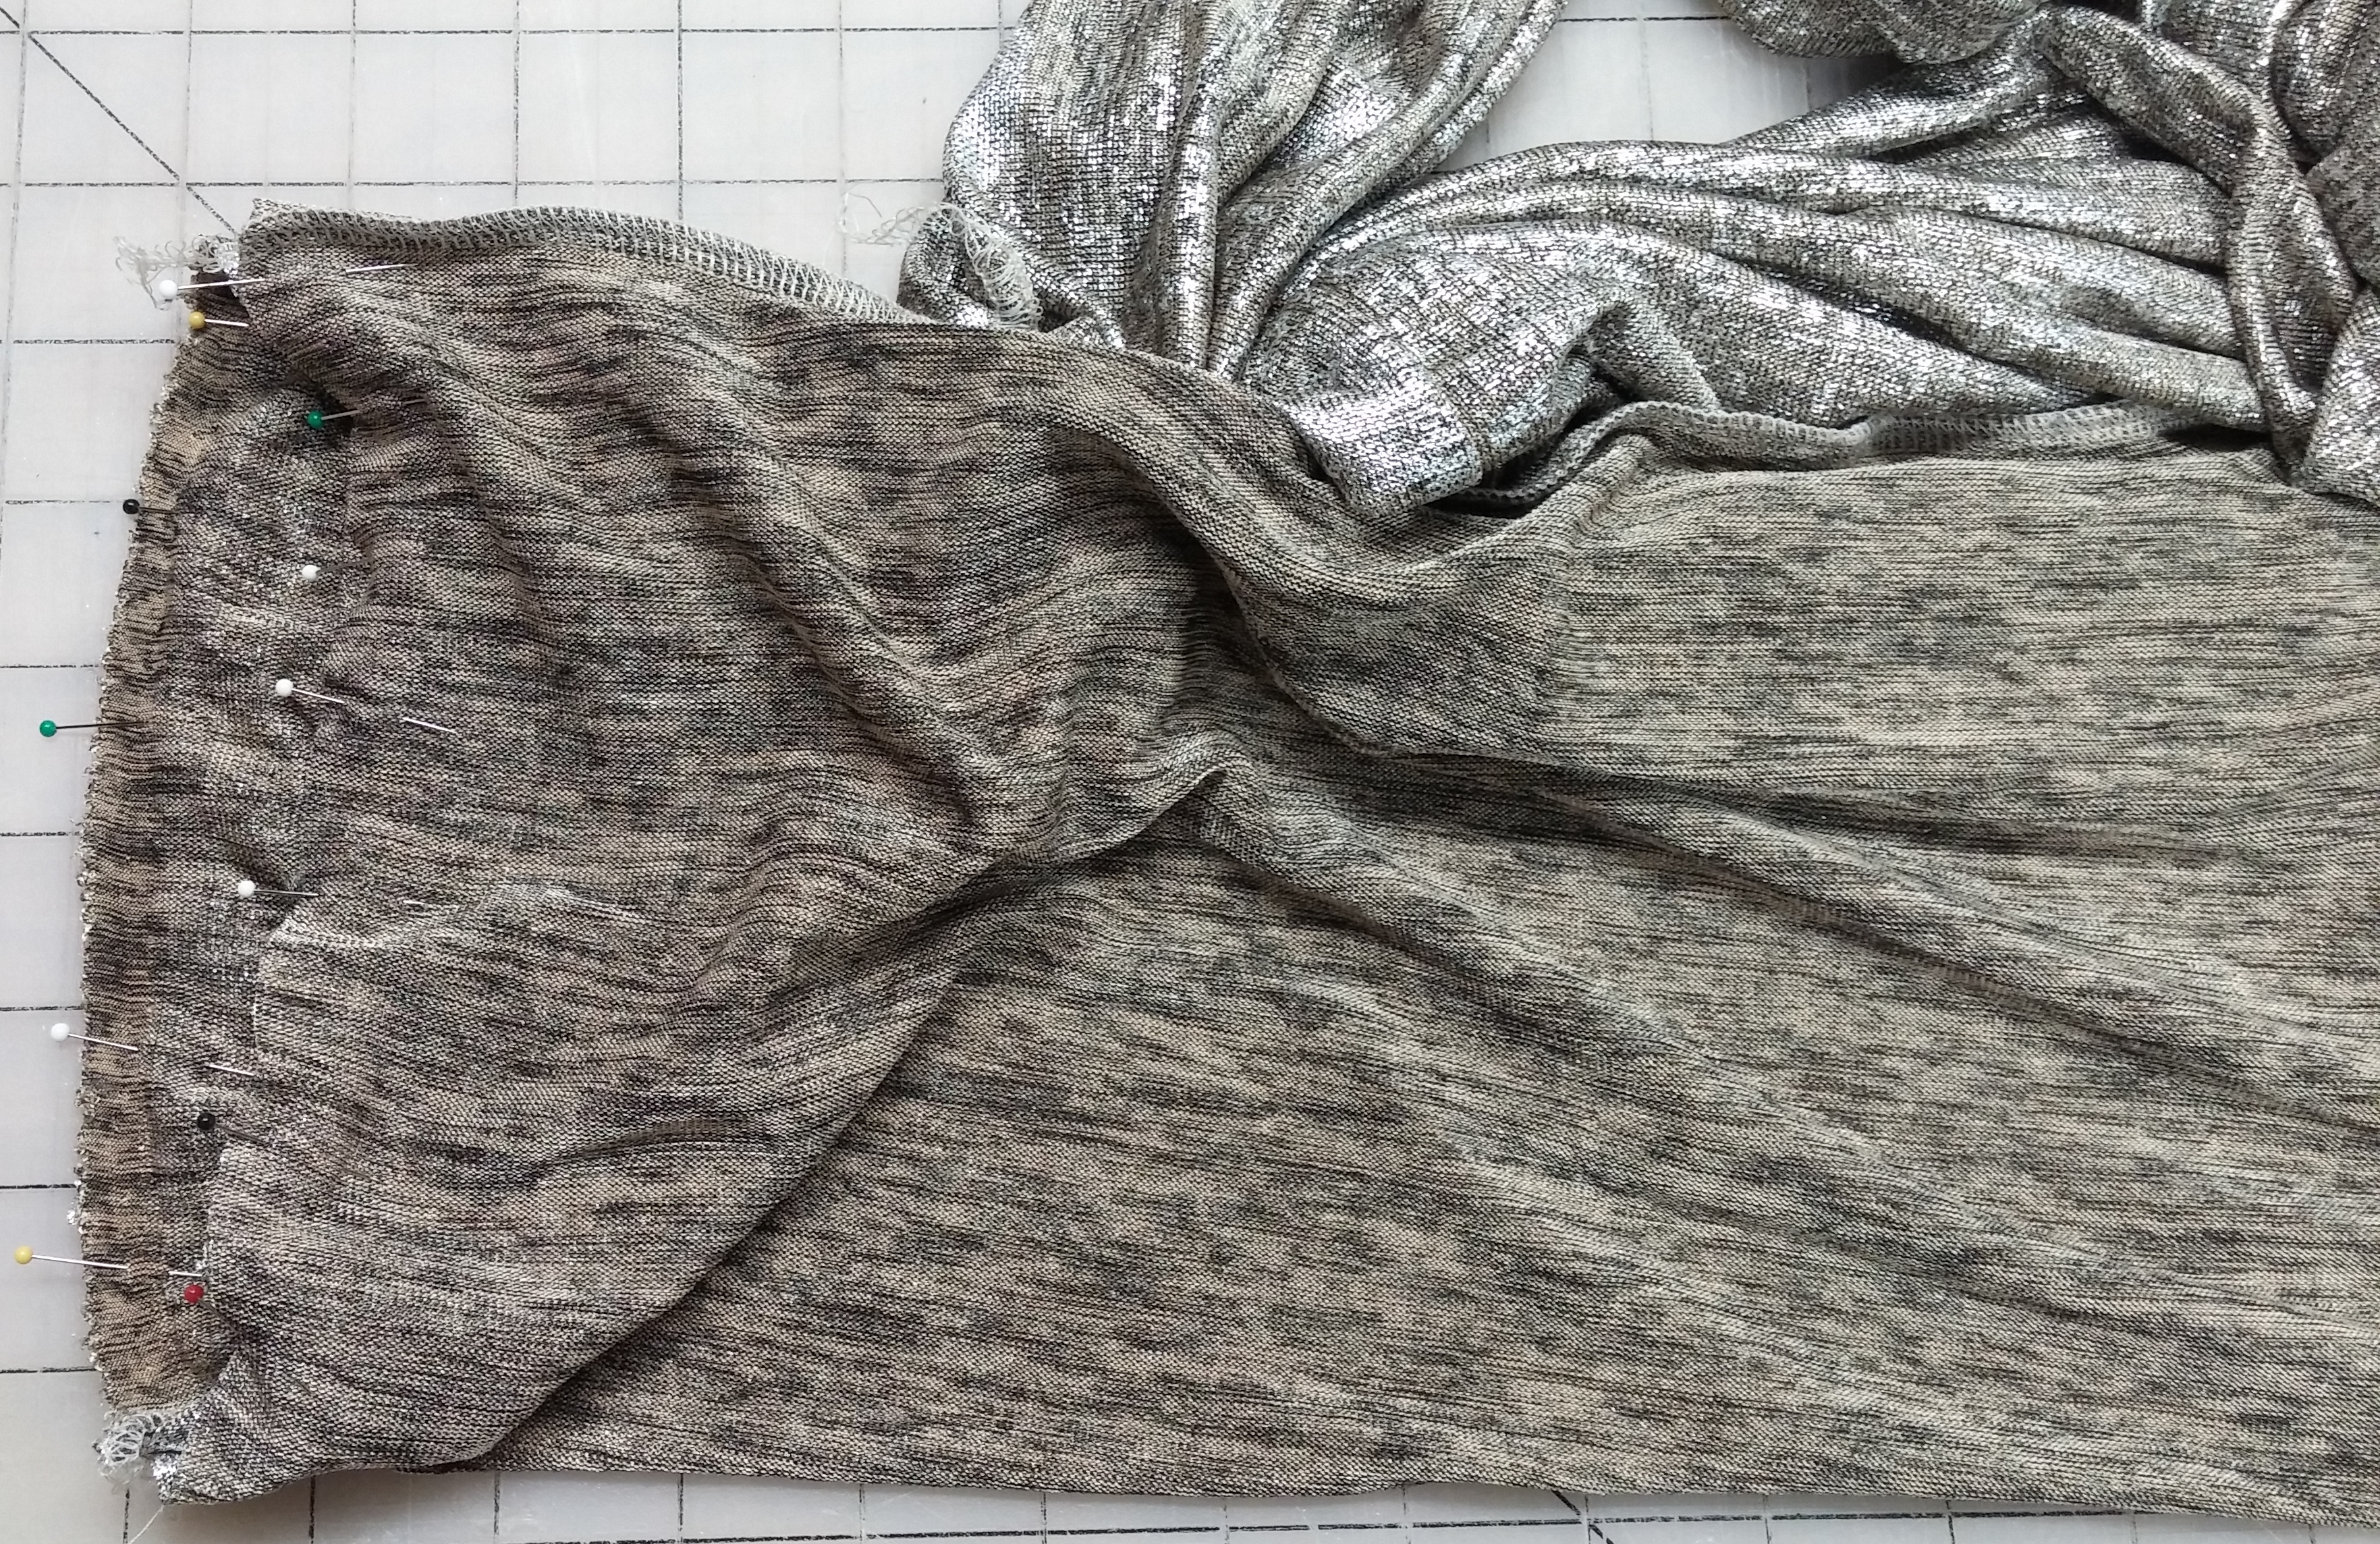
Step 3 – Fold the long strip in half lengthwise, and sew the raw edges together, leaving a 3-4″ opening 4″ away from one short edge. This will create a very long tube. (One end of the tube is scrunched up a bit in this and subsequent photos so it would fit in the frame, but it really is a long straight tube.)
If the fabric is slinky or lighter in weight, a 3″ opening is fine. If you are using a bulky winter fabric, then you’ll need a 4″ opening.
Note: if you are using a serger, be sure to turn off the knife BEFORE you get to the first edge of the opening and angle off the fabric. Otherwise, you might accidentally trim away the seam allowances in the open section – ask me how I know that 🙂
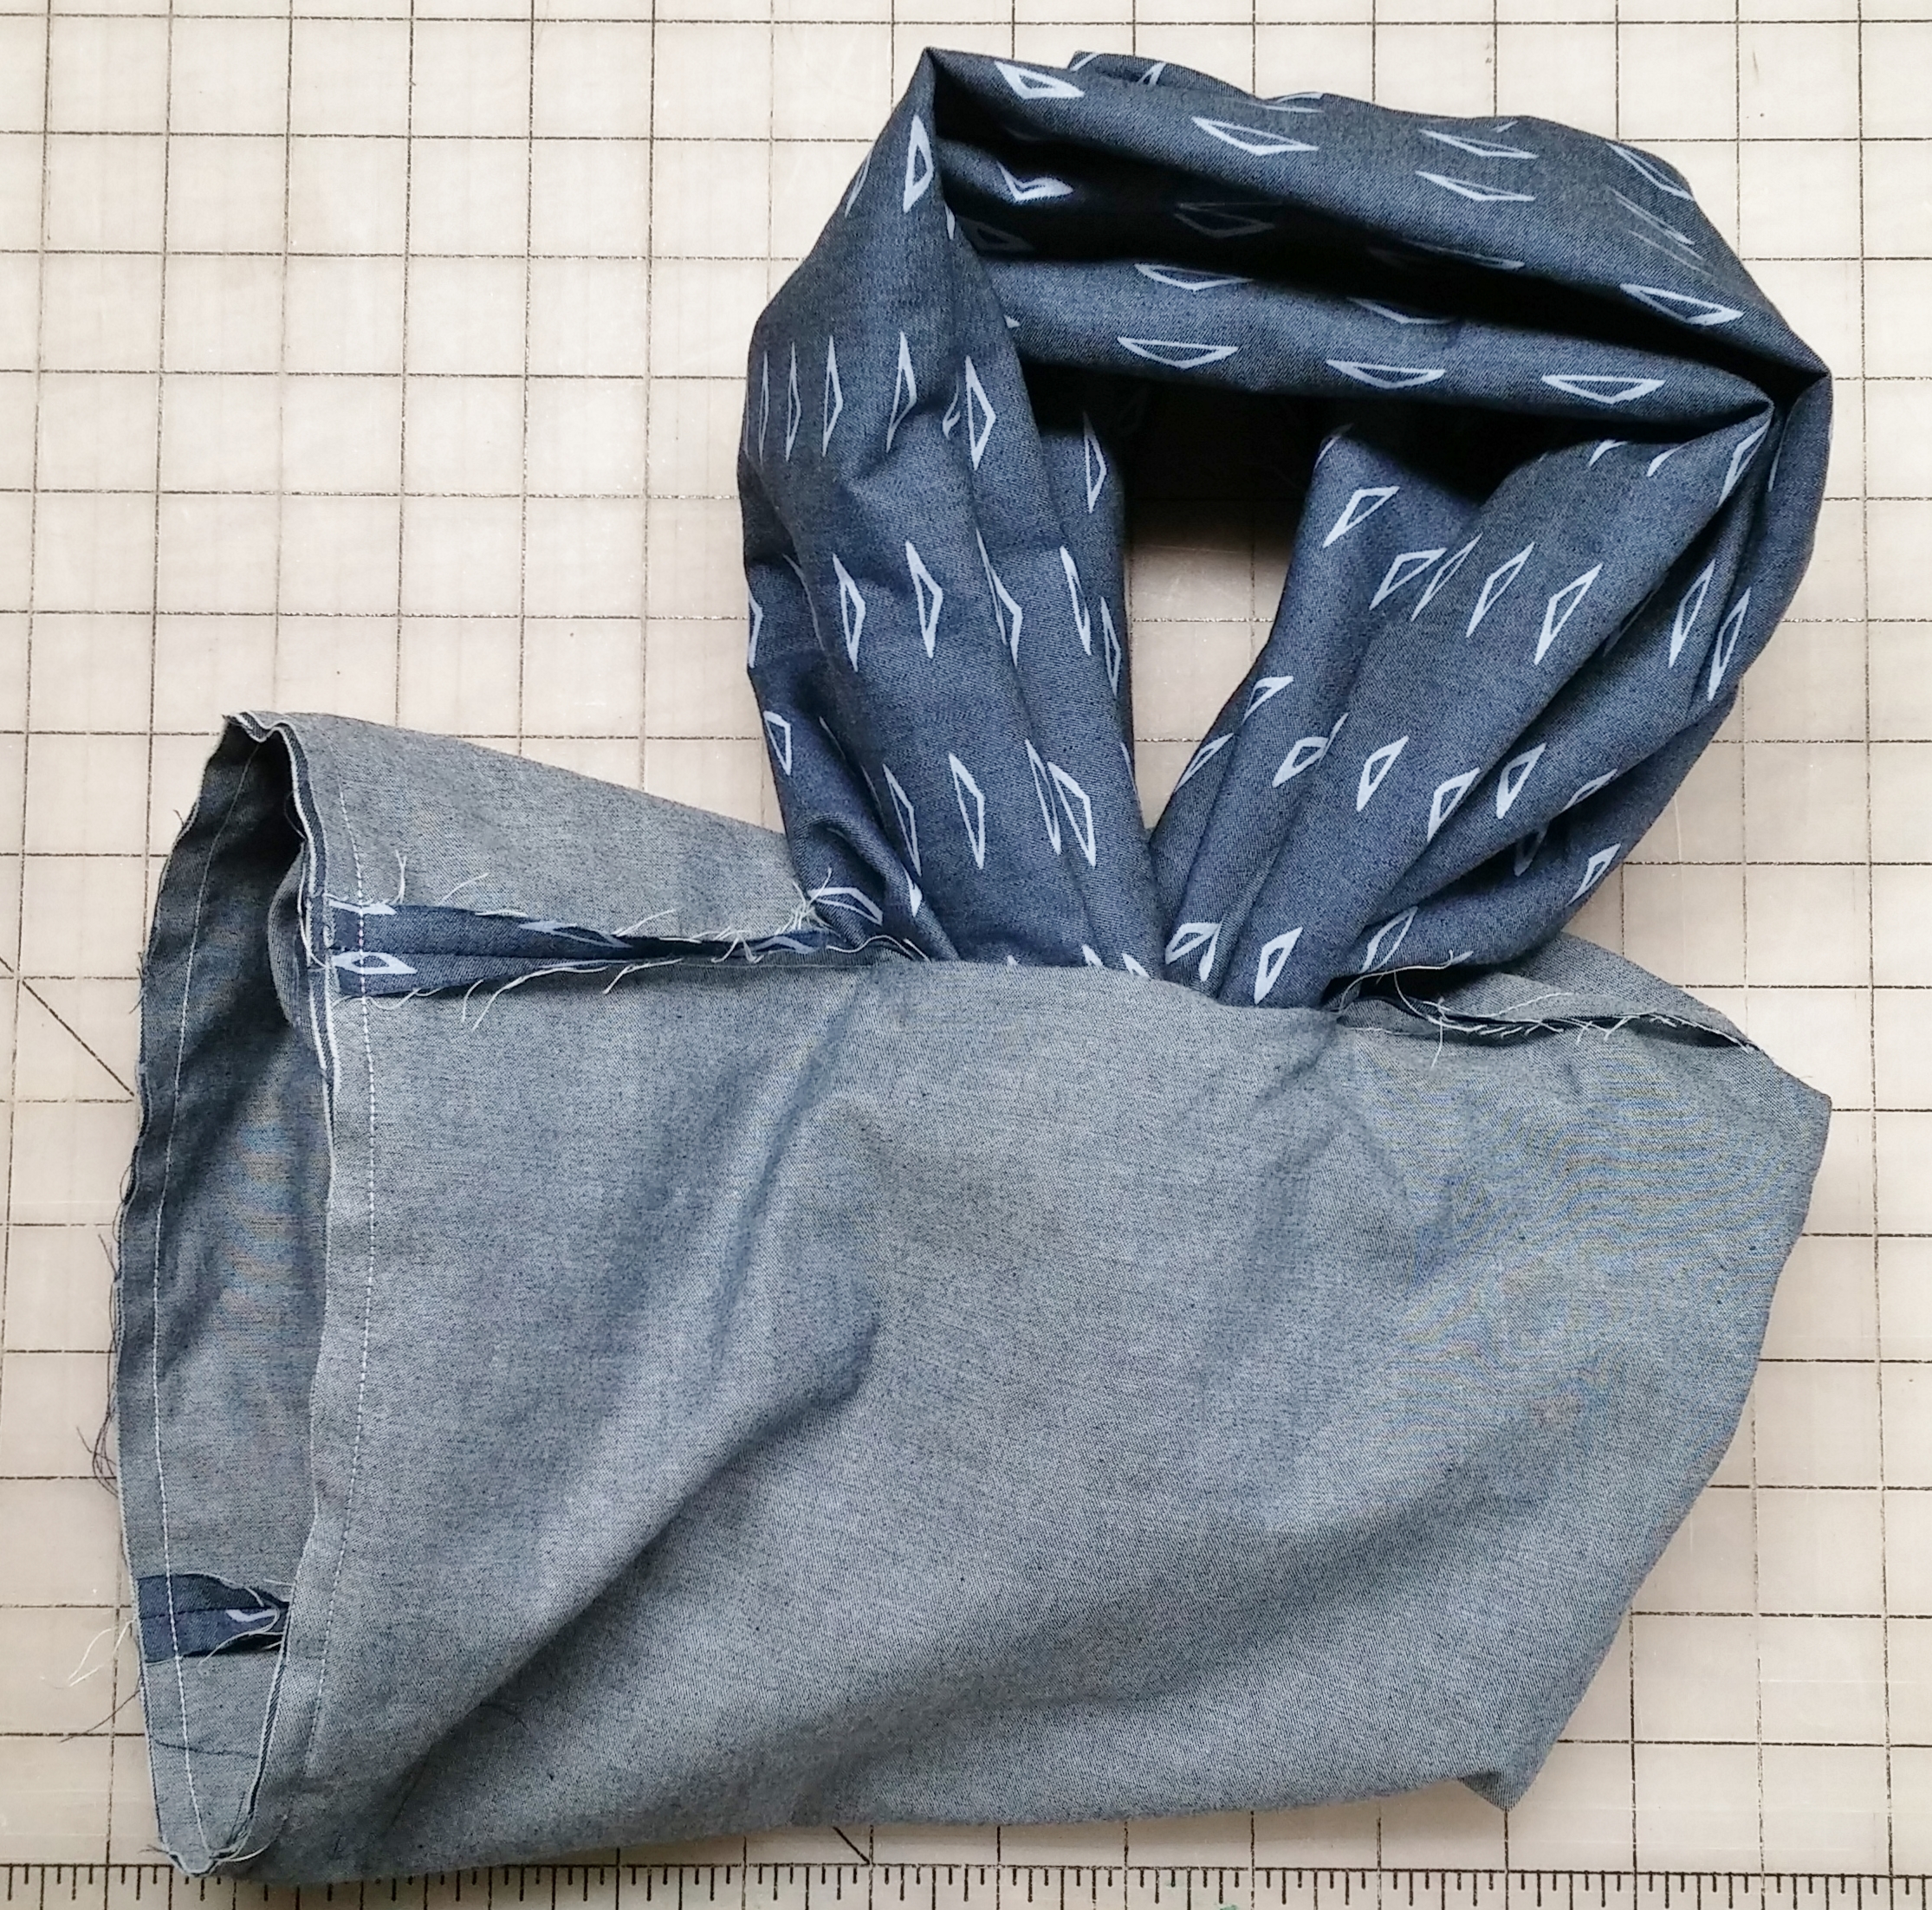
Step 3 – On the sewing machine: 3″ opening starting 4″ from one end shown on woven fabric that has been stitched into a tube with a 3/8″ seam. (Fabric is shown with 1 side folded to fit into frame, but really is 1 long tube.)
Step 4 – Take hold of the short end of the tube furthest away from the opening and bring it through the tube and out the opening.
Step 5a – Insert the short end of the tube back through the opening and line up the raw edges with the raw edges of the tube on the opposite side of the opening, right sides together.
Smooth out the tube to make sure it hasn’t become twisted. If you would like to introduce a twist, you can do so now by positioning the seamed edges of each tube opposite each other when you pin the two fabrics together, creating a circular seam.
Step 5b – This shows the two edges pinned together, seamed edges of the two ends of the strip positioned opposite each other.

Step 5c – This shows the seam after it has been serged.
Step 5c on the Sewing Machine – this shows how the circular seam looks after being sewn on the sewing machine.
Step 6 – Pull gently on the looped fabric to turn the fabric right side out.

Step 6b – Continue gently pulling the fabric through the opening until the entire scarf is right side out. You should now have only a small opening to hand stitch shut. I prefer a ladder stitch for this step, as the stitches will be hidden in the fabric.
If you are not familiar with the ladder stitch, I recommend this photo tutorial by Greta and Kelli of Squishy-Cute designs.

I hope you’ll enjoy your new scarf!
But watch out, they are like potato chips – you can’t make just one 😉