
If you’re like me, at some point you may find yourself with a pile of batting scraps in various sizes. I don’t like to throw these leftover bits and strips away; so I’ve developed a system that works well for me.
I typically buy queen-sized packaged batting or 108″ wide batting on a roll and cut it down as needed, so my most common leftover segments are long strips in various widths; but sometimes I have odd shapes, too.
Here’s my rough-and-ready sorting system:
- Small bits suitable for coasters, mug-rugs, holiday ornaments, or sachets go in their own bin.
- Pieces that are the right size for place mats or table runners also get their own bin. If this bin gets too full, the overflow goes into the next category.
- Anything larger gets sorted by type (100% cotton, 80/20 cotton blend, etc.) and stored in inexpensive blanket storage cases from Ikea. This is the first place I look when I need batting for a baby quilt or wall hanging.
I also like to economize by piecing leftover batting together.
If I am using fusible batting or I plan to spray baste AND am planning dense quilting, I don’t bother sewing the pieces together:

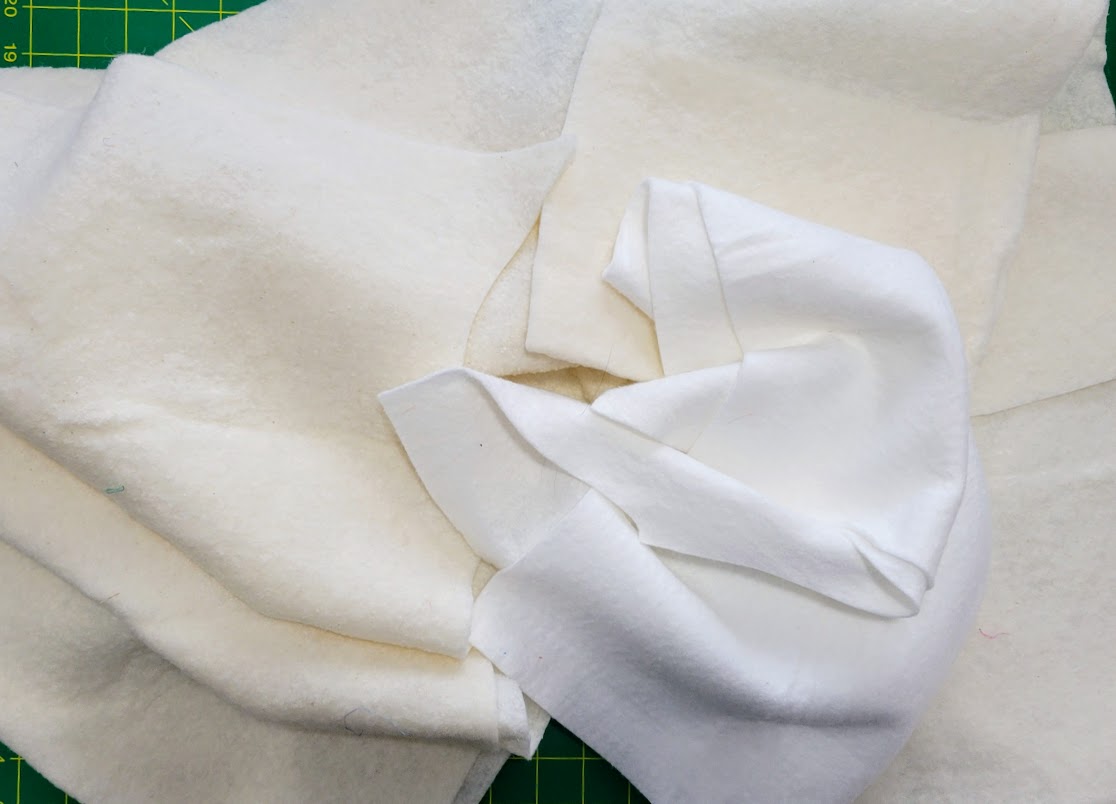
Instead, I overlap the edges I plan to join like this:
I use my rotary cutter to cut a curvy line, making sure to stay within the area of the overlapped batting:
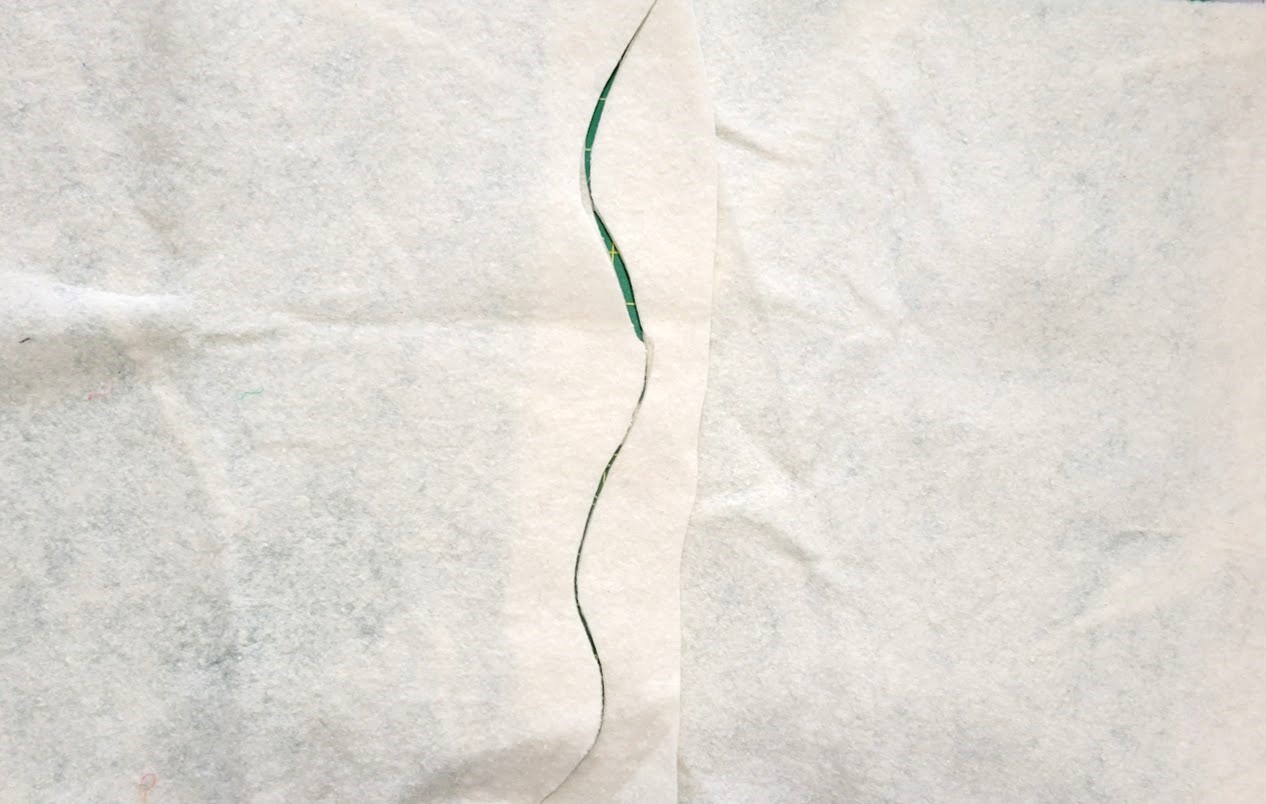
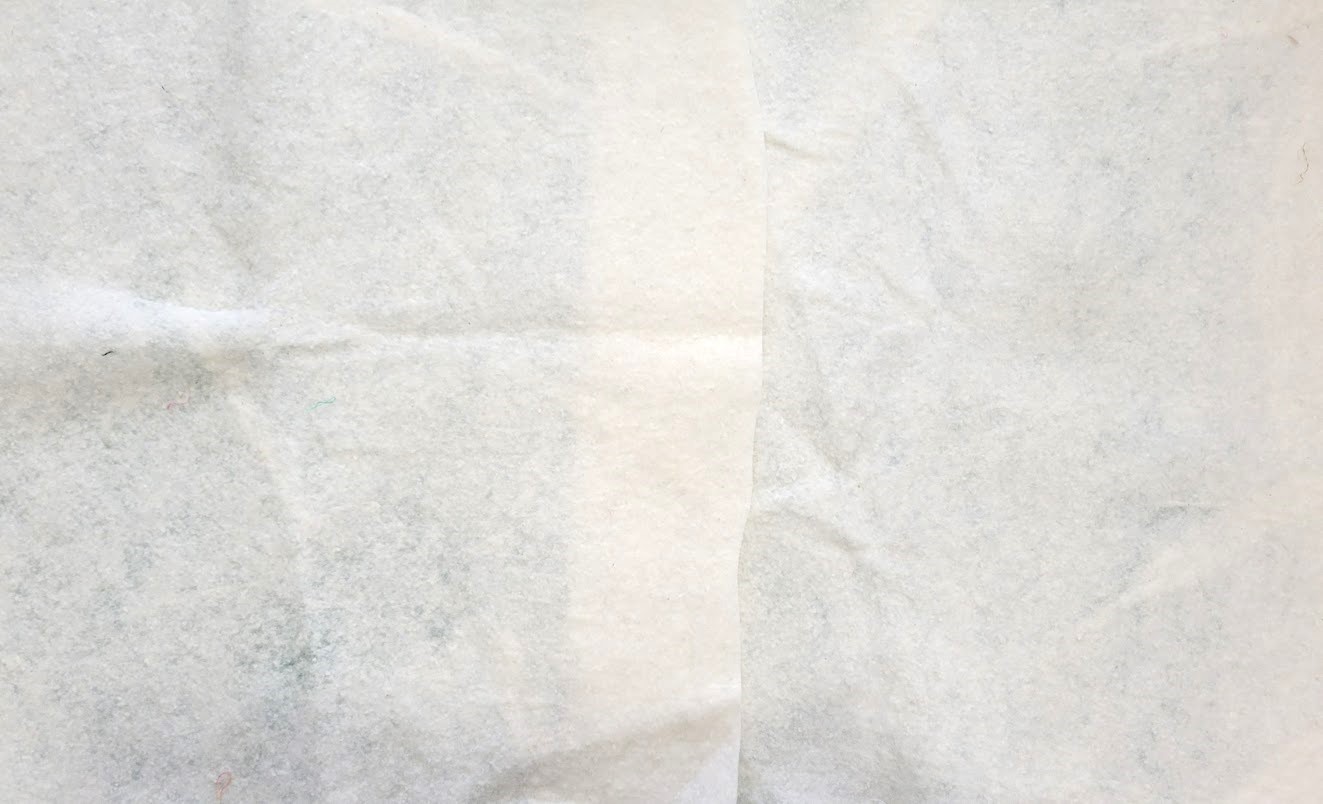
When I take the extra bits away, I have 2 pieces that will fit together like a puzzle:

The curves help keep the batting from shifting as I fuse the layers of the quilt sandwich together.
If I’m planning only light quilting, or want to pin-baste my quilt, I use a different technique (see below).
My other favorite method is to use a product called Heat Press Batting Together. (This is an affilate link.)

)
Invented by designer and longarm-quilter Jeanne Harwood, “HEAT Press Batting Together™ is 1 ½ inch (3.81 cm) cloth tape that allows batting edges to be fused together, eliminating both waste and the old pinning and stitching method for joining extra batting pieces to fit a specific project. Simply butt two straight edges of batting on the ironing board and press the tape over the butted edges and press. The resulting pieced batting is ready to use. 100% Made in the USA.”
- This tape needs be applied to only one side of the batting, so it is fast, easy, and inexpensive.
- It is flexible, stretchable, and easy to needle by hand or machine.
- Set temp of iron just under wool; heat is important, not pressure. (Always test on sample first.)
- Works on any batting (poly, cotton, blend, etc.) as long as heat setting is correct (recommended to make a sample and test iron so glue melts within seconds without damaging batting).
- It may be helpful to use weights (tuna cans work great!) to keep batting from shifting while fusing.
- Additional uses: reinforcement or backing for stretch fabric, patch for stretch fabric
- www.heatpressbattingtogether.com has video tutorials and tips.

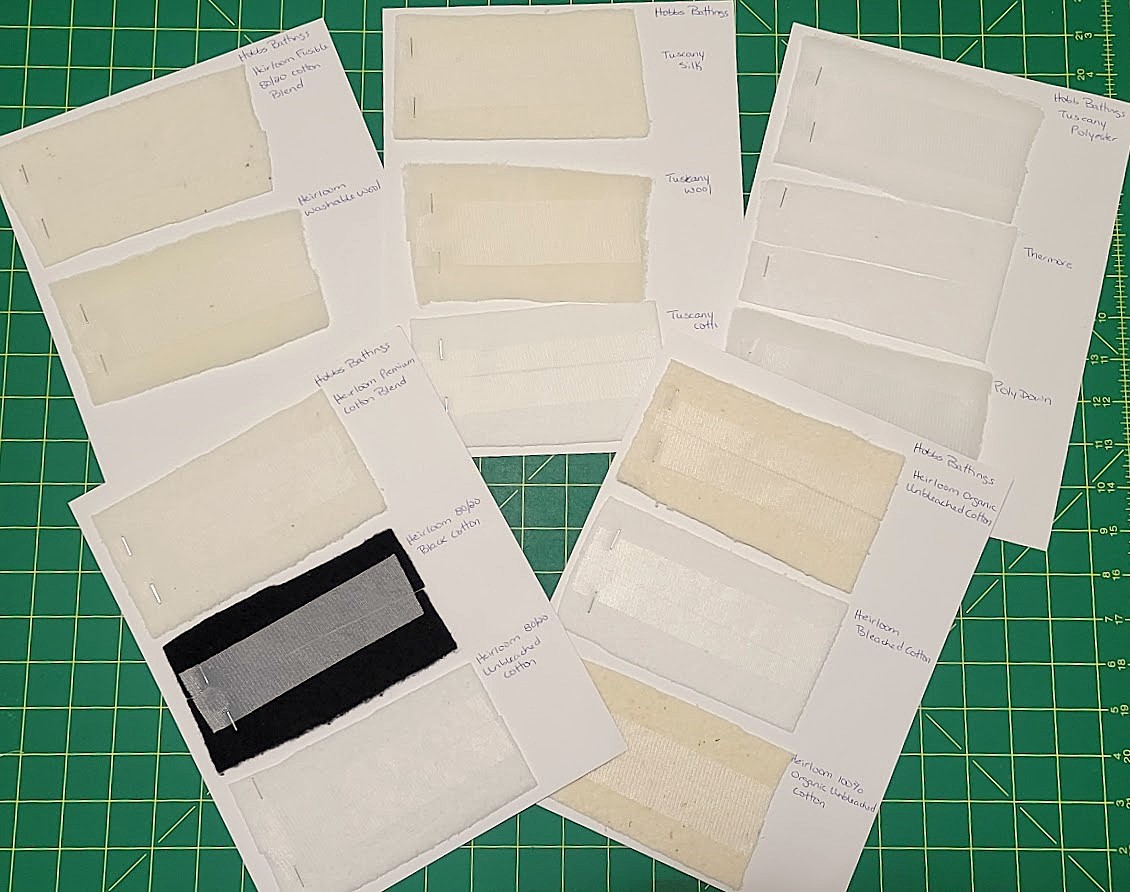
I’ve personally tested it on many different types of batting and have found it to work just great.
Do you have a favorite way to use leftover batting? I’d love to hear about it!