If you’ve ever laid quilt blocks out on the table or floor – or tried to make do with a sagging or temporary design wall – you know how frustrating it can be when you step back and try to really see your work. And it can be even harder to get good photos!

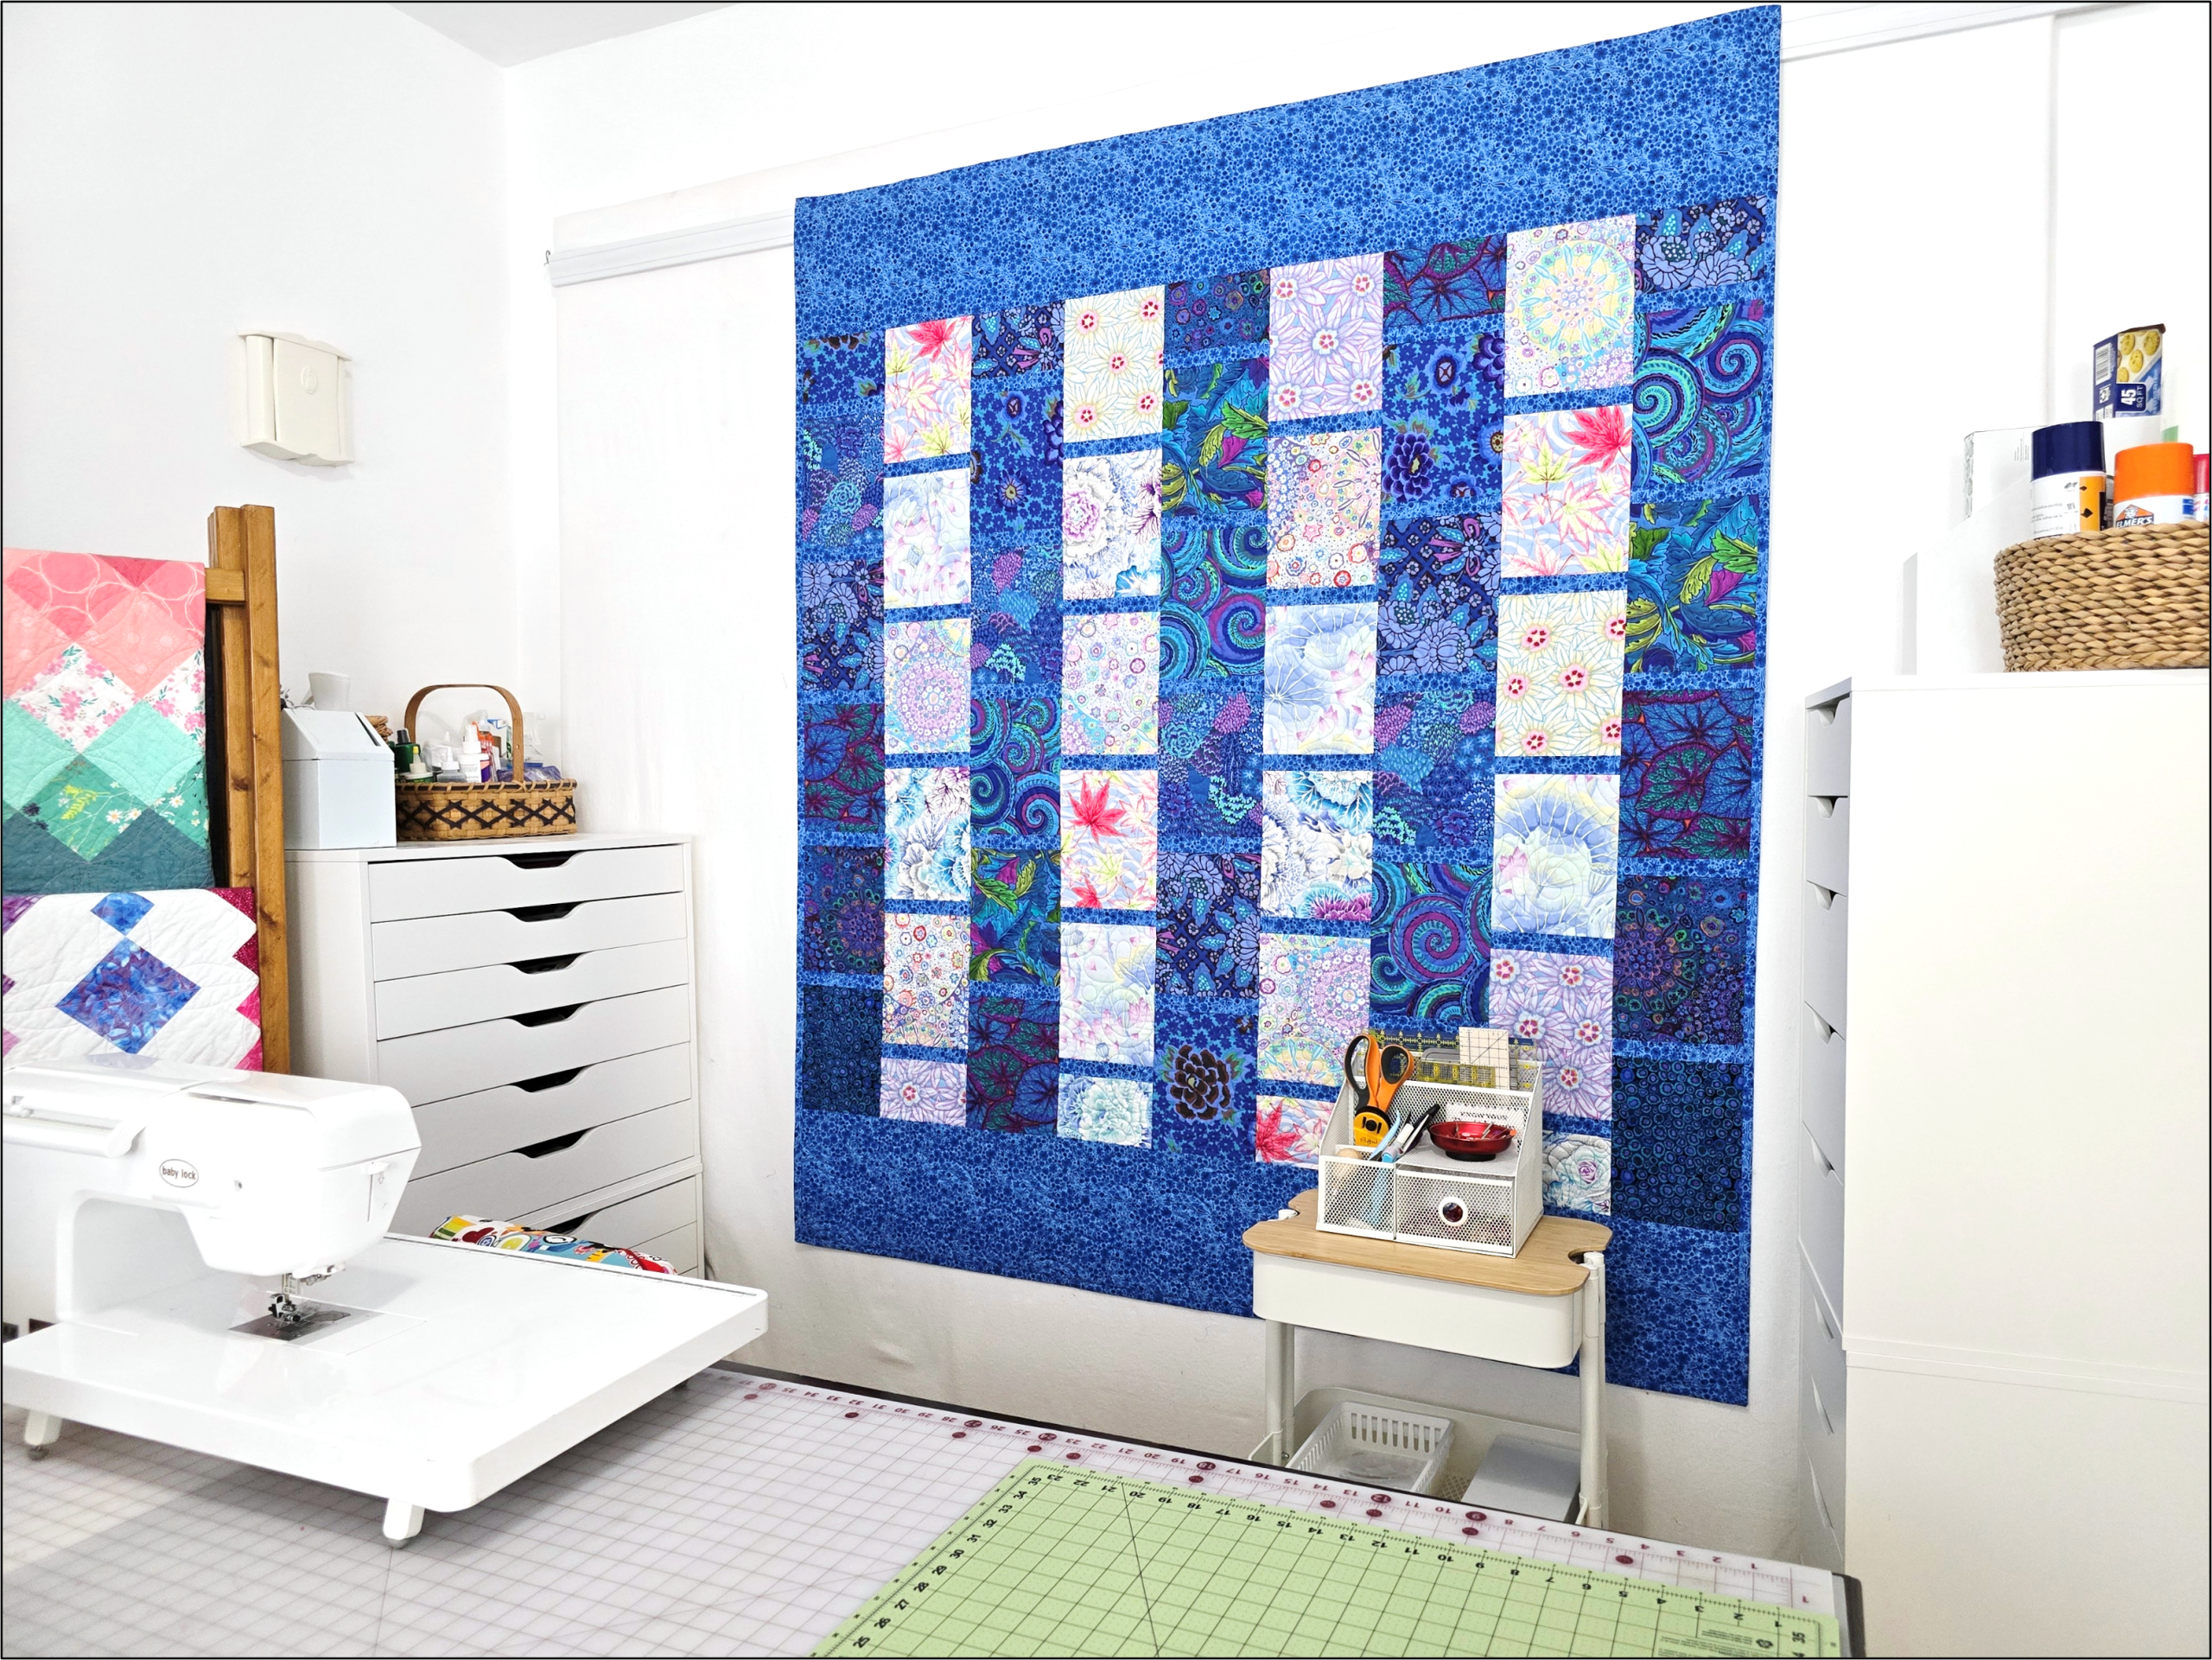
In my latest YouTube video, I’m sharing the DIY design wall setup I use in my own studio. It’s affordable, pinnable, removable, and sturdy enough for both quilt layout and photography – without permanent wall mounting.
What makes this design wall different is a simple hook-and-molding system that solves two common problems:
- keeping the design wall stable without damaging your walls
- hanging finished quilts flat, without creating a visible ridge
In the video, I walk through:
- insulation board size options (including portable boards)
- covering materials and what I chose
- how I attach the fabric with or without adhesive
- and how I use the wall for layout, display, and photo-ready images
Particularly if you’re working in a shared or temporary space – or just want a design wall that’s adaptable and dependable – this setup (or something similar) may be a good fit for you.
Watch the full video here:
💙 Quilting Friends members: I’ve also shared a printable resource in the membership section on my channel as a thank-you for supporting the channel.
👉Click here if you’d like to learn about my Quilting Friends membership.
Happy Quilting!