My sewing machine has been getting a workout! I’ve been in full-on production mode with even more projects than usual in-progress at the same time. As I’ve been working, one of the techniques I’ve been exploring is different ways to finish the outer edges of my quilts.
I always finish my utility quilts (bed quilts, cuddle quilts, throws, etc.) with a sturdy French Fold Binding, as the binding is often the first area to start to show wear on a quilt that is getting lots of use.
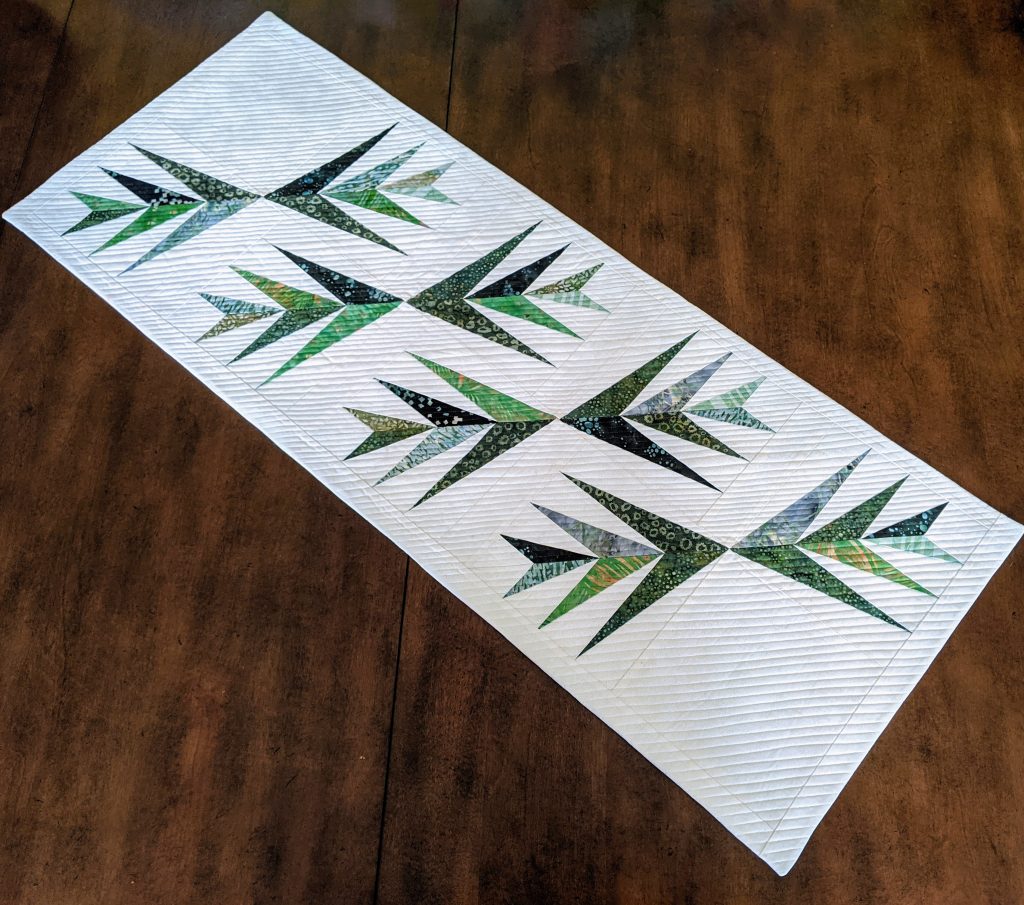
But when it comes to art quilts, wall hangings, table runners, or other smaller items, there are other options. One of these is a facing. Facings are a great alternative when you don’t want to cut off or confine the design with a binding. There are lots of different ways to approach facings for a quilt; but after quite a bit of experimentation, I have found what works best for me. And even better – there’s a link to free printable instructions near the end of this post!
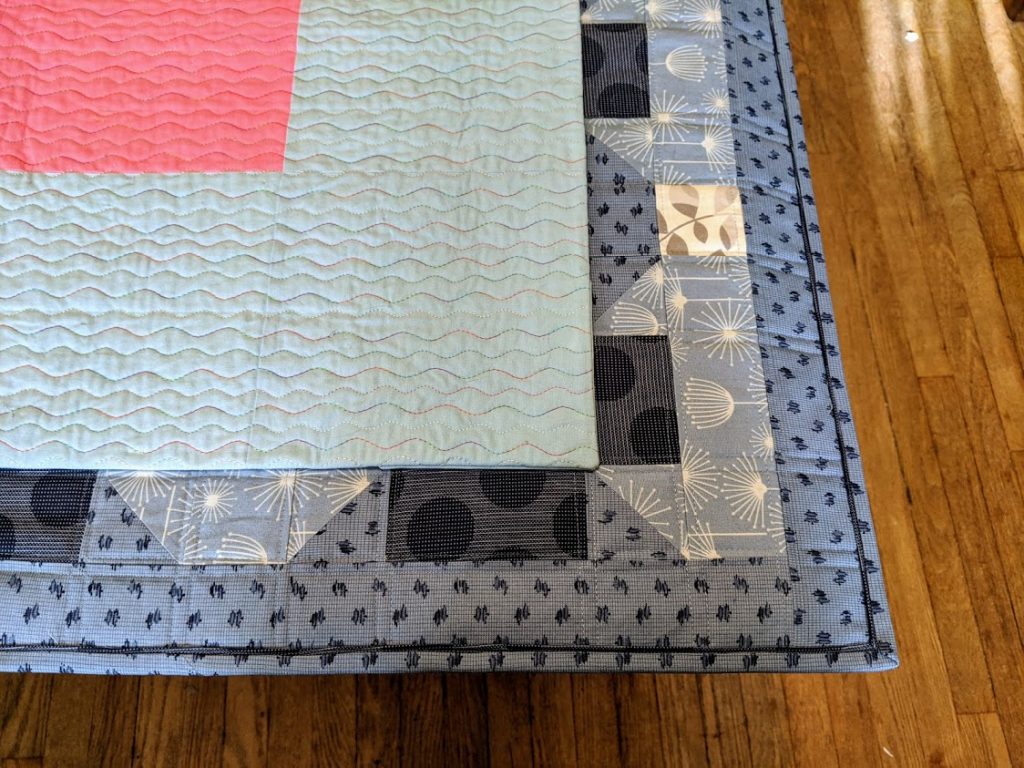
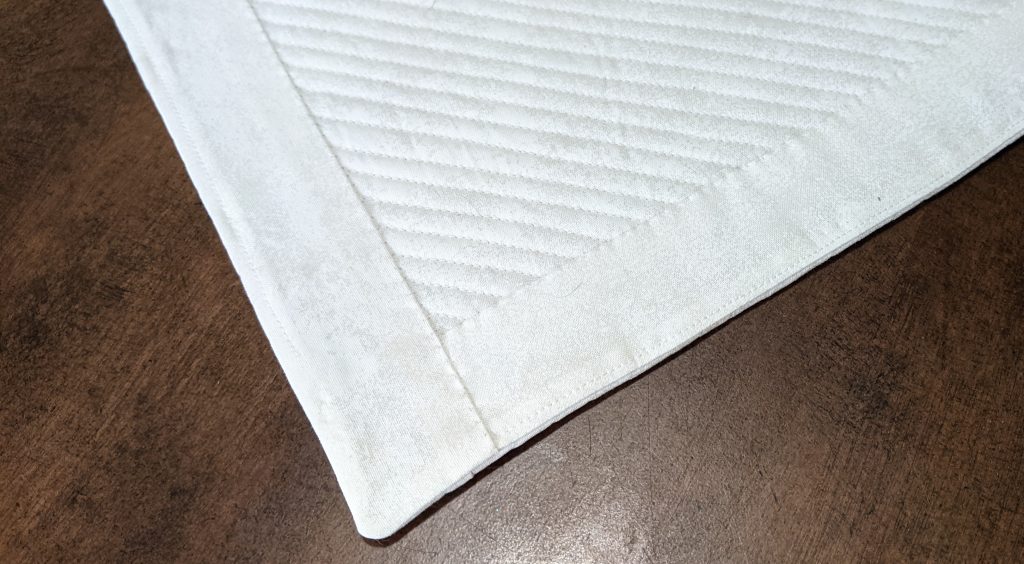
All of the methods I tried were similar in that they involved sewing strips to the front of the quilt and then pulling the fabric around to the back of the quilt to create a finished edge. All of the methods also called for hand-sewing the fabric strips to the back of the quilt. The main differences were in how the fabric strips were prepared and how the corners of the quilt were handled.
The first method I tried involved sewing folded triangles to the corners, which, when you flip them to the back of the quilt, create “pockets” in which you can insert a hanging rod. You can read more about this method in this tutorial by Robbie Joy Eklow on the We All Sew site.
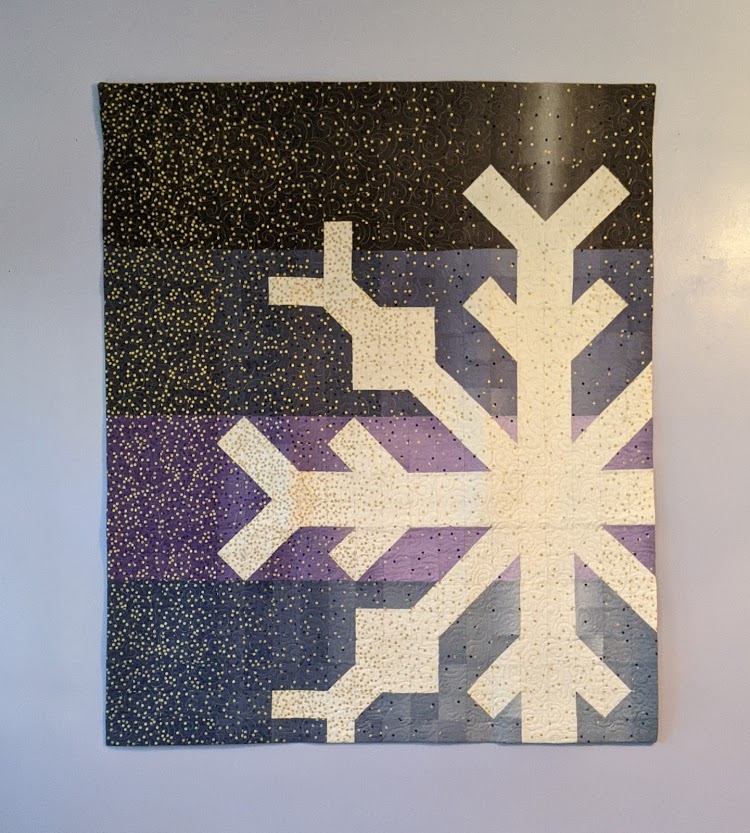
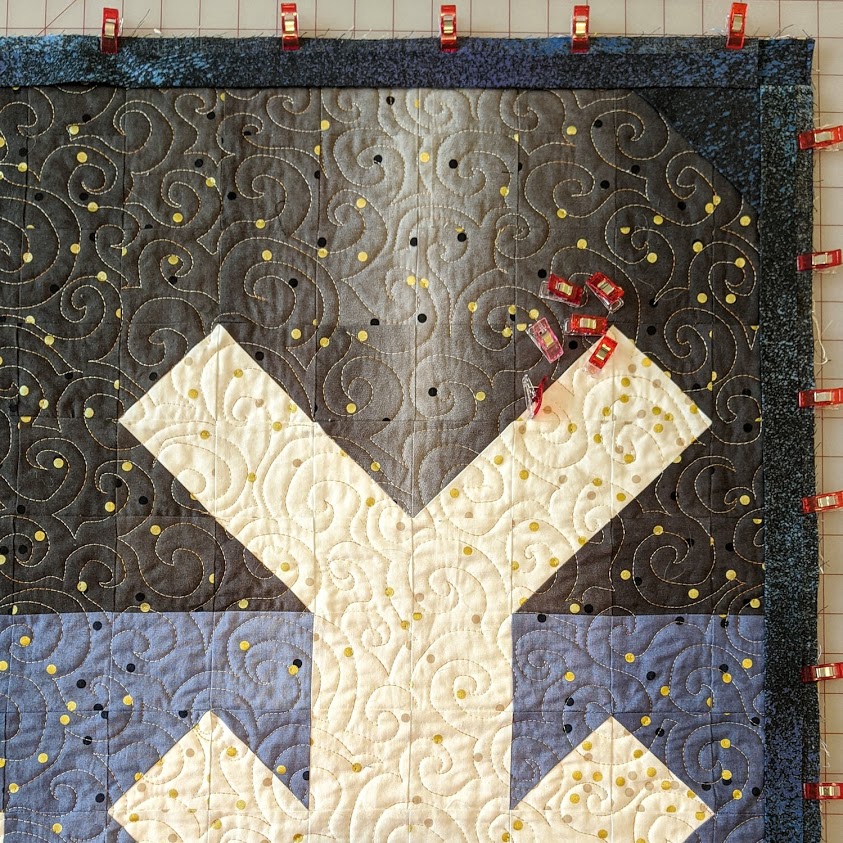
I ran into a problem, though. I think this method would have worked really well for a much smaller art quilt, but my quilted wall hangings were too large to be well supported by just the two pockets at the corners. I needed to add an additional hanging sleeve. I also wasn’t crazy about how much extra bulk the folded triangles added at the corners of the quilt, or about how they tended to stretch out and slightly distort the upper corners of my Snowflake quilt so that the edges aren’t hanging perfectly straight in the photo below.
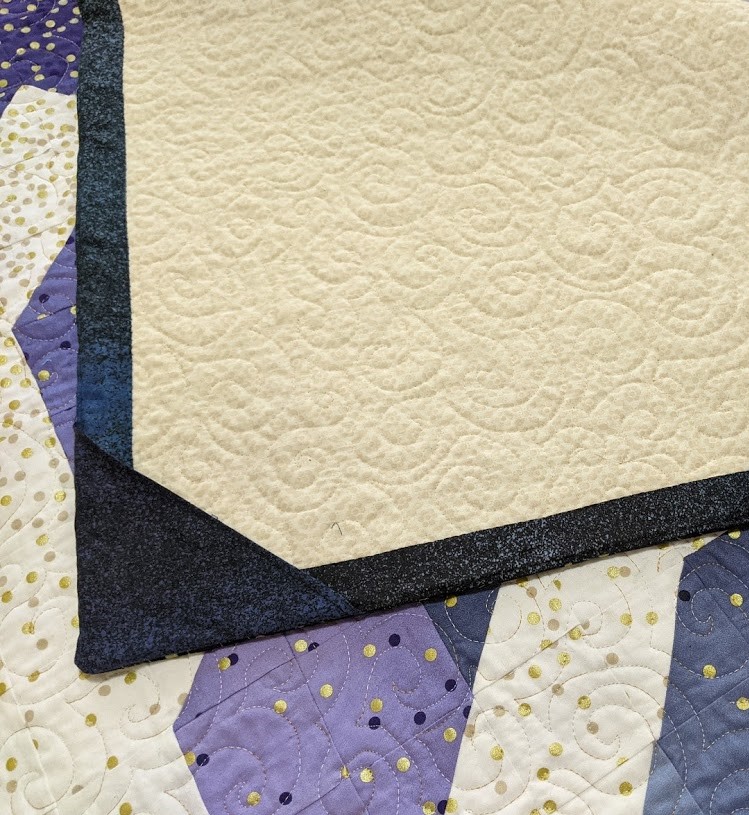
So I don’t know that I’ll do the folded triangle corners again. I also prefer to further eliminate some of the bulk of the strips used at the top, bottom, and sides by using this method (free printable instructions) from Susan Brubaker Knapp. Please note that Susan gives express permission for this free handout to be distributed. Check out her site for more great eye candy, info, & free tutorials – including one for Mitered Facings.
Whichever method you choose, I strongly recommend Wonder Clips instead of pins to hold everything in place – you’ll be working through a lot of layers!
This is the exact link I’ve used to purchase 4 sets of these AWESOME clips.
Happy Finishing!