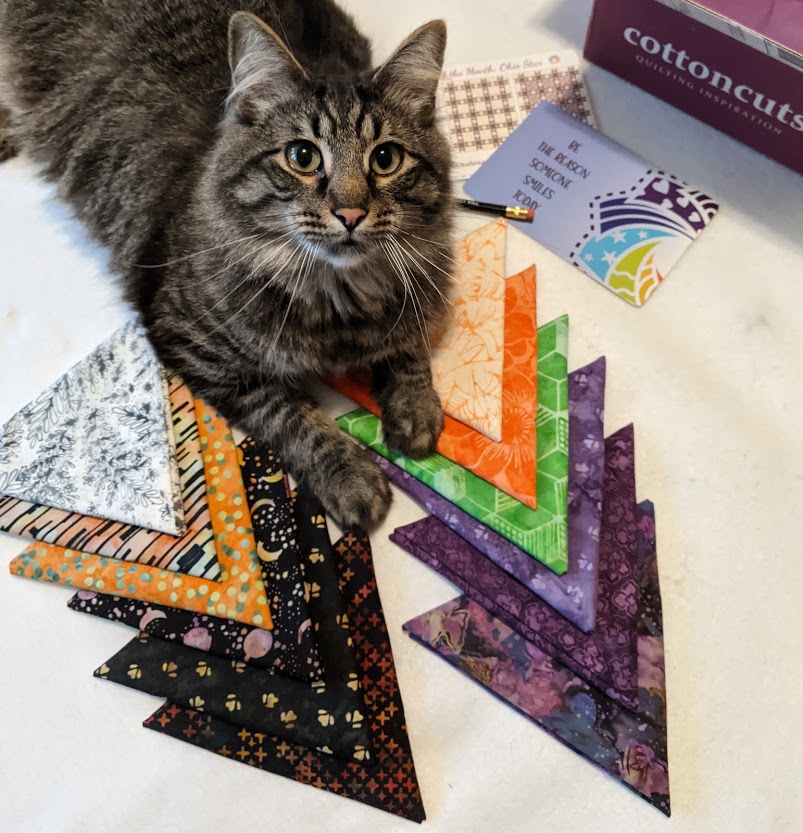
The October Java Batiks box from Cotton Cuts and the Midnight Bite Sew Along (#MidnightBiteSAL) from Lillyella Stitchery offered me a fun opportunity to go outside my comfort zone this month.
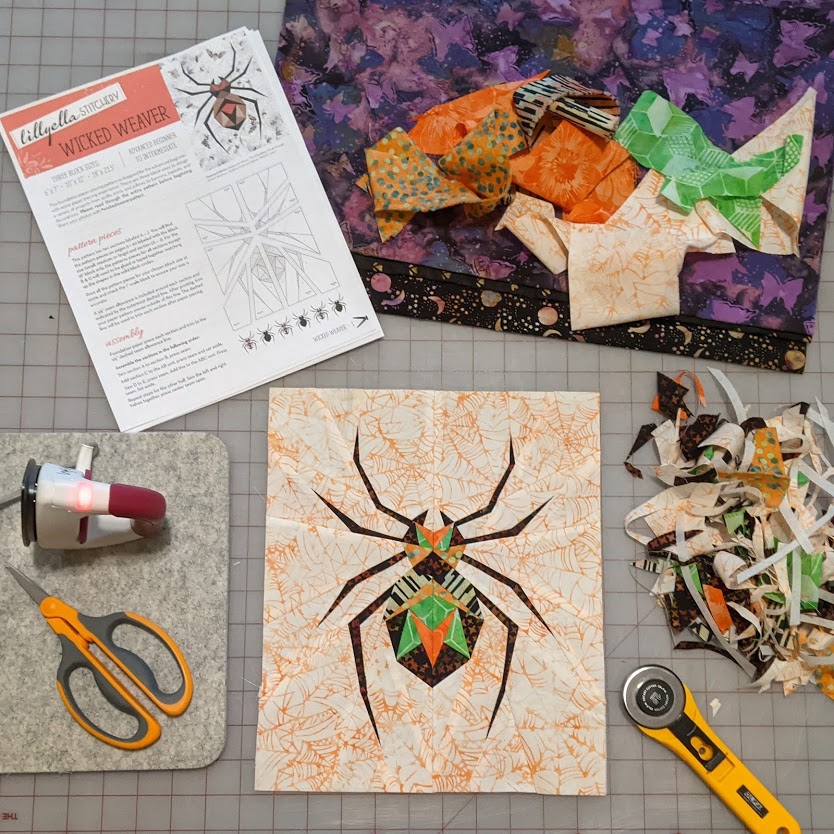
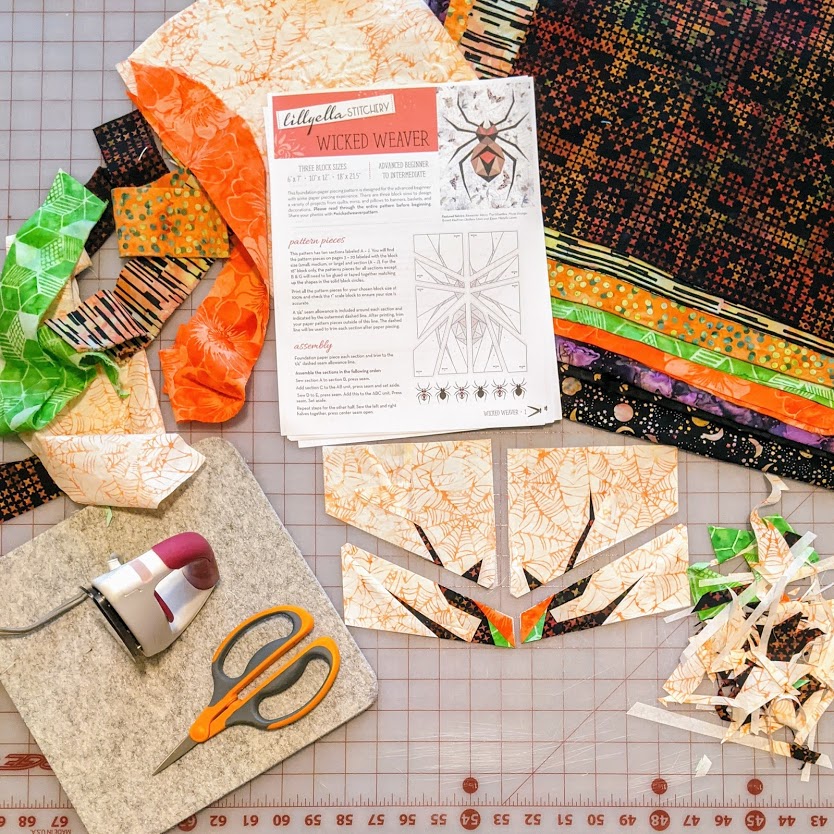
The Midnight Bite pattern bundle has 3 sizes of each of two different patterns – a bat and a spider. I opted to make the Wicked Weaver, which is also available as an individual pattern. Admittedly, spiders aren’t usually my thing, but I thought it would be a interesting challenge.
When I made my fantasy butterfly this summer (from the Take Wing pattern also by Lillyella Stitchery), the only part of the process that I definitely did not enjoy was removing the paper foundations after the stitching was complete. What a pain! Trying to get all the little bits of paper out from underneath the small stitches – without putting too much strain on the stitches – is not my cup of tea. Which was frustrating, because after years of avoiding foundation piecing, I felt like I’d finally hit my groove and figured out a method for foundation piecing that I find straightforward and satisfying.
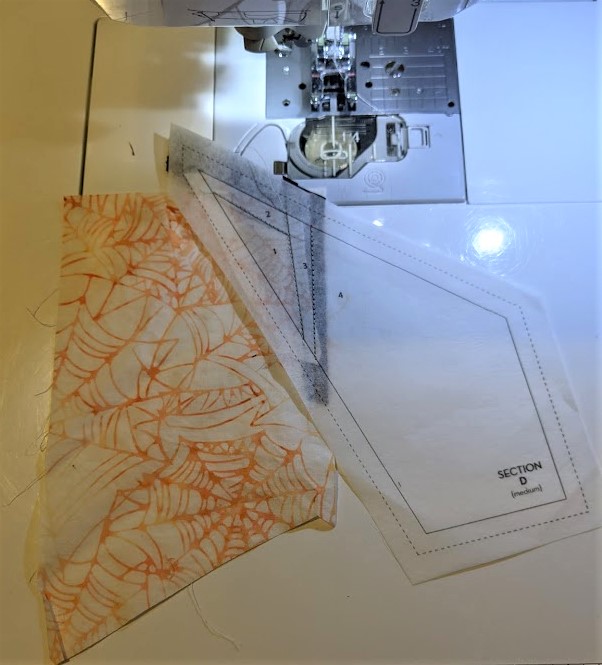
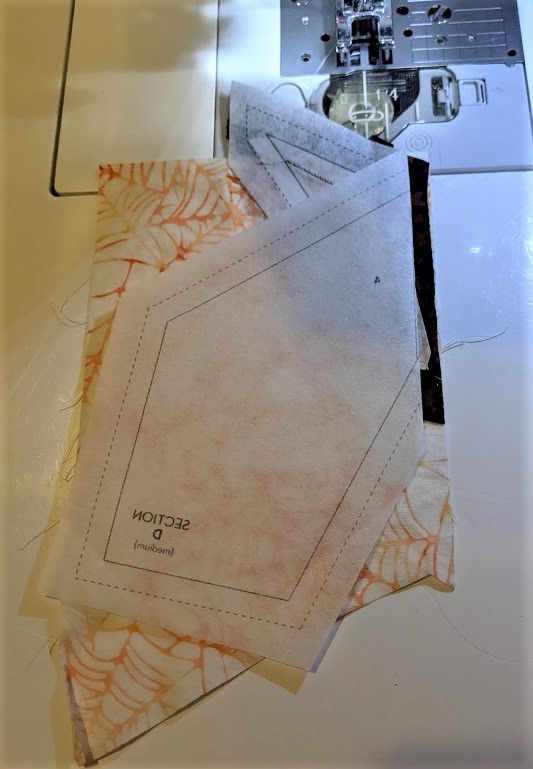
Which brings me to my discovery – June Tailor Perfect Piecing Foundation Sheets. As far as I’m concerned, this product is the best thing for foundation paper piecing since sliced bread!
Just like other foundation papers I have used in the past, these sheets ran though my printer with no problems. But that’s where the similarities ended.
First of all these sheets are translucent, which makes it so much easier to line up the seam allowances perfectly on the underside of the paper while sewing on top of the paper.
(Side note – I don’t precut exact shapes when I foundation piece, but I do measure the average width of the shapes – plus seam allowances – and cut strips of fabric accordingly. This minimizes waste, but still saves lots of time over precutting exact shapes.)
Secondly, it was also easy for me to fold the paper back before sewing each seam and see through to the fabric, making sure that the fabric would completely cover the appropriate shape after the seam was sewn.

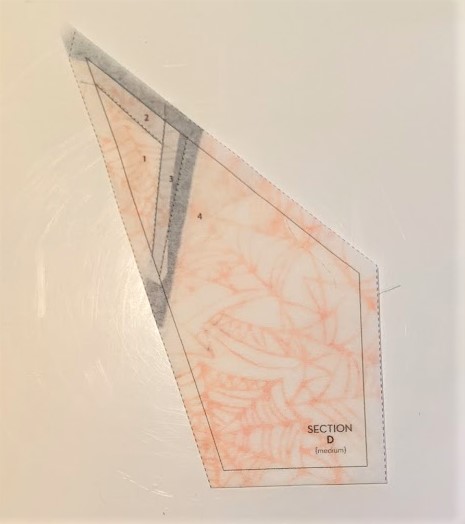
I once again used 60 wt. Bottom Line thread in both the top and bobbin of my machine, but didn’t need to shorten my stitch length – which made it much easier to “sew in reverse” when I wasn’t paying close enough attention and sewed a piece out of order.
And best of all, the “paper” is actually a non-woven stabilizer than can be either torn away cleanly or (HURRAH!!!) left in the quilt.
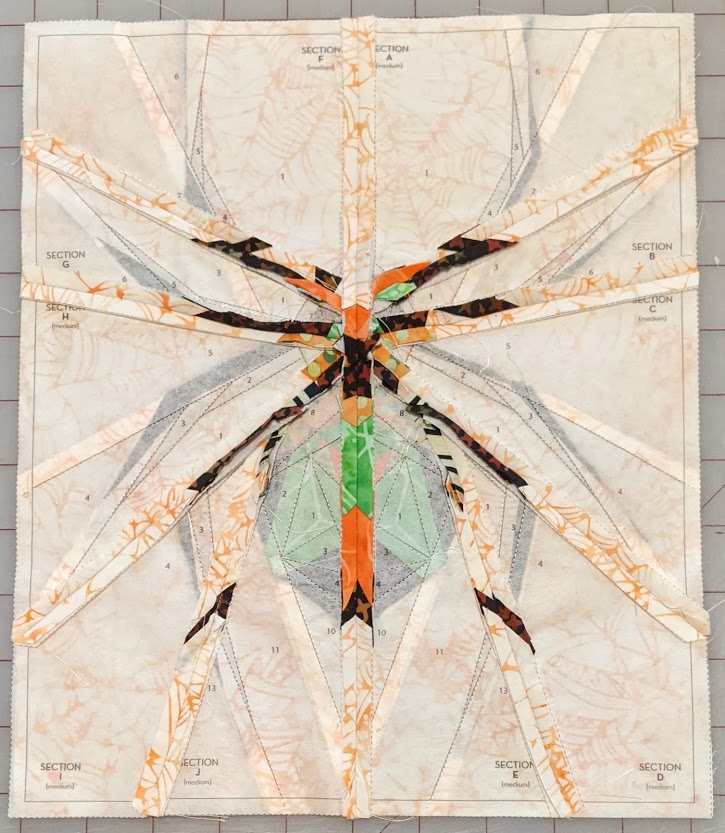
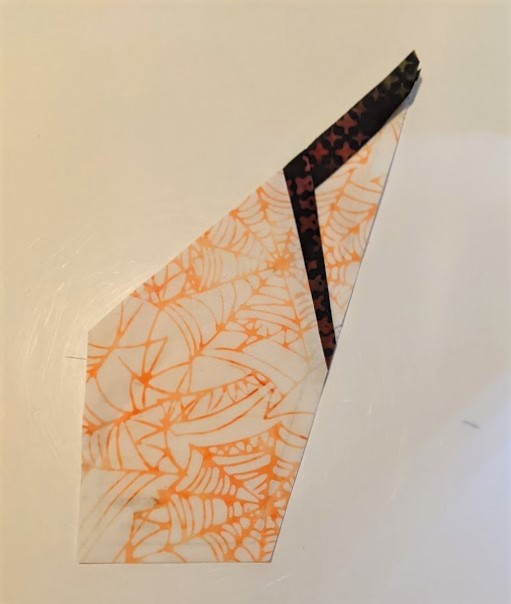
The pattern was just for the spider itself. I improvised a quilt-as-you-go setting and added some decorative stitching to up the “ick” factor and make my spider “hairy”. I finished it off with a flanged binding.
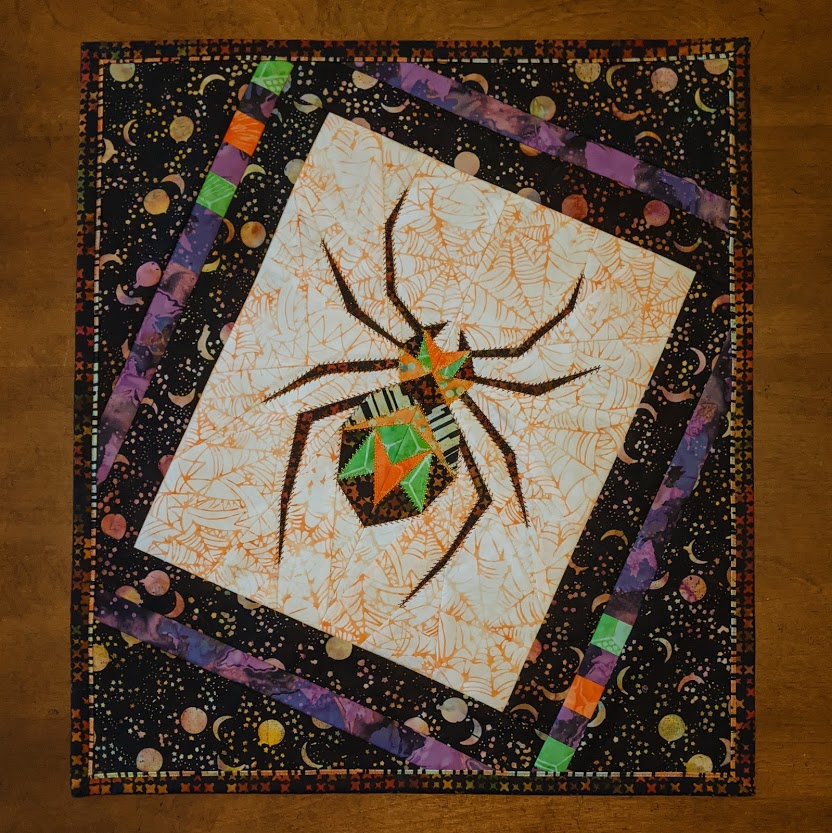

Wicked Weaver spider (pattern by Lillyella Stitchery) with setting pieces designed by Beth Ann Williams and flanged binding.
Happy Halloween!