Now that I’m participating in at least four new sew-alongs over the next few months, my finishing-spree is more important that ever!
This time, I’d like to share yet another machine quilting option – quilting with the decorative stitches that are built into your sewing machine.
My observations & recommendations:
- Start by layering and basting the quilt top, batting, and backing together just as you normally would. The exception is some quilt-as-you-go techniques – then I layer individual quilt blocks with batting – saving the backing for later (as discussed in previous posts).
- Avoid high-loft or fluffy battings – I usally opt for a relatively flat, stable batting such as Hobb’s Heirloom 80/20 or 100% cotton Warm & White.
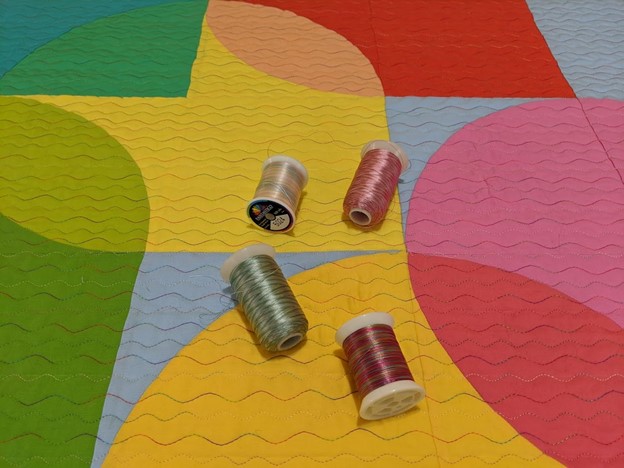
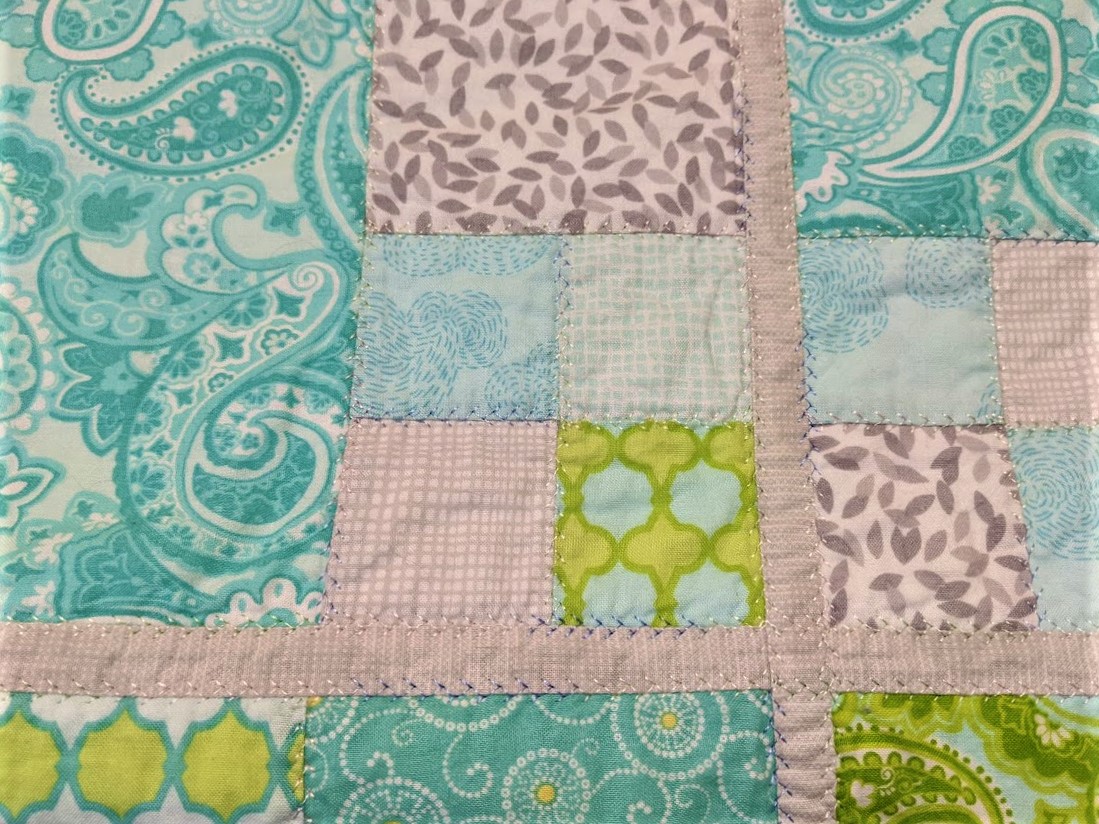
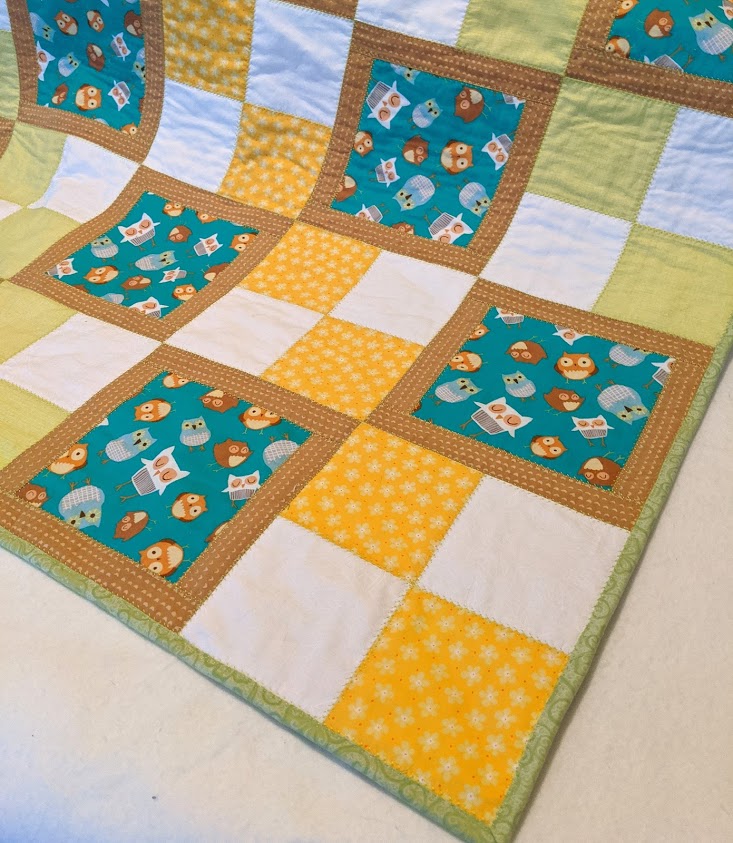
- Select a top thread that is heavy enough that it will show up well, but not so heavy that it builds up too much. My favorite is 40 wt. trilobal polyester thread such as Rainbows or Fanstastico from Superior Threads, but I also like Isacord and even 40 wt. rayon threads from Sulky, Robison-Anton, or Madeira, depending on the color I need. When I want a matte finish, I opt for cotton thread such as 40 wt. King Tut from Superior Threads. I particularly enjoy using variegated threads.
- Select a bobbin thread that will blend with the top thread if (or when) a pinprick of thread may be pulled to the top of the quilt. I get the best results from using a bobbin thread that is finer than my top thread; usually 60 wt. filament polyester such as Bottom Line from Superior Thread. When using a 40 wt. long-staple cotton top thread, I opt for 50 or 60 wt. cotton in the bobbin, usually Aurifil.
- To help avoid messy or skipped stitches or even thread breakage, I insert a new needle into my machine. I usually use a Schmetz Quilting Needle, size 75, but will switch to a size 90 for bulkier threads. I’ve found that some rayon threads can have a tendency to fray, split or break; choosing an Embroidery Needle, usually resolves this, as those needles have a groove in them that reduces friction on the thread.
- A walking food, even-feed foot, or dual-feed is always recommended when machine quilting, as it will help move all of the layers of the quilt through the machine at the same time – as opposed to the feed dogs moving the bottom layer of the fabric while the presser foot potentially creates drag on the top layer, which can result in fabric shearing, ripples or tucks. When it comes to decorative stitching, however, this may limit your stitch options, as depending on your machine, you may need to avoid decorative stitches that incorporate a backwards motion. If that is the case, you can experiment with using your monogramming foot or even a zigzag foot, but you’ll need to watch out for stretching or shifting fabric. Basting with a spray-adhesive such as 505 can help stabilize the layers. 🙂
- Check your machine’s instruction manual, if needed, to make sure you’ll be able to lock your stitches at the beginning and end of each line of stitching. If you don’t have a locking stitch option, may need to leave long tails at the beginning and end of each line of stitching, and tie them off manually and bury them later.
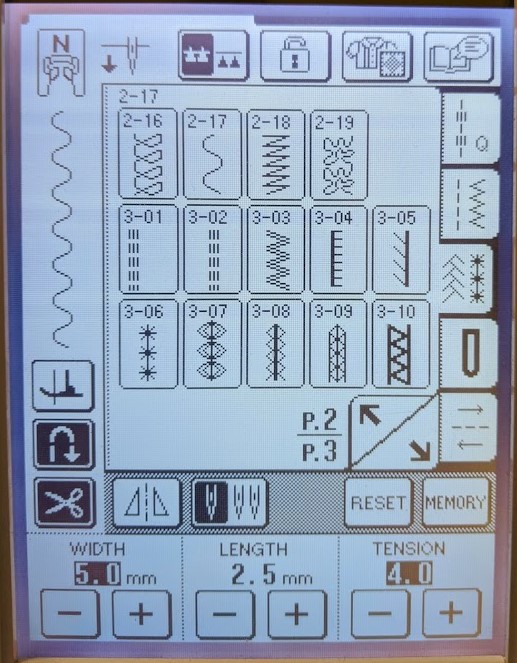
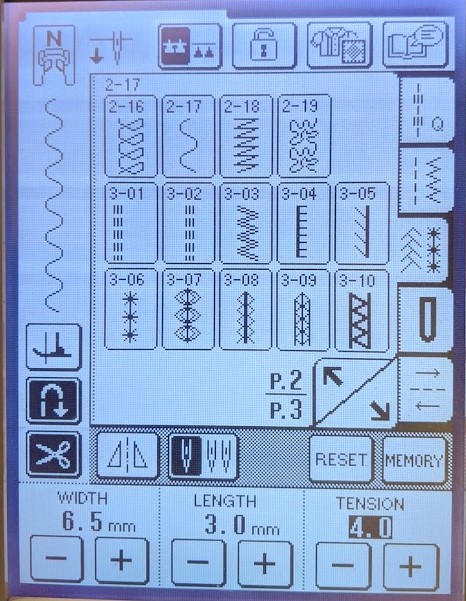
- Play with various length and width combinations to see what you like best. Due to the thickness of the layers, I find that I often prefer a slightly wider and/or longer stitch than the default setting.
That said, it’s a lot easier – and more fun! – than it may sound at this point.
The feather stitch is a particular favorite of mine, probably because it reminds me of my grandmother and the stitching on an heirloom crazy quilt that my great-grandmother started almost a hundred years ago. (I don’t know for sure if my great-grandmother finished it on her own, or if my grandmother helped her; but the story is that it has a piece of my grandmother’s wedding dress in it.)
I especially enjoy the way the feather stitch looks when centered on a seam.
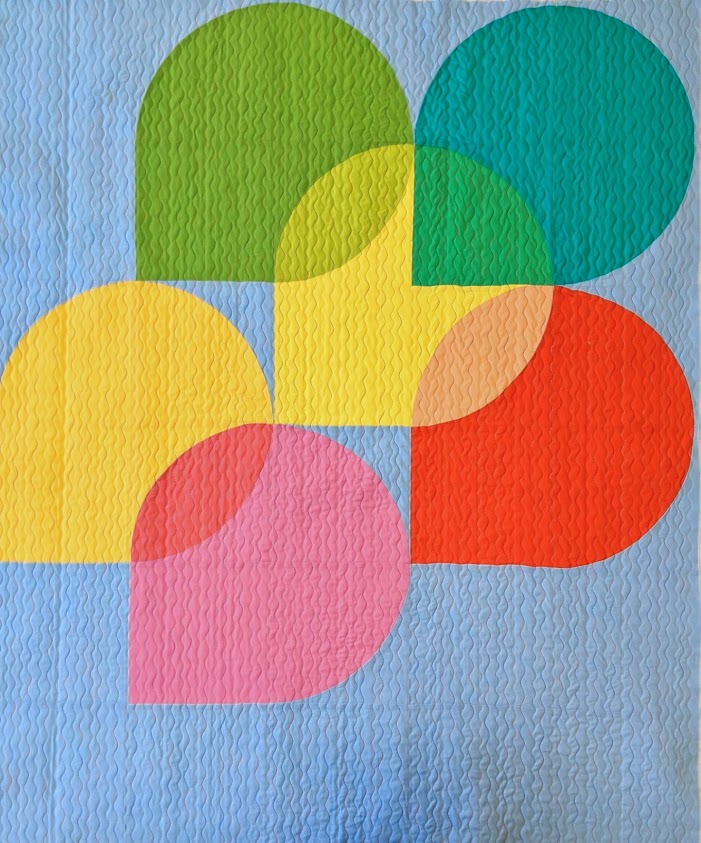
Recently, I used a serpentine stitch to quilt my Hold Tight Petite quilt – pattern by Sharon Holland. For this quilt, I used 4 different variegated threads and alternated two different settings for my serpentine stitch.

A decorative stitch can also be a really fun (and-time saving!) option for sewing a quilt binding by machine: start by sewing the binding to the back of the quilt, and then wrap the binding around to the front and stitch it down with the decorative stitch. (I’ll cover this in more detail in an upcoming post on quilt binding options.)
Happy Quilting!