Piecing on the Jazz

Continuing my evaluation of the Baby Lock Jazz – It’s time to piece a quilt! 

One of the first things I looked for is a straight stitch throat plate, as I have found that very helpful for sewing perfectly accurate, consistently straight seams on other machines, especially when strip piecing. I was initially disappointed to find that there is no straight stitch throat plate available for the Baby Lock Jazz. But I decided to give it a go before making up my mind as to whether or not this poses a significant problem.

Here is how it went:

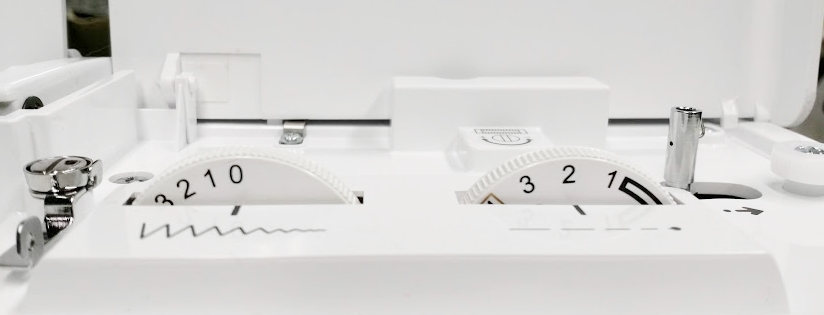
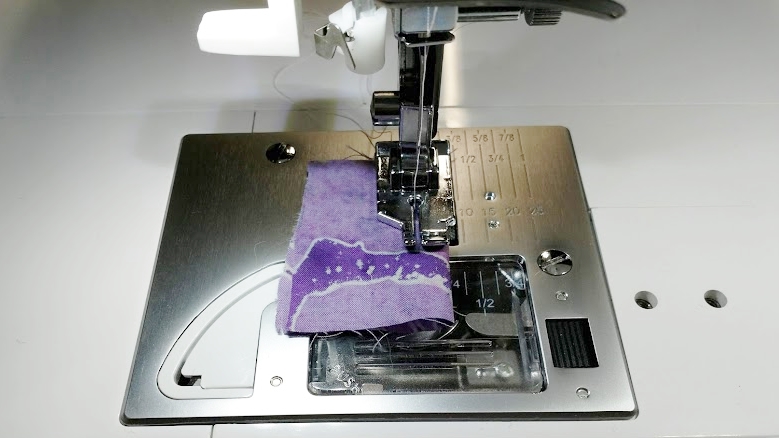
Since the last stitching I had done was a zigzag stitch, the first thing was to switch the machine back to a straight stitch. No problem.  However, when I adjusted the stitch length to 0 (stitch width is not applicable for a straight stitch, right?) I immediately realized I had a problem:

I initially assumed I should set the stitch width to 0 for a straight stitch
Notice the problem – the needle hits the presser foot!

So I consulted the manual – which is terrific, by the way; very clear and well-illustrated.

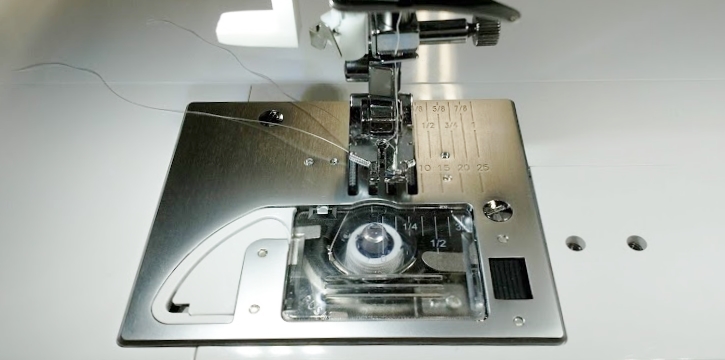
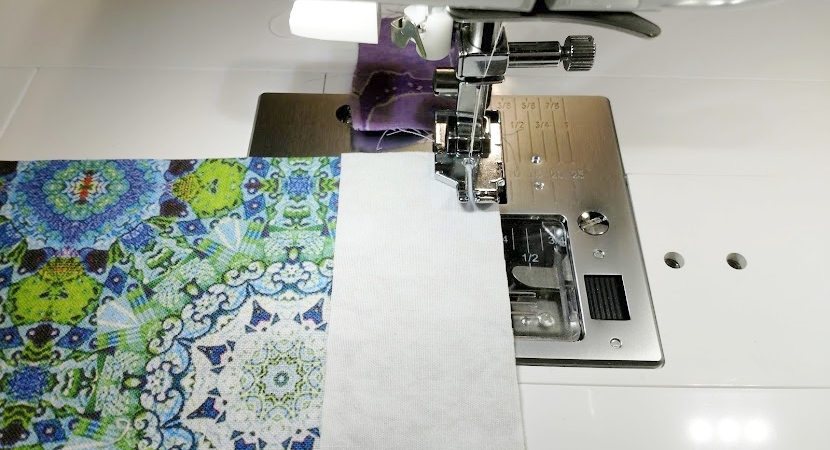
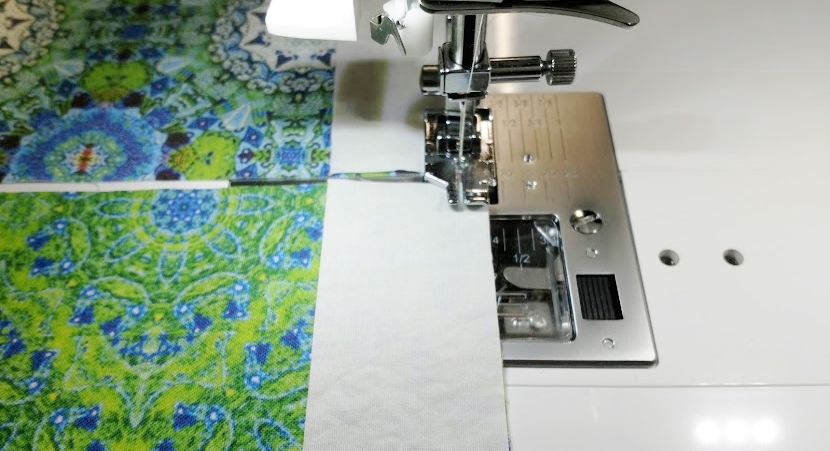
Following the manual, I reset the stitch width to the dot marked on the dial.
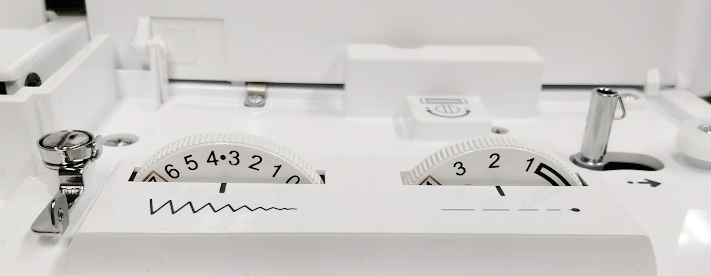
This is the correct stitch width setting for a straight stitch

Perfectly lined up!

Note: I’m thinking that adjusting the stitch width may be a sneaky way to change the needle position, but I’ll explore that another day…

In summary, here is how I set up my Baby Lock Jazz for piecing:

  • Auriful thread, which is a 50 weight cotton, in both the top and bobbin
  • Schmetz Microtex needle, size 70
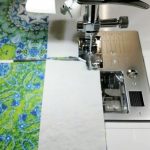
  • Quarter-Inch presser foot
  • Straight stitch
  • Stitch length: 2
  • Stitch width: at the marked dot or 3.5 (as shown above) 
I start by stitching on a scrap fabric, or “header”
I stitch across the scrap, take a stitch or two on air, and then slide my fabric under the presser foot without raising the presser foot – I find this helps prevent the corner of the fabric(s) from being “eaten” by the machine.
I like to chain-piece: stitch across the fabrics being joined, take a a few stitches on air, and then slide the next set of pieces into place without raising the presser foot
When I’ve sewn across the last of my pieces, I finish by stitching onto another piece of scrap fabric – I find this helps keep the stitches straight instead of veering off to the side when I come to the end of the final seam
I’m happy with how the seams turned out – no straight stitch throat plate needed, after all!

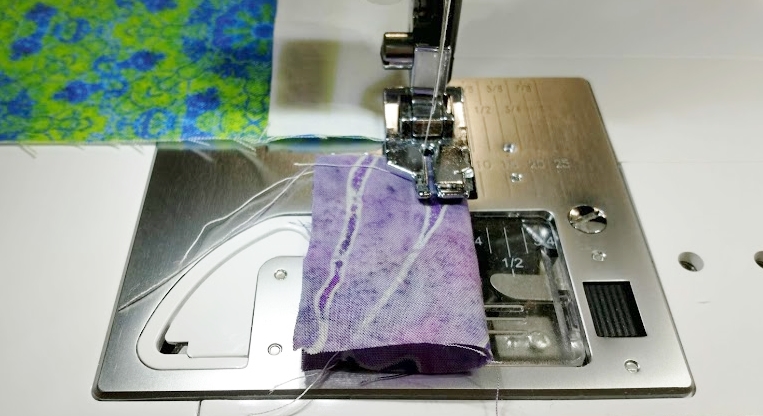
So my worries came to naught – I’m very happy with how the Jazz performs when piecing. 

And a final thought – the lighting is FANTASTIC!

Curious about the fabric I’m using? It’s from my shop at Spoonflower.com 🙂

Please follow and like us:

Beth Ann

When health challenges made hand-sewing (and hand appliqué and hand-quilting) no longer physically viable for her, Beth Ann’s first instinct was dismay and discouragement. But Grandma Baldwin gave her a loving (but stern!) “No pity parties – just figure out a different way.” So Beth Ann turned to her trusty sewing machine and began devising ways to achieve the fine quality appliqué look she craved faster and easier than she ever thought possible. And a career was born! Now Beth Ann enjoys sharing her accessible “invisible” machine appliqué and creative machine quilting techniques with other quilters and fiber artists around the world.

Leave a Reply

Your email address will not be published.

error

Enjoy this blog? Please spread the word :)

Follow by Email