
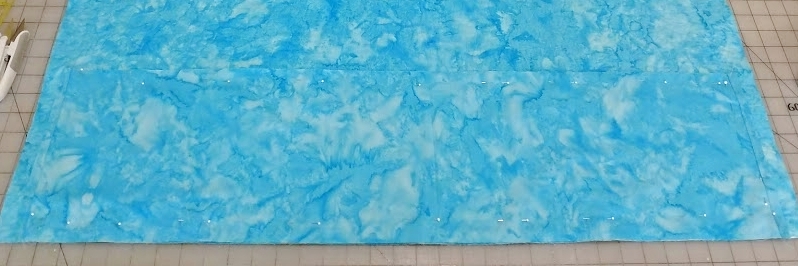
The quilting on my newest Colorwash Bargello quilt is finished!
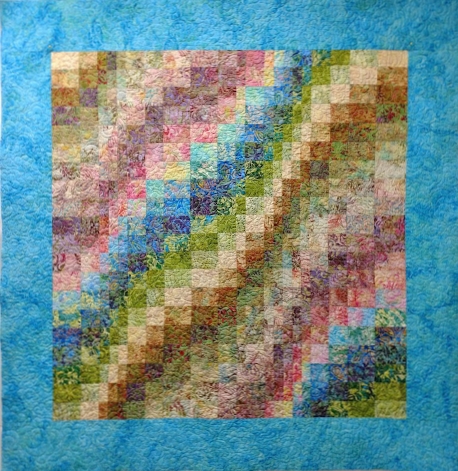
It actually only took me about 2 1/2 hours cumulatively to complete the all-over free-motion quilting, but I had to break the time up into smaller increments so as to not overtax my body – taking into account MS, spinal stenosis, degenerative disc disease, chronic pain & peripheral neuropathy (among other things). Whew!
I’ve squared up the quilt and cut off the excess batting and backing fabric. Before I add the binding, I’m going to add a hanging sleeve. Typically, hanging sleeves are at least partially, if not completely, hand-sewn, but I developed my own methods so as to spare some of the wear and tear on my hands. It’s also super quick to do. 🙂
Note: I included this method in my book, Colorwash Bargello Quilts, as well as the more traditional way to add a formal sleeve. I use this easy sleeve on almost all of my quilts, whether they are teaching samples, personal quilts, or art quilts.
Easy (No Hand-Sewing) Sleeve:
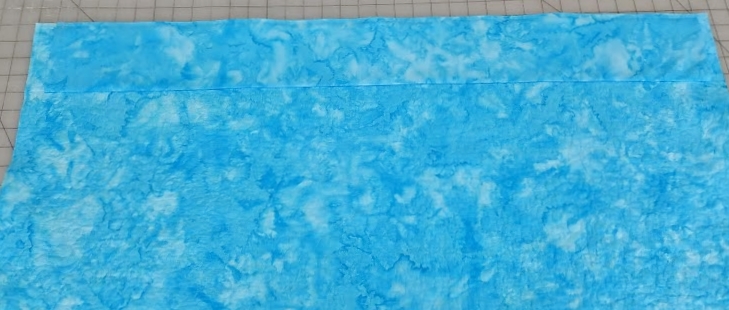
- Measure the width of the longest border at the upper end of the quilt (or longest horizontal seam near the top of the quilt). Double this measurement, and add 3/8″ to determine the width of your sleeve. In this case, the border measures 4″ wide, so I’ll cut the sleeve 8 3/8″ wide.
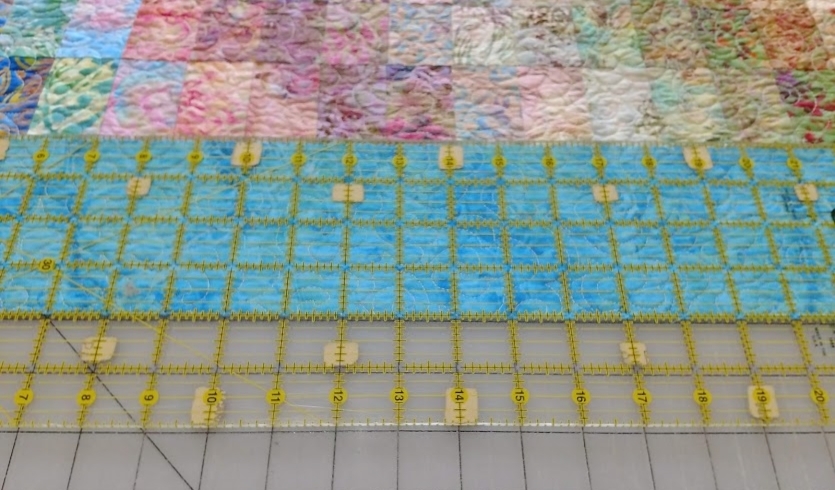
- Cut the sleeve to the same length as the measurement of the longest border at the upper end of the quilt. (This is generally the same length as the top edge of the quilt itself.)
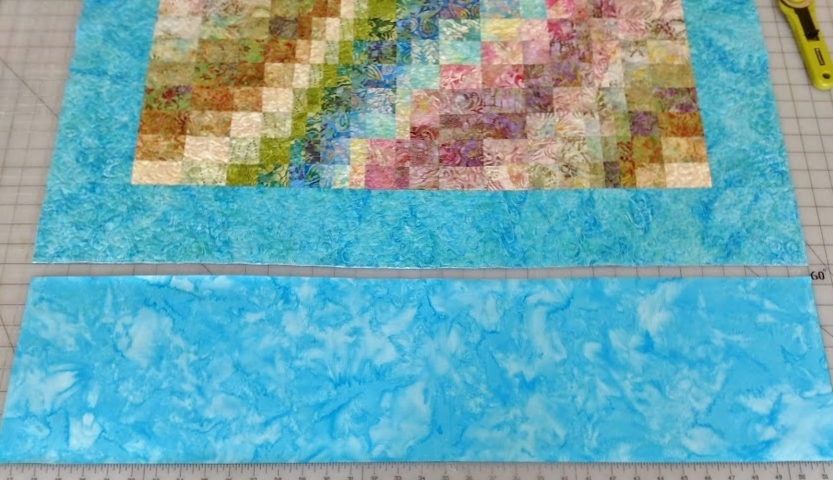
I cut the sleeve to the same length as the full width of the quilt. - Hem the short edges of the sleeve by folding them under twice, about 3/8″ each time, on the wrong side of the sleeve fabric; press to flatten.
- Topstitch the folds to form finished edges of each short end of the sleeve fabric, just as you would for a formal sleeve.
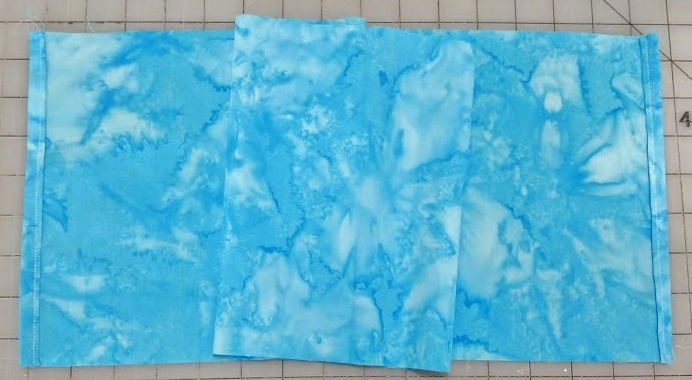
Short ends of the sleeve folded twice and stitched to create finished edges (hems). - Center and pin the sleeve in place, wrong side up, on the back side of the quilt. One long (raw) edge should be even with the top edge of the quilt.
- Pin carefully around the perimeter of the sleeve, keeping all pins away from the center of the sleeve.
Sleeve pinned in place – keeping pins away from the center of the sleeve - Flip the quilt over.
- Clean out your machine, if necessary, to make sure it is free of lint, bits of thread, or other debris. I recommend .004 clear monofilament thread (I like MonoPoly best) as your top thread, a 60 wt., 2 ply cotton or 60 wt. high-quality filament polyester (I like Bottom Line) in your bobbin and a fine, sharp needle (I prefer Schmetz Microtex, 70/10 for this). I match the color of my bobbin thread as closely as I can to my backing fabric.
- From the front of the quilt (which means the pins will be underneath the quilt), stitch in the ditch along the longest border (or other horizontal seam) you have chosen. Don’t worry about crossing any of your quilting lines; this stitching will be hidden, and will not interfere with other quilting lines or free-motion work. Be sure to backstitch at the beginning and end of this stitching. As you can see, I am using my walking foot for this.
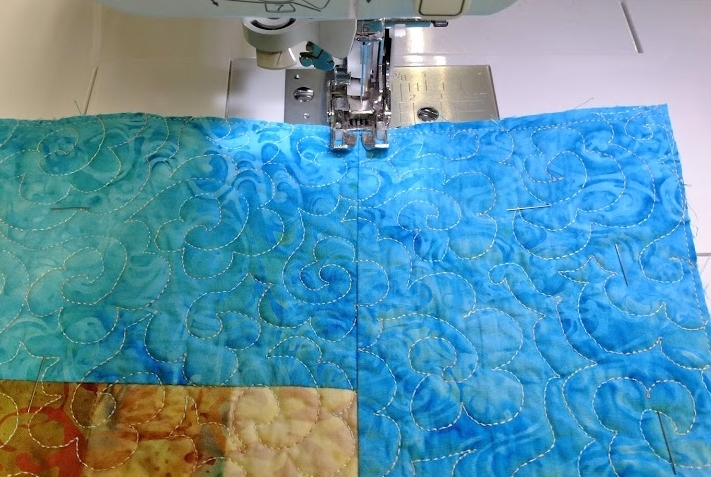
Stitching in the ditch – hiding the stitching in the seam 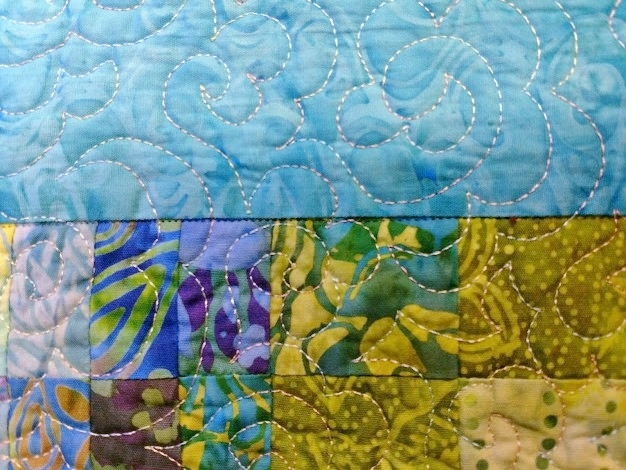
You can’t see this stitching unless you know it is there and look very carefully! (It will be even less visible after the quilt is washed at least once.) - From the back of the quilt, fold the sleeve in half so that both of the long raw edges are even with the top edge of the quilt. (Because of the extra 3/8″ added in the first step, the fold will not line up perfectly with the stitched line. This extra fullness in the sleeve will help to compensate for the width of a hanging rod.) Press. Pin carefully.

Folding the sleeve in half and pressing to flatten Note that the fold line will not line up with the stitching line – we have built-in some extra fullness in the sleeve to accommodate a hanging rod without distorting the front of the quilt. 
Pinned and ready for the final stitching! (The quilt has been folded a couple of times to make it easier to handle at the sewing machine.) - Stitch the top edge of the sleeve in place with a scant 1/4″ wide seam allowance. This stitching will be covered when you add the binding. Again, I am using my walking foot for this.
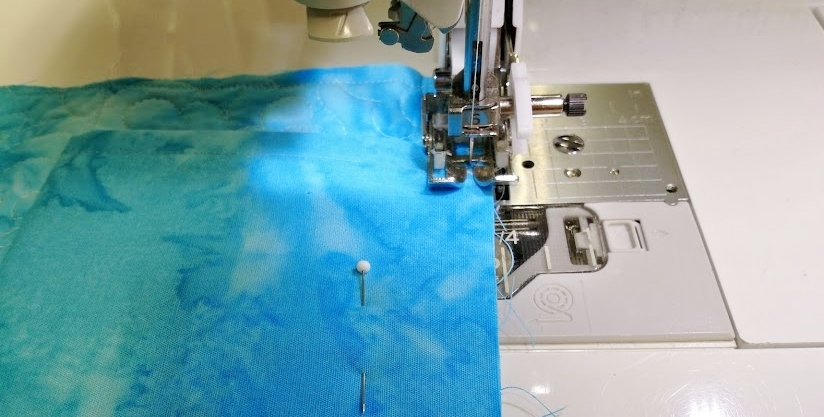
Stitching with a scant 1/4″ seam – you want this stitching to be hidden in the seam allowance when you attach the binding!)
There you go!
Note: Many quilt shows specify the width of the sleeve you must have – which usually seems to be about 3-4″ – so take that into consideration when you select the border seam or other horizontal seam where you will anchor the sleeve.