This is the eighth in a series of sew/quilt-along posts about making a bargello quilt.
I am following the pattern for Cascade, the most beginner-friendly pattern from Colorwash Bargello Quilts.
I’ve picked out my border and am ready to sew it on.
When I first started quilting many, many years ago, I would just lay my border strip across the end of the quilt, sew it on, and then cut off any extra border fabric that extended past the edge of the quilt.
Sometimes this method seemed to work just fine; but other times, I would find myself grappling with quilt edges that were bowed instead of straight, wavy edges, or even little “volcanoes” or bulging areas within the quilt.
The problem was that the outer edges of a pieced quilt sometimes seem to “grow” or stretch a little more (from handling?) than the interior of the quilt. This tendency could be exacerbated if the pieced quilt had a lot of small pieces, strip-piecing, bias edges, or even just a lot of cross-grain pieces – especially if the fabrics in the quilts varied even a little in weave. (High-quality batik fabrics usually stretch a little less than high-quality quilting-weight cottons, which usually stretch a little less than chain-store quilting cottons, etc.)
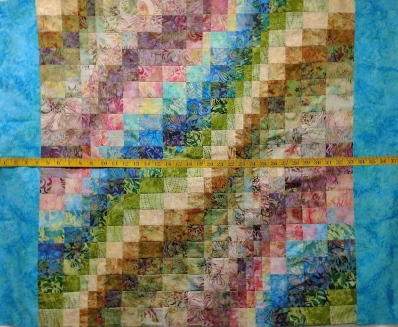
What I eventually learned is that perfectly flat quilts with perfectly square corners are much easier to achieve if you follow these tips:
- Always measure through the center of the quilt to determine border lengths
- Always cut parallel borders together, so that they are exactly the same in length
- Pin, pin, pin!
BUT if the discrepancy between the center of the quilt and the outer edge of the quilt is more than 1/4″, I recommend strategically trimming the quilt top or “squaring it up” before proceeding with the borders!
Here is how this method looks in practice:

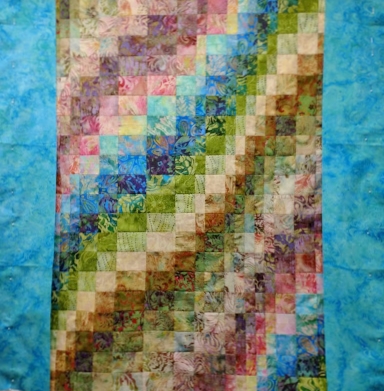
When pinning borders, I always follow this procedure:
- Cut parallel borders exactly the same length.
- Pin the beginning and end of the first border
- Pin the middle of the border
- Pin between the middle and each end of the border
- Pin between those pins… etc., etc.
That way, if the border is slightly longer than the outer edge of the quilt (the border being cut to match the center of the quilt), any excess border can be gradually eased to fit.
If the edge of the quilt has stretched a bit (which is more common), the extra fullness can likewise be evenly distributed and eased to fit.
Tip: If you can, sew with whichever is slightly longer (quilt or border) against the feed dogs so that the feed dogs can assist you.
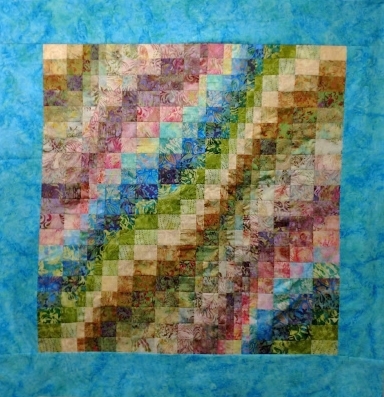
And there you have it!
The next step will be to layer the quilt top with batting and backing, and then quilt it.
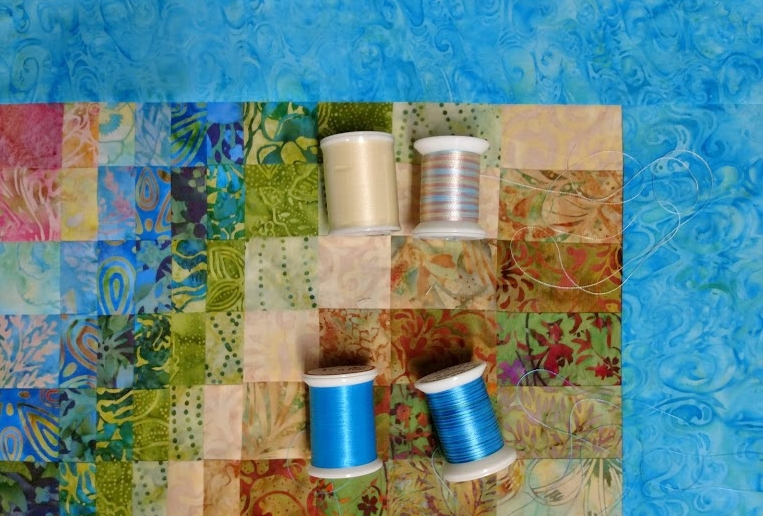
I’m counting on the free-motion quilting to soften the contrast between the border and the interior of the quilt, and to build cohesion through similarity in color and visual texture, as well as physical texture.
Here are two of the thread combinations I am considering: