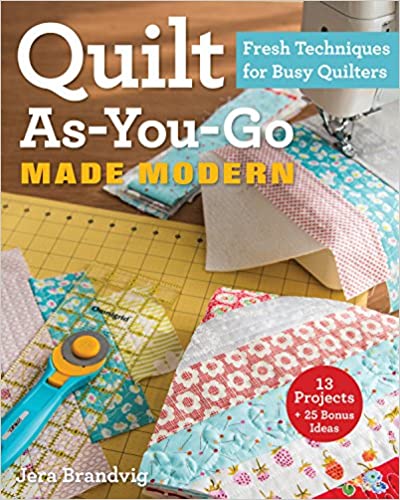
Quilt As-You-Go Made Modern: Fresh Techniques for Busy Quilters by Jera Brandvig
From C&T Publishing:
Fun and done! Quilting is easier than ever with this popular method

• A modern approach to quilting that’s fresh, fun, and simpler than it sounds; it will change the way you quilt (for the better)
• Great for moms or anyone with a busy schedule – these 13 projects are easy to transport because they make it simple to pick up where you left off
• Go your own way: This method allows you to use a pattern or improvise, creating a wide variety of design options
• Save money! Learn how to finish your own quilts without the use of a longarm professional
Do you believe rules were meant to be broken? If so, this improvisational quilt-as-you-go technique is for you. Instead of dealing with precise paper patterns and cutting measurements, you’ll learn how to piece fabric onto small, manageable batting blocks. Let your creative juices flow as you quilt directly on the blocks (not the whole quilt!), whether in large abstract zigzags or small structured stitches. After the blocks have been joined, all you need to do is add backing fabric and binding, and – voila – it’s finished!
I’ve been interested in quilting as-you-go methods since I first saw “Lap Quilting” with Georgia Bonesteel on PBS back in the 1990s. Motivated partly because the weight of a full size quilt at the sewing machine has become extremely difficult for me to deal with – even though I am VERY comfortable with the technical aspects of machine quilting – and partly because I find the sheer convenience of it appealing, I have been on alert for different methods ever since. This book was the “AHA!” I’ve been hoping to find.
What’s New
First of all, let’s think about the traditional method of assembling a quilt:
- First you sew together pieces of fabric to create the quilt top, usually creating some kind of pattern or intentional design.
- Next, you layer the quilt top, batting, and backing fabric to create the 3-layer “quilt sandwich” .
- It is important that these layers don’t shift while you are quilting them together (shifting can produce lumps, irregular stitches, distortions of the pattern, and/or irregular edges), so the layers are usually secured together with hand-basting (for quilting by hand only), safety-pin basting (good choice for machine quilting), or by using a fusible batting or spray.
- Then you start quilting. These are the (hand or machine-sewn) stitches that hold the three layers together and create a “quilt”. (The stitches can be a wonderful decorative element in their own right – but that is different topic.)
- Finally, you bind the raw edges all the way around the quilt.
- If you are feeling especially virtuous, you can sew on a label with your name, any applicable design credits, the date, and where you are from.
The most challenging part of this process for most quilters is the quilting stage. Hand quilting is lovely, but it simply takes too much time for most of us – and too much finger dexterity and control for some of us. Quilting by machine is a wonderful alternative, but it does pose an additional challenge of feeding the bulk of the quilt through the machine while still giving yourself enough slack to be able to stitch freely. There are tips and tricks that can help with this process, but the bigger the quilt, the more challenging it will always be.
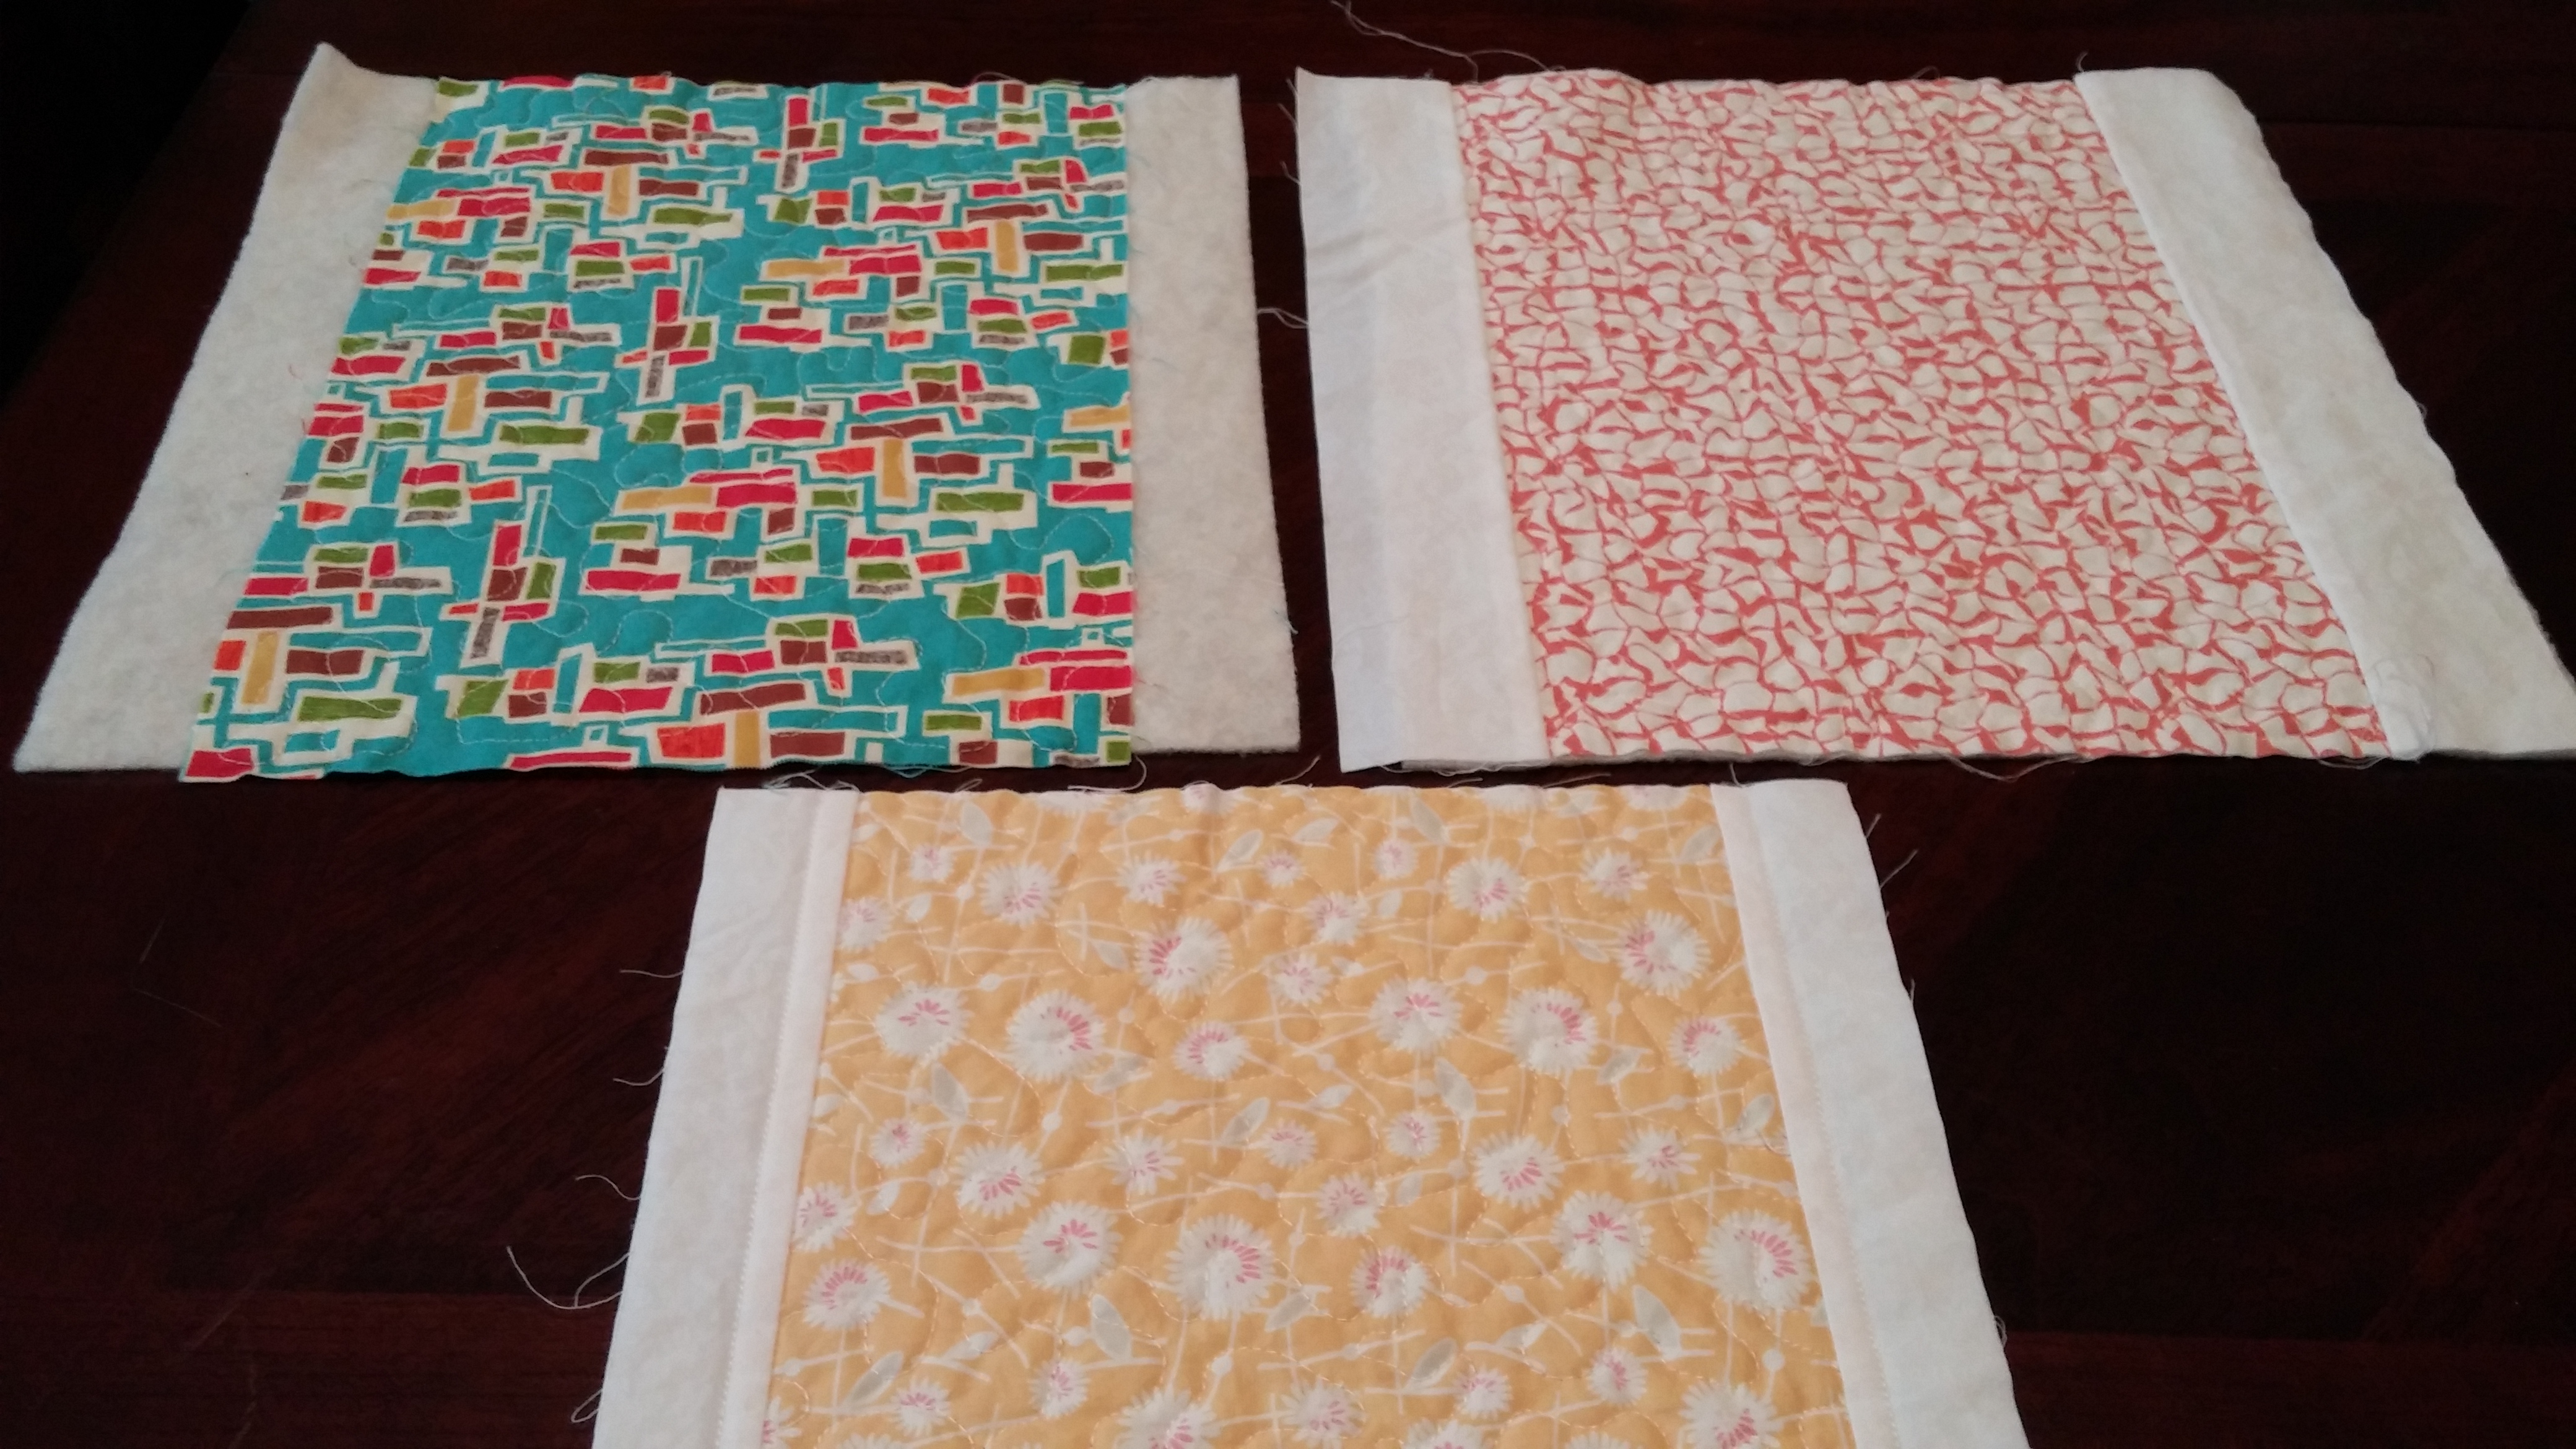
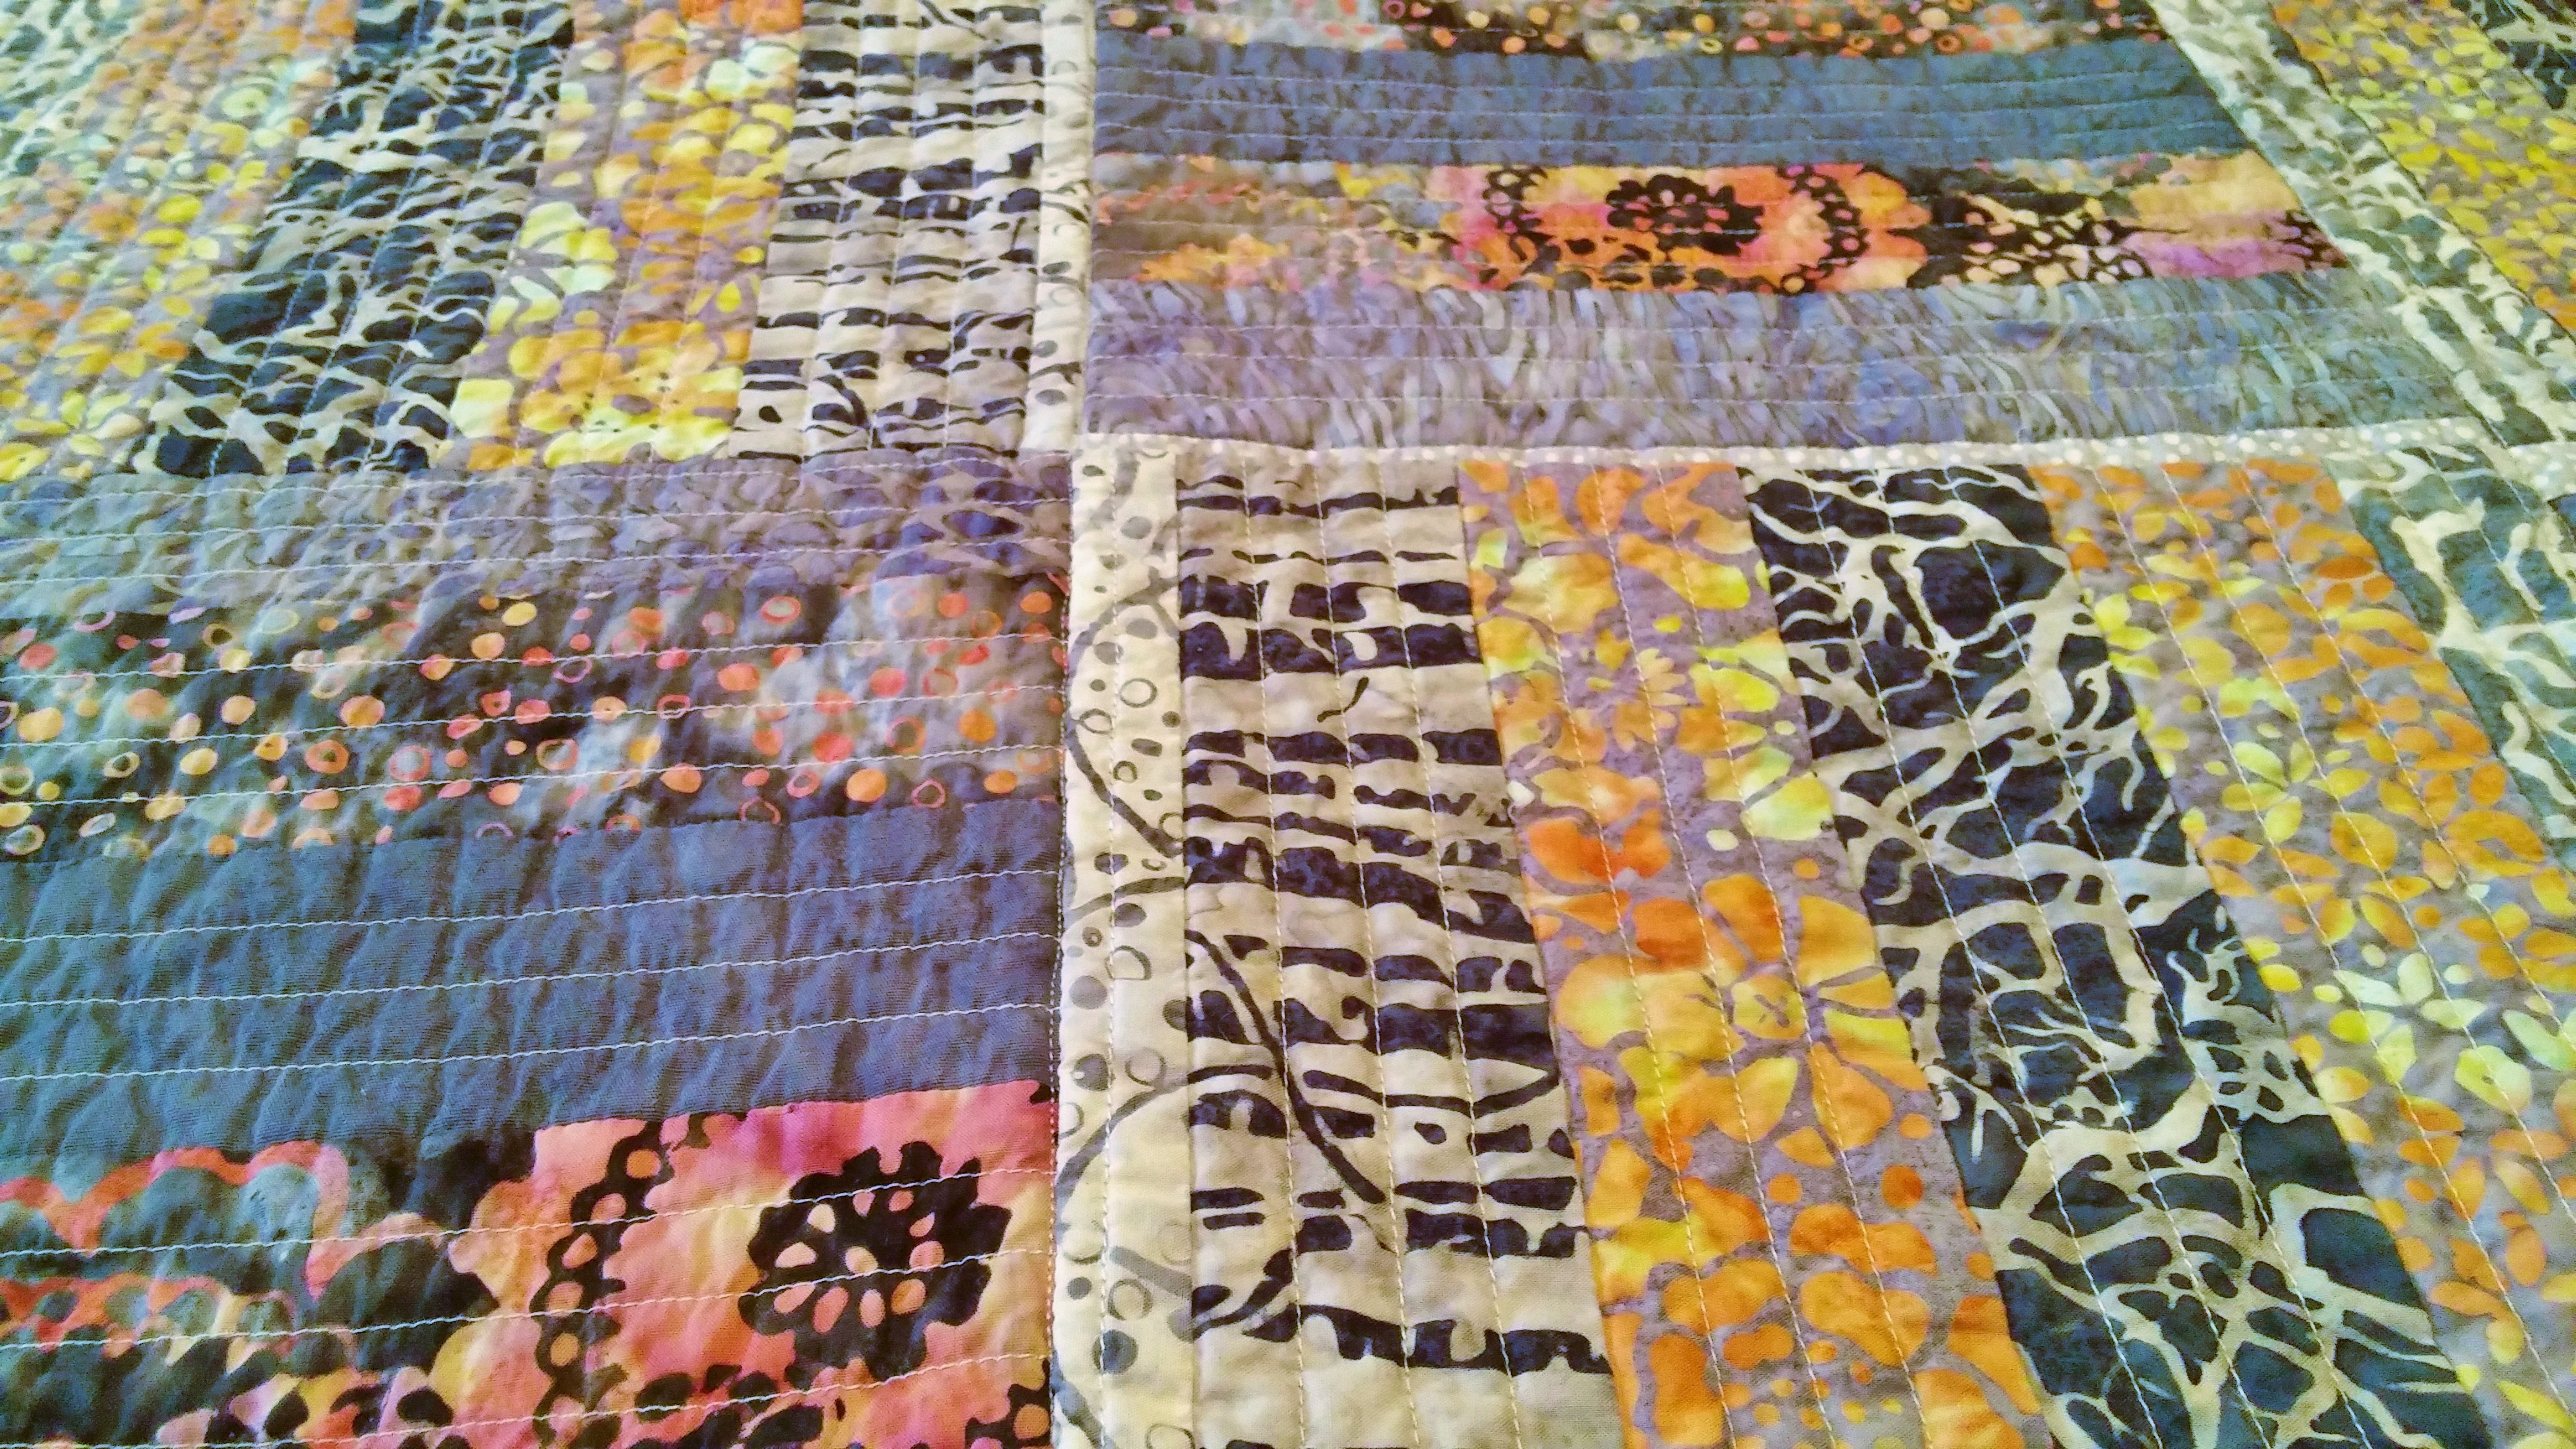
This book changes the game by allowing you to quilt blocks (in this case, 9 1/2″ or 12 1/2″ squares) individually, through the batting, but not the backing fabric.
Other common quilt as-you-go methods, such as the method I learned from Georgia Bonesteel, allow you to quilt all three layers together in individual blocks, but usually require a significant amount of handstitching as well as machine stitching to join the quilted blocks.
Jera’s Approach:
- Determine the block size you want to make. (This information is specified in each pattern.)
- Cut the appropriate number of batting squares – which will be 1″ larger than the finished quilt block (10 1/2″ or 13 1/2″). You can use the handy charts given in the book to help you see exactly how much batting to buy and how many blocks you should be able to get out of specific batting sizes (crib, full, queen, etc.)
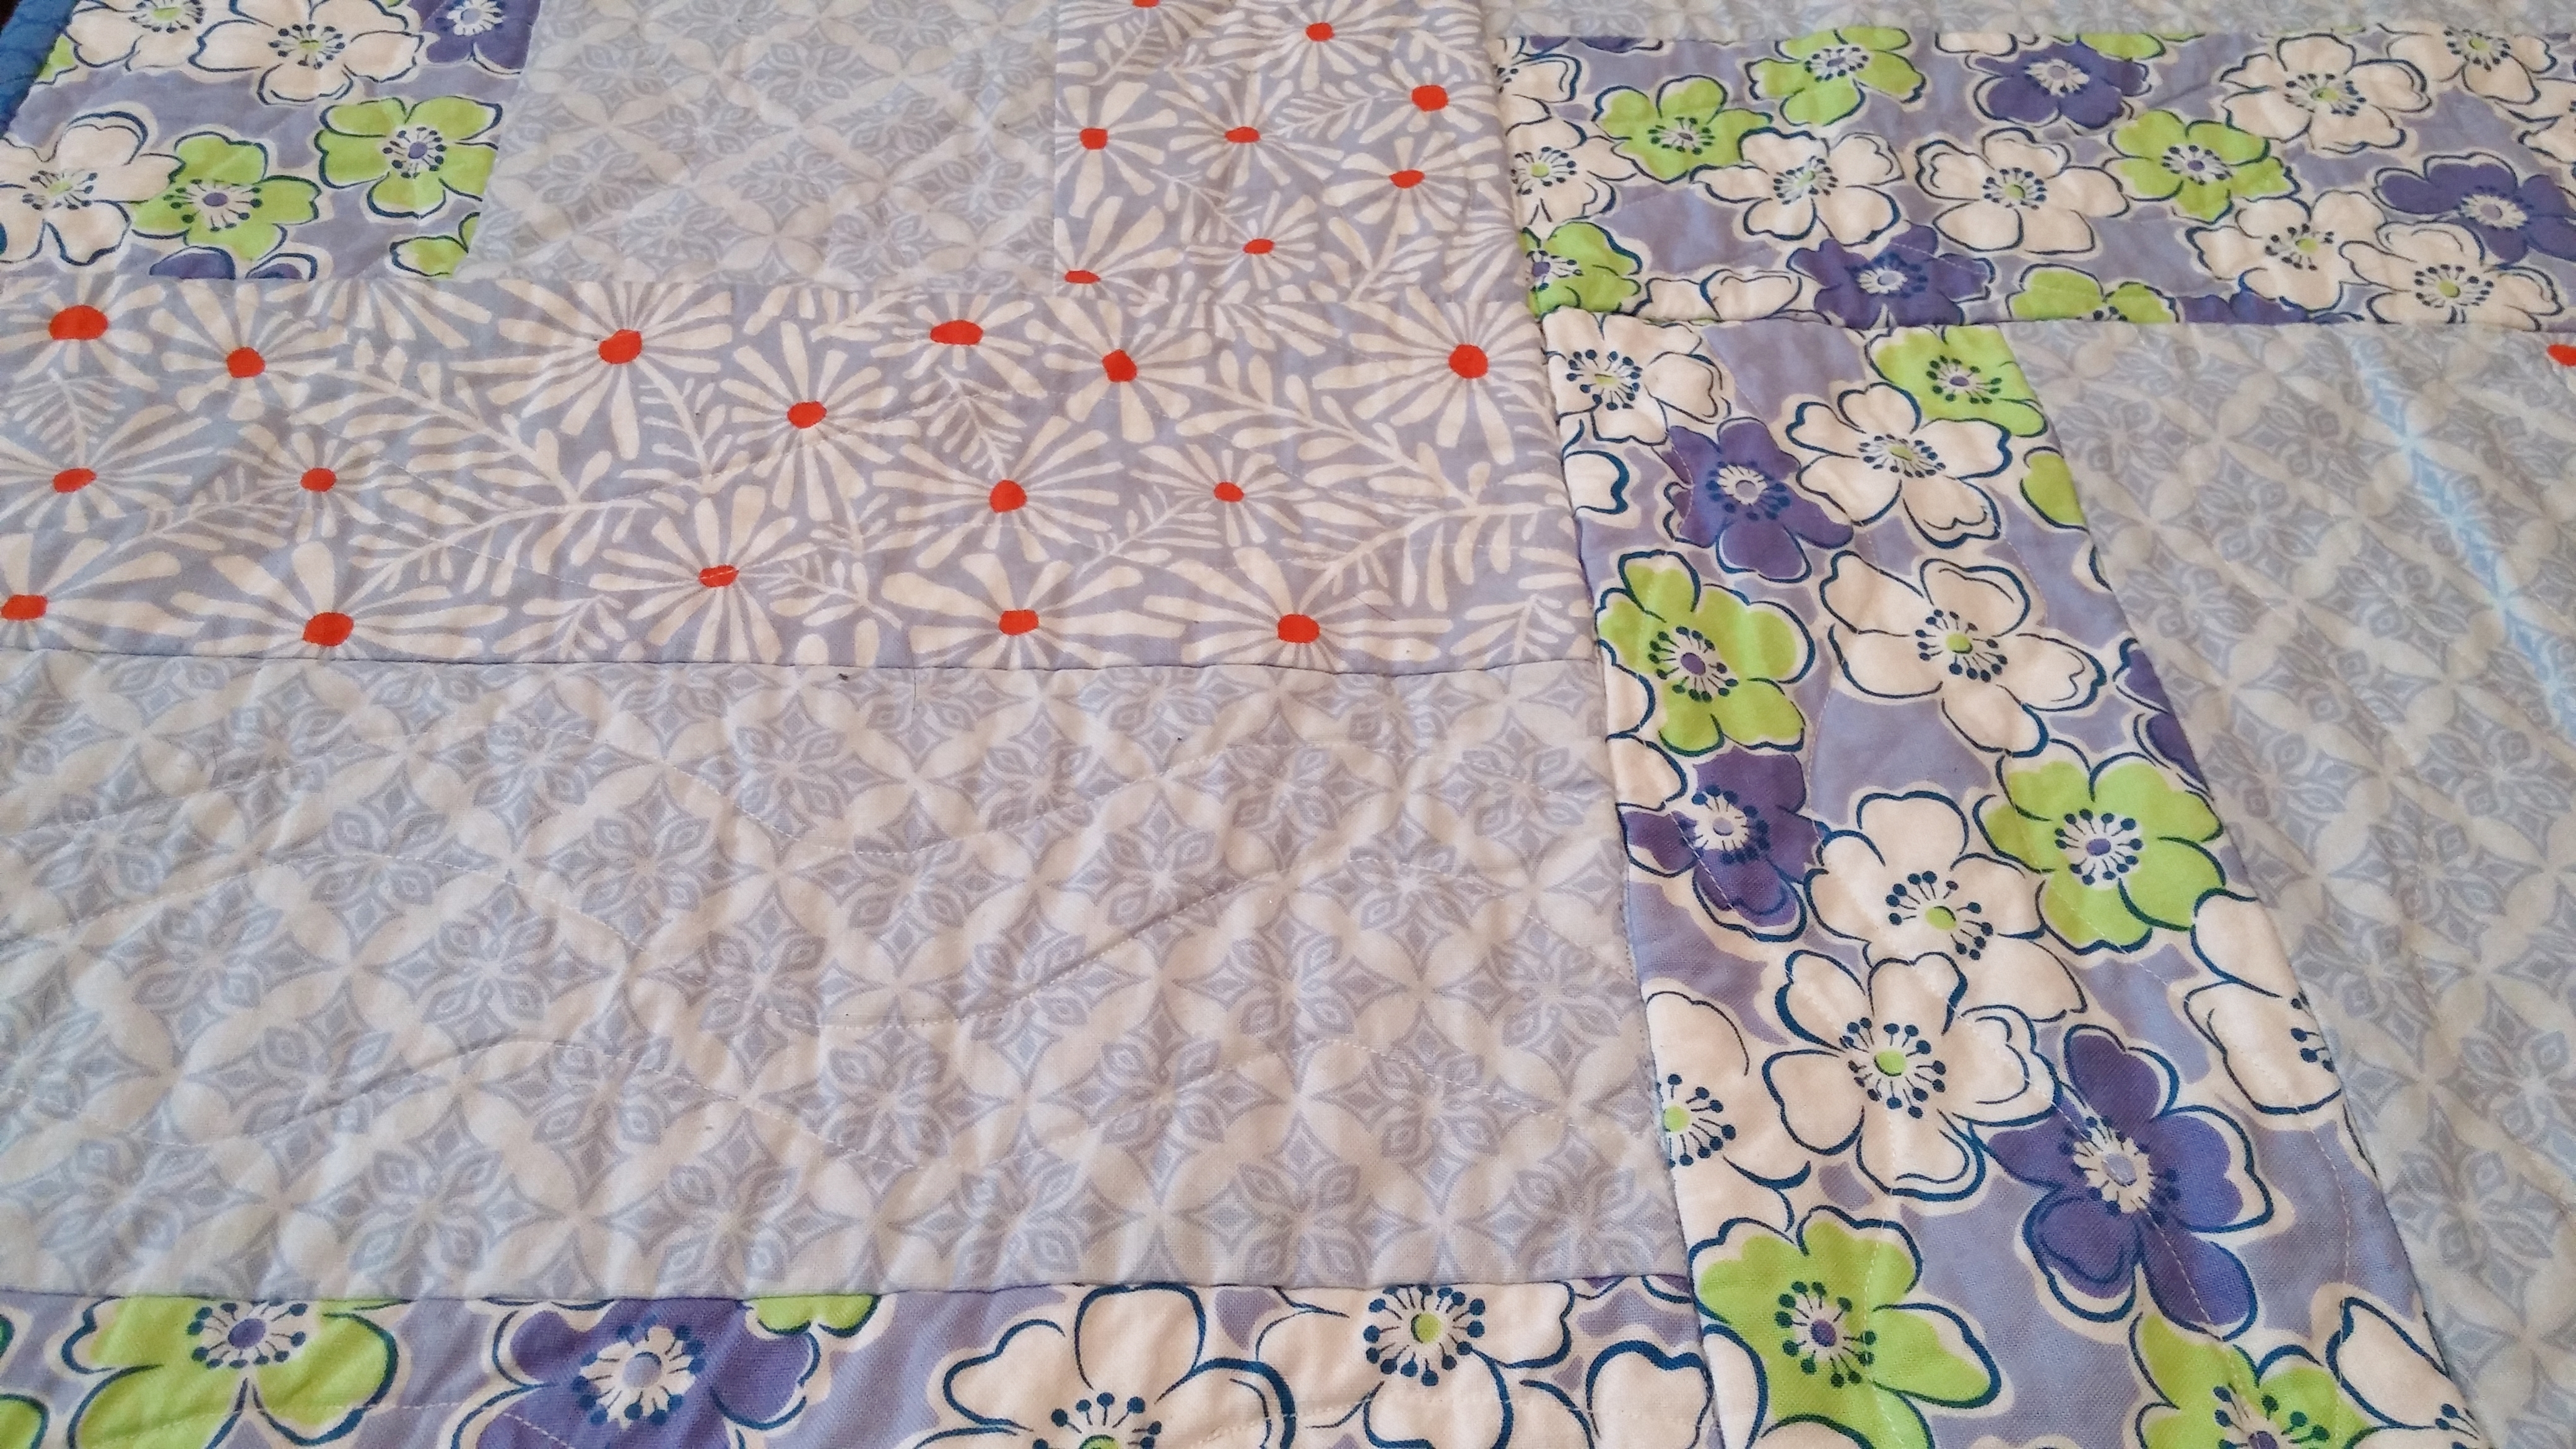
- Piece (sew) the blocks directly onto each batting square. This “quilts” the block, attaching the fabric to the batting, but the stitching does not show on the front of the block.
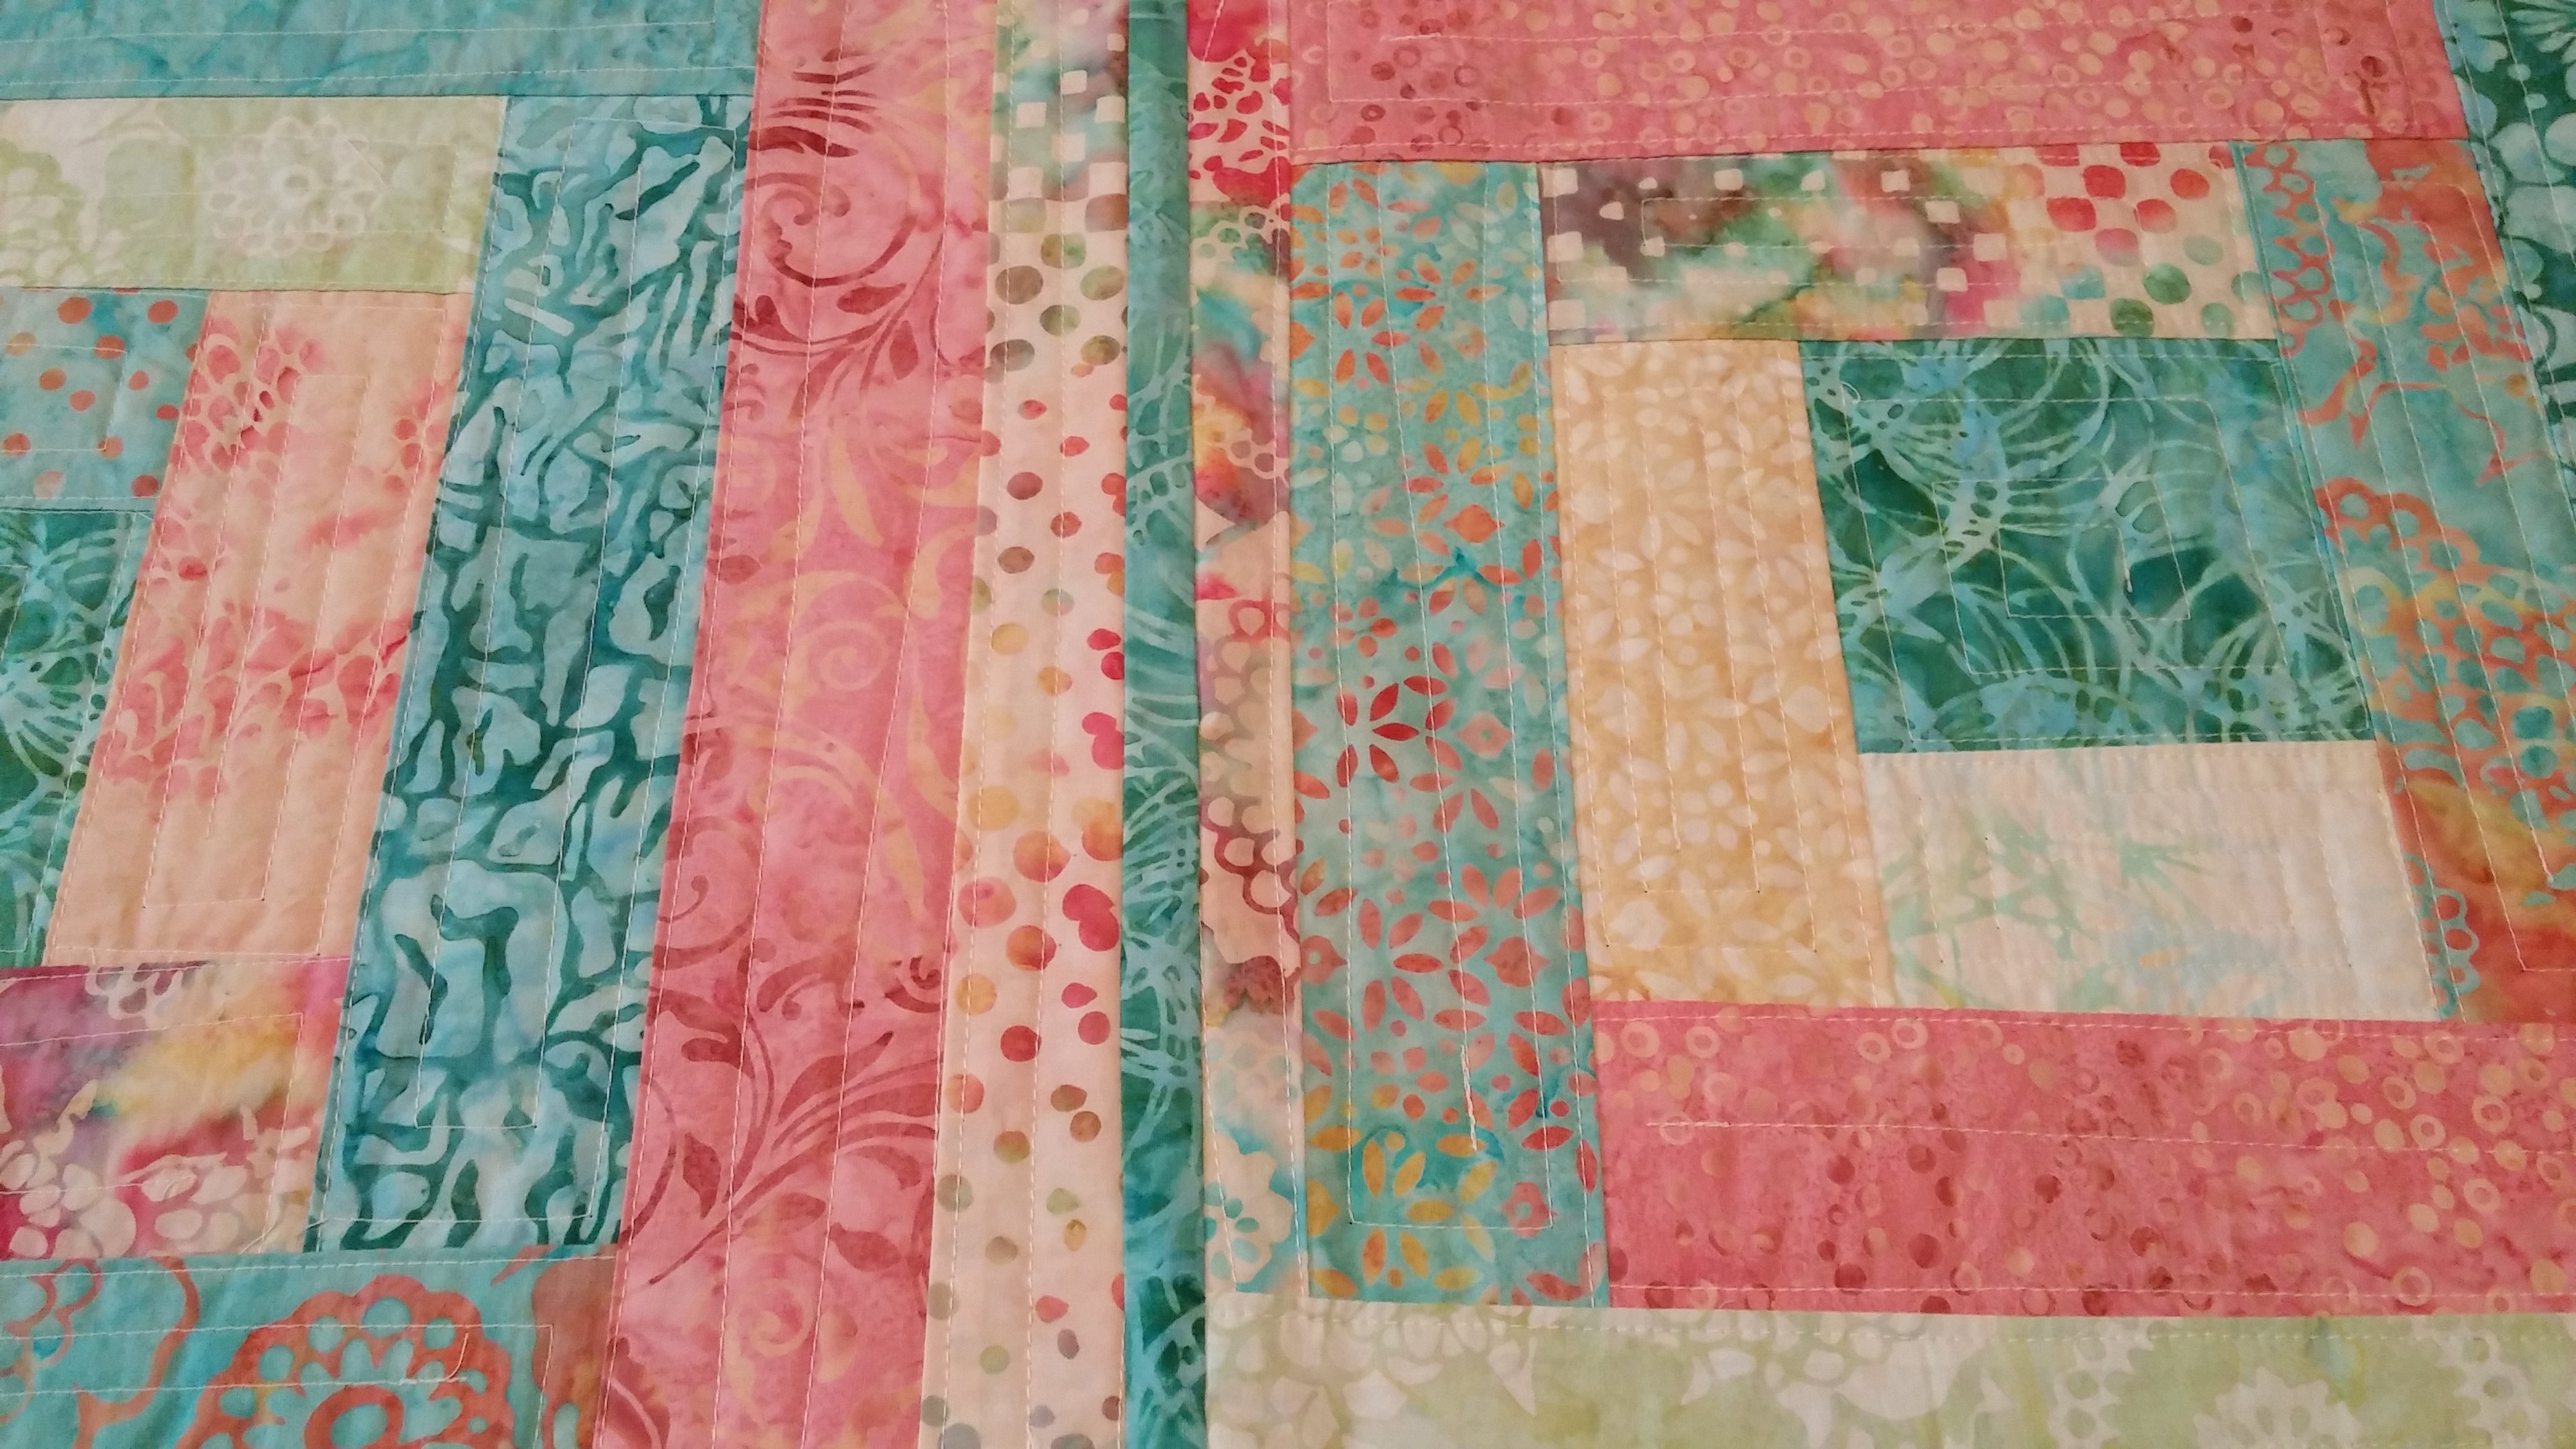
- Add any additional quilting you’d like to add to each block. This stitching will show, so it’s a fun way to do something creative – whether it is rows of wavy lines, free-motion patterning, or straight lines. The blocks are super easy to handle, even when quilting quite densely.
- Square up the blocks, trimming them all to the same size.
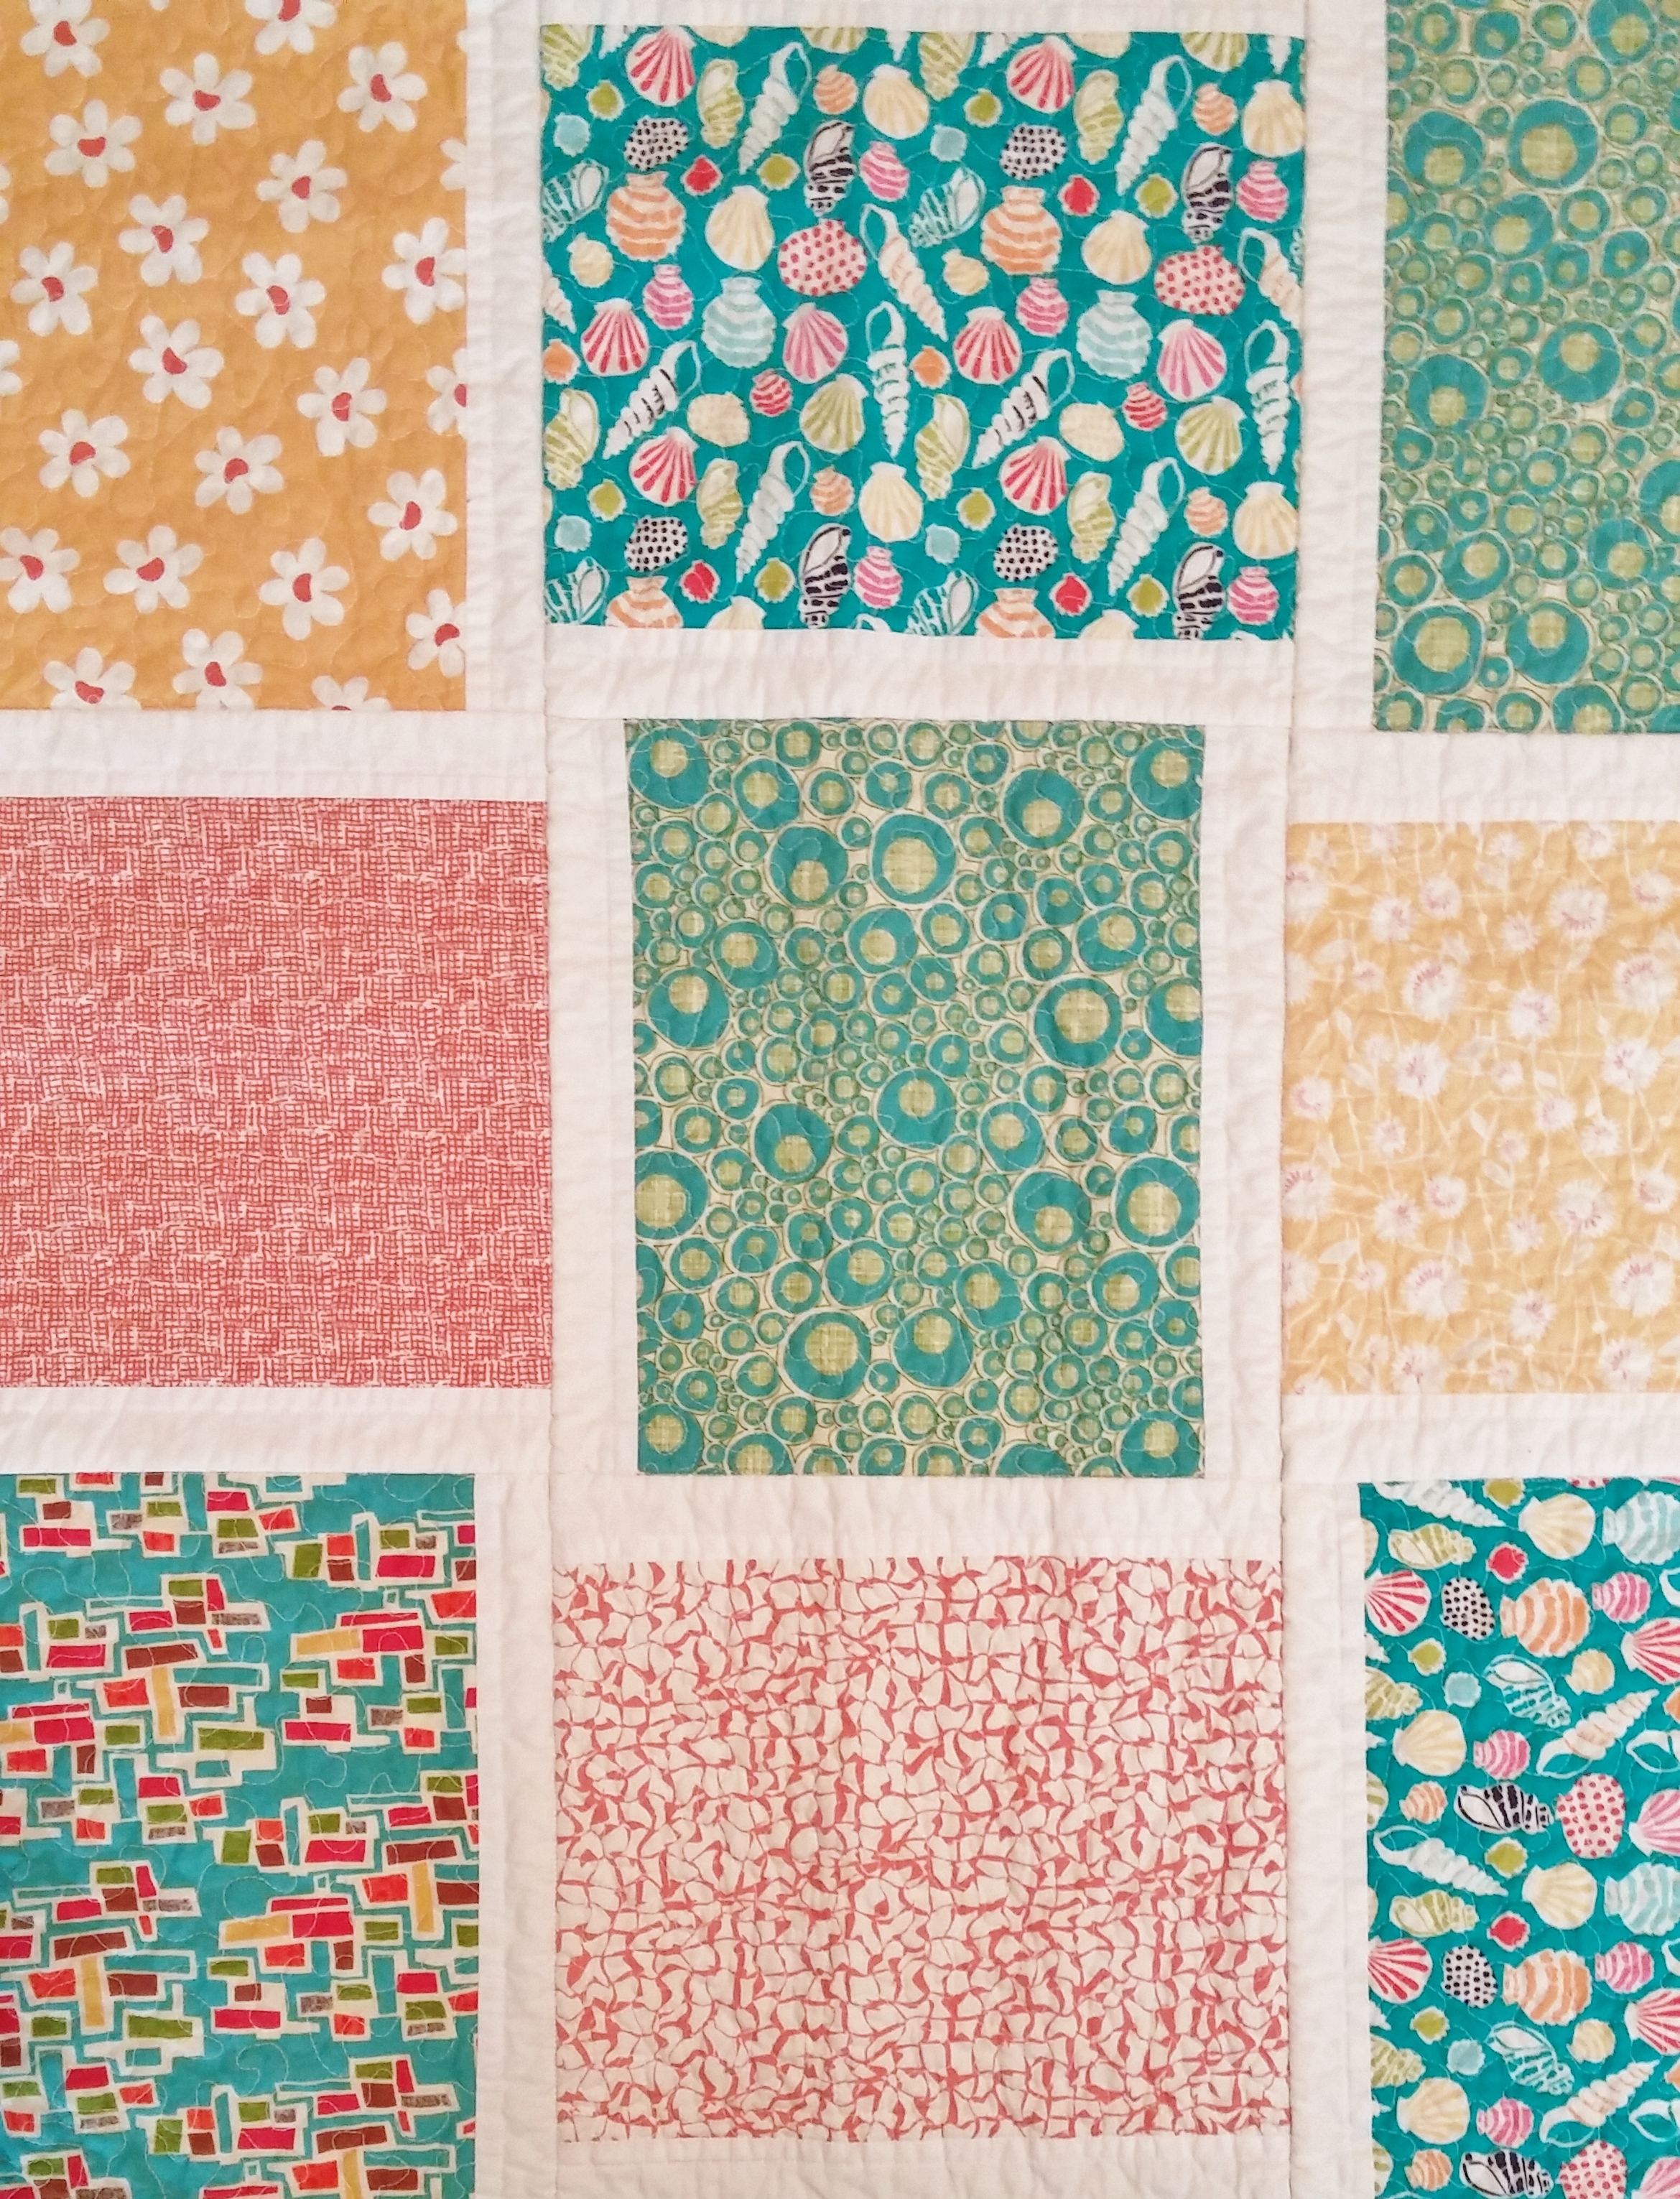
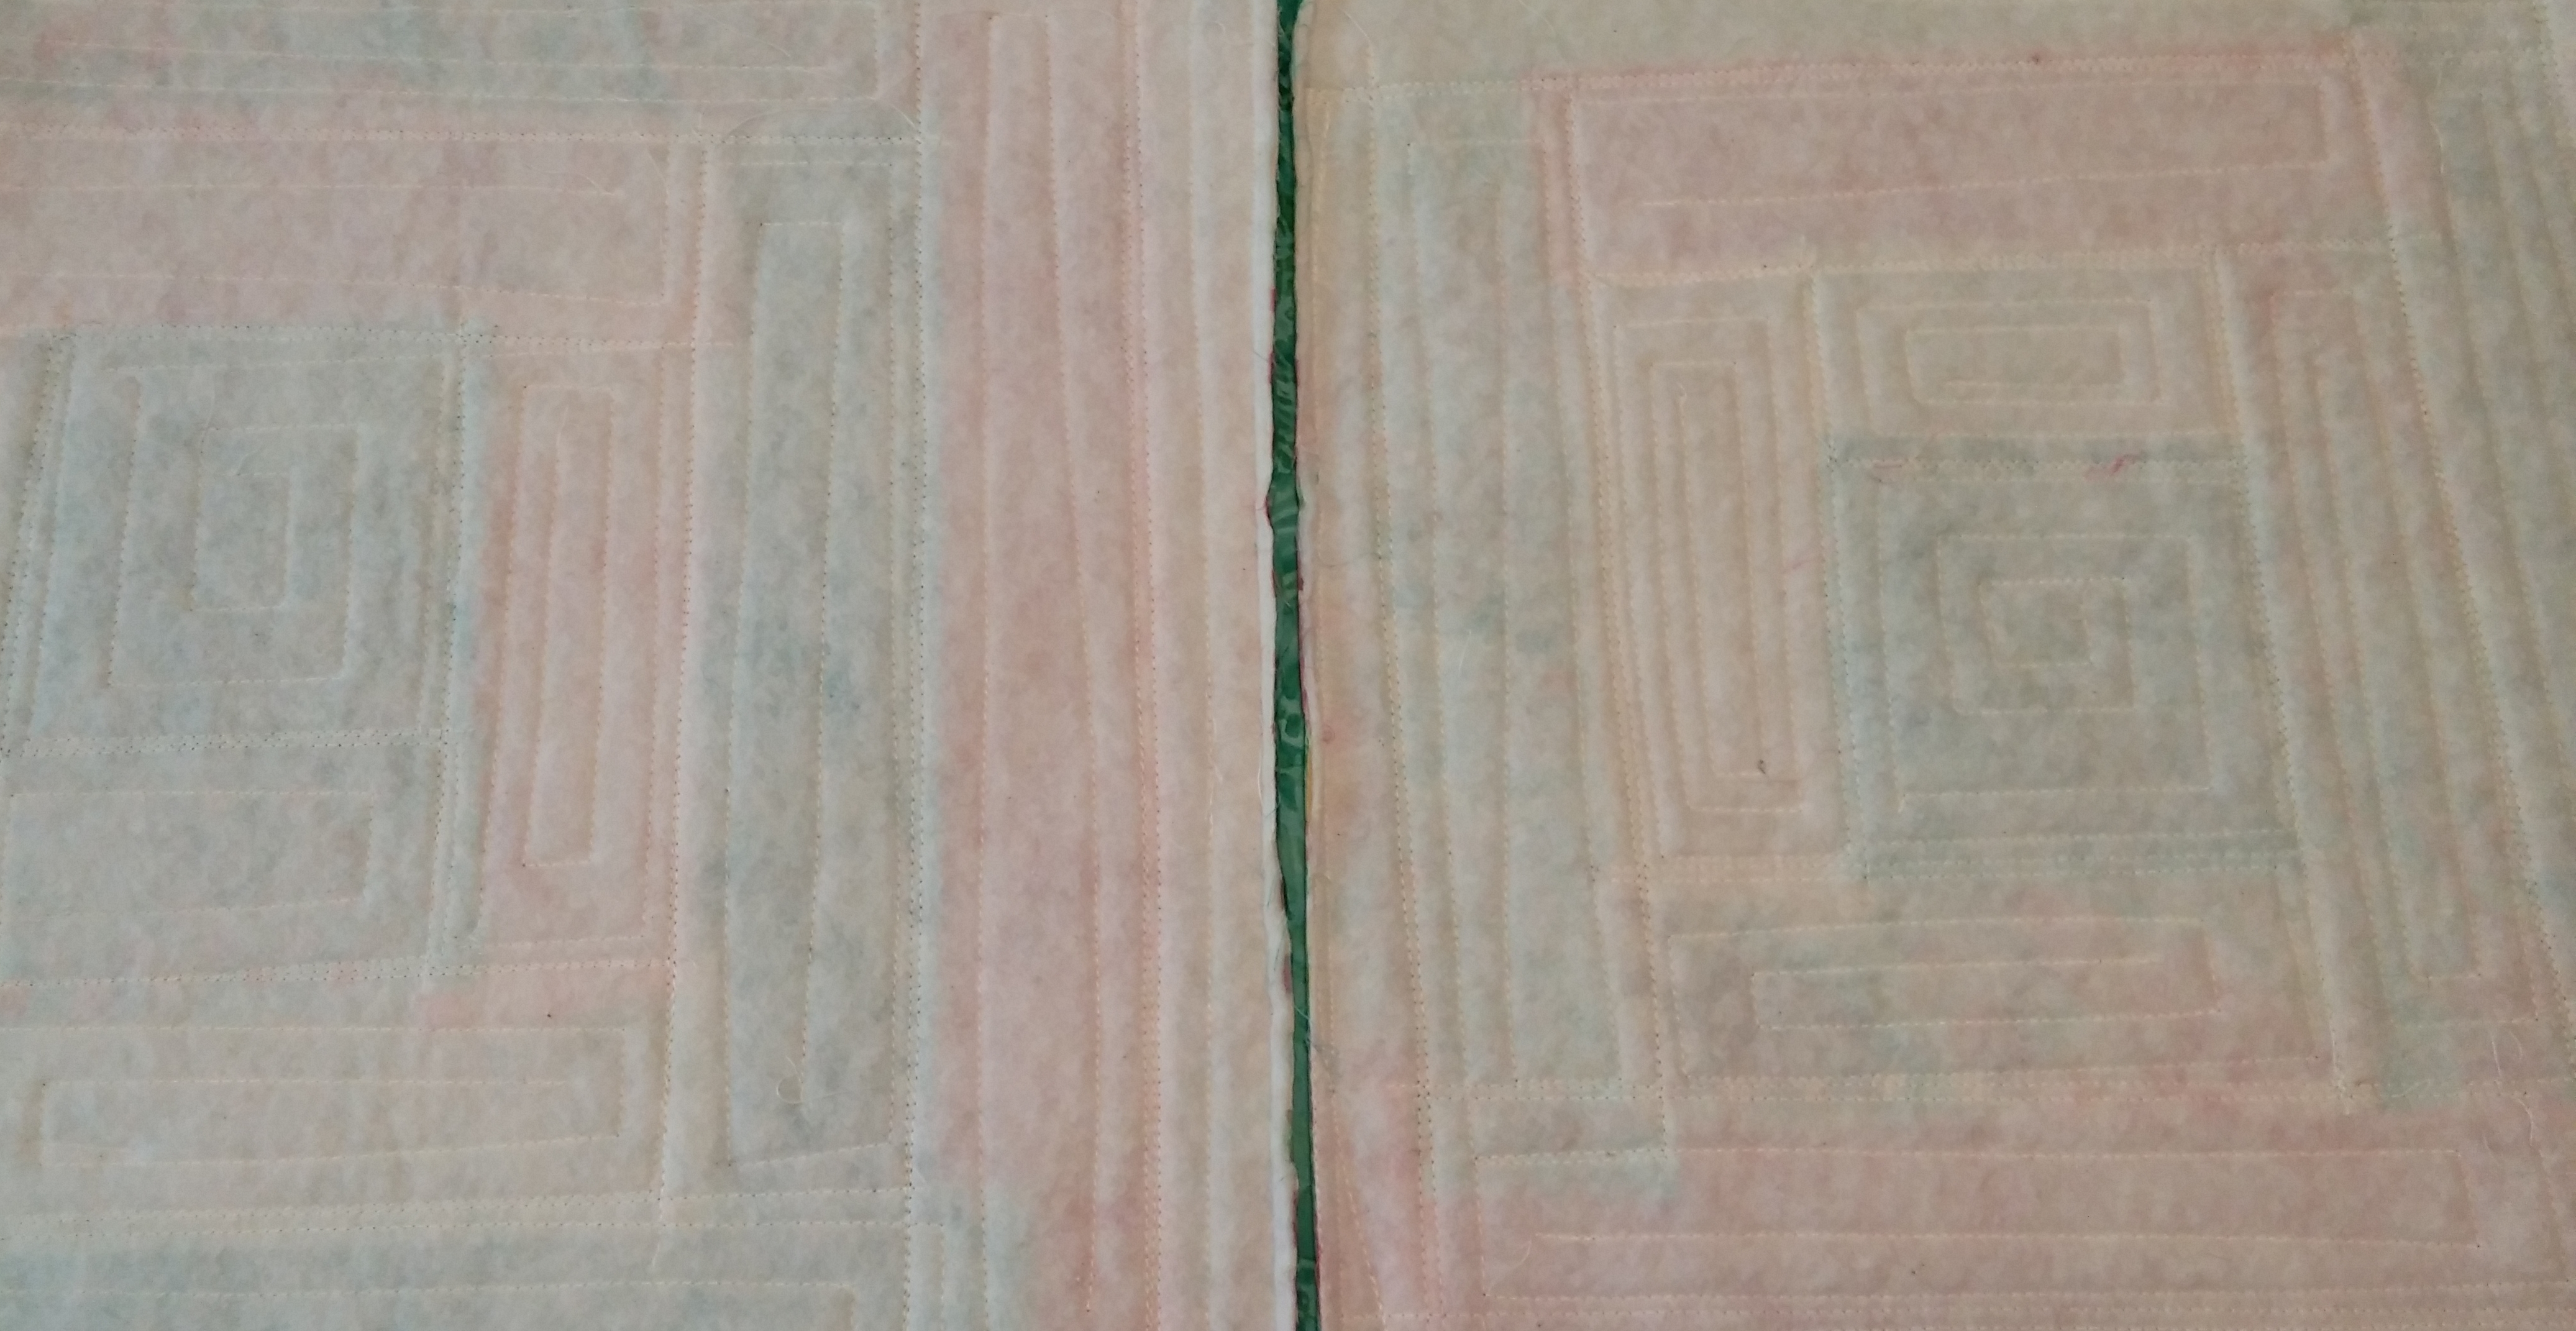
- Assemble the quilt by joining the quilted squares. There are a several variations of how to do this included in the book.
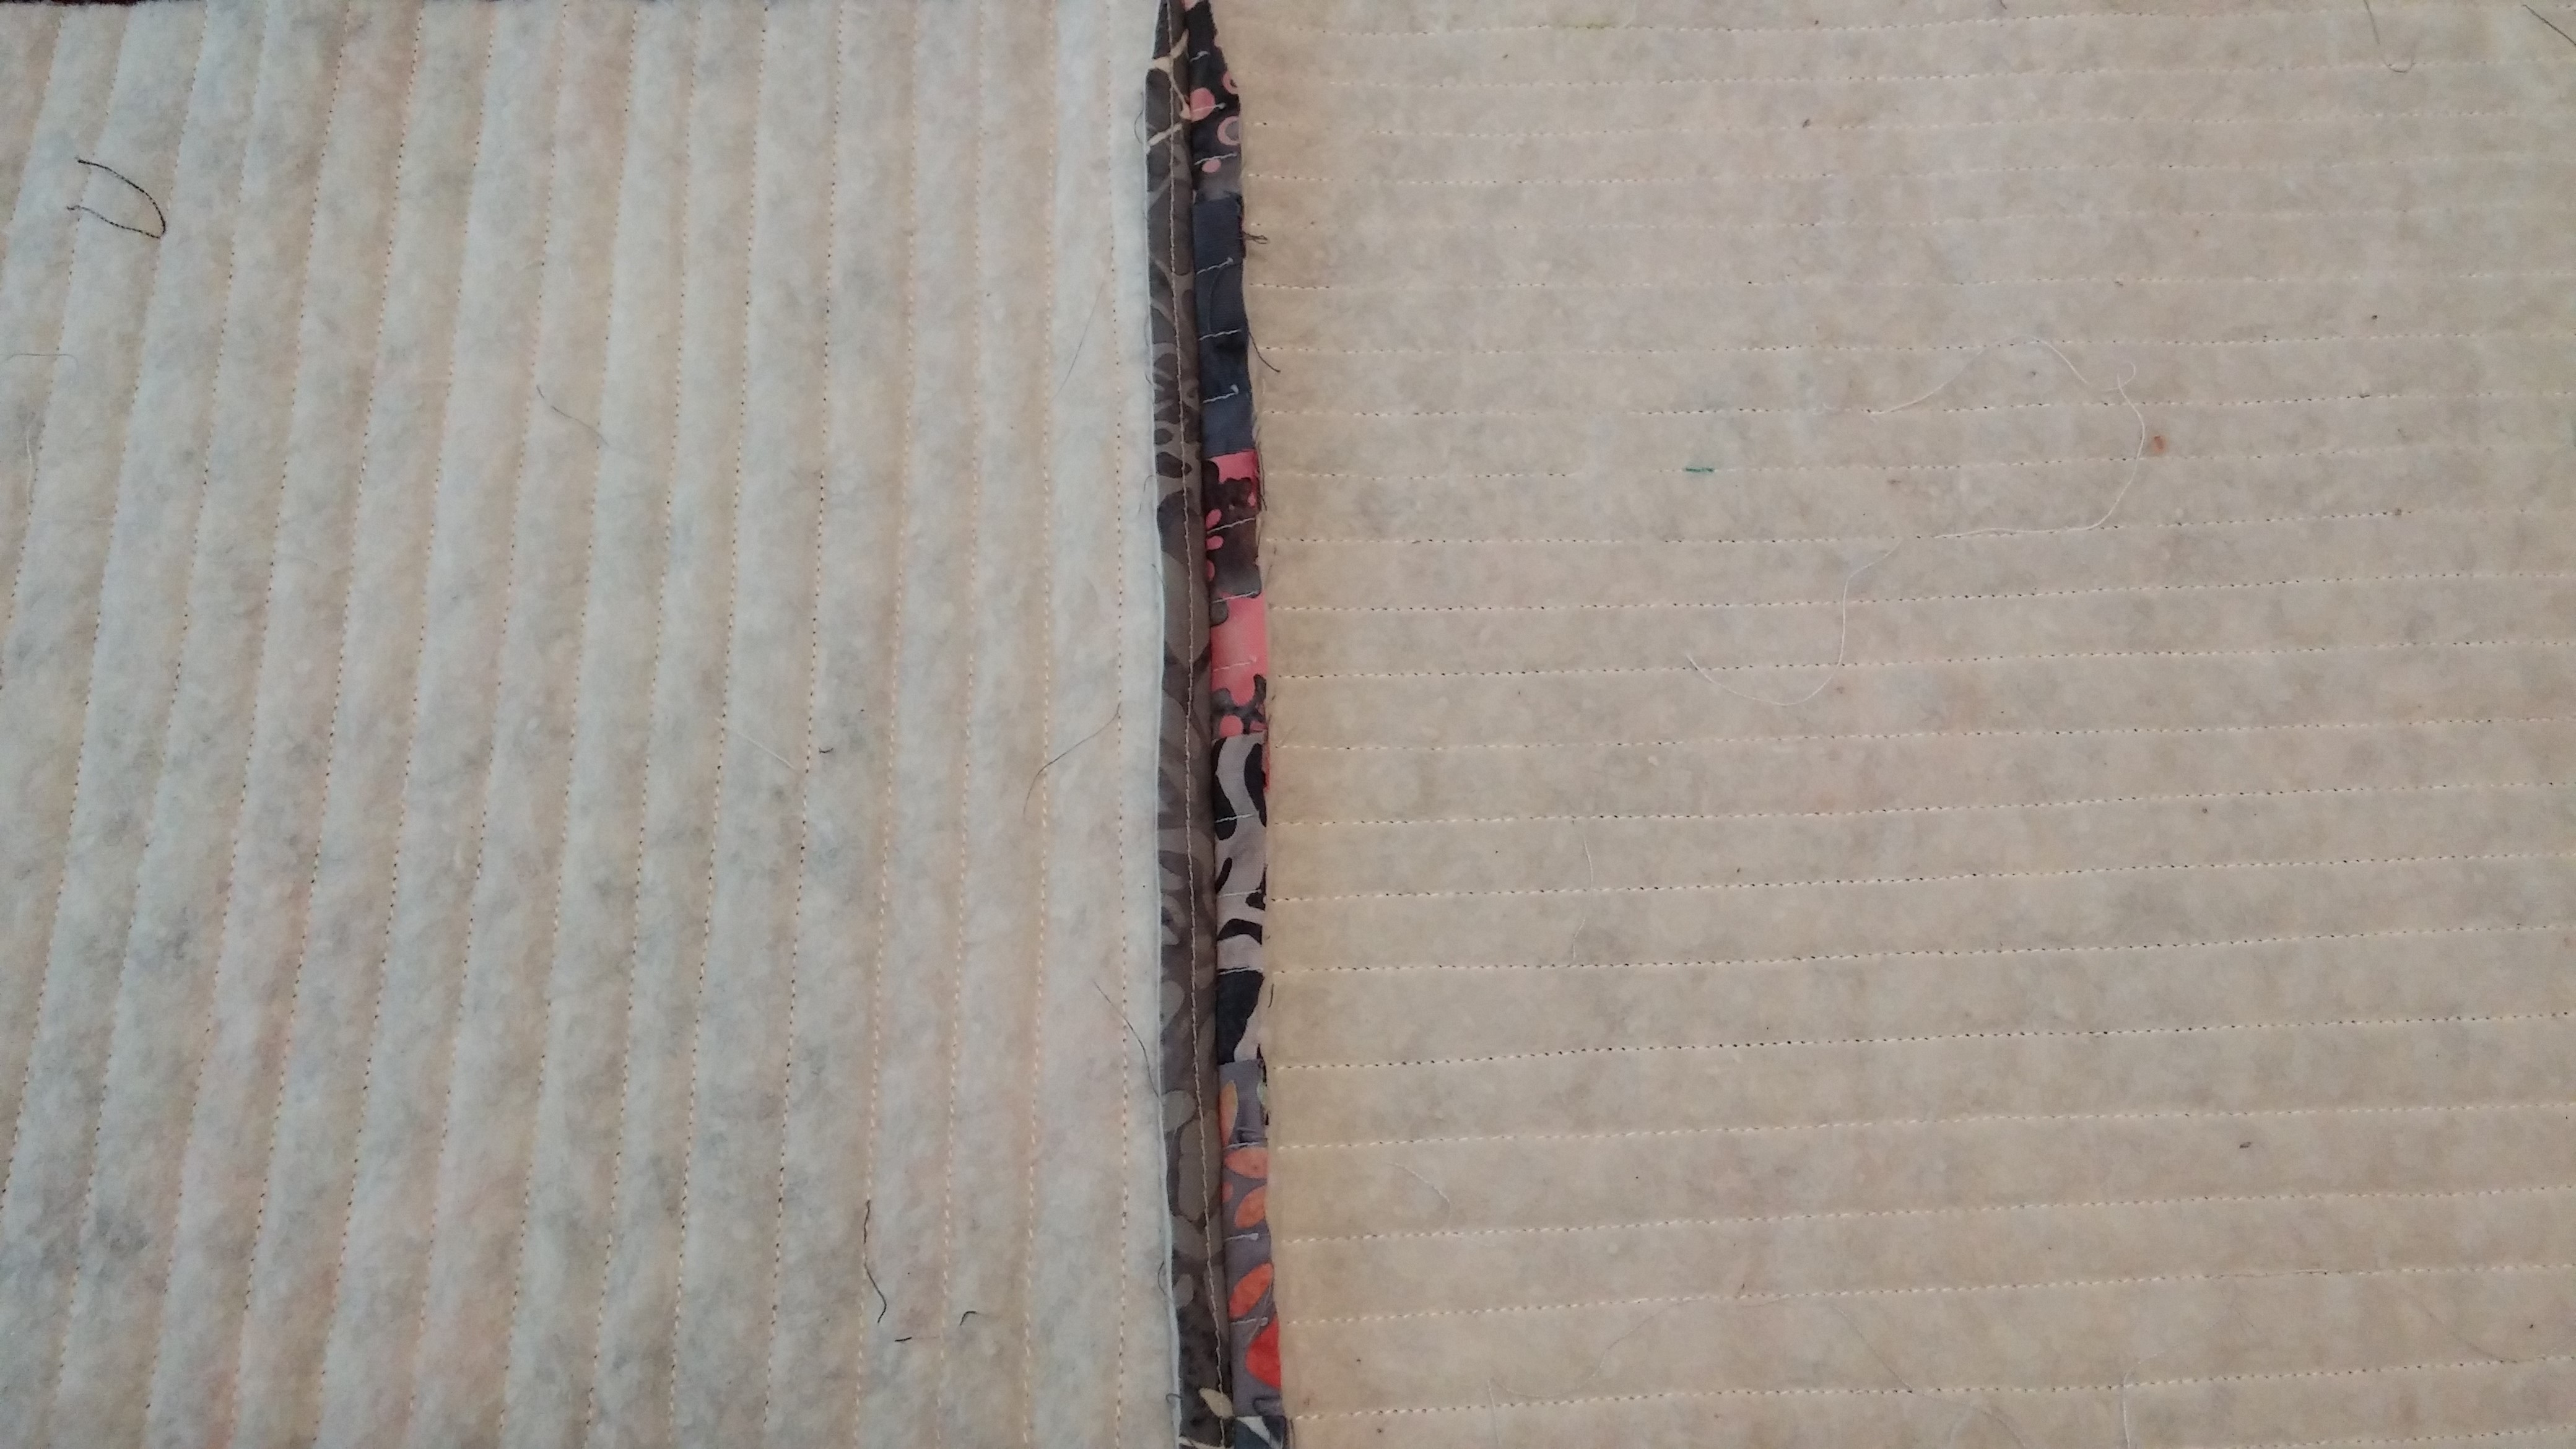
- Add backing fabric. The backing fabric must be attached to the quilted top and batting, so there is still some maneuvering of the entire quilt through the sewing machine. However, I found stitching in the ditch (in the seam line where the blocks were joined) was straightforward and comparatively easy to do.
- Bind as described above.
Trying it Out
I was joined by my mother-in-law, Sue Williams, and my daughter, Connor Williams for a fun day of sewing and quilting.
All in all, I highly recommend this book.
There are complete instructions for 12 different projects included the book, but what adds even more value are the variations shown along with each pattern. The reader is encouraged to have fun with the design process and use the techniques and patterns presented as jumping off points for their own improvisational explorations.