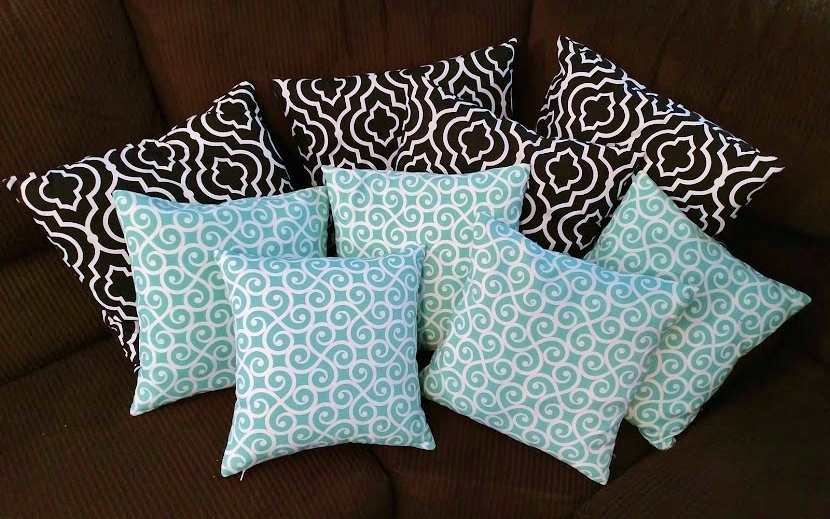
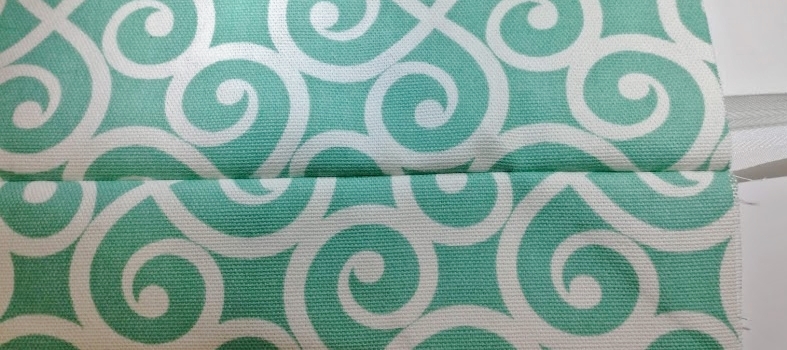
I’m planning to put my new Baby Lock Jazz through its paces by testing how it performs while making a series of different projects. I’m starting with decorative pillow covers with invisible zippers.
If you’d like to make a pillow cover of your own, here is what you’ll need:
- square pillow form to cover (or existing pillow that needs a facelift)
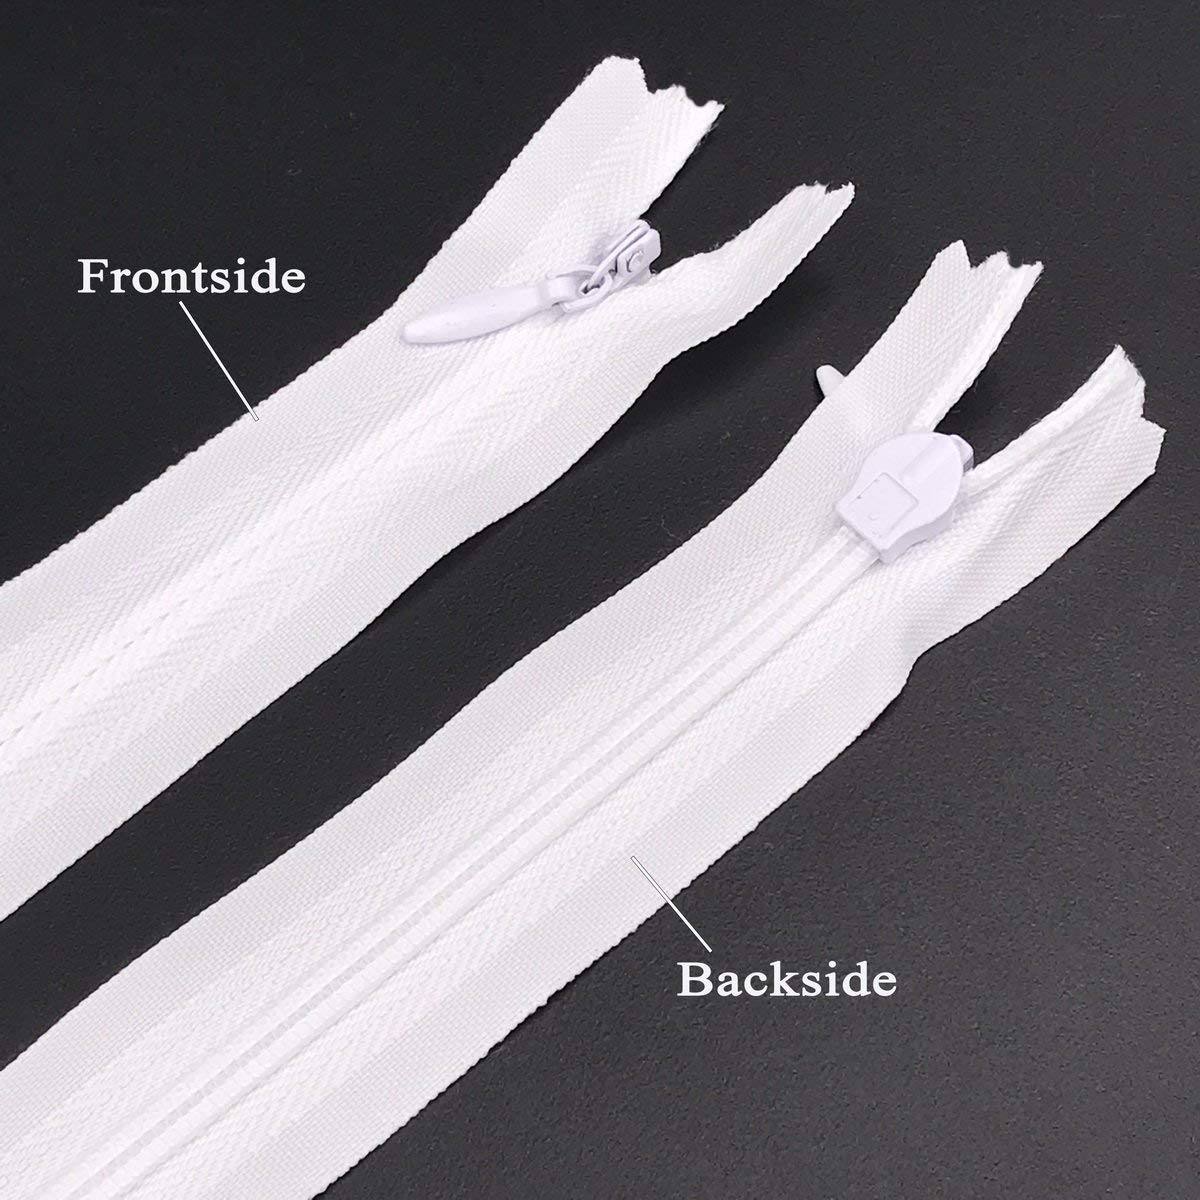
- invisible zipper, preferably at least 2″ longer than your pillow or pillow form
- home decor fabric (if using quilting-weight cotton, I recommend fusing interfacing such as Shape-Flex to the fabric before making the pillow – this will bring the fabric closer to decorator-weight)
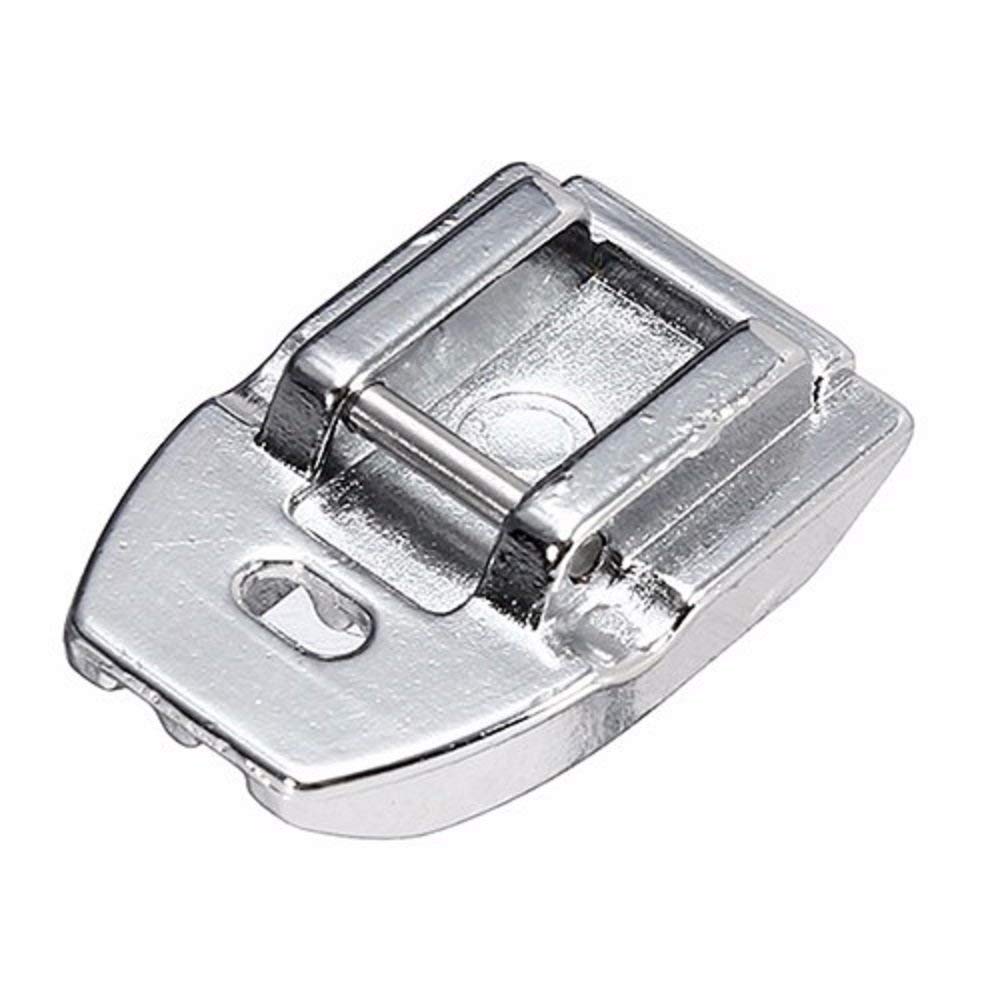
- zipper foot and/or invisible zipper foot
Since I had 10 pillows to make new covers for, I purchased my invisible zippers in bulk – saving quite a bit of money in the process.
I also ordered an inexpensive invisible zipper foot, since I couldn’t find one in my magic box of presser feet. Now that I’m done, I think I could have gotten by with my regular zipper foot, but I think the new foot made the process a bit easier.
Preparation:
- If needed, fuse your interfacing to the backside of your fabric, following the manufacturer’s directions. I’m using home decor fabric, so I’m skipping the interfacing.
- For a nice plump pillow, cut 2 squares of fabric to the same measurement as your pillow or pillow form. (No, I’m not adding extra for seam allowances, although you certainly could if you prefer a squishier pillow)
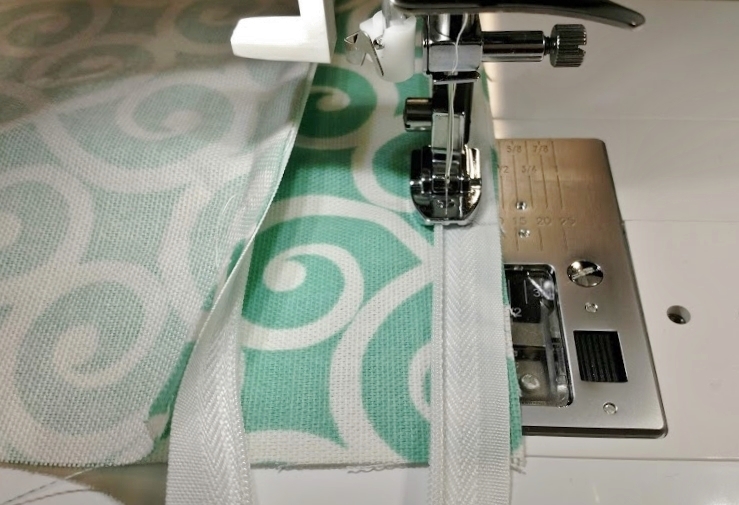
- Optional, but highly recommended – open up the zipper and use a hot iron to press the zipper teeth flat
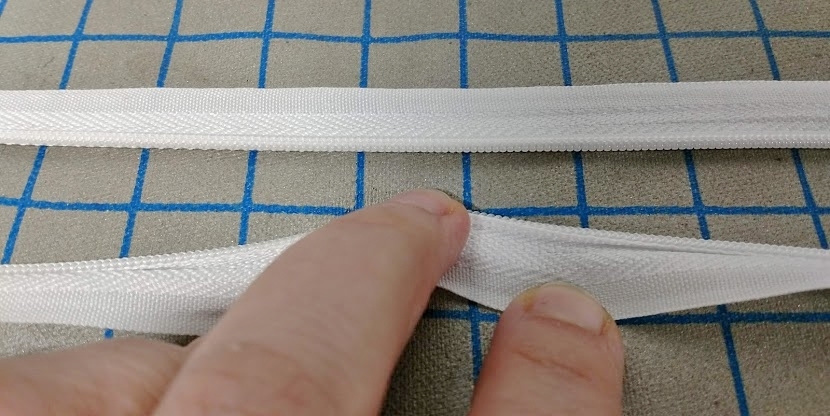
Here I’m pushing against the zipper teeth to show how they naturally curl back onto themselves 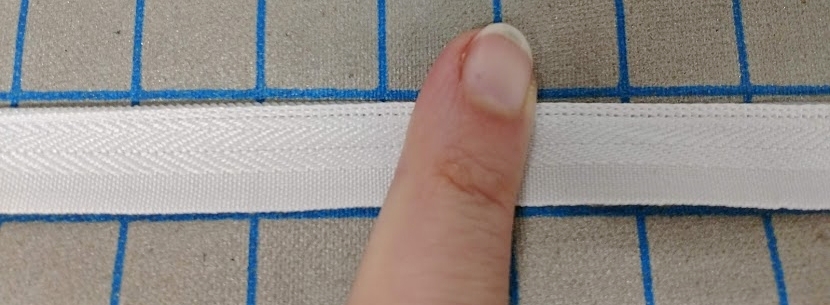
The zipper teeth to the right of my finger have been pressed flat
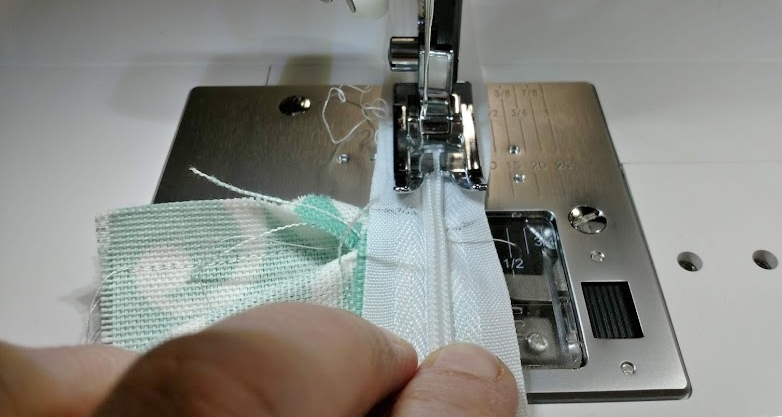
Sew the first side of the zipper:
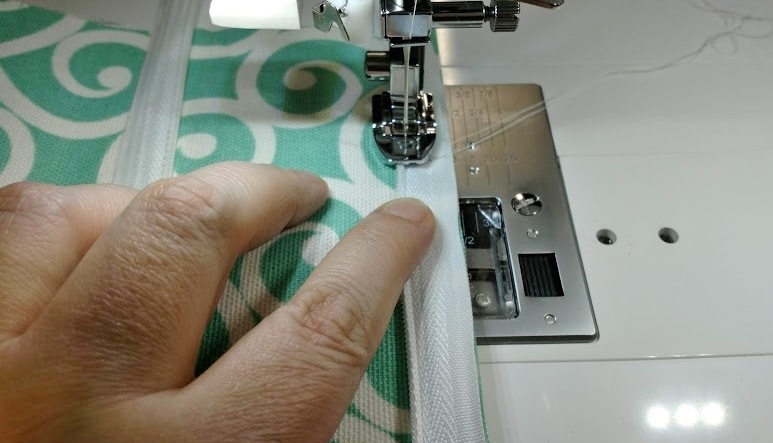
- Place the first piece of fabric right side facing up. Position the zipper along one edge, zipper teeth facing up.
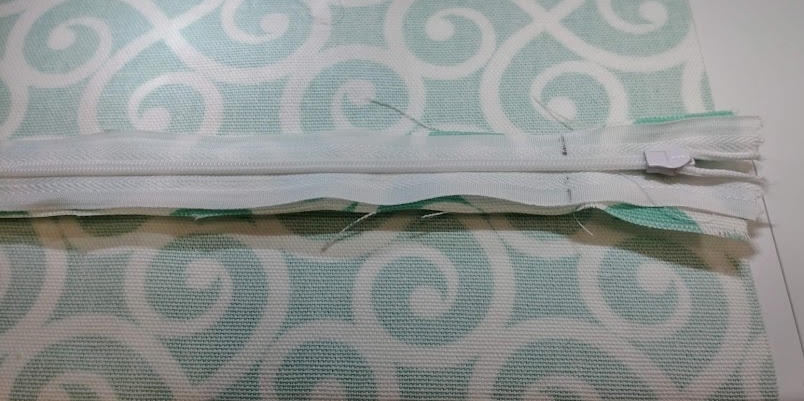
- Draw lines across the zipper to mark where you will start and stop stitching when attaching the zipper.

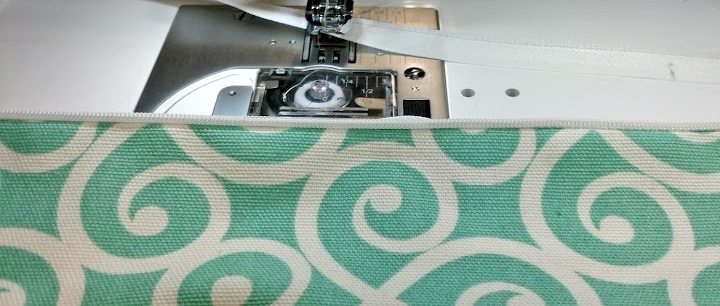
Draw a line across the zipper, 2″ from the end 
Draw another line across the zipper 2″ from the end of the fabric (the zipper is longer than my fabric) - Unzip the zipper and sew with a straight stitch, using the marks as your starting and stopping points – and don’t forget to backstitch or otherwise lock your stitches at the beginning and end of your stitching!


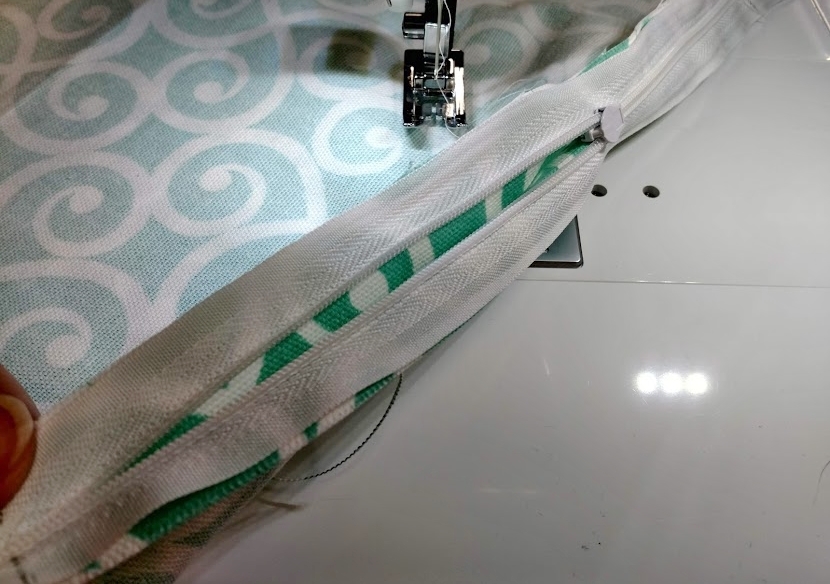
- Attach the other side of the zipper:
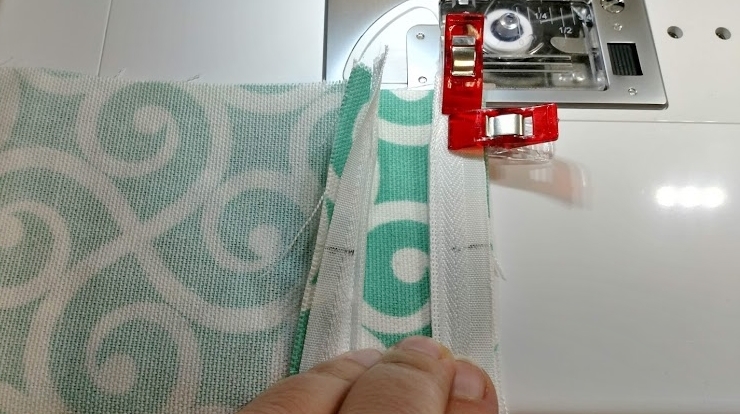
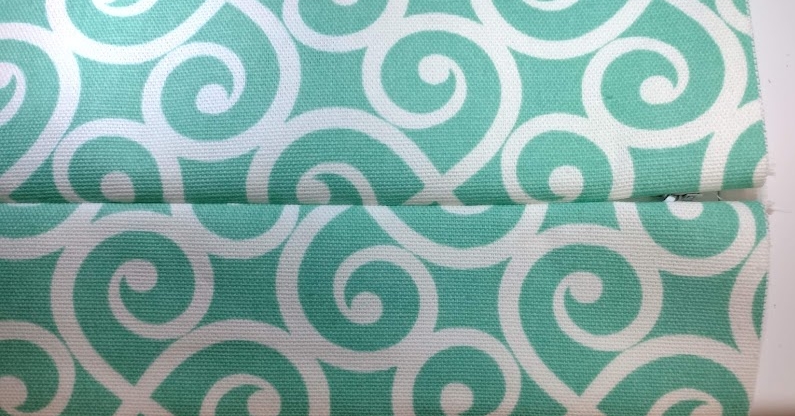
- Now it’s time to sew the 2″ of seam left unsewn on each end of the zipper


- Finish the pillow!

Make sure the zipper is still unzipped at least halfway. Switch back to your general presser foot and a straight stitch. Sew the remaining 3 sides of the pillow. I used a 1/2″ seam allowance. 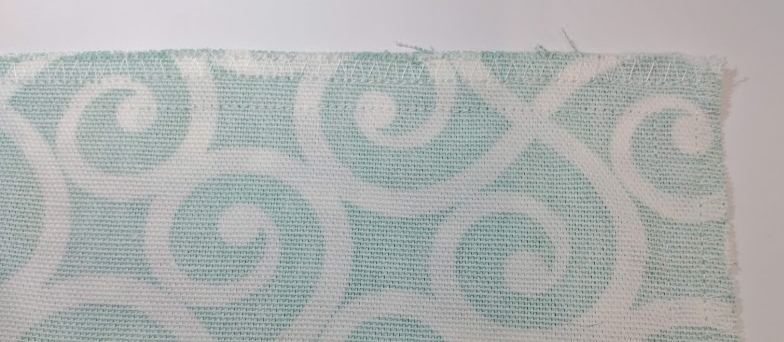
Since my fabric ravels pretty easily, I also overlocked the edges. - Finish!

Turn the pillow cover right side out and poke out the corners carefully. 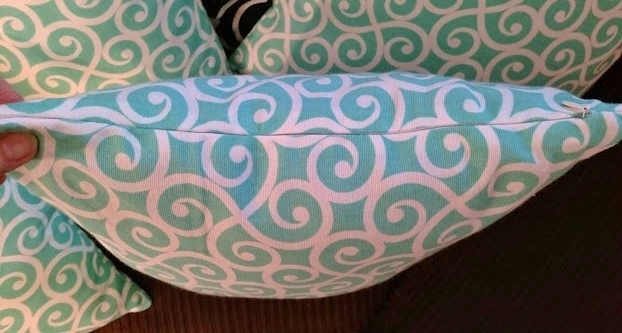
Insert the pillow and zip up again – the zipper should disappear! All you should see is the zipper pull. Ta-Da!
My pillows with their new covers 🙂