Sometimes projects take a turn or two (or more!) along the way and don’t turn out as originally envisioned. I like to reframe these as opportunities for new “design decisions”. 😉
Earlier this fall, I signed up to participate in the Modern Patchwork Quilt Along – Talk of the Town Quilt with Amy Ellis. Little did I know that this was going to turn into quite the series of such decisions…
I read through the pattern carefully and selected the appropriate number of fat quarters specified for the size quilt I wanted to make.
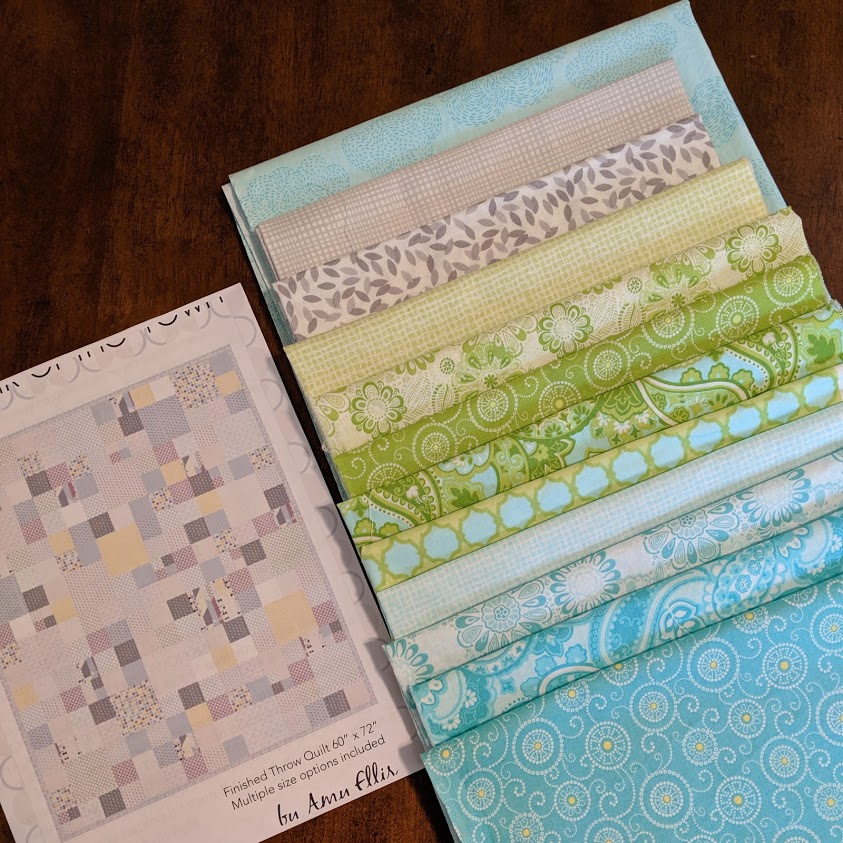
The pattern was well-written and the diagrams looked very clear. But as soon as I started cutting my fabric, I realized I had a significant problem… the cutting diagrams assumed perfect 18″ x 22″ usable fabric from each fat quarter, and my prewashed fat quarters of fabric didn’t even come close. Most were around 21″, and that’s counting the selvage along one end. So I didn’t have enough fabric!
I had to improvise.
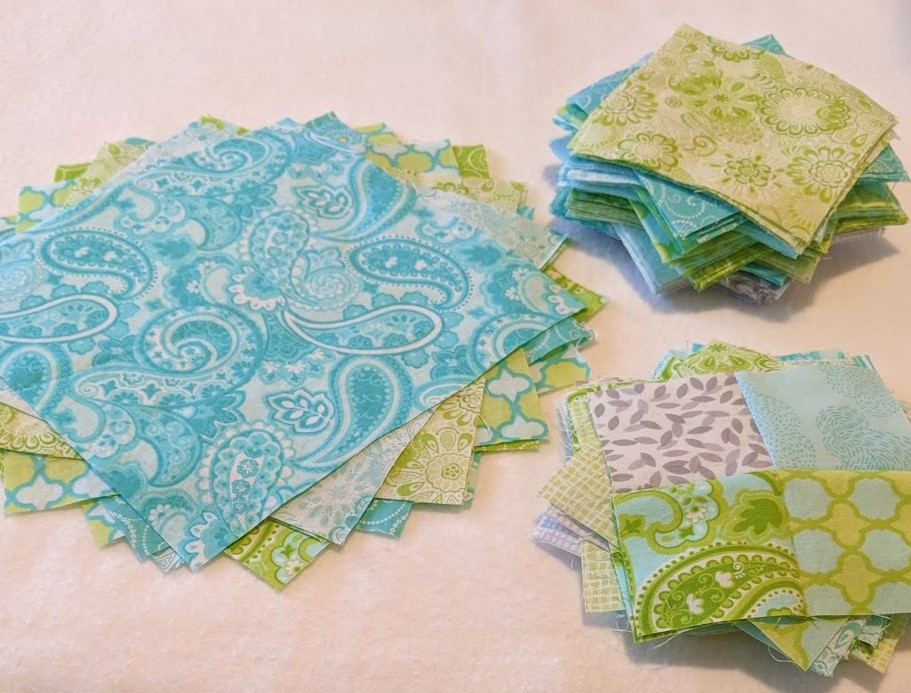
I abandoned the idea of having the exact number of each of the three types of blocks called for in the pattern, and decided to cut back on the blocks with the largest individual pieces of fabric and increase the number of blocks with the smaller pieces of fabric sewn together into four-patches. I also raided my scrap bin for supplemental fabric that would coordinate with my original fabric pull.
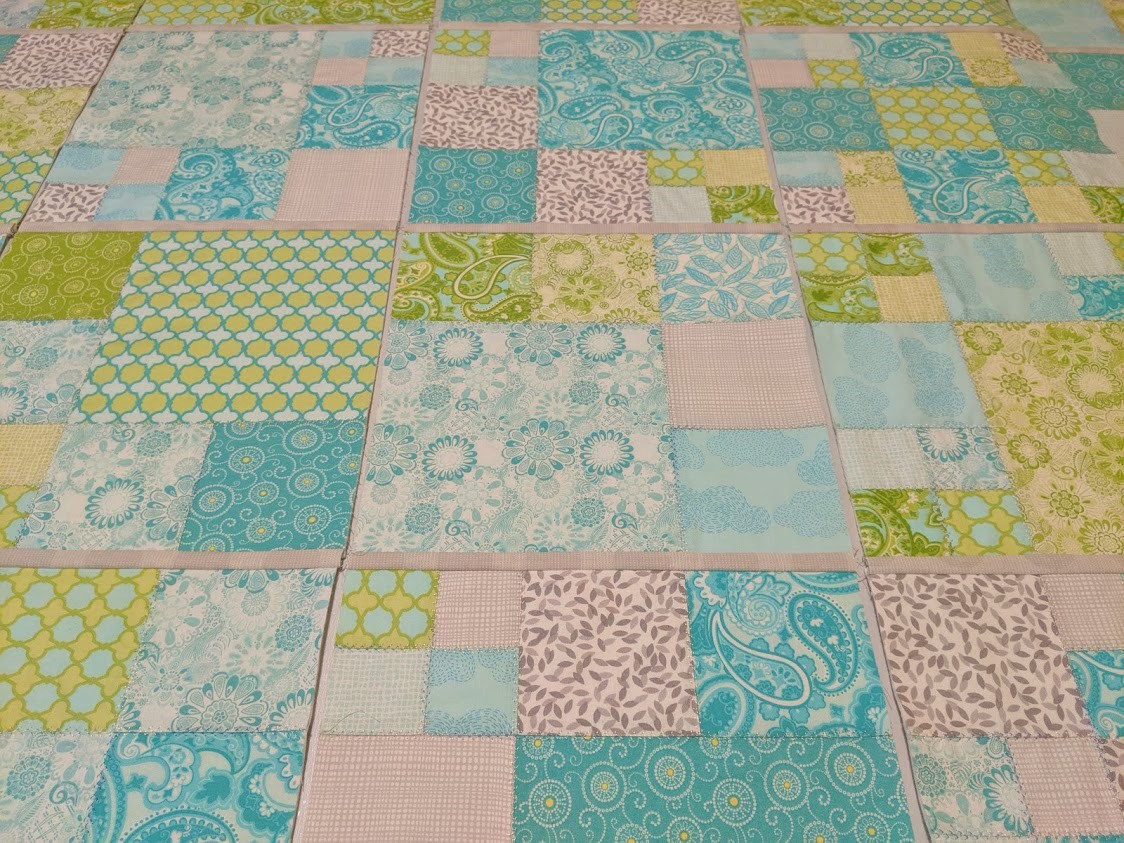
The next unexpected turn came when I laid out my pieced blocks and was decidedly underwhelmed. I had hoped to create a cohesive quilt by working with a fairly limited palette and range of values – despite the fact that that Amy’s sample quilts, which I liked very much, had more internal contrast in both color and value.

I played around quite a bit with the layout of the blocks to see if that would help, but was not satisfied until I tried adding narrow sashing strips between the blocks to break up the visual “mush” without changing my chosen palette.
At that point, it occurred to me that if I was going to add sashing anyway, it would super-easy to convert this to a quilt-as-you-go project rather than assembling the entire quilt top before adding batting and backing fabric.
My favorite QAYG resource is the book Quilt as You Go Made Modern: Fresh Techniques for Busy Quilters by Jera Brandvig. I used one of the methods from Jera’s book to complete my quilt.
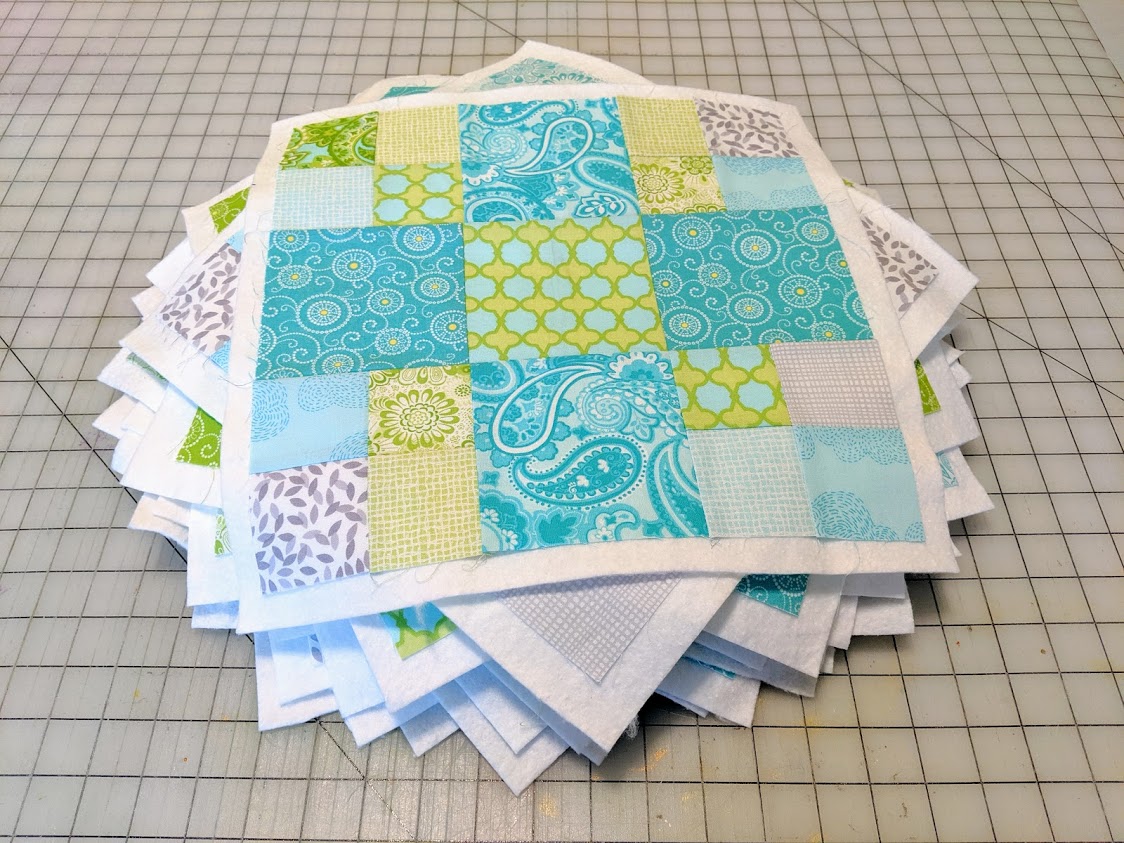
I layered each block with a square of Warm & White cotton batting from the Warm Company, batting cut 1/2″ larger all the way around each block. I used this batting for 2 reasons: (1) so the white areas in my fabric would stay very white, avoiding potential shadow-through from a cream or beige batting, and (2) so I could keep my quilting lines to a minimum without sacrificing the stability of the final quilt.
Although I usually opt for Rainbows or Fantastico from Superior Threads when I want variegated thread, this time I chose 40 wt. Sulky rayon variegated thread because there are longer stretches between each color change. Knowing that rayon thread may have more of a tendency to fray or break, I opted for Schmetz Embroidery Needles, size 75, instead of the Quilting Needles I would normally choose. (The Embroidery needles have a groove in the shaft that reduces friction on the thread – which helps reduce fraying and breakage.) I used the same Auriful 50 wt. cotton thread in the bobbin that I used to piece the quilt.
I quilted over the seamlines in the patchwork with a feather stitch – just because I like the look!
After the blocks were quilted, I trimmed off the extra batting. I used the Stripology Squared Ruler from Creative Grids to make this quick & easy, but you could also use this larger ruler or this less expensive version, (I haven’t tested this last one personally, though.)
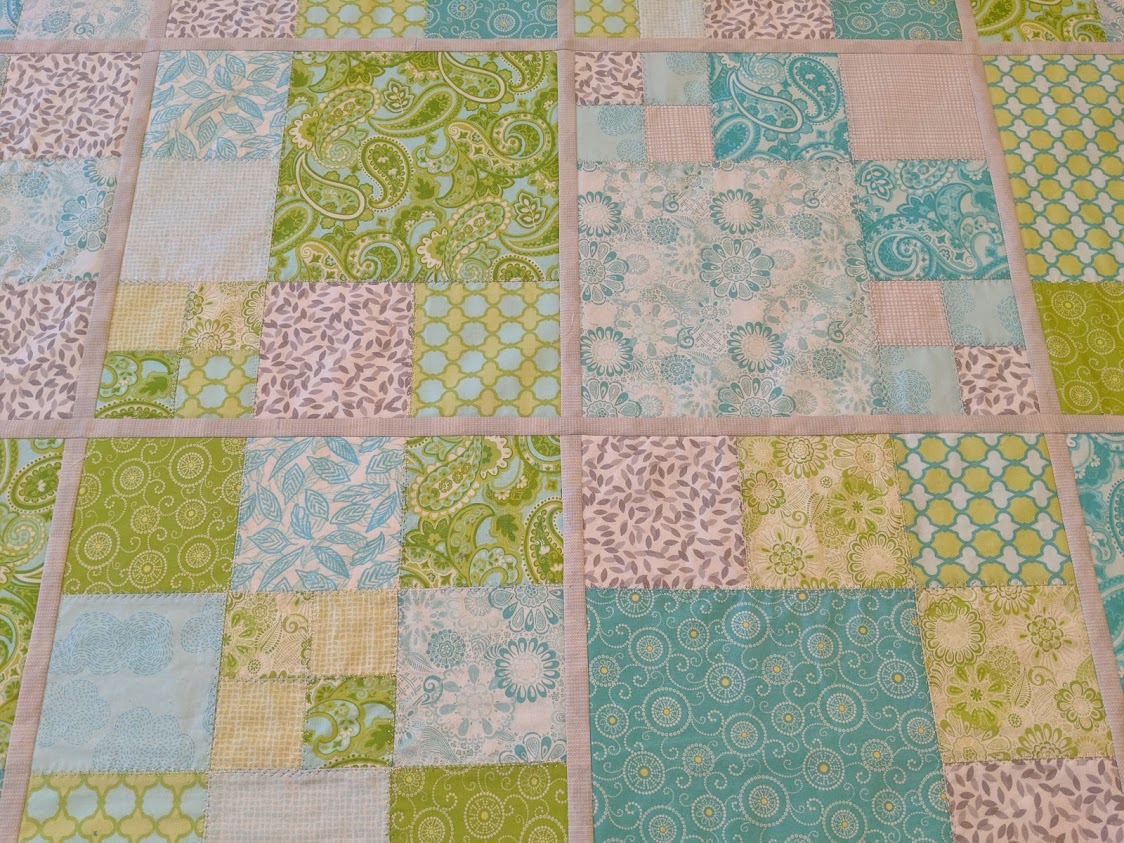
I cut my sashing strips 1″ wide and sewed them with a scant 1/4″ to the blocks, creating 1/2″ wide sashing. NOTE: next time, I will be sure to use a full 1/4″ instead of a scant 1/4″, in order to eliminate the tiny gaps that were created between the batting squares behind the blocks.
After all of the vertical sashing was sewn, I added the horizontal sashing.
To make it easier to add the quilt back, I first wrapped my quilt backing fabric around a long pool noodle. I used 505 Spray and Fix Temporary Adhesive to bond my layers for the final quilting that would attach the backing permantly.
To attach the backing, I quilted all the layers together by again using the feather stitch; this time on each side of the sashing, both vertically and horizontally.
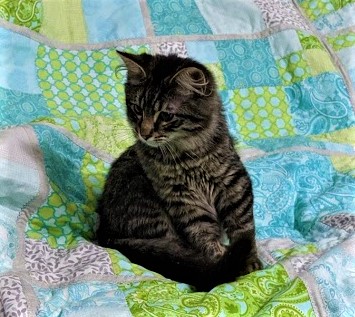
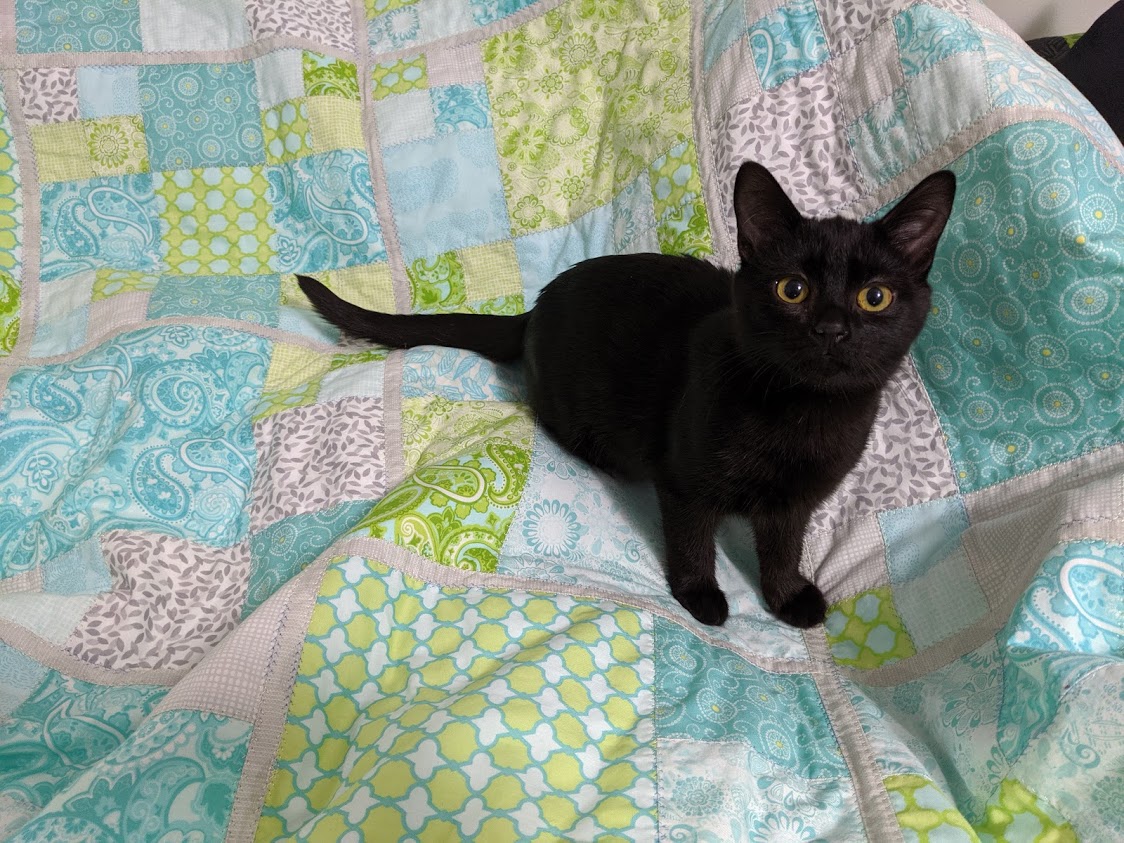
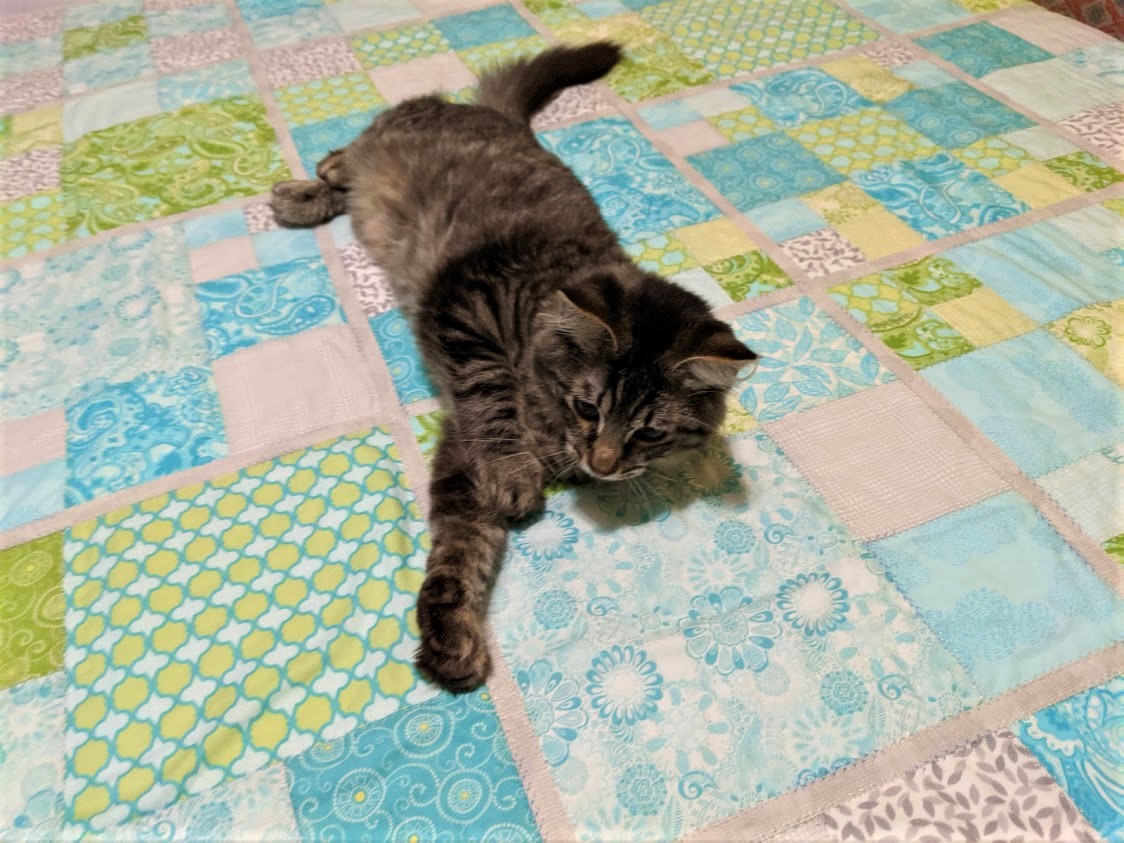
The final result was kitten-approved!
Wow, this is very informative! I have a quilts worth of QAYG blocks just waiting to be sashed together and will try your techniques. Thanks as always “Quilty Wisewoman!”
Hi Roz! Thanks so much for commenting – I’m sorry I didn’t see this sooner. I hope the QAYG techniques are helpful to you! I’ve been very happy with the results so far; besides, you can always add a little more quilting to the completed quilt if you feel it would be helpful. (((big hugs)))