I’ll say one thing about the global pandemic: I think I’ve done more sewing and quilting in the past year and a half than in the previous 10 years! Seriously, my sewing machine has been a lifeline, and the connections I’ve made through sharing my work – and enjoying everyone else’s work – on Instagram has made this time of isolation also one of creative joy and inspiration.
But one of the things I’m finding is that finishing all these quilt tops I’m making is easier said than done! I love to free-motion quilt, but I find it very taxing on my body (I have a domestic sewing machine – not a mid-arm or long-arm quilting machine); so I like to switch it up with walking foot quilting – which for me, is usually faster, too.
I’ve spent some serious time experimenting with different ways to go beyond “stitch-in-the ditch” and simple straight-line grids and jazz up my machine quilting. (Not that they aren’t perfectly great ways to quilt – I was just ready to play with some new-to-me techniques.)
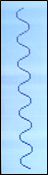
The serpentine stitch (one of the built-in decorative stitches in my sewing machine) has become one of my very favorite ways to quilt with a walking foot – simple, fast, and lots of lovely texture.
This is what the serpentine stitch setting looks like on my machine:
I strongly recommend experimenting with different length and width settings. Here are 4 examples (viewed from the side) of the same exact stitch – stitch width the same, just the stitch length changed each time. (Usually, you CAN vary the stitch width, too – I just chose not to for this sample.)

A few more tips you might find helpful when getting started:
- Use low-loft cotton or cotton blend batting and “baste” your quilt layers (top, batting, backing) with your favorite method (pins, basting spray, or fusible batting) to keep your layers from shifting as you work.
- Determine the best way to lock your stitches at the beginning and end of each line of stitching. I typically set my machine for an automatic locking stitch. Another option is to leave long threads and then tie them off and bury them manually when you are finished quilting. (This isn’t as critical when you start and stop on the outer edge of the quilt where the end of the stitching will eventually be covered by the binding.)
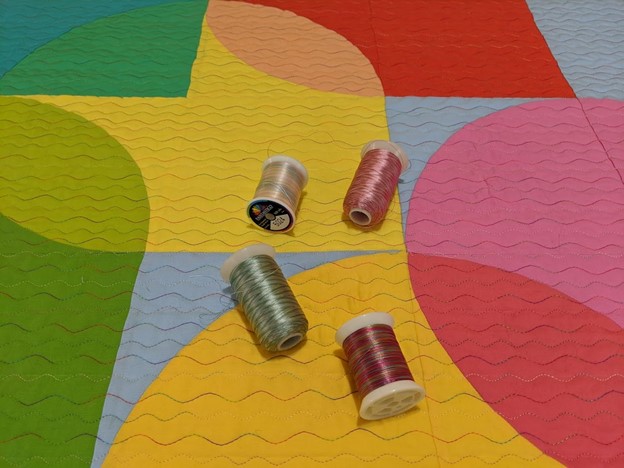
- Use the same weight of thread – or slightly finer – in the bobbin as in the top of the machine. Use high-quality thread for the best results. I most often use Aurifil 50 wt. cotton as both my top thread and bobbin thread, as I like the way it blends into the quilt; but sometimes I use heavier or flashier top threads (with something finer in the bobbin) when I want the quilting to stand out more.
- Match your needle size to your thread; I most often use a Schmetz Quilting needle, size 75/11.
- Start with stabilizing stitching if you can. These are long lines that go all the way or most of the way through the quilt. By quilting these lines first, you can further reduce the chances of your layers shifting as you work. For example, if I am stitching a grid, I start by stitching from corner to corner across the quilt to make either an X or a + (depending on whether the grid is on the diagonal or not).
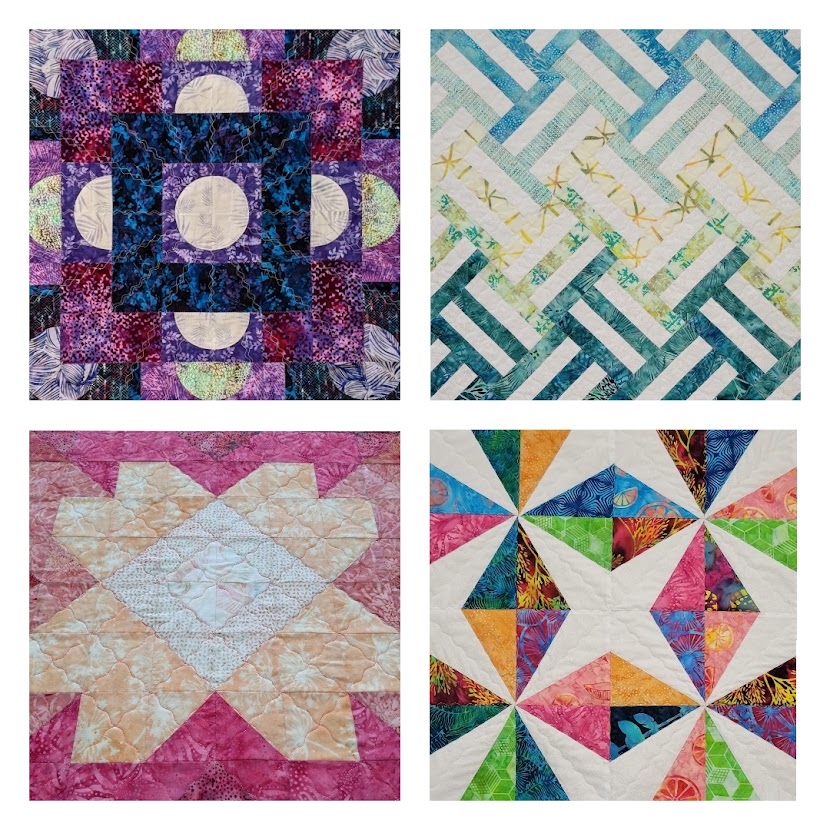
Here are some examples of what this stitch looks like in action:
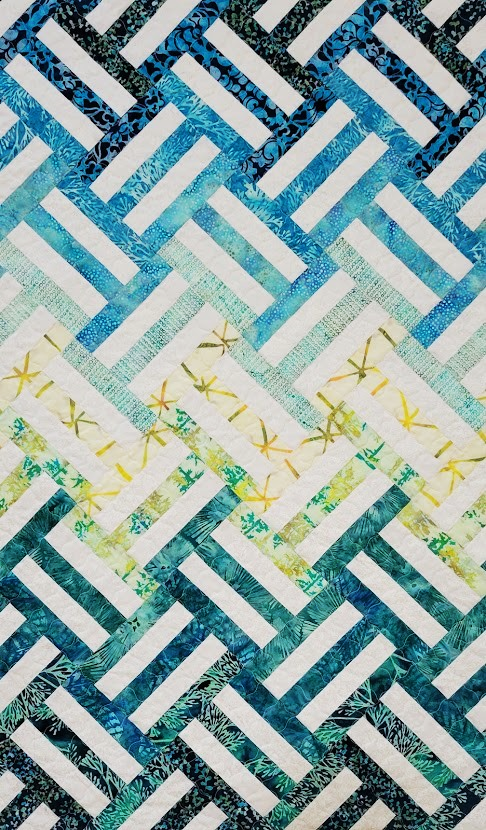
Side view of my Hold Tight quilt (pattern by Sharon Holland) – I had fun switching it up with different variegated threads and different stitch settings:
Finished view of my Hold Tight quilt – the serpentine stitching provided a simple finish that didn’t detract or compete with the bold graphic pattern of the quilt:
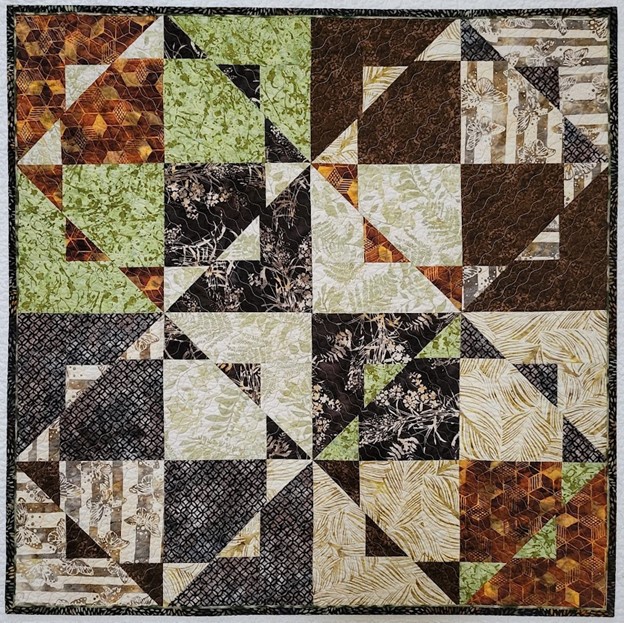
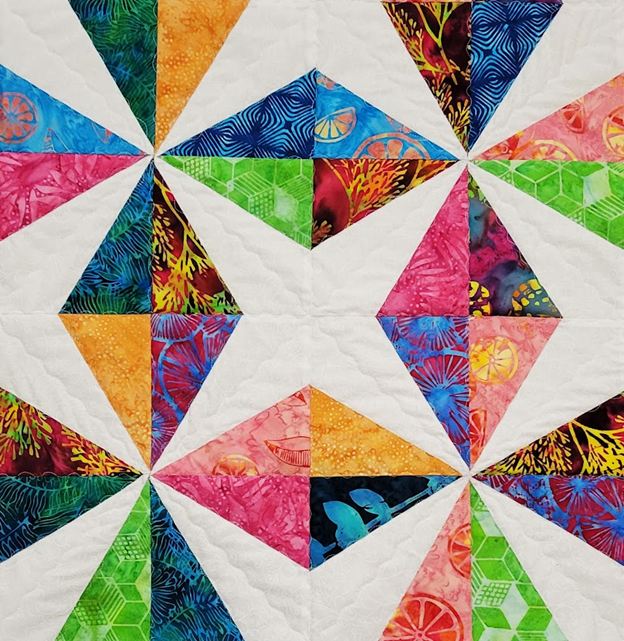
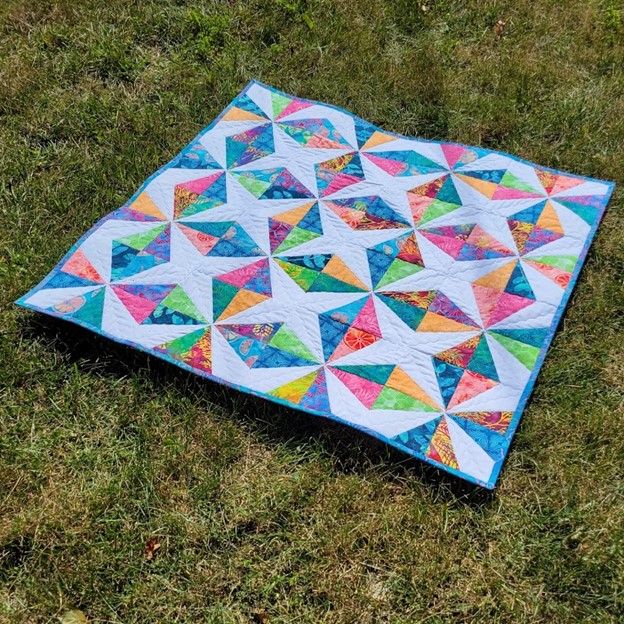
Another favorite technique of mine is to stitch an X from corner to corner, and then fill in the large triangles with nested “v” stitching.
Here is the center of my Kira quilt (pattern from GE Designs):
And here is the completed quilt, made with Java Batiks from Cotton Cuts:
When possible, I prefer to avoid marking my quilts, so I love it when I can use existing lines within the quilt (either stitching on the seams or corner-to-corner across the pieces) as a guide for the quilting.
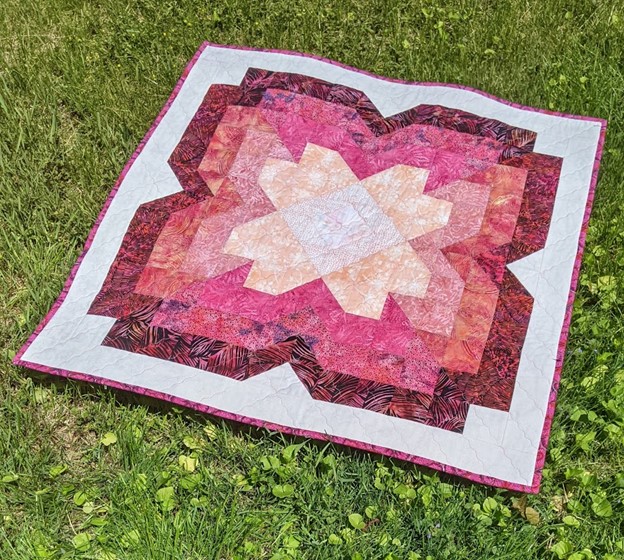
Here is a close-up of the partial grid on my Scrappy Posie quilt (pattern by Bonjour Quilts):

And here is the finished quilt – featuring Java Batiks from Cotton Cuts:
I stitched a full grid (once again following the pieced lines, but keeping the stitching continuous when crossing adjacent blocks) on my Weighted Quilt (pattern by Hoffmama Company). The stitching blends right in; but hopefully, you can see it in close-up:
Depending on the stitch settings, a grid stitched with the serpentine stitch may be very symmetrical or a bit asymetrical.
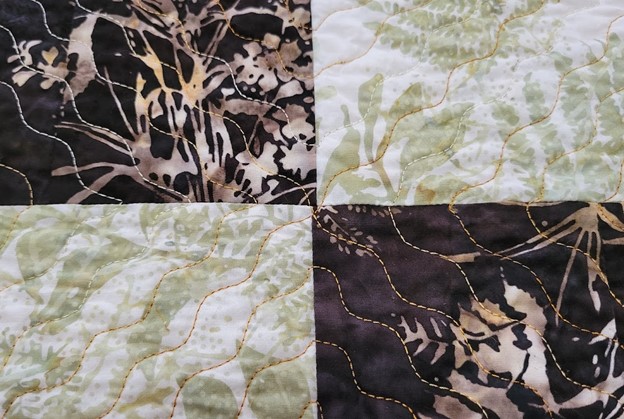
This peek at the back of the quilt shows an asymmetrical (but still offering lots of lovely texture!) grid:
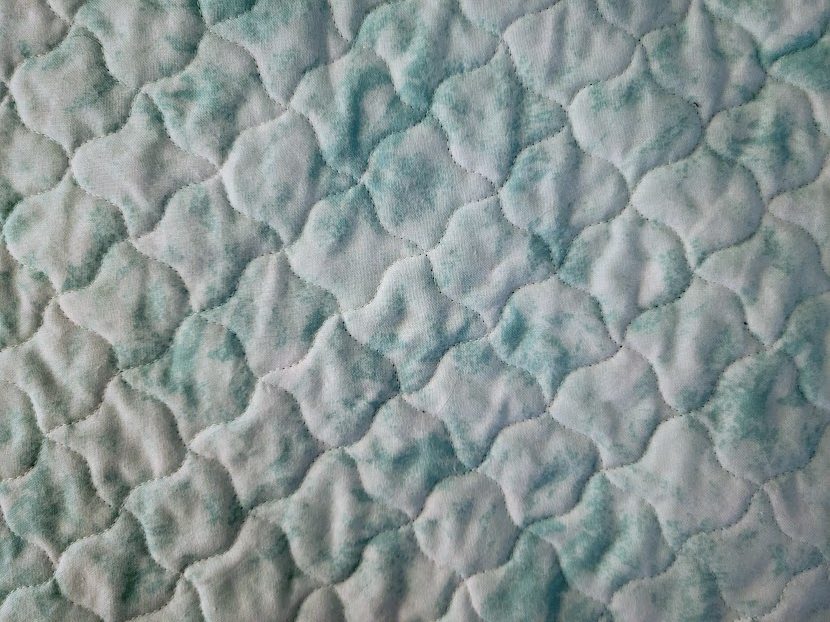
And here is the full quilt – featuring Java Batiks from Cotton Cuts:
When following the pieced lines leads me to both on-grain (crosswise and/or lengthwise) stitching and stitching on the bias, I prefer to do all the on-grain stitching first, as the fabric is more likely to stretch a bit on the bias, and the on-grain stitching can help keep counteract that tendency.
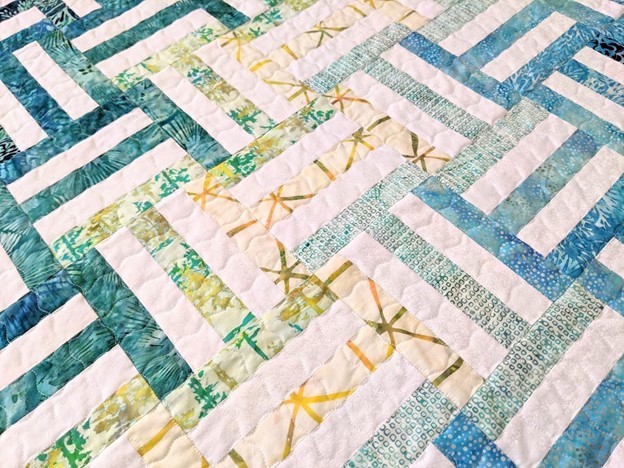
Close-up of a Confetti quilt (pattern from Tied with a Ribbon) showing horizontal and vertical on-grain serpentine stitching on top of the seams between the squares and stitching on the bias on the outer edges of the long diamonds and across the white kite shapes:
And here is the finished quilt, made from Java Batiks from Cotton Cuts:
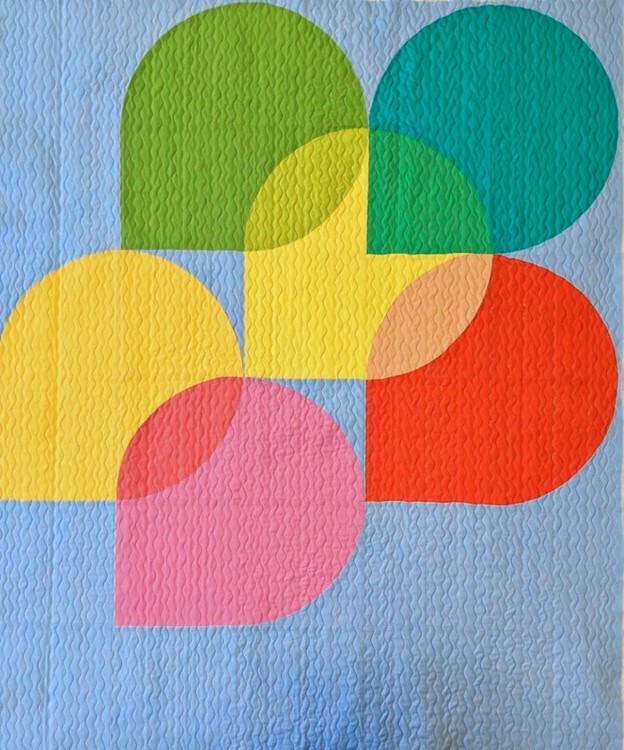
And finally, sometimes it’s fun to freestyle!
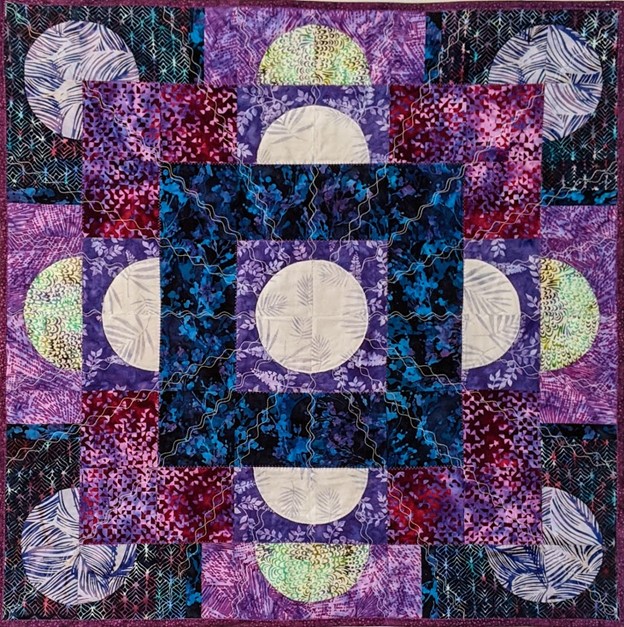
Here is Lunar Vibrations, designed and I made with Java Batiks from Cotton Cuts. While I chose other techniques for most of the quilting on the quilt, I had great fun stitching various combos of serpentine stitching radiating from the center moon:
There’s lots more you can do with this stitch – I hope you’ll enjoying playing with it as much as I have!
This is a slightly expanded version of my post previously published on the Cotton Cuts blog in September 2021.