In my last post, I started a sewing/quilting experiment by doing things a little differently than I normally would.
(1) I sewed the binding first to the back of the quilt (in the past, I’ve always sewed the binding to the front first)
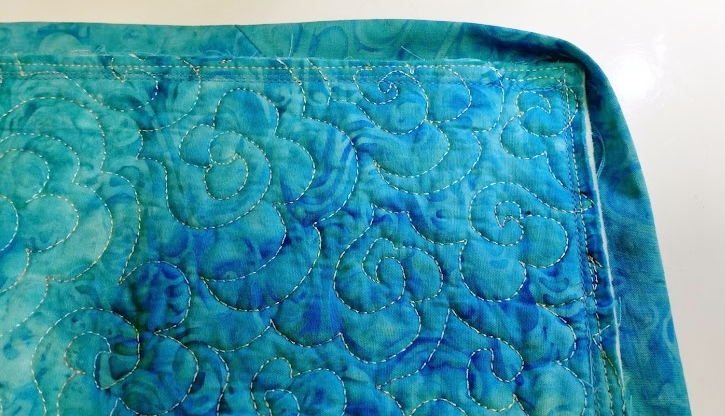
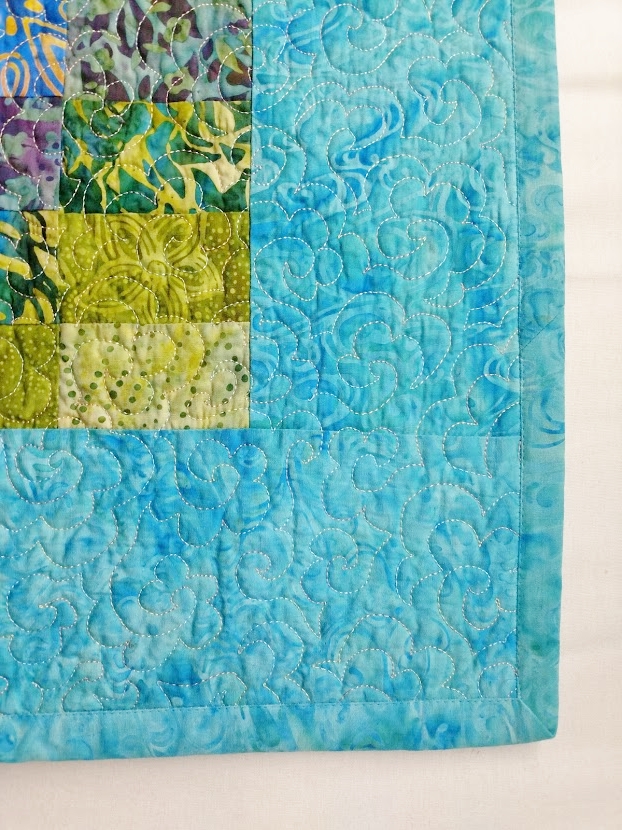
(2) I purposely planned to have the binding finish at 1/4″ wide on the back and approximately 1/2″ wide on the front so I would stay clear of the binding on the back when sewing the binding down on the front of the quilt (in the past, I’ve always made sure my bindings were the same width on the front as on the back)
Now I’m ready for the next twist!
(3) Sewing the free edge of the binding down by machine instead of by hand.
And to take it even further,
(4) Appliquéing the free edge down with a small zigzag stitch!
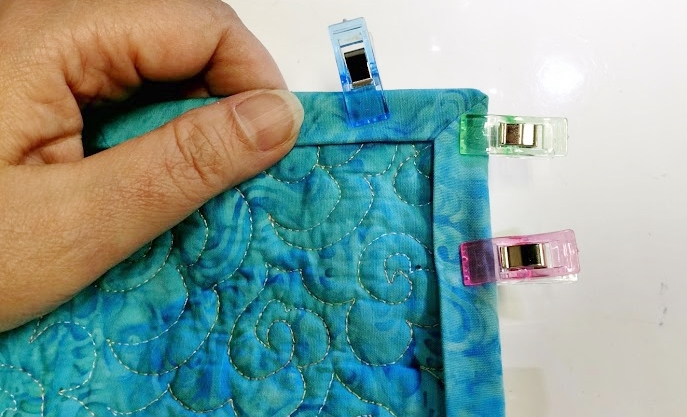
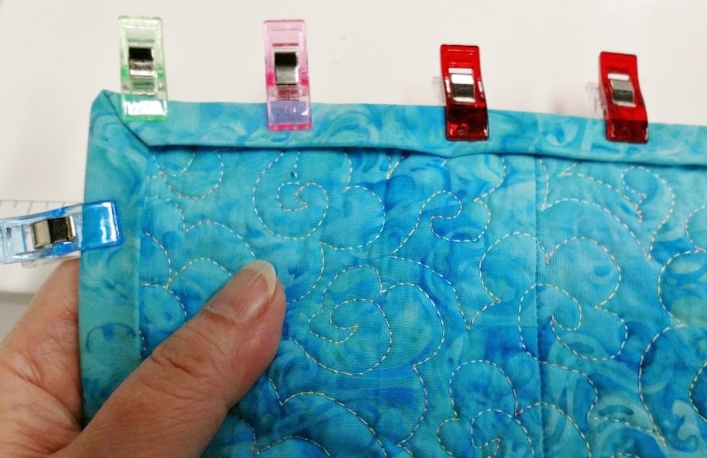
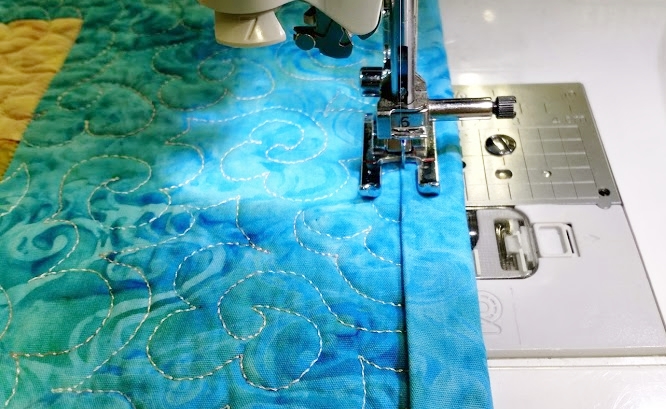
The first step is to start wrapping the binding around to the front.

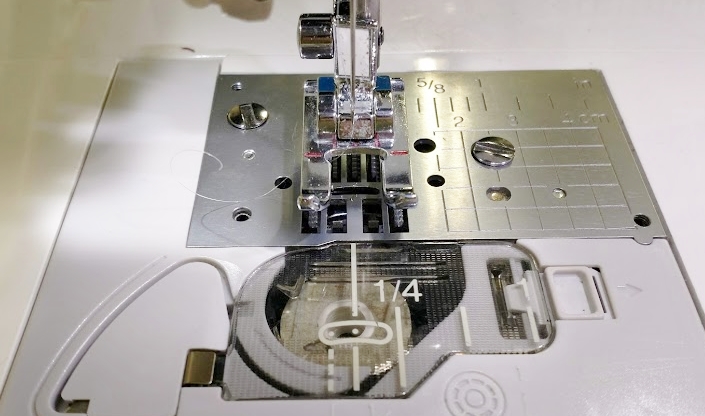
I’m using size .004 monofilament MonoPoly from Superior Threads in my needle and 60 wt. filament polyester Bottom Line from Superior Threads in the bobbin, and a size 70 Schmetz Microtex needle.
I set my machine for a small zigzag stitch – the same stitch I use for appliquéing my Celtic knotwork. See this post for additional tips.
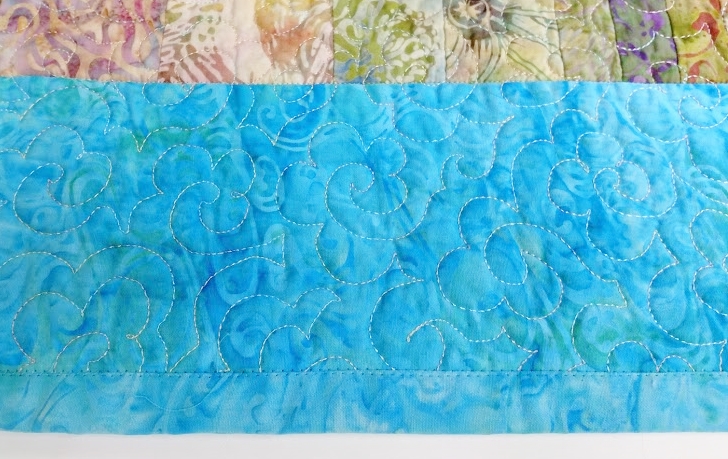
Initially the stitching showed more than I would have preferred, but that’s partly because I was stitching on the most unforgiving type of fabric – tightly woven batik with low-internal contrast in color and visual texture. A regular quilting-weight cotton and/or a fabric with more visual texture (print) would have helped to camouflage the stitching.
However, all is not lost!
I’m not crazy about how monofilament thread sits on top of the fabric and catches the light when you first use it, so I routinely wash my quilts to give the thread a chance to sink down a bit more into the fabric.
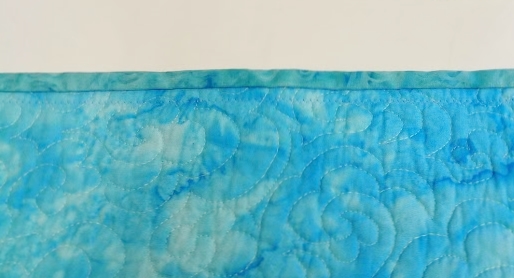
All in all, I’m satisfied with the results of this experiment; but I think it could use some more tweaking…
I’m already thinking about what I might try next time!
.
xxx
One thought on “Experiments in Binding – Bringing the Binding From the Back to the Front”